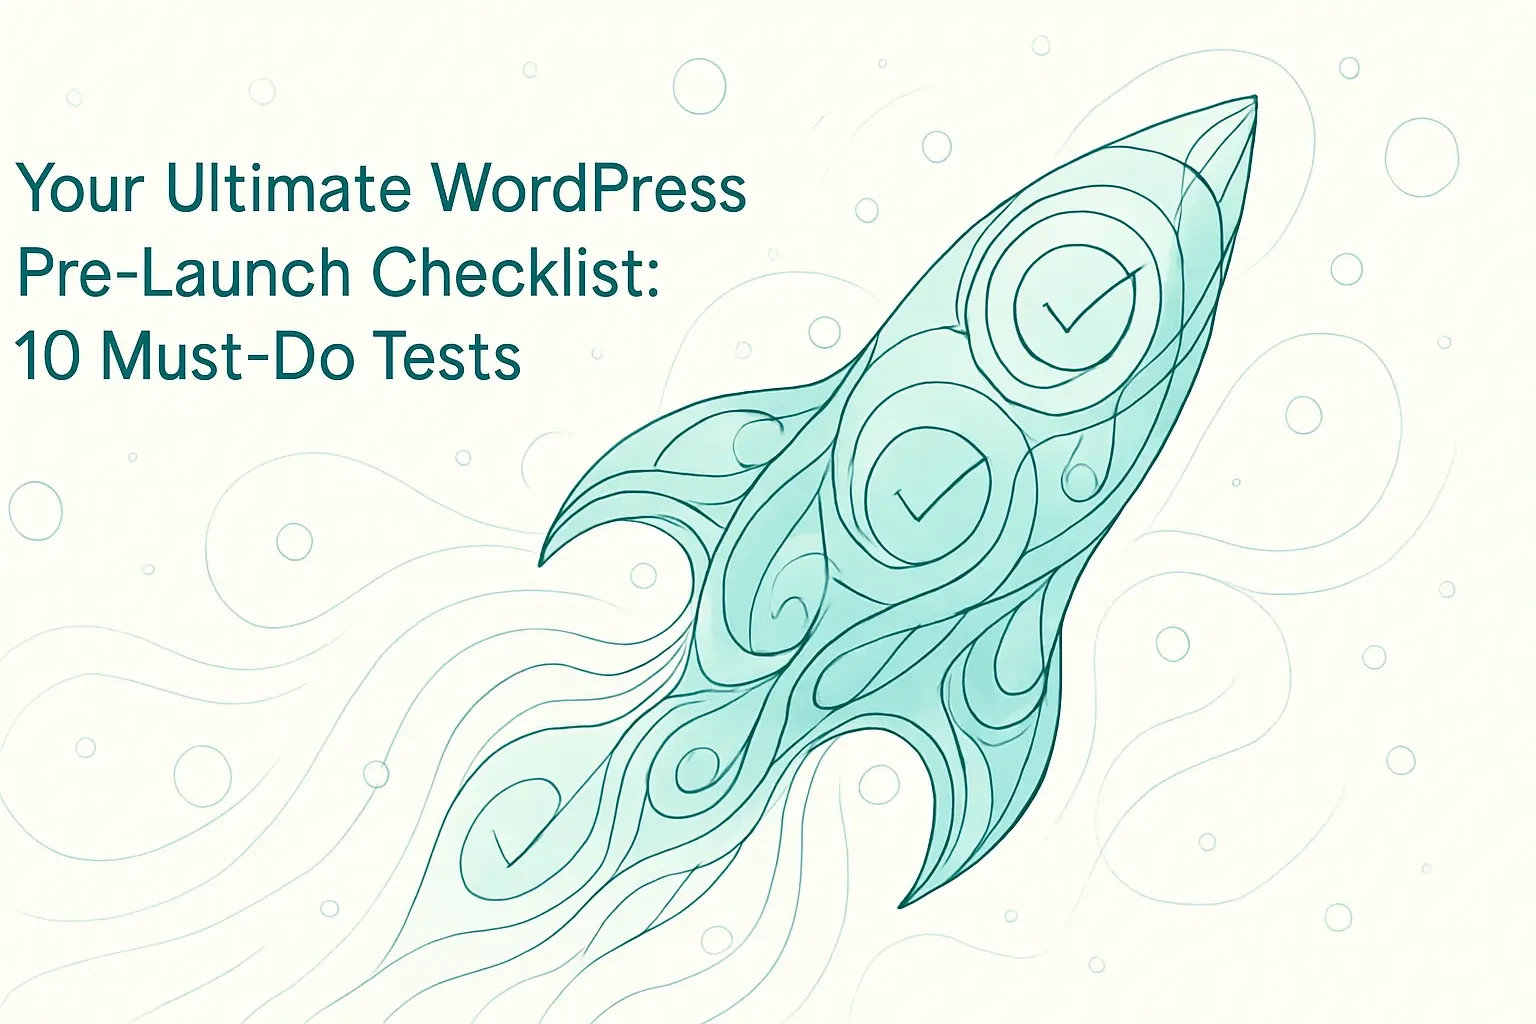
Your Ultimate WordPress Pre-Launch Checklist: 10 Must-Do Tests

Ralph Sanchez

Your Ultimate WordPress Pre-Launch Checklist: 10 Must-Do Tests

The moment before you launch a new WordPress site is both exciting and critical. A successful launch sets the stage for growth, while a buggy one can turn visitors away for good. This comprehensive pre-launch checklist ensures you cover all the essential tests for a smooth debut. For complex sites, you might want to hire WordPress developers to manage this process. Once you're live, the work continues, so be sure to read up on the crucial first 30 days for your new site.
Think of your pre-launch phase like a dress rehearsal. You wouldn't perform on opening night without running through everything first, right? The same goes for your website. Every button, every form, every page needs attention before your audience arrives.

Core Functionality and User Experience Testing

Before anything else, ensure the fundamental parts of your site work as expected. A visitor's first interaction is often with a form or a link, and a failure here is a critical error.
I've seen too many sites launch with broken contact forms. Imagine losing potential clients because they can't reach you! That's why functionality testing comes first. It's the foundation everything else builds on.

Test Every Form, Button, and Link

Start with the basics. Click every single button on your site. Yes, every one. Fill out each form with test data and make sure it goes where it should. Check that confirmation messages appear correctly.
Here's what I do: I create a spreadsheet listing every form and interactive element. Then I test each one methodically. Contact forms should send emails to the right address. Newsletter sign-ups should add subscribers to your list. Shopping cart buttons should actually add items to the cart.
Don't forget about links. Click through every internal link to ensure pages load properly. Test external links too - nothing frustrates visitors more than clicking a resource link and hitting a 404 error. Use a link checker tool to speed this up, but still do manual spot checks.
Pay special attention to your most important conversion points. If you're selling products, test the entire purchase flow. If you're generating leads, make sure that contact form works flawlessly.

Check User Registration and Login Flows

If your site has user accounts, this step is crucial. Create a test account from scratch. Go through the entire registration process as a new user would. Did the welcome email arrive? Can you log in immediately?
Test the password reset function too. People forget passwords all the time. Make sure they can easily recover access to their accounts. Try logging in with wrong credentials - does the error message make sense? Is it helpful without being a security risk?
For membership sites or online stores, verify that logged-in users see the right content. Members should access member-only areas. Customers should see their order history. Test different user roles if you have them.
Don't skip testing on mobile devices here. Many users will create accounts or log in from their phones. The experience should be just as smooth as on desktop.

Confirm Responsive Design Across Devices

Your site might look perfect on your laptop, but what about on an iPhone? Or a tablet? Or that ancient desktop monitor in your client's office?
Start by resizing your browser window. Watch how elements rearrange as the window gets smaller. Navigation menus should collapse gracefully. Images should scale properly. Text should remain readable without horizontal scrolling.
But browser resizing only tells part of the story. Actually grab different devices and test. Borrow phones from friends if needed. Check both portrait and landscape orientations. Tap buttons with your finger - are they big enough? Is there enough space between clickable elements?
Pay attention to loading speed on mobile networks too. That beautiful hero image might look great on Wi-Fi but take forever to load on 4G. Consider having different image sizes for different devices.

Content, SEO, and Brand Readiness

Your content needs to be polished and optimized from day one to make a good impression on both users and search engines.
Content is king, but sloppy content is a dethroned monarch. Before launch, every word on your site should earn its place. This isn't just about grammar - it's about making sure your message is clear, compelling, and optimized for discovery.

Proofread All Content and Remove Placeholders

Nothing screams "amateur" louder than Lorem Ipsum text on a live site. I once saw a law firm launch with placeholder text in their services section. Not exactly confidence-inspiring!
Read every page out loud. Seriously. Your ears catch mistakes your eyes miss. Look for typos, grammar errors, and awkward phrasing. Check that all placeholder content is gone - not just Lorem Ipsum, but also those "Coming Soon" sections you meant to finish.
Watch for consistency issues. Is your company name spelled the same way everywhere? Do you use "email" or "e-mail"? Pick one and stick with it. Same goes for capitalization, especially in headings.
Get someone else to proofread too. Fresh eyes spot things you've become blind to. If budget allows, hire a professional editor for your most important pages. The investment pays off in credibility.

Verify SEO Titles, Meta Descriptions, and Alt Text

Search engines are often how new visitors find you. Make sure you're putting your best foot forward. Every page needs a unique, descriptive title tag. Keep it under 60 characters so it doesn't get cut off in search results.
Meta descriptions are your sales pitch in search results. Write compelling descriptions that make people want to click. Include your target keywords naturally, but focus on appealing to humans, not algorithms. Aim for 150-160 characters.
Don't neglect image SEO. Every important image needs descriptive alt text. This helps search engines understand your images and makes your site accessible to visually impaired users. Instead of "image1.jpg" with alt text "photo," use "team-meeting-conference-room.jpg" with alt text "Marketing team collaborating in modern conference room."
Check that your permalink structure makes sense. URLs should be readable and include keywords where appropriate. "/services/web-design/" beats "/page?id=123" every time.

Add a Favicon and Check Branding

Small details matter. A favicon - that tiny icon in browser tabs - makes your site look professional. Without one, you get a generic browser icon that screams "unfinished."
Creating a favicon is simple. Use your logo or a simplified version of it. Make sure it's recognizable even at 16x16 pixels. Test it in different browsers to ensure it displays correctly.
While you're at it, audit your entire brand presence. Is your logo crisp on retina displays? Do your brand colors look consistent across different pages? Check that fonts load properly and fallback fonts make sense.
Look at your site as a whole. Does it feel cohesive? Every page should clearly belong to the same website. Consistent headers, footers, and styling create a professional appearance that builds trust.

Performance and Speed Optimization

A slow website is a major deterrent. Performance testing is not optional; it's a requirement for retaining visitors.
Here's a sobering fact: 40% of people abandon a website that takes more than 3 seconds to load. Three seconds! That's less time than it takes to sneeze. Speed isn't just nice to have - it directly impacts your success.

Run Page Speed Tests

Google PageSpeed Insights should be your first stop. Run tests for both mobile and desktop versions of your site. The tool gives you a score and specific recommendations. Don't obsess over getting 100/100, but do address the major issues.
Common culprits include unoptimized images, render-blocking JavaScript, and excessive HTTP requests. Large images are often the biggest offender. That 5MB hero image might look stunning, but it's killing your load time. Compress images without sacrificing too much quality.
Test from different locations too. Your site might load fast from your office but crawl for visitors on the other side of the world. Tools like GTmetrix let you test from various geographic locations.
Remember that real-world performance matters more than test scores. If your site feels fast to actual users, you're on the right track. But if tests reveal major issues, don't ignore them.

Configure a Caching Plugin

Caching is like meal prep for your website. Instead of cooking (generating pages) from scratch for every visitor, you serve pre-made meals (cached pages). It's faster and less resource-intensive.
Popular options include WP Rocket, W3 Total Cache, and WP Super Cache. Each has its strengths. WP Rocket is user-friendly but paid. W3 Total Cache is powerful but complex. WP Super Cache is simple and free.
Start with basic page caching. This alone can dramatically improve load times. Then explore browser caching, which tells visitors' browsers to store static files locally. Return visitors get an even faster experience.
Test your site after enabling caching. Make sure dynamic elements still work correctly. Shopping carts, user dashboards, and comment sections sometimes need special handling. Most good caching plugins handle these automatically, but always verify.

Security and Backup Preparedness

Security isn't something you add later; it needs to be built-in from the start to protect your site and its users.
Launching an insecure website is like leaving your front door wide open. Sure, you might be fine, but why take the risk? Security measures protect not just your site, but your visitors' data and your reputation.

Install a Security Plugin and SSL Certificate

Start with SSL. If your site doesn't have that reassuring padlock icon, visitors will notice. Many browsers now warn users about non-HTTPS sites. Google also favors secure sites in search rankings.
Most hosting providers offer free SSL certificates through Let's Encrypt. Install it and configure your site to force HTTPS everywhere. Update any hardcoded HTTP links to HTTPS to avoid mixed content warnings.
Next, add a security plugin. Wordfence and Sucuri are popular choices. They provide firewalls, malware scanning, and login protection. Configure login attempt limits to prevent brute force attacks. Enable two-factor authentication for admin accounts.
Don't use "admin" as a username. It's the first thing hackers try. Create unique, strong passwords for all accounts. Consider limiting login attempts and hiding the login page URL if your site doesn't need public registrations.

Set Up and Test Automated Backups

Backups are your insurance policy. When (not if) something goes wrong, they're your lifeline. Set up automated backups before launch, not after your first crisis.
Choose a backup solution that stores copies off-site. UpdraftPlus, BackWPup, and VaultPress are solid options. Schedule daily backups for busy sites, weekly for others. Keep at least a month's worth of backups.
But here's the crucial part most people skip: test your backups. A backup you can't restore is worthless. Before launch, do a full restore to a staging site. Make sure everything works - database, files, plugins, the works.
Document your restore process. In a crisis, you won't remember the steps. Write them down now while you're calm. Include login credentials for your backup storage (stored securely, of course).

Final Thoughts

Launching a WordPress site without proper testing is like jumping out of a plane and hoping your parachute works. This checklist helps you pack that parachute properly.
Remember, this isn't a one-and-done process. Even after launch, keep monitoring and testing. Technology changes, plugins update, and new security threats emerge. Stay vigilant.
Take your time with this checklist. Rushing through it defeats the purpose. Each test you complete reduces the chance of launch day disasters. Your future self (and your visitors) will thank you.
Ready to launch? Go through this checklist one more time. Check off each item. When you can honestly say you've tested everything, hit that publish button with confidence. Your WordPress site is ready for the world.

References

Like this project

Posted Jul 6, 2025

Don't launch a broken site. Follow our comprehensive 10-step WordPress pre-launch checklist to ensure a smooth, error-free debut. From functionality to security, we've got you covered.
From Trickle to Tsunami: WordPress Scalability Secrets for Viral Traffic
WordPress Maintenance: DIY vs. Hiring a Pro on Retainer
WordPress Maintenance: Why Skipping Updates Will Cost You More Than Time
Your WordPress Site is Live! Now What? The First 30-Day Action Plan

Join 50k+ companies and 1M+ independents

Contra Logo

© 2025 Contra.Work Inc