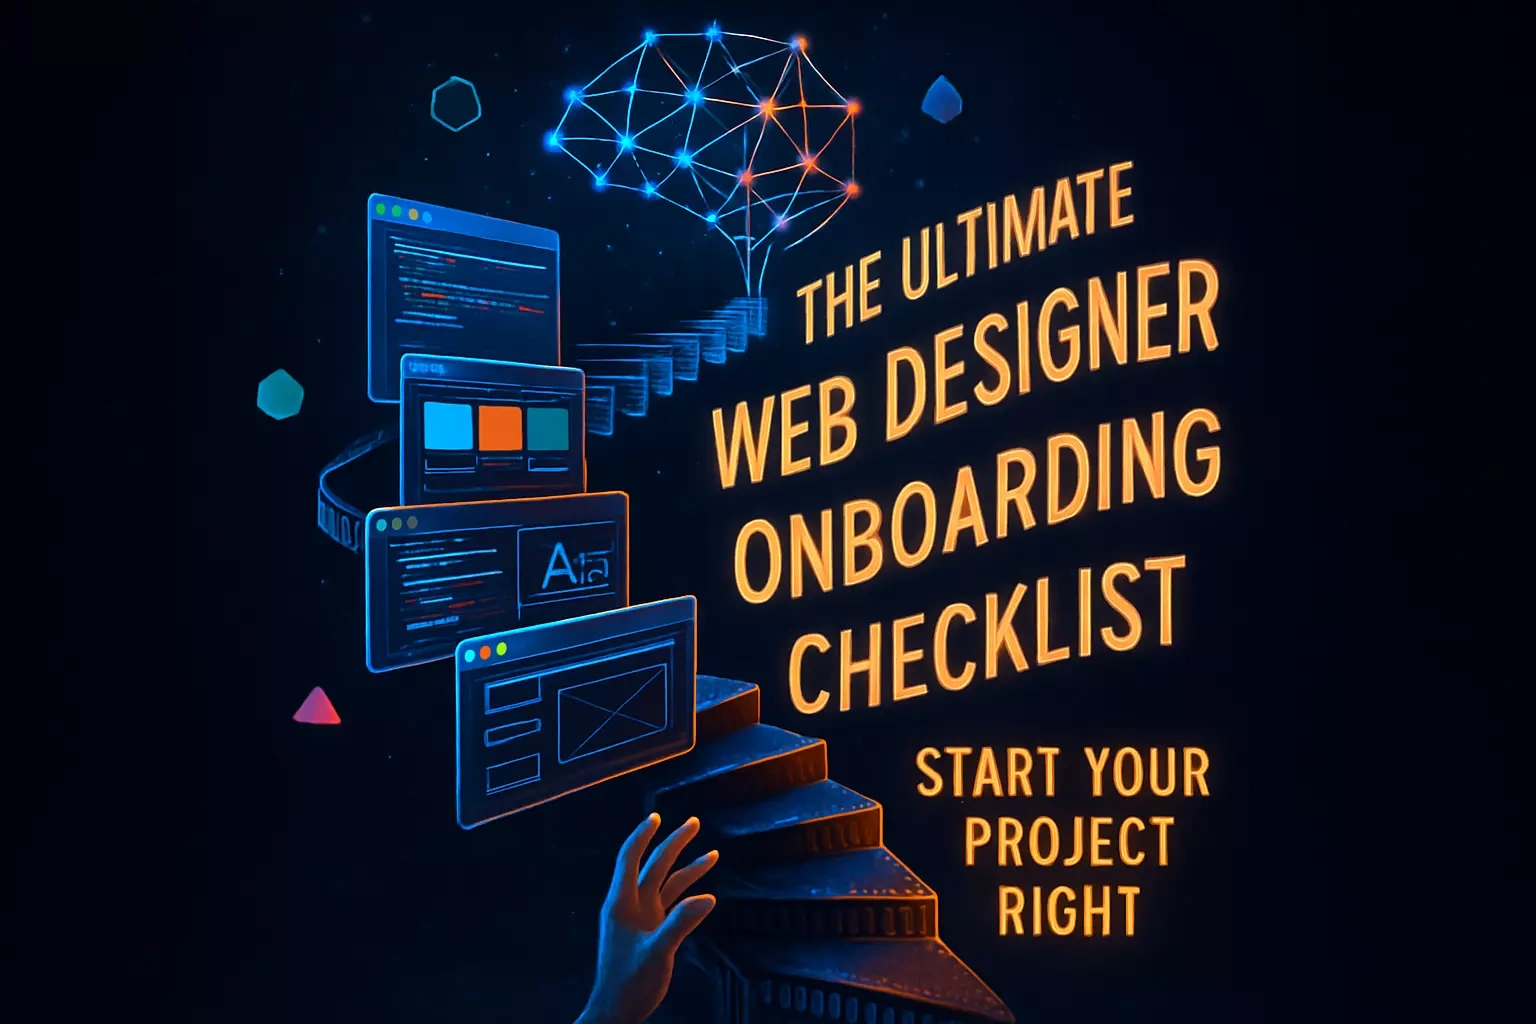
The Ultimate Web Designer Onboarding Checklist: Start Your Project Right
Rebecca Person

The Ultimate Web Designer Onboarding Checklist: Start Your Project Right

A successful web design project begins long before the first pixel is placed. A thorough and organized onboarding process is the foundation for a collaborative partnership, ensuring your designer has everything they need to bring your vision to life efficiently. This initial phase is critical for aligning on goals and minimizing friction. To get started on the right foot, it's crucial to hire top web designers who understand your vision. Once you have the right talent, the next step is setting expectations early to ensure a smooth workflow throughout the project.
Think of onboarding like preparing for a road trip. You wouldn't start driving without knowing your destination, checking your route, and making sure you have everything you need. The same principle applies to web design projects. When you invest time in proper onboarding, you're essentially creating a roadmap that guides both you and your designer toward success.

Essential Information Your Designer Needs Before Day One

To hit the ground running, your web designer needs a deep understanding of your business and its brand. Compiling this information beforehand saves time and ensures the initial designs are closely aligned with your company's identity and objectives.
I've seen countless projects stumble because clients assumed their designers would "just know" what they wanted. That's like expecting someone to cook your favorite meal without telling them what ingredients you like. The more specific information you provide upfront, the closer the first draft will be to your vision.

Business & Project Goals

Clearly articulate what your business does, who your target audience is, and what you want the website to achieve. Are you looking to increase sales, generate leads, or provide information? Defining specific, measurable goals is crucial.
Start by writing a simple paragraph about your business. Pretend you're explaining it to a friend who's never heard of your company. What problem do you solve? Who benefits from your services? Then, get specific about your website goals. Instead of saying "I want more customers," try "I want to increase online sales by 30% in six months" or "I need to generate 50 qualified leads per month."
Your designer needs to understand the why behind your website. If you're a local bakery, your site might focus on showcasing mouth-watering photos and making online ordering easy. But if you're a B2B software company, you'll need clear explanations of complex features and strong calls-to-action for demos. These different goals require completely different design approaches.

Brand Guidelines and Assets

Provide a complete inventory of your brand assets. This includes your logo in various formats (vector is best), a defined color palette (with hex codes), and typography guidelines. Consistency in branding is key to a professional look.
Don't worry if you don't have a formal brand guide. Even basic information helps. At minimum, share your logo files (especially high-resolution versions), your preferred colors, and any fonts you currently use. If you have business cards, letterheads, or marketing materials, share those too. They give your designer valuable context about your visual identity.
Here's what to include in your brand asset package:
Logo files in multiple formats (PNG, JPG, and ideally SVG or AI)
Color codes (like #FF5733 for your main orange)
Font names and where to find them
Any taglines or key messaging phrases
Examples of your brand in action
If you're missing some of these elements, be honest about it. Your designer can help fill in the gaps or recommend resources for developing a stronger brand identity.

Target Audience & User Personas

Share detailed profiles of your ideal customers. Understanding the demographics, needs, and pain points of the end-users allows the designer to create a user-centric experience that resonates with them.
Think about your best customers. What age are they? What's their income level? Are they tech-savvy or do they prefer simple interfaces? Do they browse on phones or desktops? These details shape every design decision, from font size to navigation structure.
Create simple user personas by answering these questions:
Who is this person? (age, job, lifestyle)
What problem are they trying to solve?
What might frustrate them about websites?
What would delight them?
How do they typically find businesses like yours?
For example, if your target audience is busy parents, your site needs to load fast and work perfectly on mobile. If you're targeting senior citizens, larger fonts and simple navigation become priorities. These insights help your designer make informed choices that serve your actual users, not just create something that looks pretty.

Inspiration and Competitor Websites

Compile a list of websites you admire and a few you don't. Explaining what you like (and dislike) about each provides tangible examples of your aesthetic preferences and functional requirements, giving your designer a clear direction.
Start by browsing websites in your industry. Take screenshots and make notes about specific elements. Maybe you love how one site uses white space, but hate their confusing menu. Perhaps another has perfect product pages but terrible mobile experience. These observations are gold for your designer.
Don't limit yourself to direct competitors. If you're a dentist who loves the clean look of Apple's website, share that. If you're drawn to the playful animations on a children's toy site, mention it. Just be specific about what appeals to you. Instead of "I like this site," try "I love how the images fade in as you scroll" or "The way they organize their services menu makes everything easy to find."
Also share what you definitely don't want. If cluttered layouts make you cringe or you hate sites that autoplay videos, say so. Knowing your pet peeves helps your designer avoid elements that would make you unhappy.

Granting the Right Access for a Seamless Workflow

Technical access is just as important as strategic information. Providing your designer with the necessary credentials from the start prevents delays and allows them to set up their development environment efficiently.
I know sharing passwords feels uncomfortable. It's like giving someone the keys to your house. But remember, professional designers handle sensitive information daily and understand the trust you're placing in them. Use a password manager to share credentials securely, and change passwords after the project if that makes you feel better.

Domain & Hosting Provider Credentials

Your designer will need access to your domain registrar and web hosting account to configure settings, set up staging environments, and eventually launch the site.
Before your designer can build anything, they need to know where your website lives (or will live). If you already have a domain name, provide login details for wherever you bought it - companies like GoDaddy, Namecheap, or Google Domains. Your designer needs this to point your domain to the new site when it's ready.
For hosting, share access to your web hosting account. This might be with companies like Bluehost, SiteGround, or WP Engine. If you don't have hosting yet, your designer can recommend options based on your needs and budget. Some designers even include hosting setup in their services.
Keep a document with all these details:
Domain registrar name and login
Hosting provider name and login
Any existing email accounts tied to your domain
Current renewal dates and costs
This information helps your designer plan the technical side of your project and avoid surprises during launch.

Content Management System (CMS) Access

If you have an existing website, the designer will need administrator-level access to your CMS (like WordPress, Shopify, etc.) to understand the current structure and begin the redesign process.
Your CMS is where you'll update your website after launch. Common systems include WordPress, Shopify for e-commerce, or Squarespace for simpler sites. Give your designer admin access so they can see how your current site is built and plan the migration of existing content.
If you're starting fresh, discuss CMS options with your designer. They'll recommend systems based on your technical comfort level and future needs. A blog-heavy site might work best on WordPress, while an online store could thrive on Shopify. The right choice depends on your specific requirements.
Don't forget to mention any must-have features. If you need to update the site yourself, want specific integrations, or have staff who'll need training, share these requirements early. It's much easier to choose the right CMS upfront than to switch later.

Analytics and Marketing Tool Access

Access to tools like Google Analytics and Google Search Console provides valuable data on current site performance and user behavior, which can inform design decisions.
Your website's current performance data is like a treasure map for your designer. Google Analytics shows which pages people visit most, where they leave, and what devices they use. This data shapes design priorities. If 80% of visitors use phones, mobile design becomes critical. If everyone leaves your pricing page, it needs special attention.
Share access to:
Google Analytics
Google Search Console
Any heat mapping tools (like Hotjar)
Email marketing platforms
Social media business accounts
Any advertising accounts (Google Ads, Facebook Ads)
Even if you think your current data looks bad, share it anyway. Designers use this information to identify problems and opportunities. Low-performing pages become candidates for major improvements. High-traffic pages get extra polish to maximize their impact.

Content and Asset Libraries

Provide all website copy, images, videos, and testimonials upfront. Having the final content helps the designer create a layout that fits the material perfectly, avoiding the need for major adjustments later.
Content is the backbone of your website. Without it, your designer is working blind. Imagine trying to frame a picture without knowing its size - that's what designing without content feels like. Even if your content isn't perfect, sharing what you have prevents major redesigns later.
Organize your content into folders:
Text: About us, service descriptions, product details, FAQs
Images: Team photos, product shots, office images
Videos: Company overviews, testimonials, product demos
Documents: PDFs, downloadable resources, case studies
Social Proof: Customer testimonials, reviews, logos of clients
If you're missing content, create a simple list of what you need. Your designer can create placeholder layouts, but they'll need real content before launch. Consider hiring a copywriter if writing isn't your strength. Good content makes even simple designs shine.

Conducting an Effective Project Kick-off Meeting

The kick-off meeting is the formal start of the project, bringing together all stakeholders to align on the project plan. This is the time to review all the provided information and set the stage for the work ahead.
Think of this meeting as your project's opening ceremony. It's where excitement meets planning, and everyone leaves knowing exactly what happens next. Whether in-person or virtual, this meeting sets the tone for your entire project.

Reviewing the Project Brief and Scope

Walk through the project scope, deliverables, and goals one more time to ensure everyone is on the same page. This is the moment to clarify any ambiguities before the design work begins.
Start the meeting by restating your project goals. Even if you've discussed them before, repetition ensures clarity. Your designer should outline what they'll deliver - mockups, page templates, responsive designs - and what's not included. This prevents scope creep and surprise requests later.
Key points to cover:
Number of unique page designs
Revision rounds included
What constitutes a "revision" versus a "new request"
Any functionality requirements
Content migration responsibilities
Training or documentation included
Ask questions if anything seems unclear. It's better to spend an extra 10 minutes now than to discover misunderstandings halfway through the project. If your designer uses technical terms you don't understand, ask for plain English explanations. A good designer can explain their process without jargon.

Confirming Timelines and Milestones

Establish a realistic project timeline with clear milestones for deliverables and feedback rounds. This helps manage expectations and keeps the project on track.
Work backwards from your ideal launch date. If you need the site live for a product launch or event, share that deadline immediately. Your designer will create a timeline that includes buffer time for revisions and unexpected delays.
A typical timeline might look like:
Week 1-2: Research and wireframes
Week 3-4: Design concepts
Week 5-6: Revisions and additional pages
Week 7-8: Development and testing
Week 9: Launch preparation
Week 10: Go live and training
Remember that your response time affects the schedule too. If you take a week to provide feedback, the project extends by a week. Discuss realistic turnaround times for both sides. If you're busy during certain periods, mention that upfront so the designer can plan accordingly.

Establishing Communication Channels

Agree on how and when you will communicate. Will it be via email, a project management tool, or scheduled calls? Setting these protocols early ensures smooth communication.
Clear communication prevents frustration and keeps projects moving. Decide whether you prefer email updates, Slack messages, or weekly video calls. Some clients want daily updates; others prefer weekly summaries. There's no wrong answer - just be honest about your preferences.
Consider these communication elements:
Primary contact person on each side
Preferred communication method
Response time expectations
Meeting schedule (weekly, biweekly, or milestone-based)
How to handle urgent issues
File sharing method (Dropbox, Google Drive, etc.)
Also discuss how you'll provide feedback. Will you mark up PDFs? Leave comments in a project management tool? Have live review sessions? Structured feedback helps your designer understand and implement your requests efficiently.
Remember, good communication is a two-way street. If something bothers you, speak up early. If you love something, say that too. Your designer wants you to be thrilled with the final product, and honest communication makes that possible.

Conclusion

A well-executed onboarding process transforms web design projects from stressful ordeals into exciting collaborations. By providing comprehensive information, granting necessary access, and establishing clear communication channels, you create an environment where creativity thrives and projects succeed.
The time you invest in onboarding pays dividends throughout your project. Your designer can focus on creating amazing designs instead of chasing down missing information. You'll see designs that actually match your vision because you've shared that vision clearly. Most importantly, you'll build a relationship based on trust and mutual understanding.
Start gathering your materials today. Create that brand asset folder. Write down your business goals. List those websites you love (and hate). Every piece of information you compile brings you closer to a website that truly represents your business and serves your customers well.
Remember, your designer is your partner in this journey. The more you put into the onboarding process, the more you'll get out of your project. Here's to smooth starts and stunning websites!

References

Like this project

Posted Jun 30, 2025

Starting a web design project? Our guide covers the essential information and access you need to provide your designer for a smooth and successful onboarding process.

Setting Expectations with Your Web Designer: A Guide to a Smooth Project
Web Design Payment Schedules: A Guide to Deposits and Milestones
Web Design Contracts 101: Essential Clauses to Protect Your Project
Interviewing Web Designers: 20+ Questions to Find Your Perfect Match

Join 50k+ companies and 1M+ independents

Contra Logo

© 2025 Contra.Work Inc