YouTube's Add-to-Queue Icon – Spline 3D
Kyle Humber
Harnessing the power of Spline
The platform and inspiration
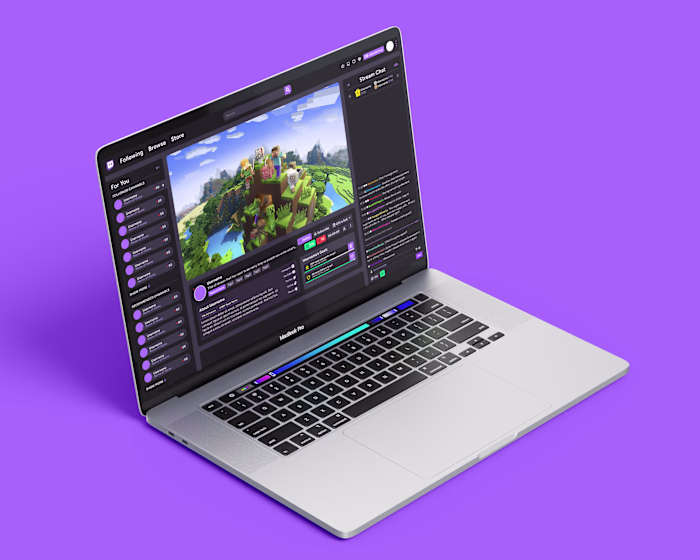
I write a blog that I publish to my personal site, and a big part of it is making the cover image. I love making these thumbnail graphics—it really is an art form all about siphoning the core concept from the content and translating it into a singular visual representation.
Largely inspired by Framer and their 3D imagery they create for each new feature release (such cool visuals!), I wanted to step up my cover image game and integrate some 3D as well. Spline just so happens to be the perfect tool for the job.

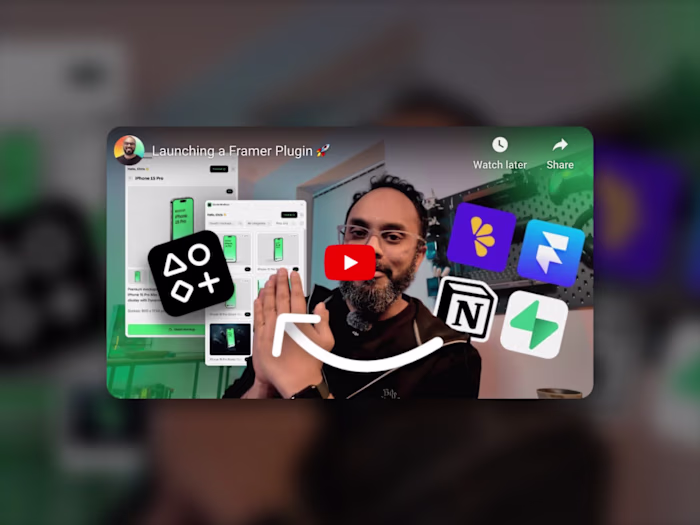
Final blog cover image.
Integrating Spline into my workflow
Spline has been a fun platform to learn—3D optimized for web is brilliant! However, more traditional functionality shouldn't be overlooked. Making a model and exporting it is still quite the viable option. The model I create for the cover image is also interactive and easily embedded!
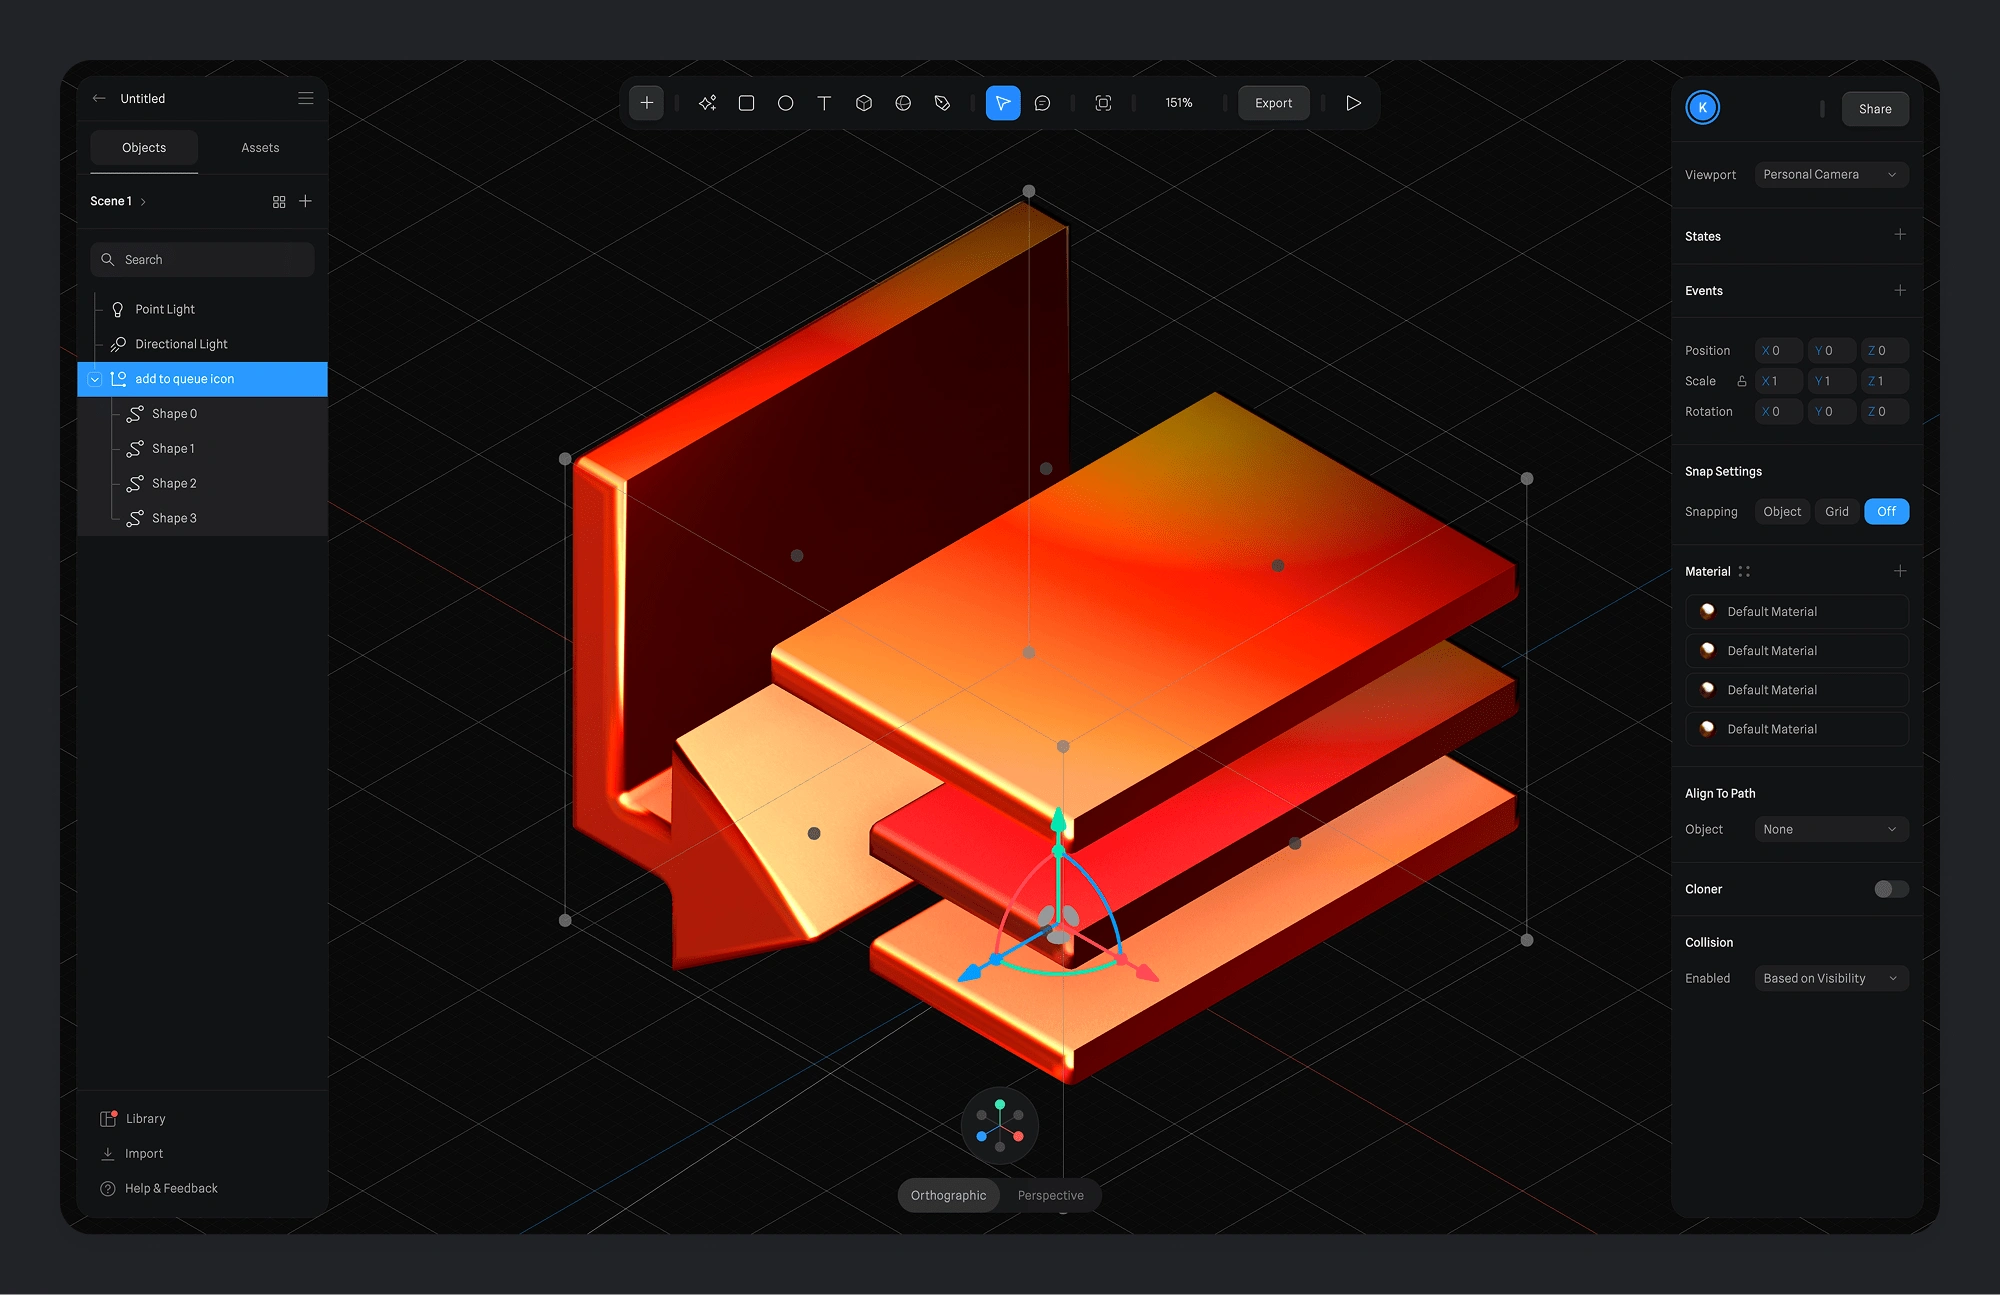
Spline interface with the project file for the 3D model of the add-to-queue icon.
The process
1. Select the topic for the blog. I ended up writing about YouTube removing the main way to add a video to queue when casting or using the mobile app as a remote for the TV app. You can read the full post here!
2. Recreate the add-to-queue icon in Illustrator and exported it as and SVG
3. Import the SVG into Spline and extrude to turn it into a 3D object
4. Add bevels to the edges & layer matcaps to create a semi-matte metallic look
5. Add & position lighting and set angle of the model
6. Export as a PNG w/ transparent background
7. Import into Photoshop to touch up and add effects, background & text
8. Export as JPEG/PNG to add to Framer CMS item
Getting the right angle
I moved around the lighting and camera to get a few different angles and exported them to have options. Here are some of them!
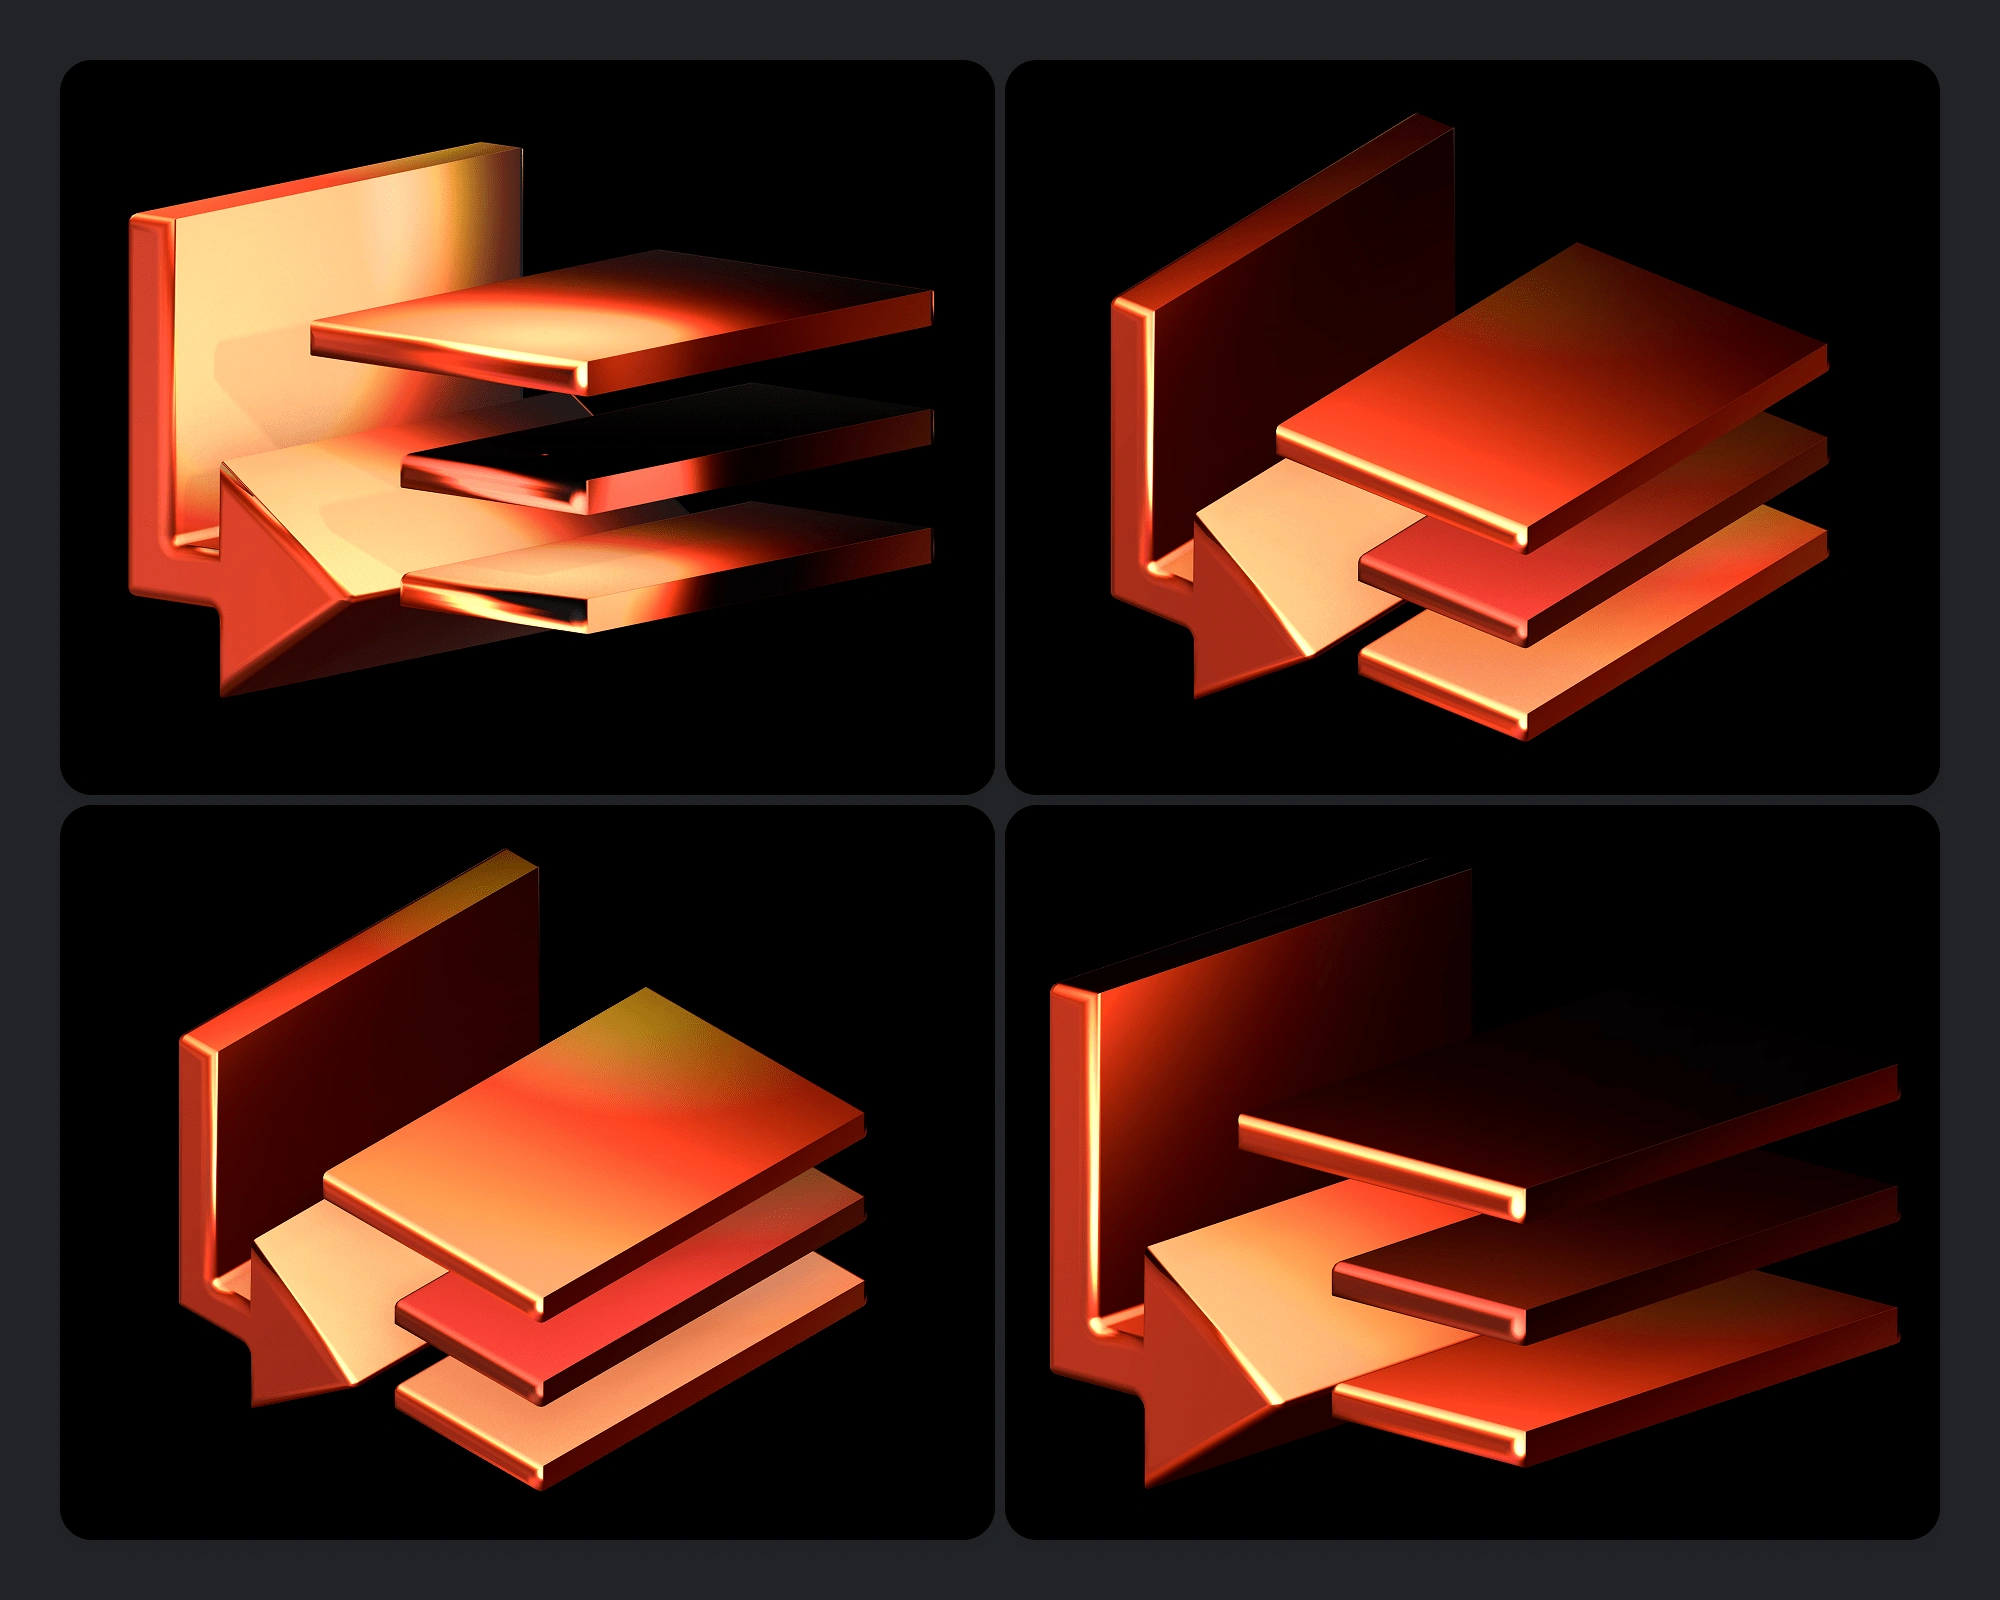
Collection of renders of the 3D icon
Like this project
Posted Feb 28, 2025
To create more enticing visuals for my blog, I modelled this 3D icon in Spline to use as the key element in a blog cover image.