Built with FLORA
Multi-Platform Visual Pipeline Development

Anush | Foundrline


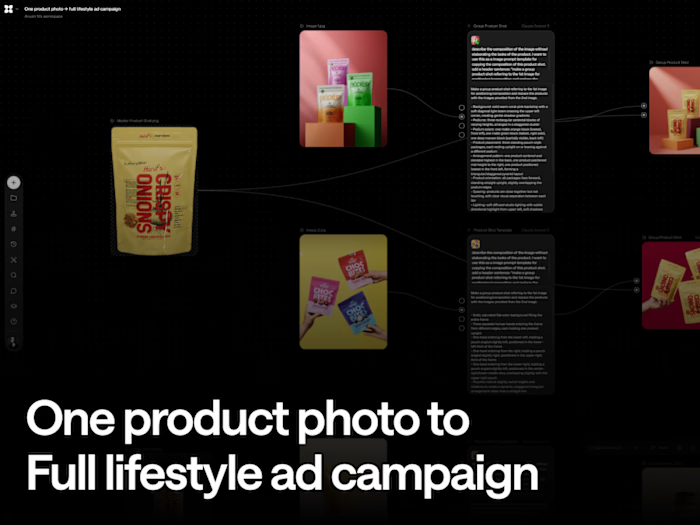
One product photo to Full lifestyle ad campaign
What we're building
A pipeline that takes one hero visual + a headline/message and produces a matching set of platform-ready thumbnails and covers YouTube thumbnail, Instagram feed, Reels/Story, podcast cover, LinkedIn, Twitter/X all sharing the same visual language, generated and correctly sized in one pass instead of manually recomposing and cropping for each platform separately.
Problem it solves
Every platform wants a different aspect ratio, and a straight crop from one format to another usually cuts off the subject or leaves awkward empty space a 1:1 square doesn't just resize into a 9:16 vertical, it needs to be recomposed. Doing that by hand for 5-6 formats per piece of content is slow and inconsistent. This workflow regenerates the composition per platform (not just crops it) while keeping the same subject, headline, and brand look across the whole set.
Workflow Steps
Step 1 - Base Product Shot (Image Node, GPT Image)
One clean reference render/photo of the product on a plain background. Label "Sneaker Photography." This is the fixed reference every angle derives from.
Step 2 - Angle Prompt Writing, per angle (Text-to-Text Node, Claude Opus/Sonnet)
One text node per angle you need (3/4, side profile, back, etc.), each connected to the Base Product Shot. Prompt pattern: "Generate a [specific angle] view of this sneaker, keeping the front view exactly for a consistent product set finish: crisp material separation between suede/mesh/foam, true-to-life white balance, no color cast."
Claude writes out a full descriptive render prompt for that specific angle materials, lighting, framing rather than you hand-writing each one. This is what's showing in your "3/4 Angle View," "Side Profile View," "Back View" text nodes.
Step 3 - Then it render each angle (Image Node, Nano Banana 2)
Connected to that angle's Step 2 prompt output. Produces the actual angle image "Sneaker Render Prompt," "Sneaker Side Profile," "Sneaker Back View" - one per angle, all holding the same product consistently since each was generated from a Claude-written prompt anchored to the same base description.
Step 4 - Repeat Steps 2-3 for every angle needed
Front, 3/4, side, back (and top-down/sole if you extend it, per Claude's own suggestion visible in your first screenshot) as many angles as you want feeding the 3D reconstruction.
Step 5 - 3D Reconstruction (3D Node, Rodin v2.5 Multi-View)
Connect all the finished angle renders from Step 3 into the 3D Node's image input, model set to Rodin v2.5 Multi-View. This builds the actual textured 3D asset from your angle set shown as "Sneaker Photography" in the 3D viewer.
Step 6 - Capture an 8-view sheet (3D Node's Sheet capture tool)
Once the 3D asset is built and staged in the viewer, use the Sheet capture tool to auto-rotate it 360° and output 8 evenly-spaced still images with transparent backgrounds
Step 7 - Combine the 8 views into a rotating video (Video Node, Seedance 2.5)
Connect all 8 sheet-view images into a Video Node, model Seedance 2.5, prompt: "Create a 3D rotating video around the product." Settings used: 5 second duration, 16:9, 720p. This is the step that actually produces the final rotating clip the video model interpolates smooth motion between your 8 discrete angles rather than you stitching hard cuts between them.
Step 8 - Finally review and export
Final output: "3D Product Video," MP4, 1280×720, 5 seconds.
Workflow Project link - https://app.flora.ai/join-project/7590da1d-ed89-440e-9e60-22257983994a
Like this project
Posted Oct 6, 2026
Developed workflow to create multi-platform visuals from one image.
Likes
0
Views
4