Paris Monuments: Palais Garnier Opera House

Sven Viland


Project Overview
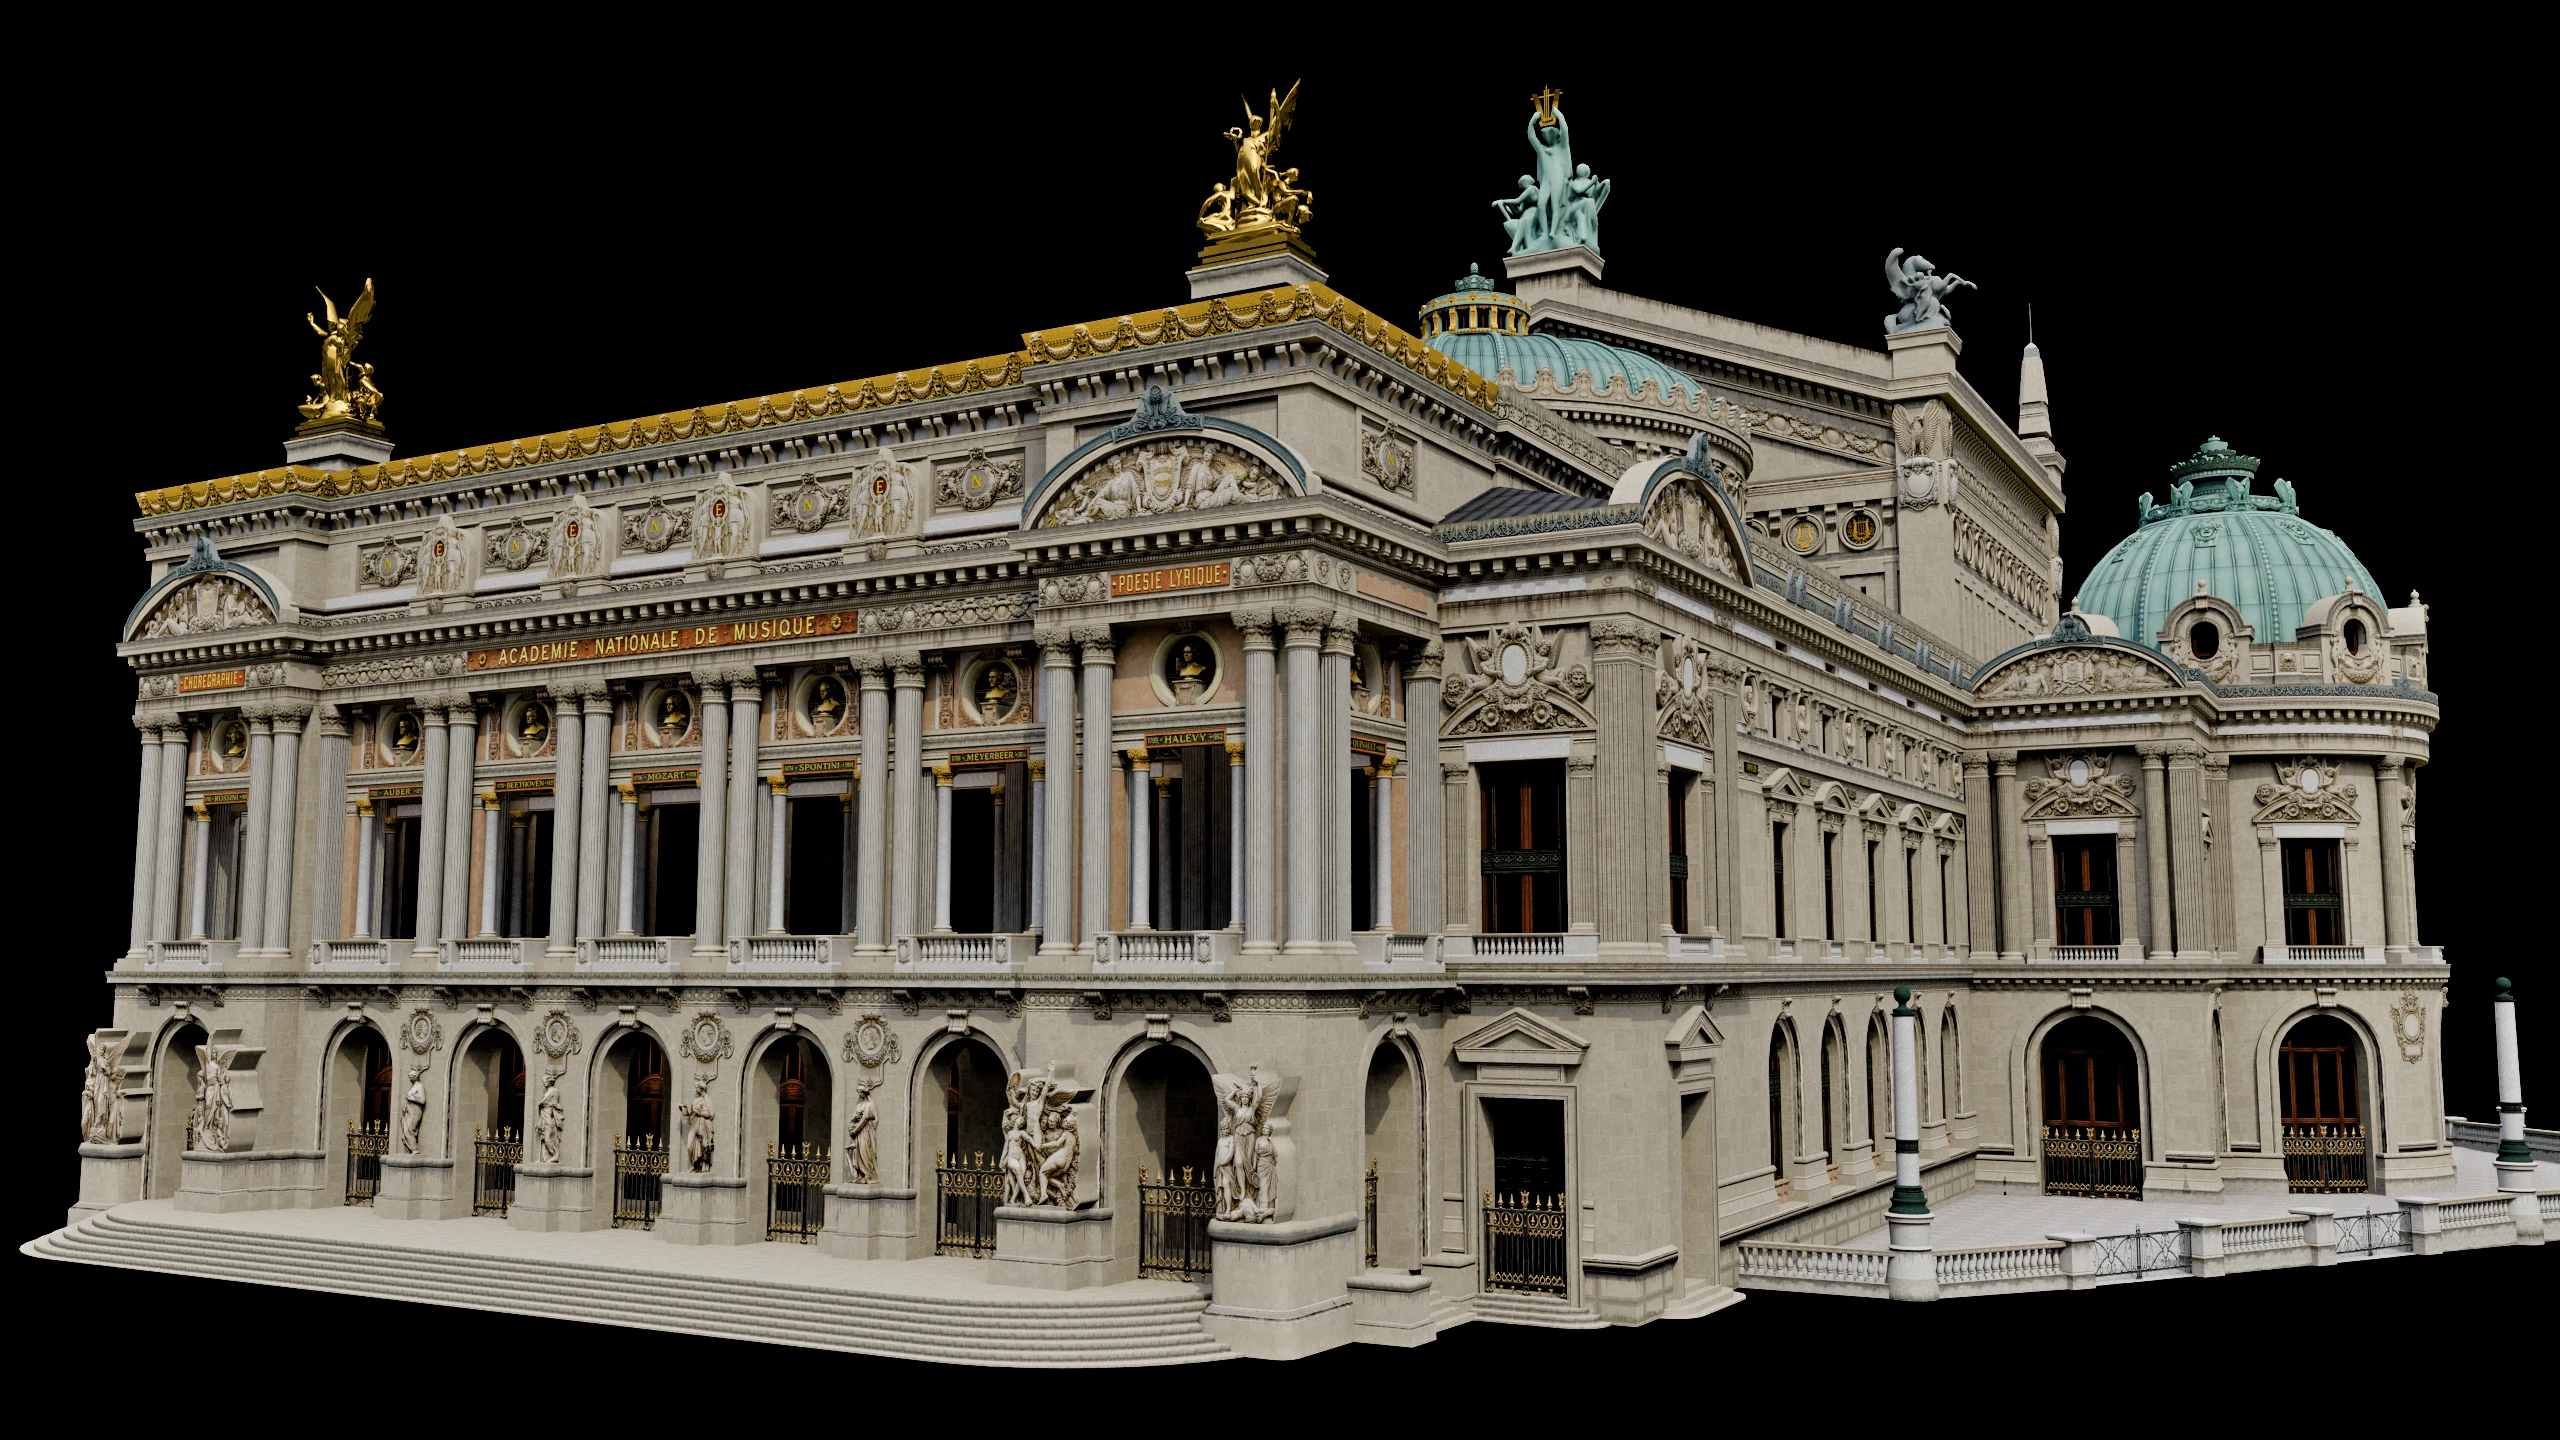
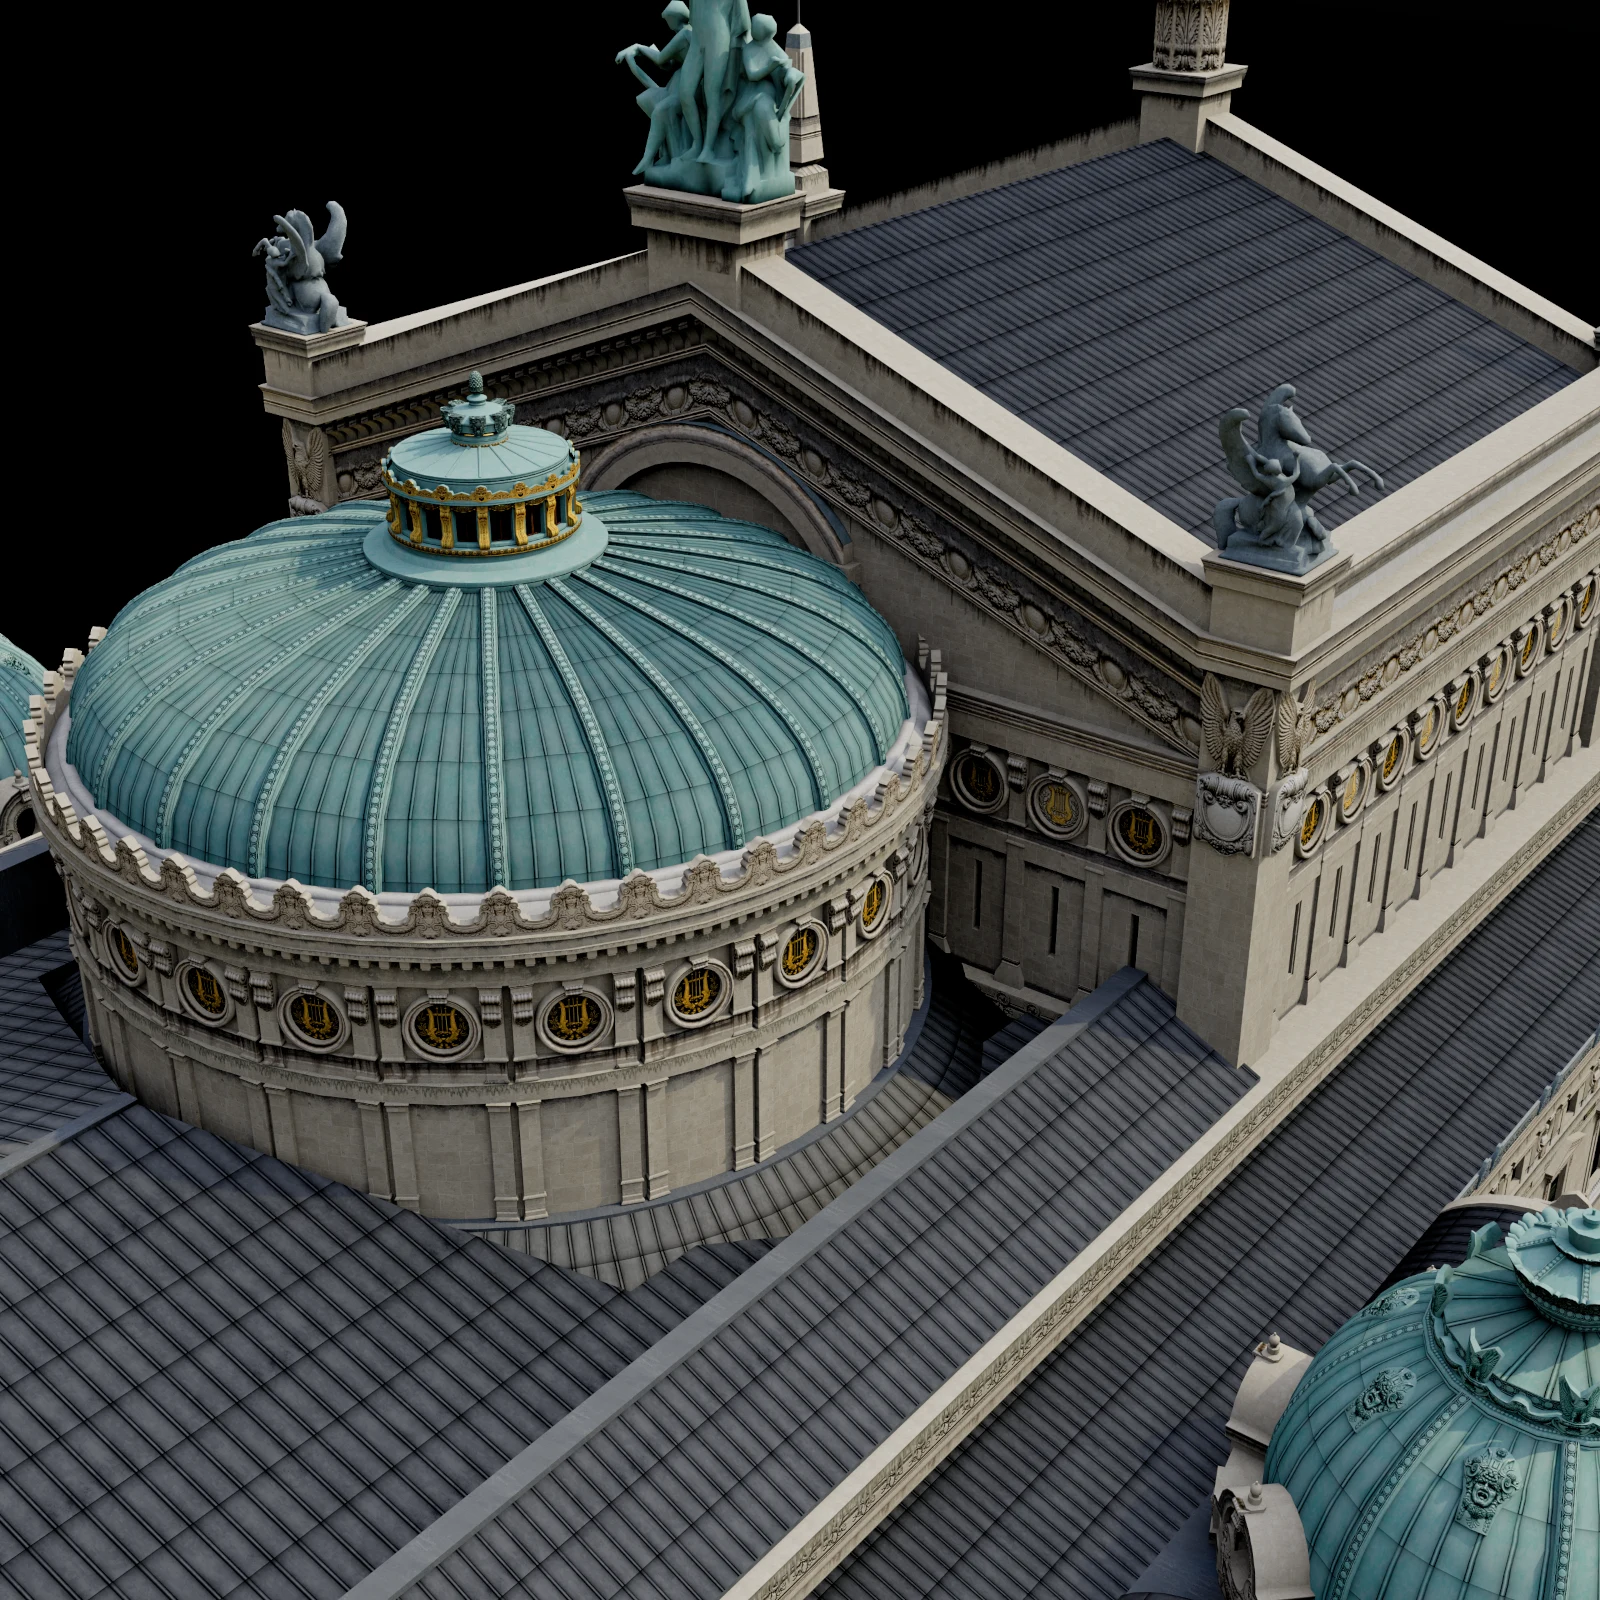
This project was part of a series focused on creating high-fidelity approximations of monumental Paris landmarks.
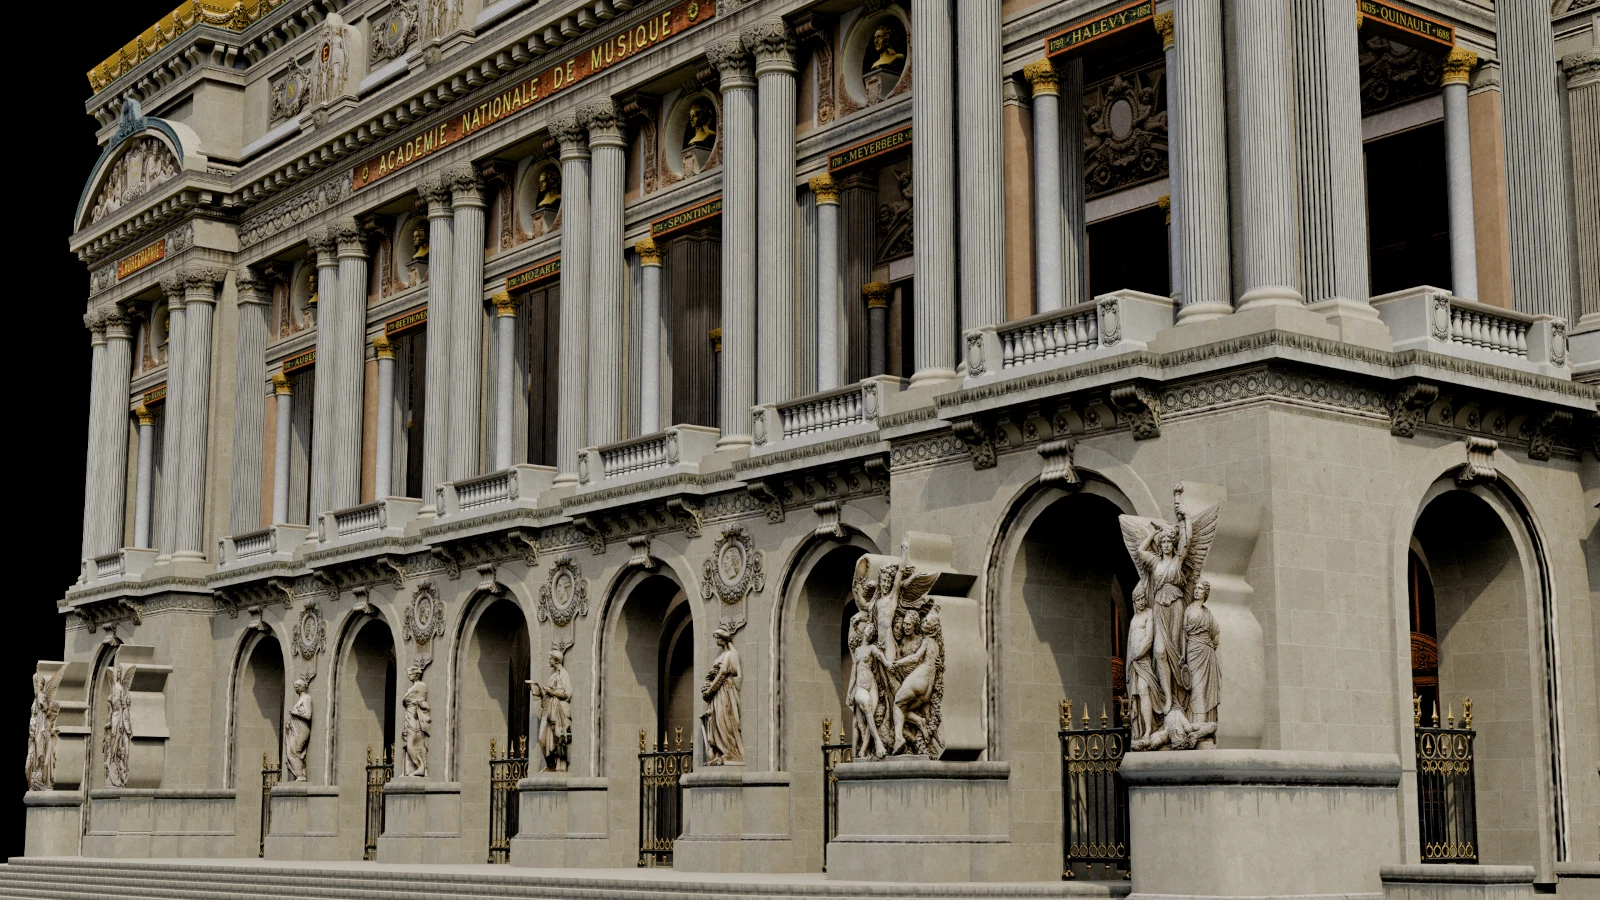
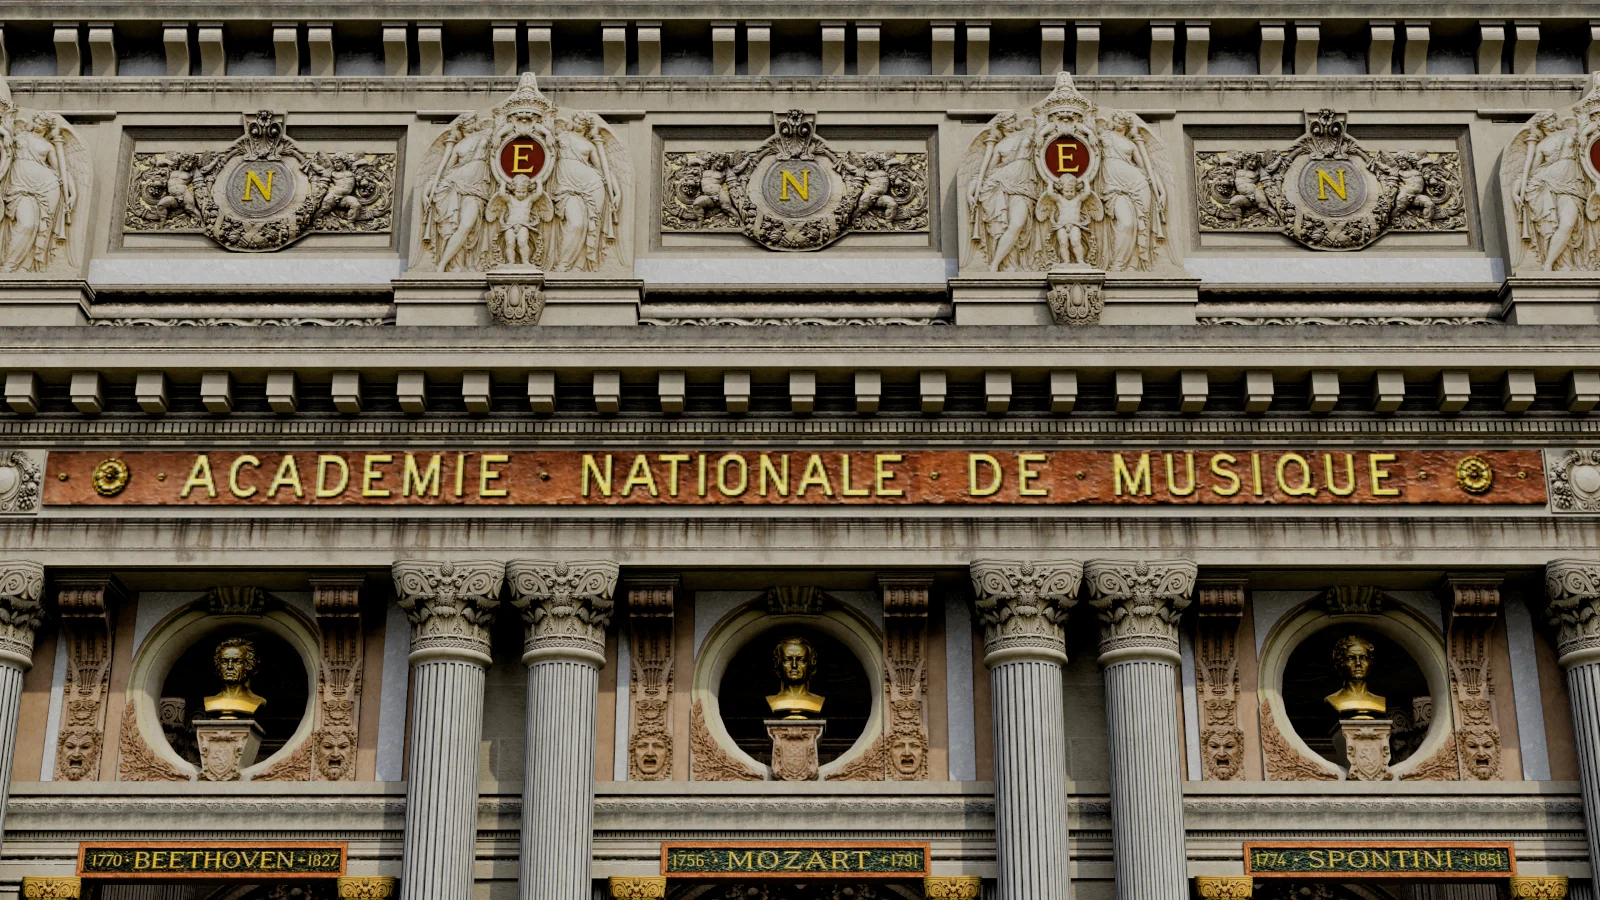
The Palais Garnier presented a particularly demanding 3D environmental modeling and texturing challenge because of its scale, architectural density, ornamental detail, and large number of facade sculptures.
The goal was to create a recognizable, game-ready approximation rather than an exact replica, while meeting the technical requirements for integration into GTA V.
Front 1
Front 2
Top 1
Top 2
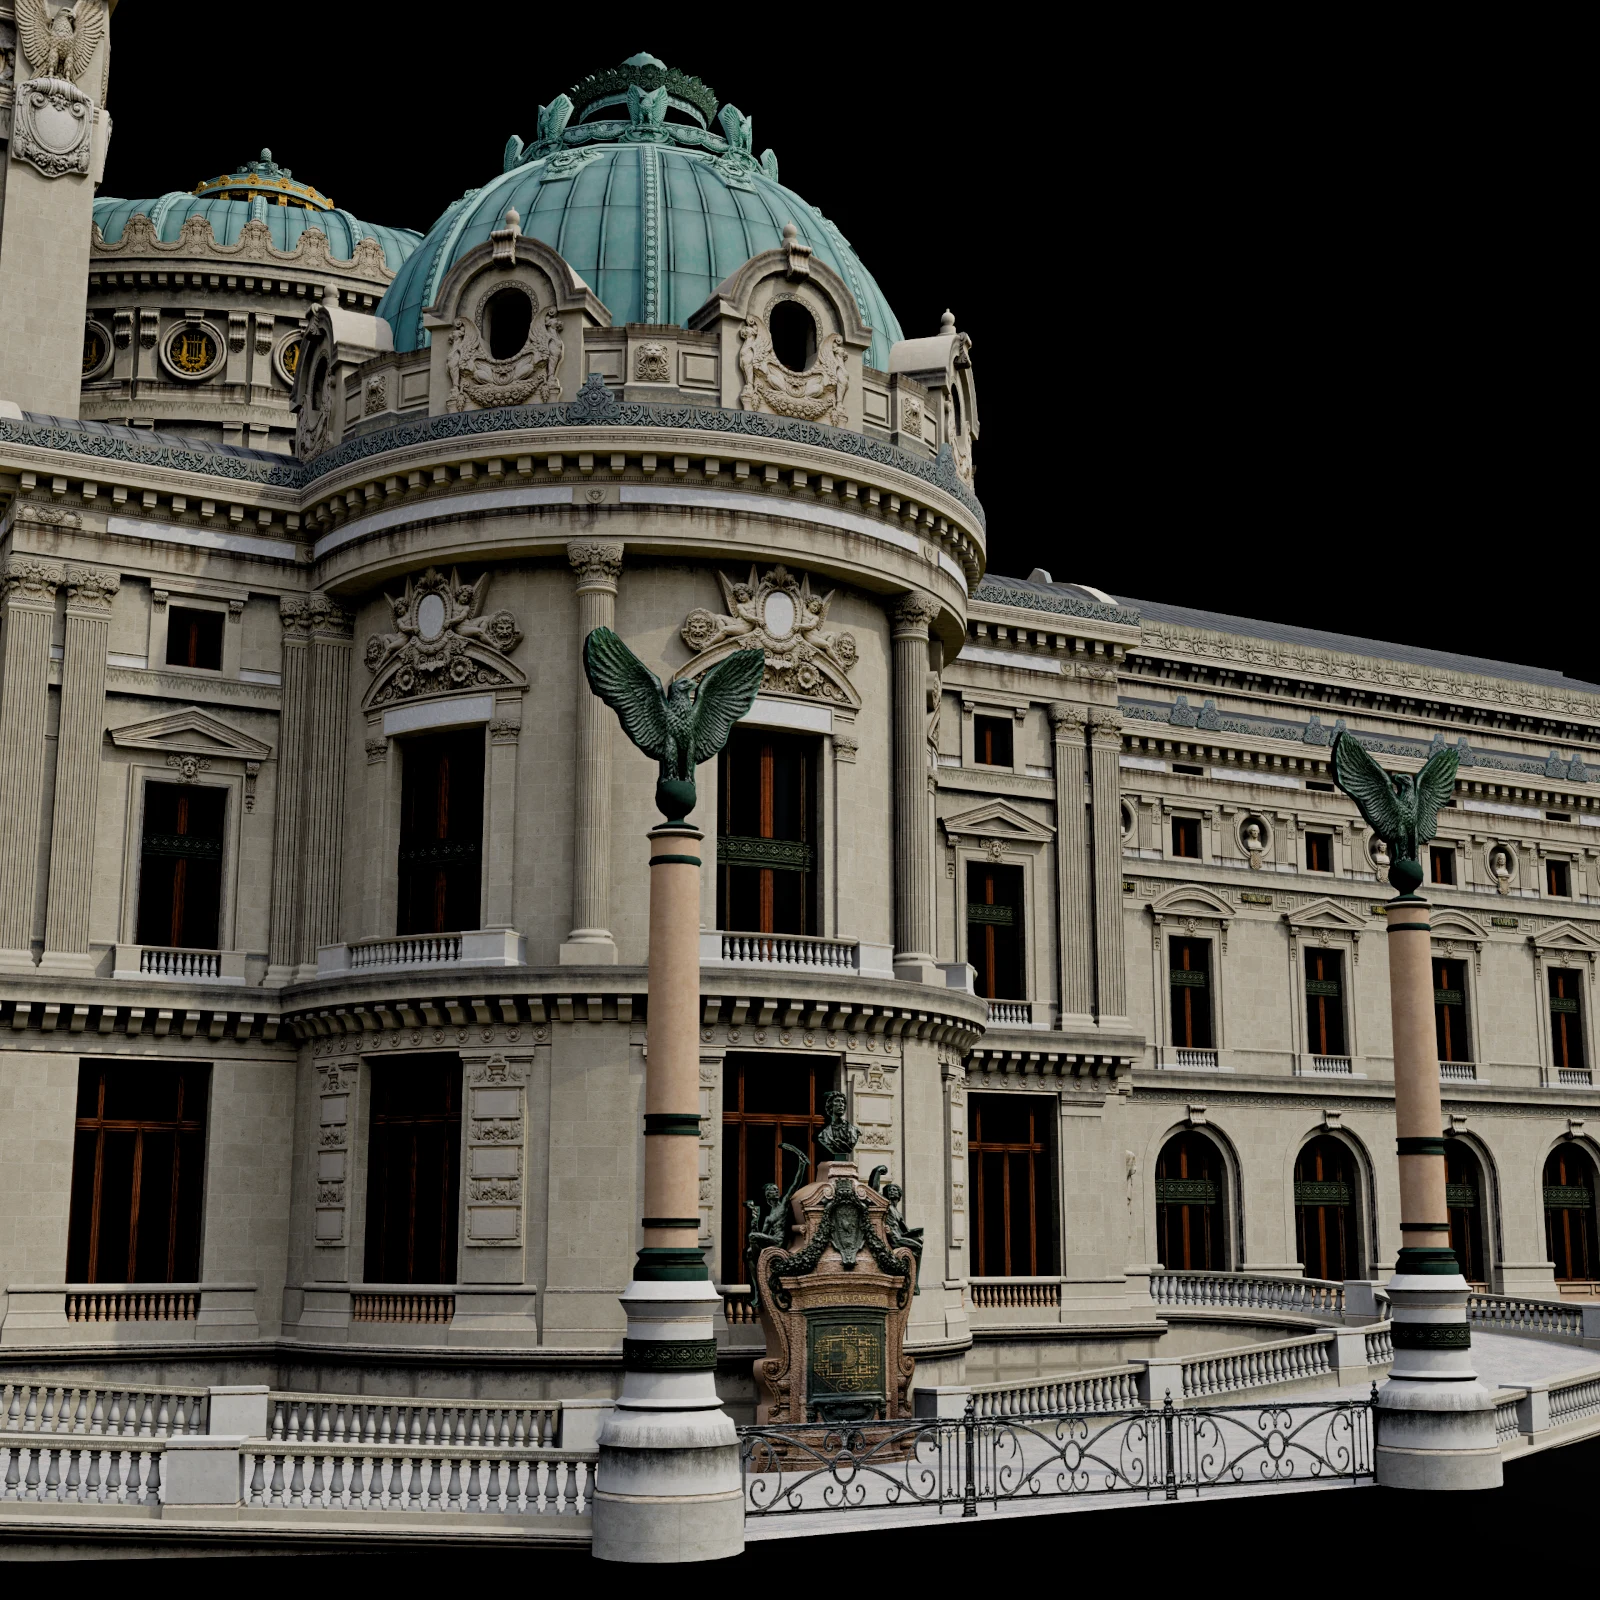
Side 1
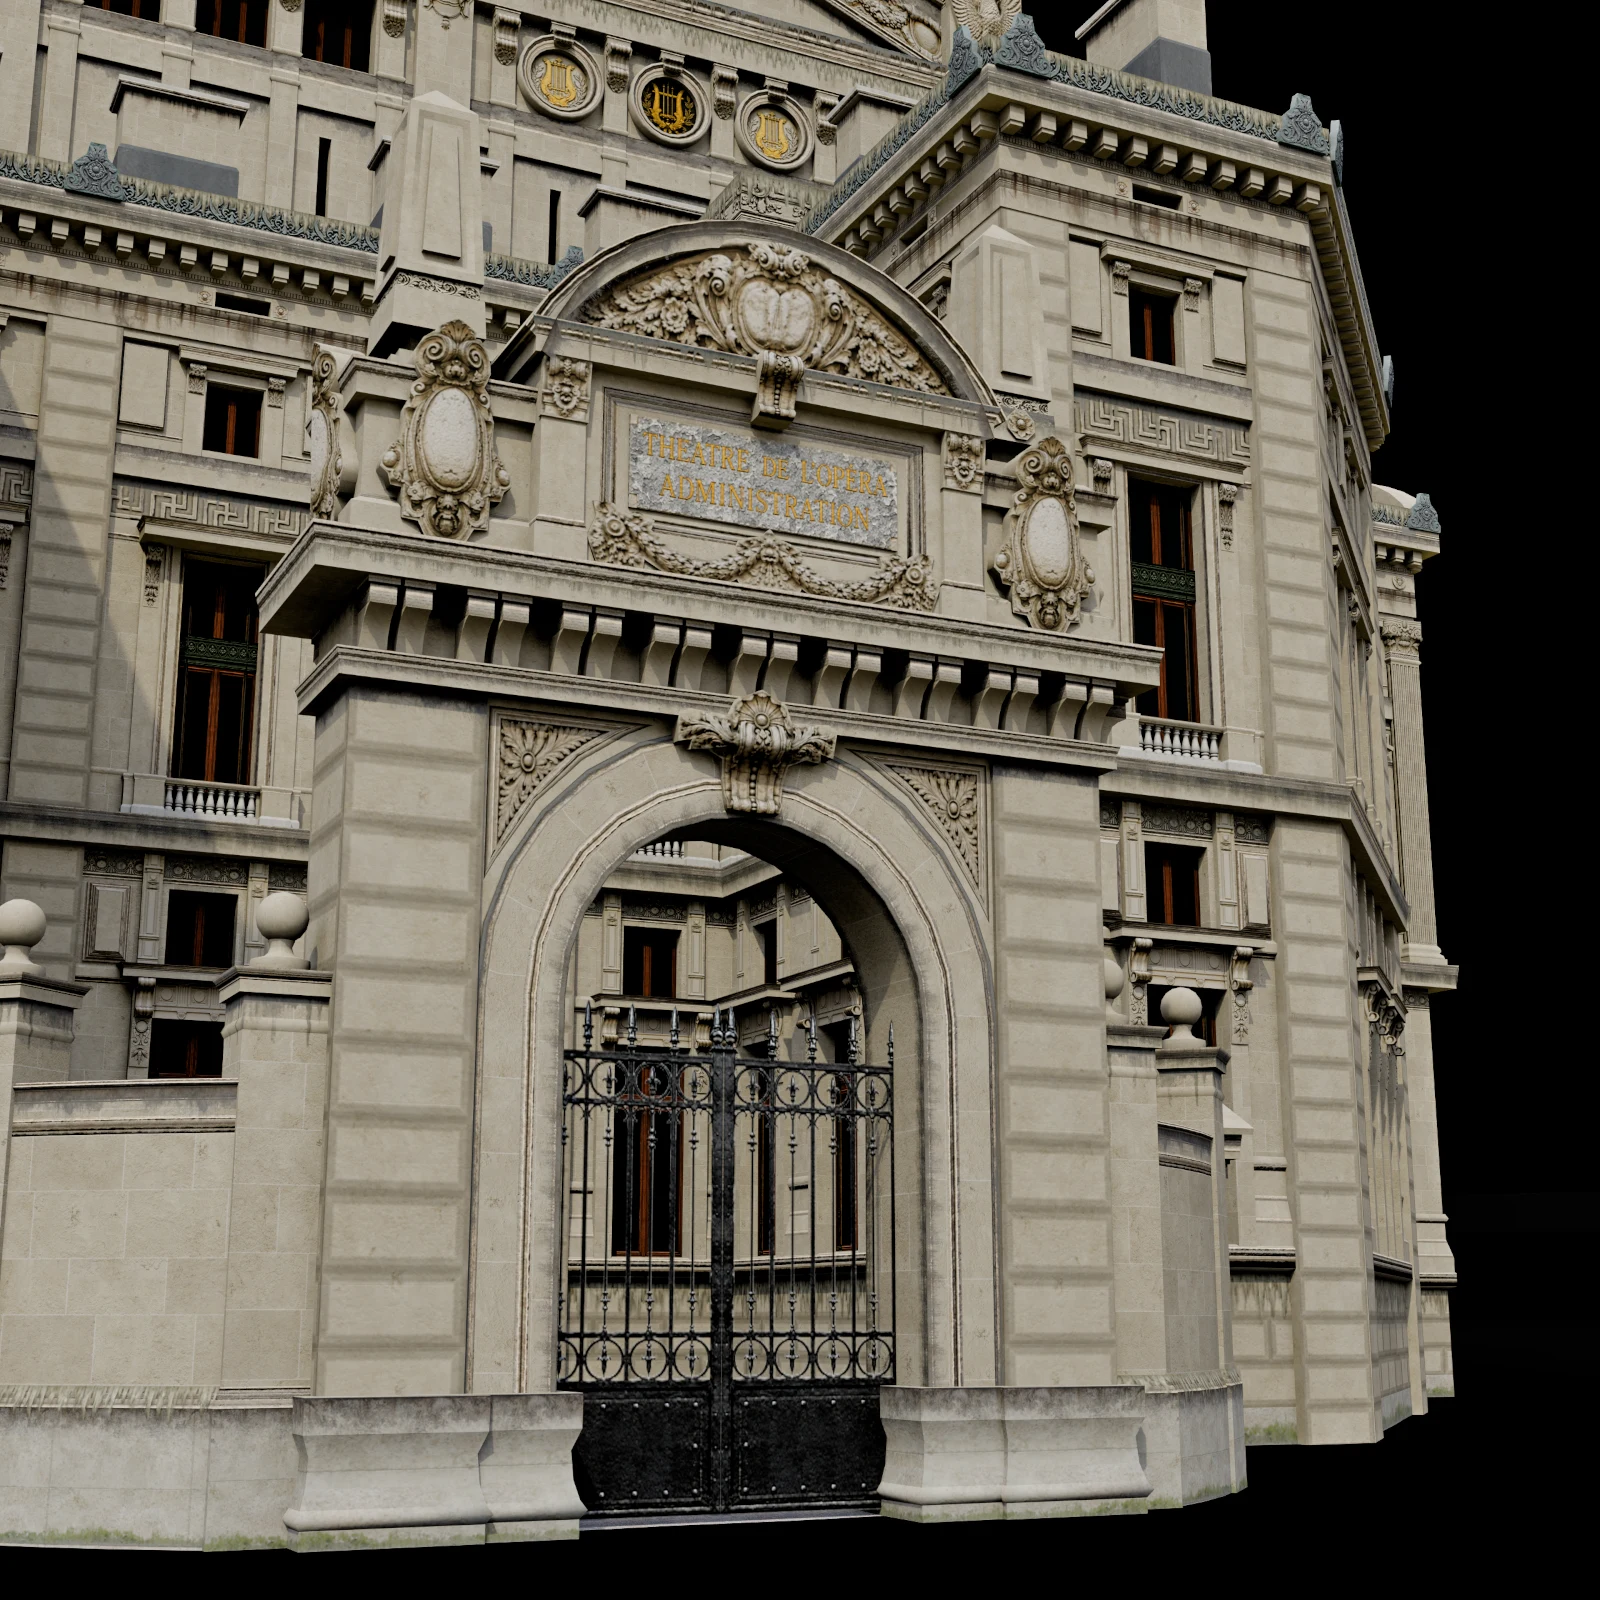
Back 1
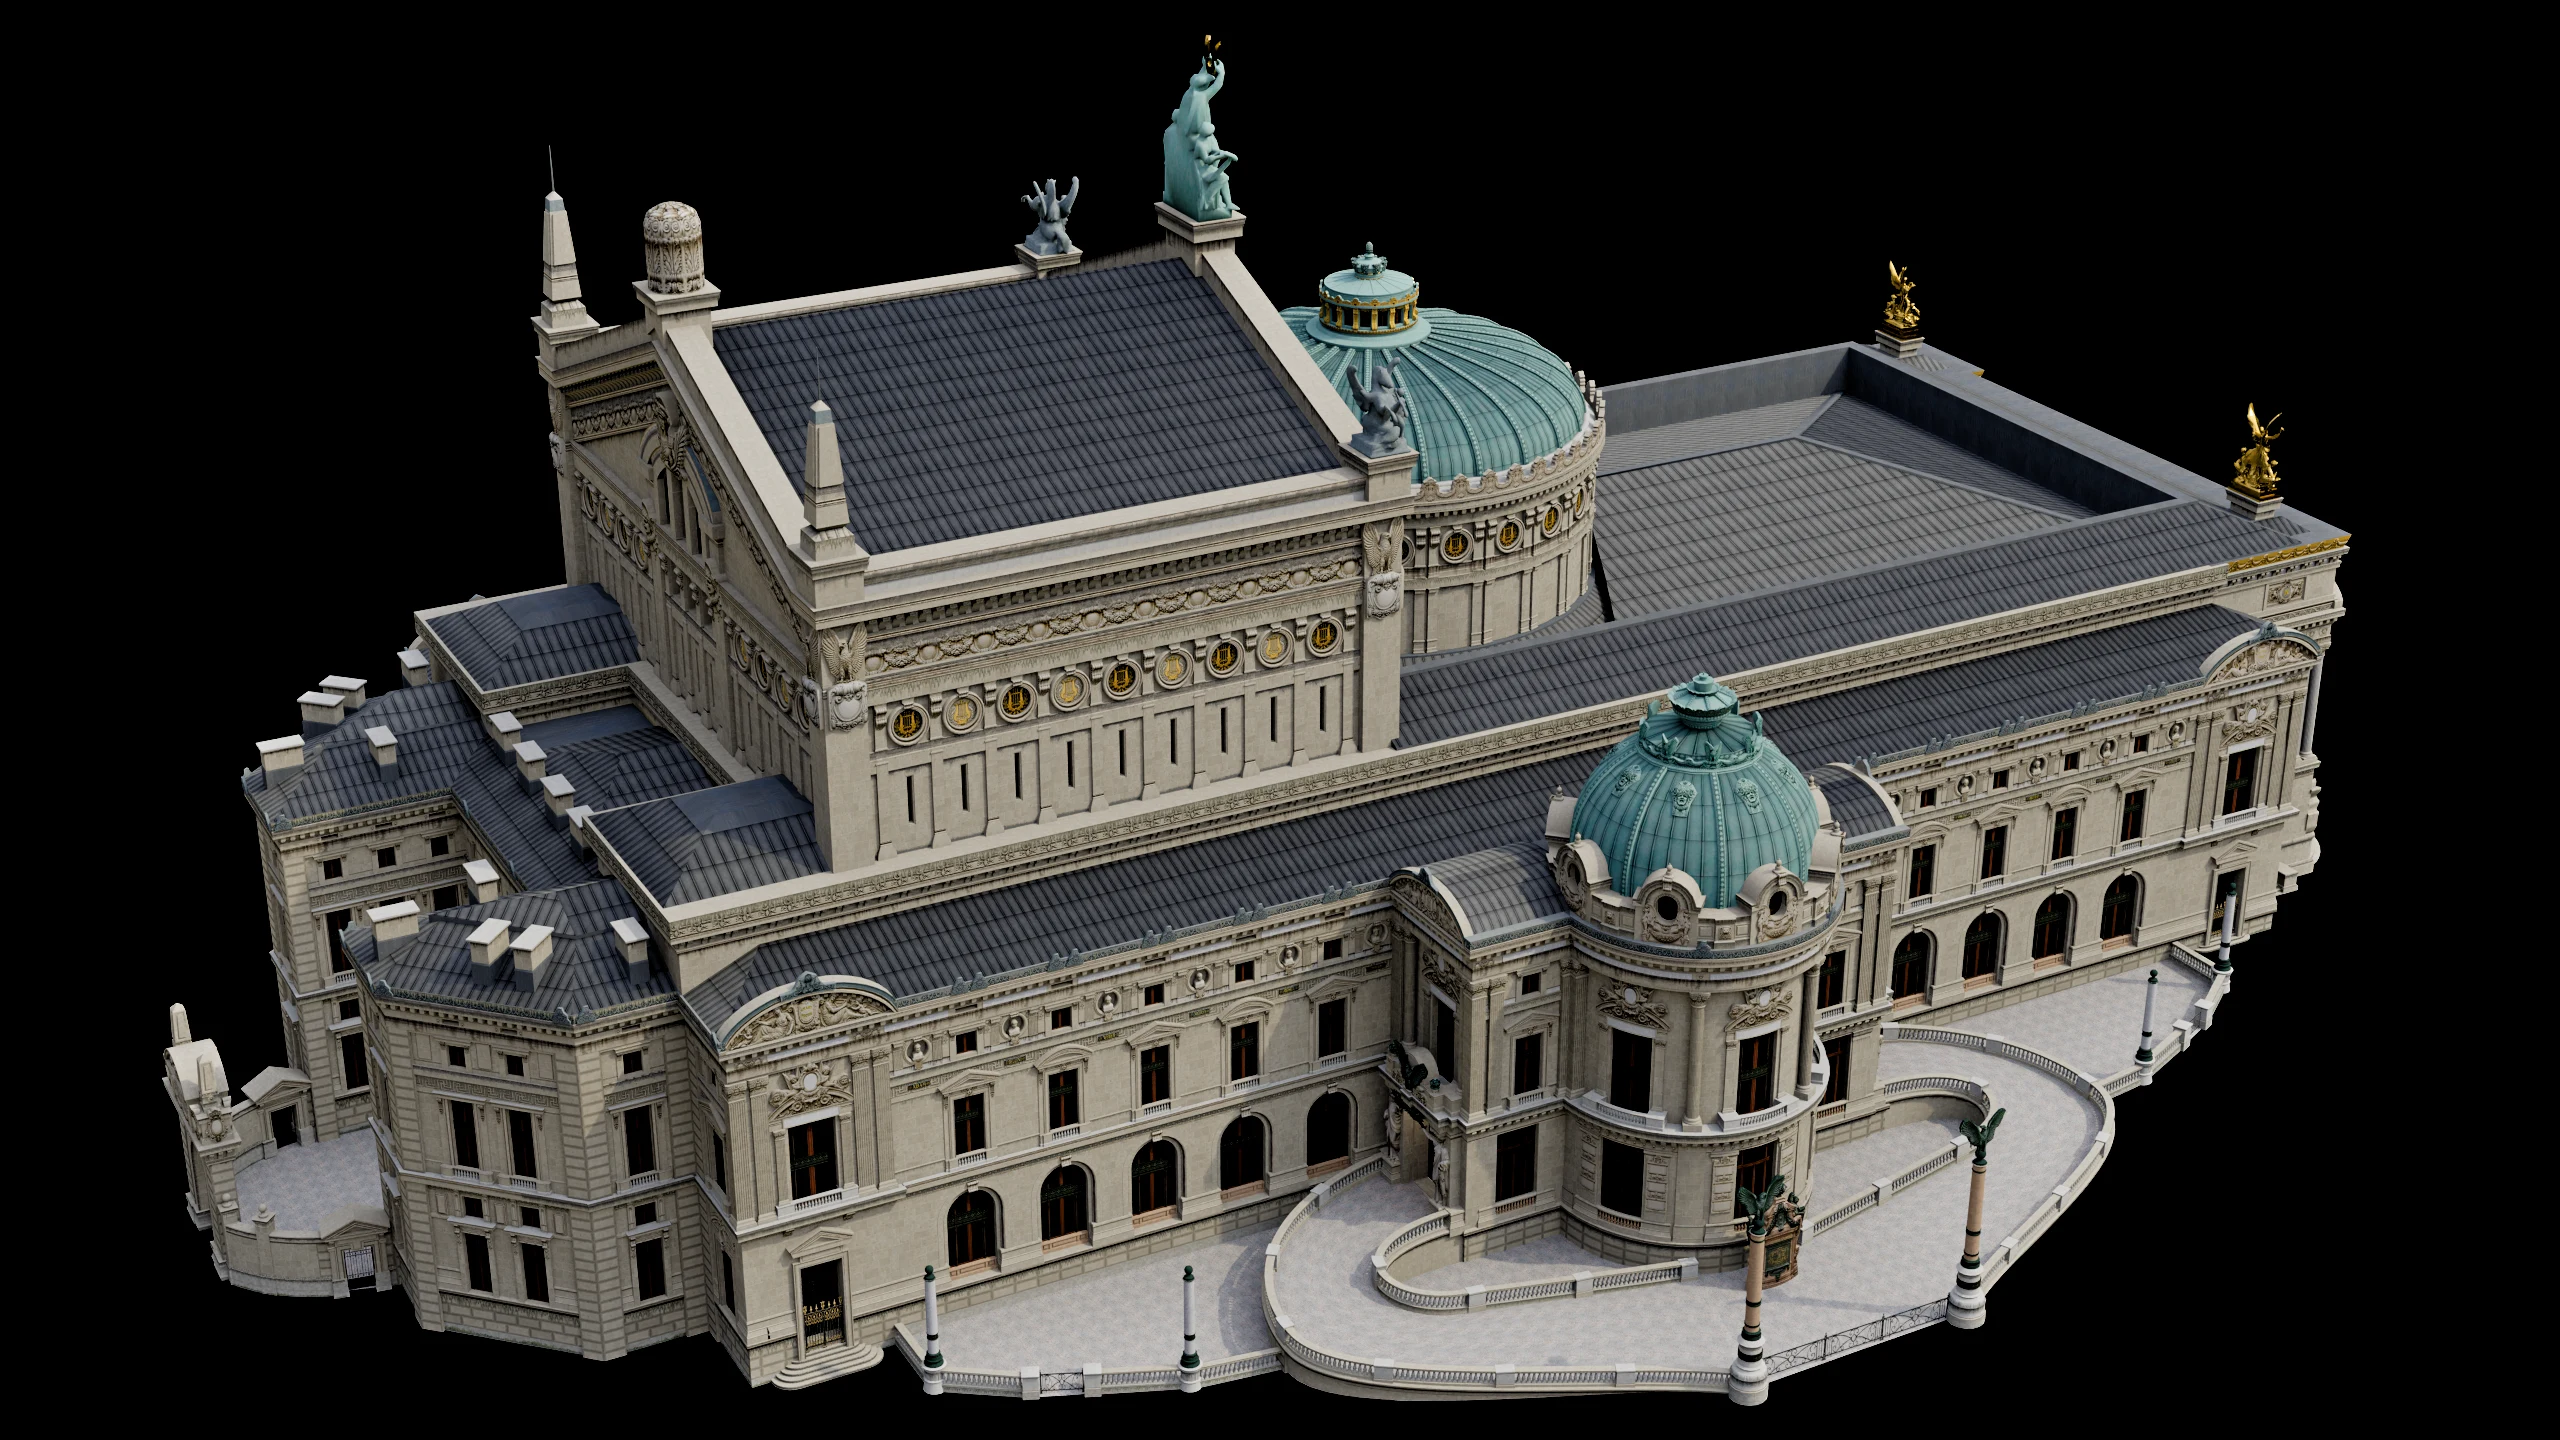
Side 2
Optimization and Requirements
Technical Requirements
LOD0: approximately 900k triangles
LOD1: approximately 25k triangles
Separate decal model covering the LOD0
Geometry fitted to the supplied ground and road layout
Diffuse map
DirectX Normal map
Specular map
Maximum texture resolution of 1K
Reasonable material count relative to asset complexity
Modeling and Optimization
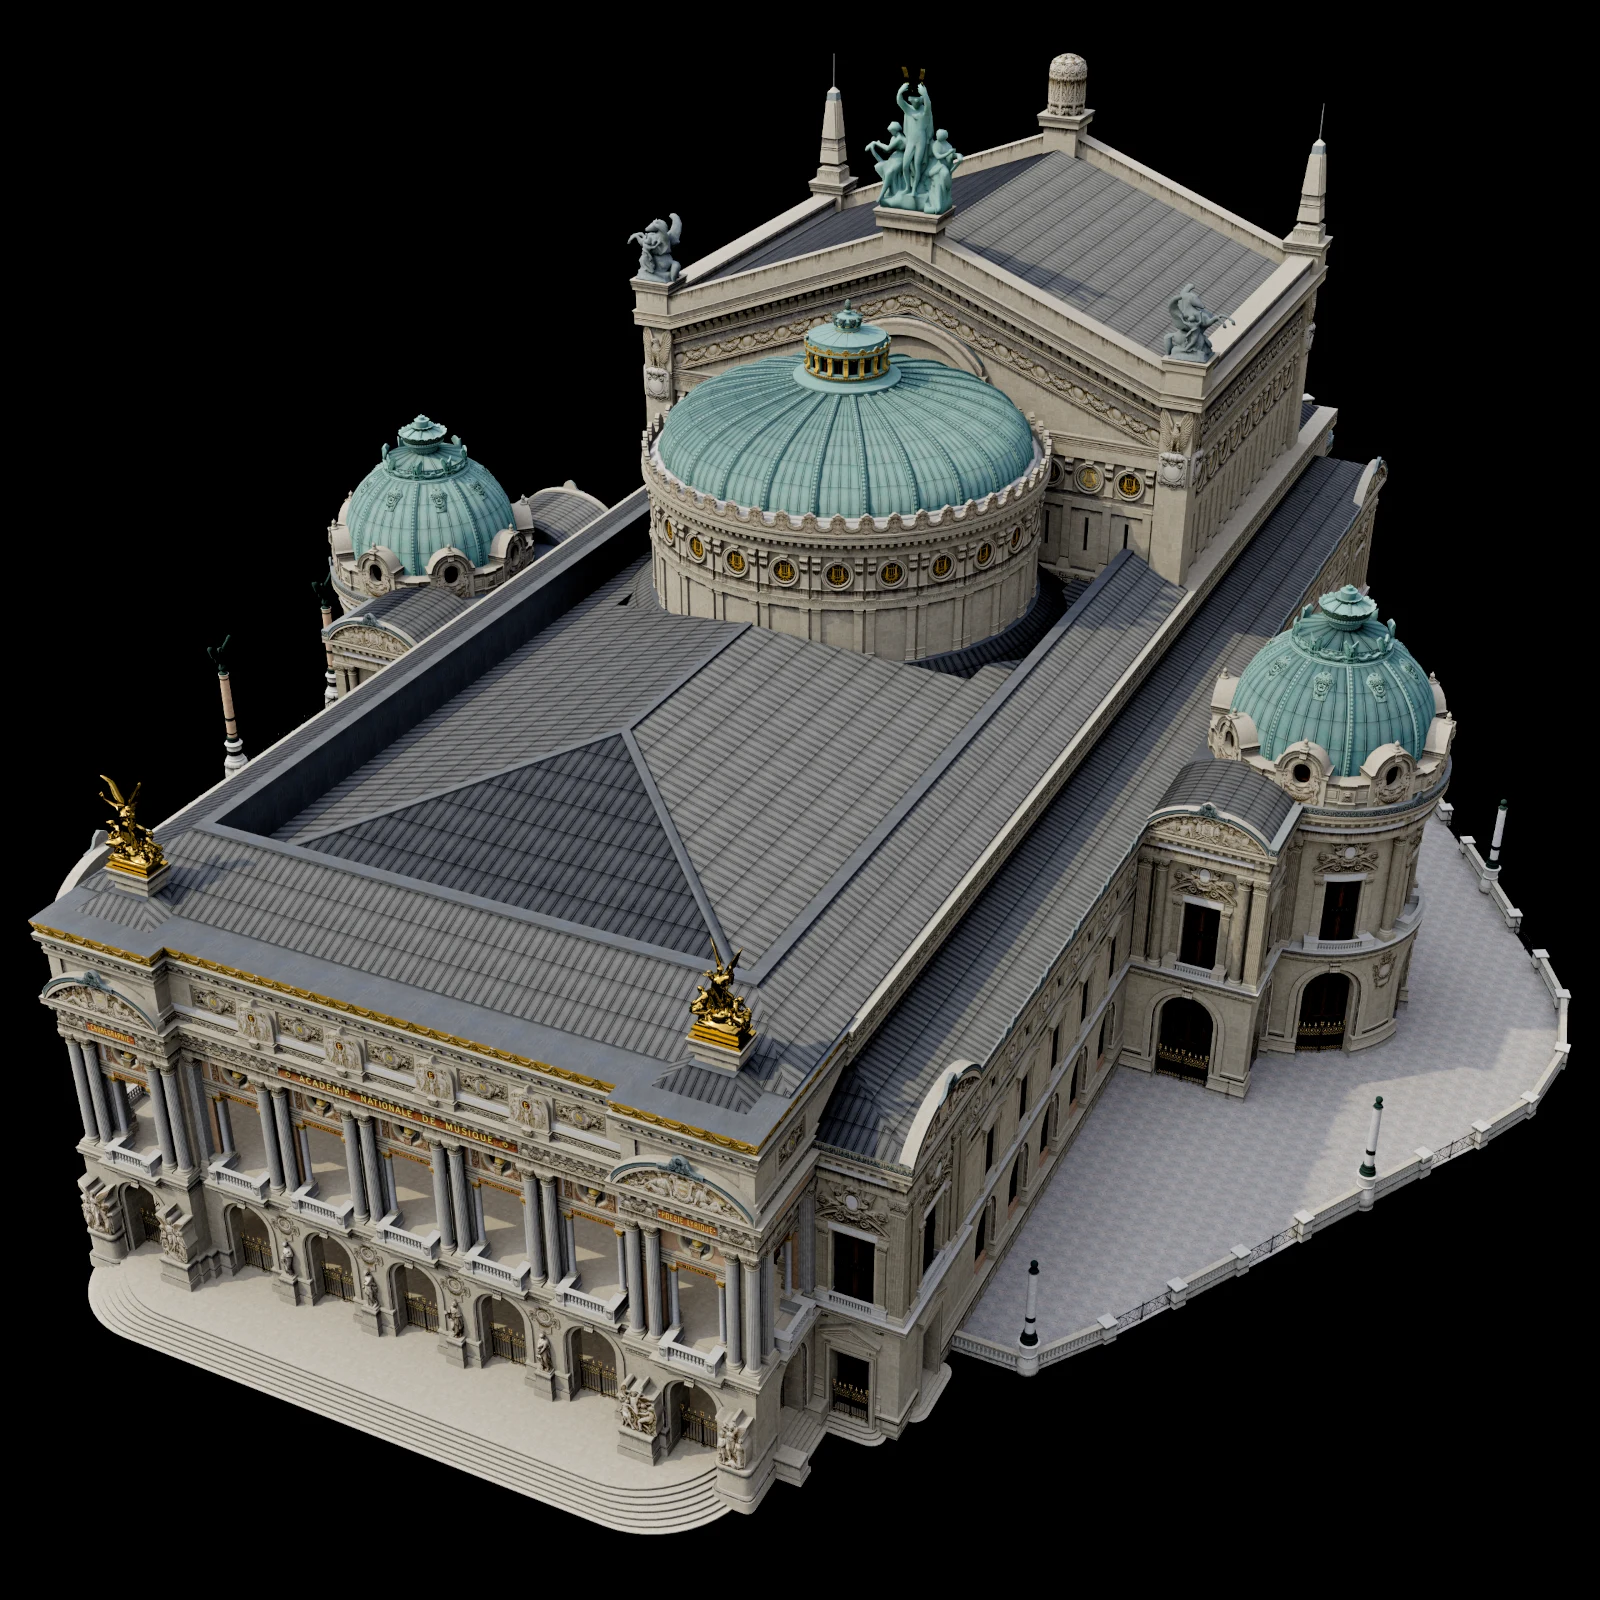
The building was created as a large environment asset with dedicated LODs and a separate decal mesh. The high-detail LOD0 preserved the architectural character of the Palais Garnier, while the significantly reduced LOD1 maintains the overall silhouette and readability at distance.
With 900k triangles at LOD0, the reduction to approximately 25k triangles for LOD1 is a significant optimization step.
Tools
Blender
Substance 3D Designer
Photoshop
ChatGPT
ComfyUI
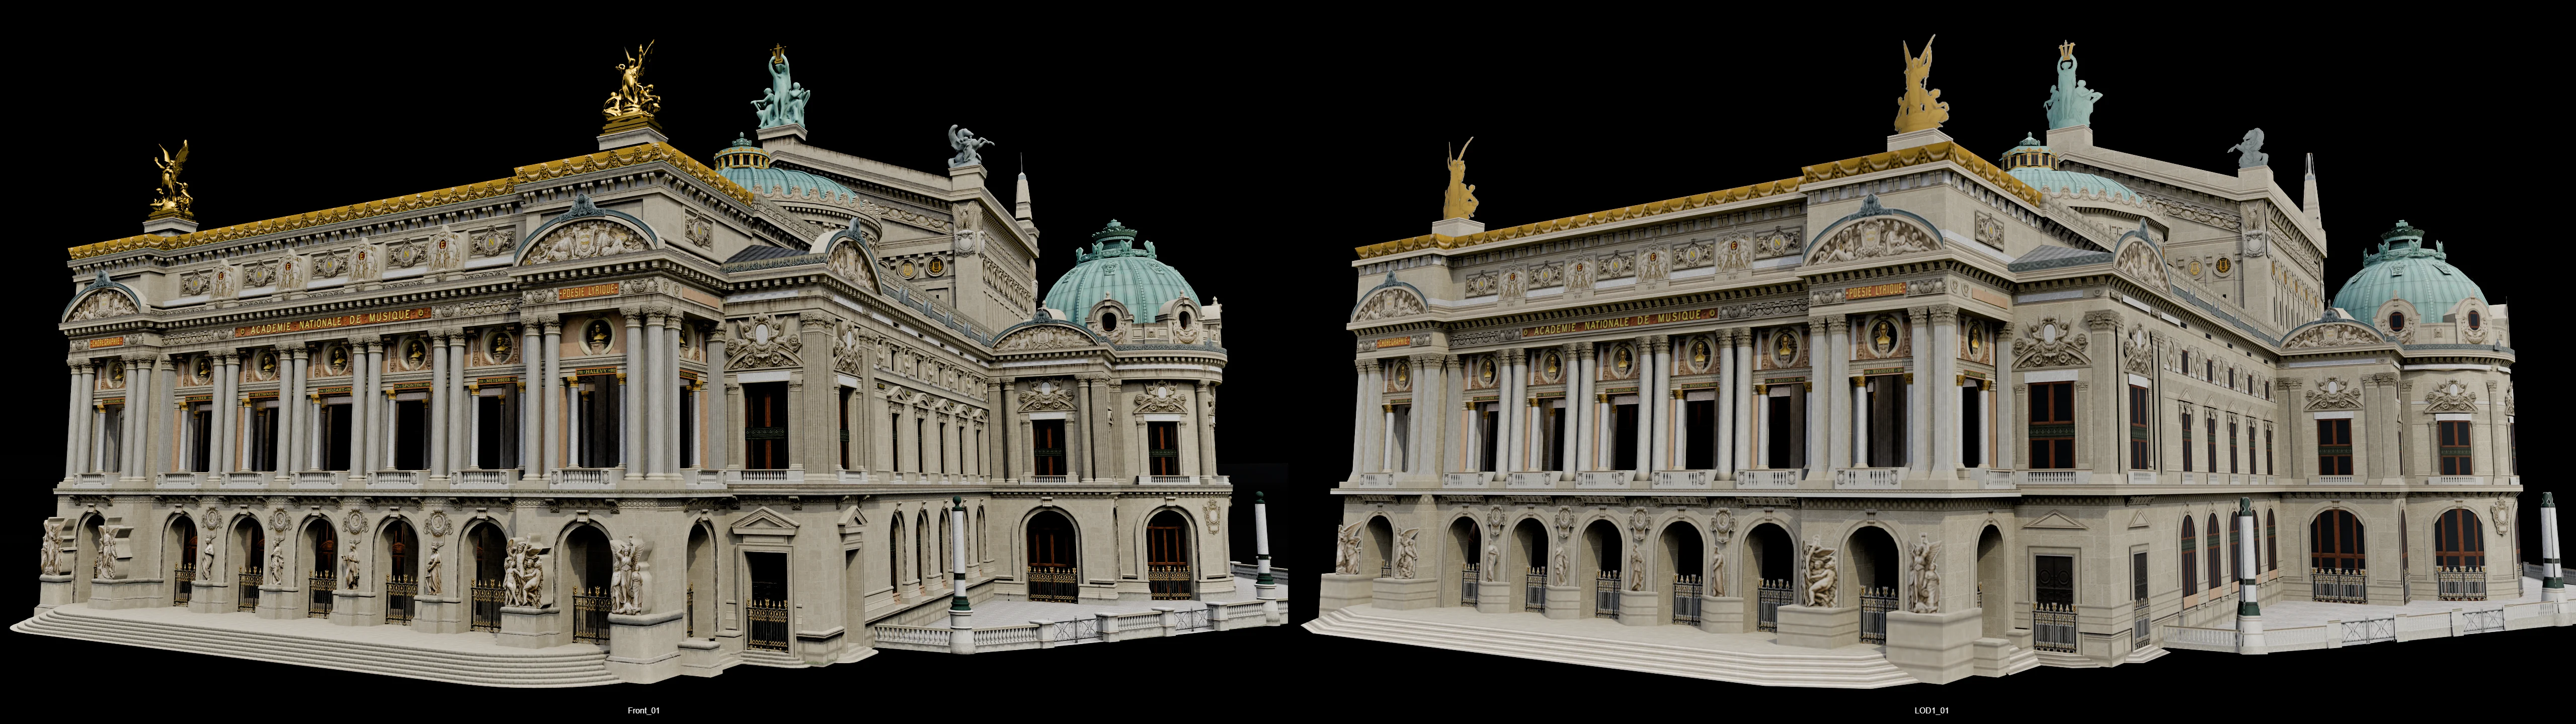
Front LOD0 vs LOD1
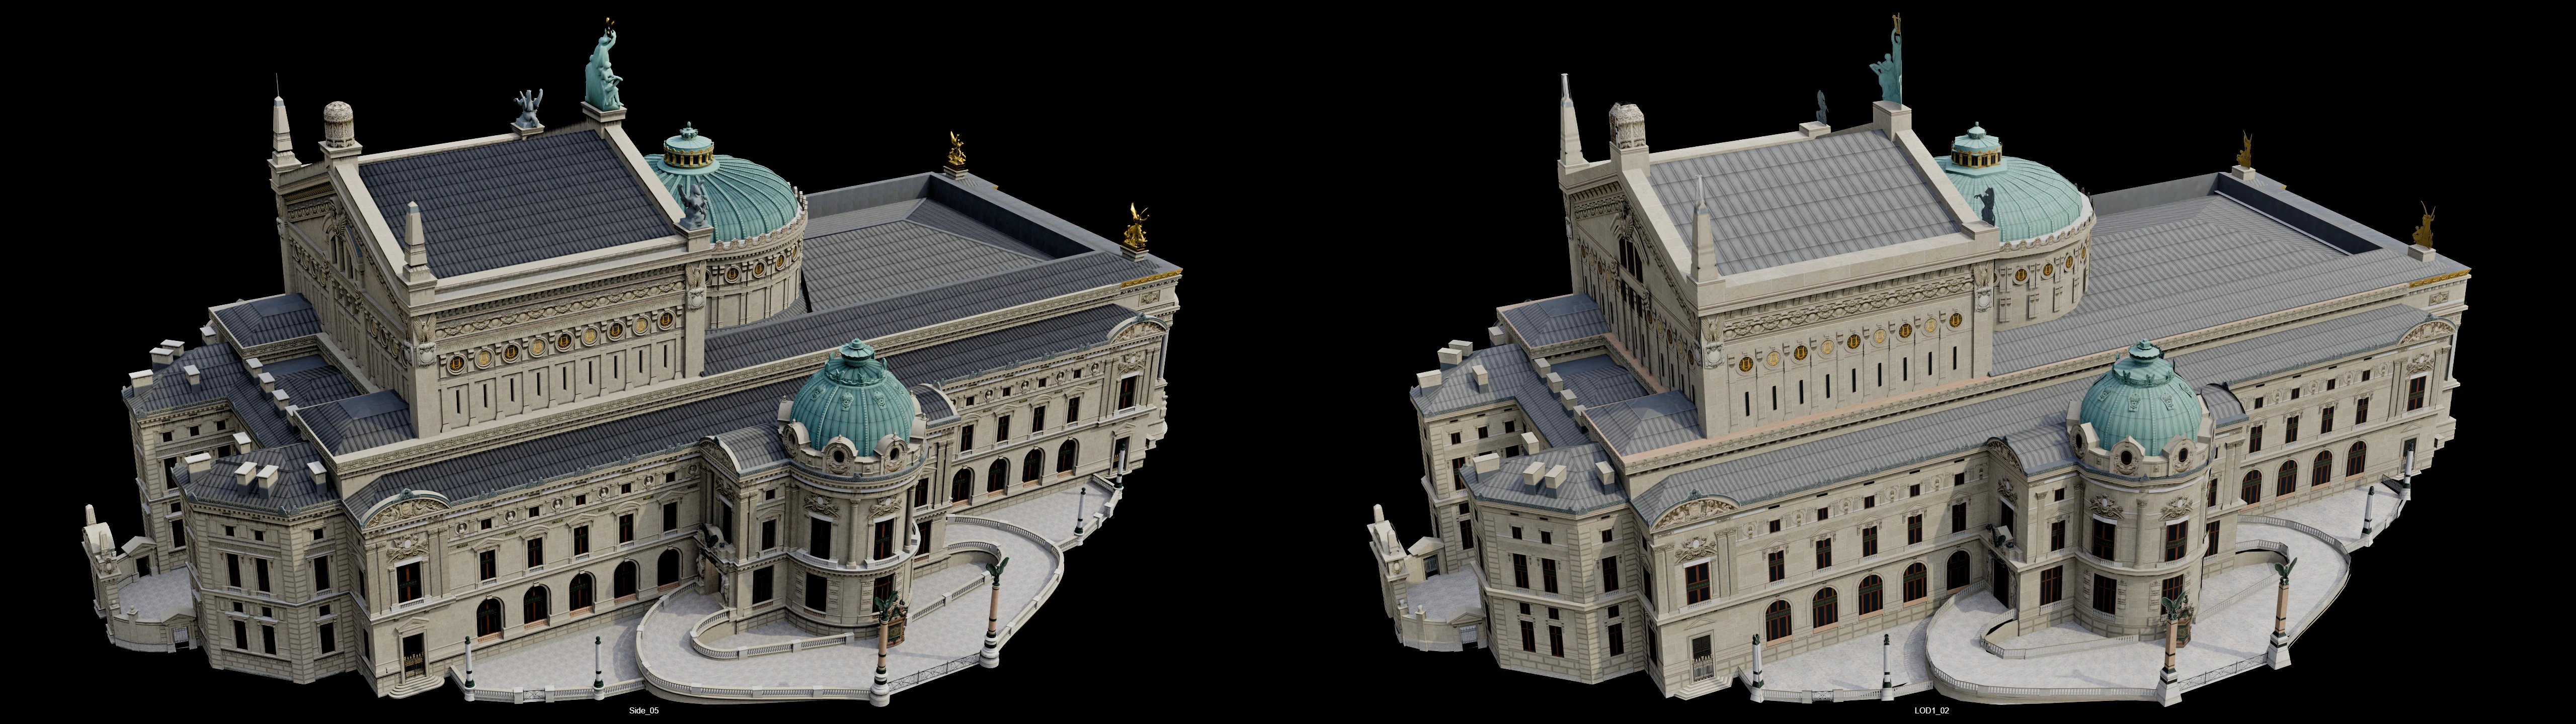
Side LOD0 vs LOD1
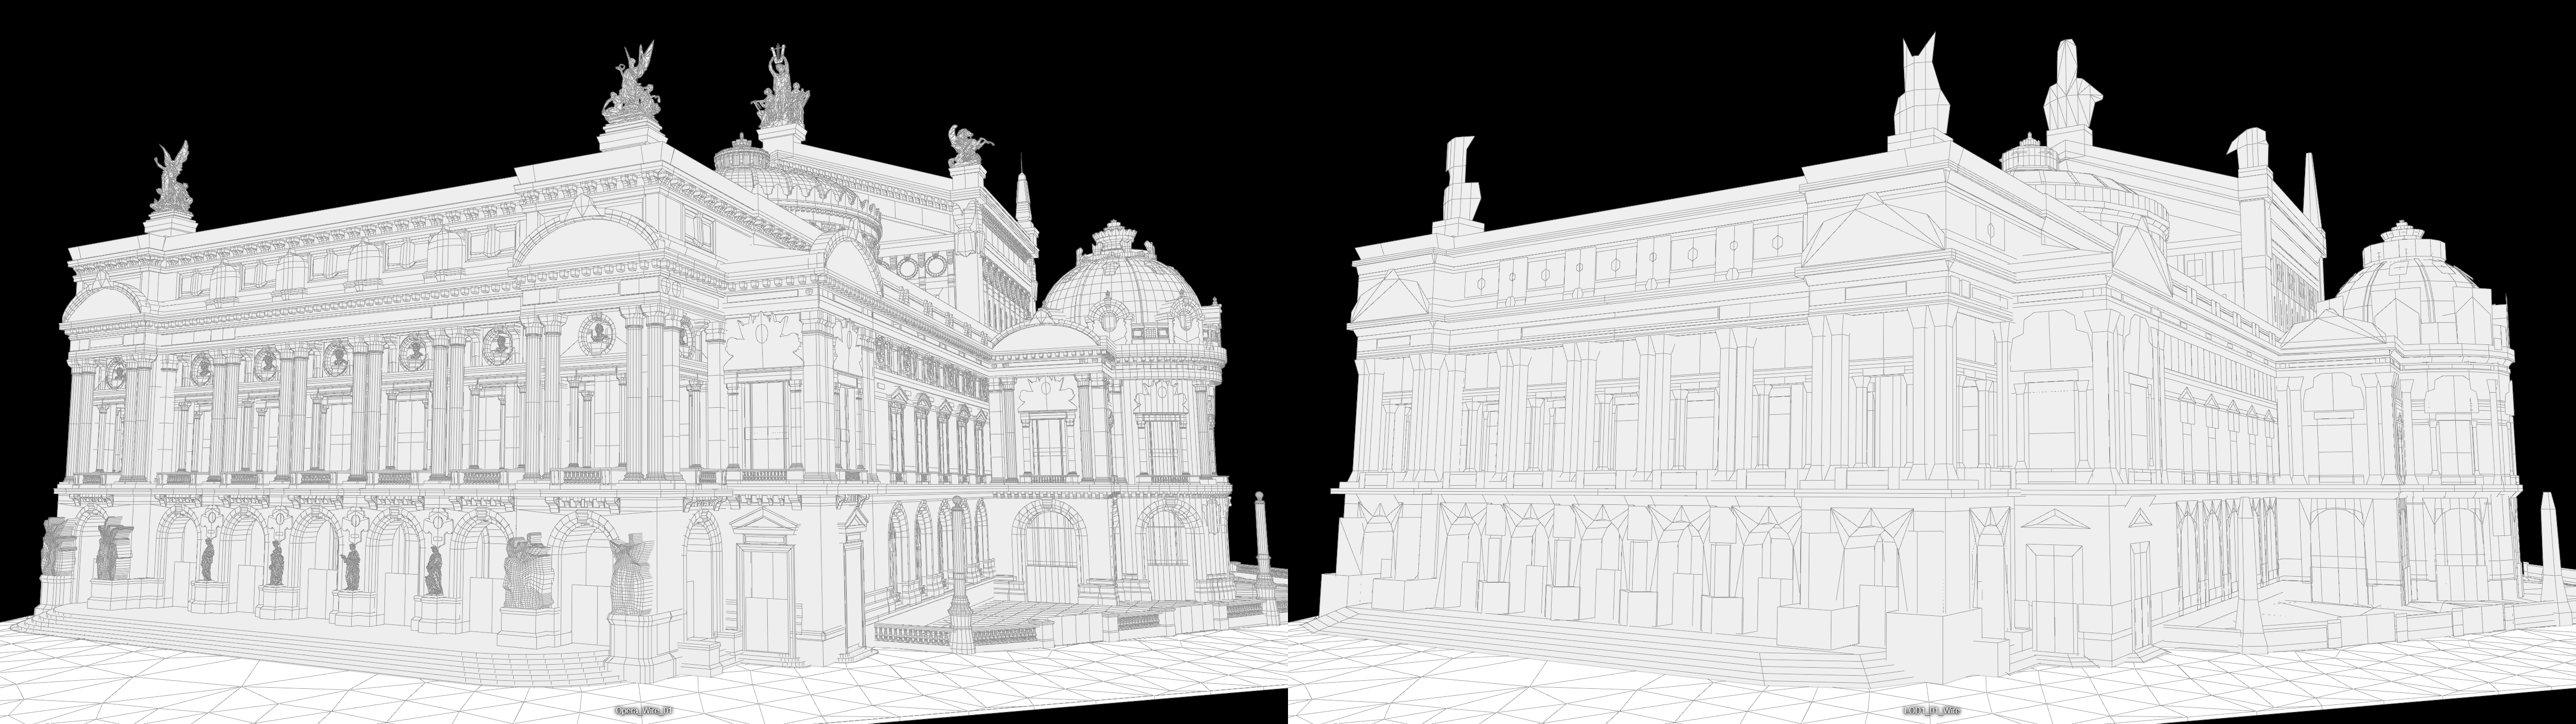
WIre LOD0 vs LOD1
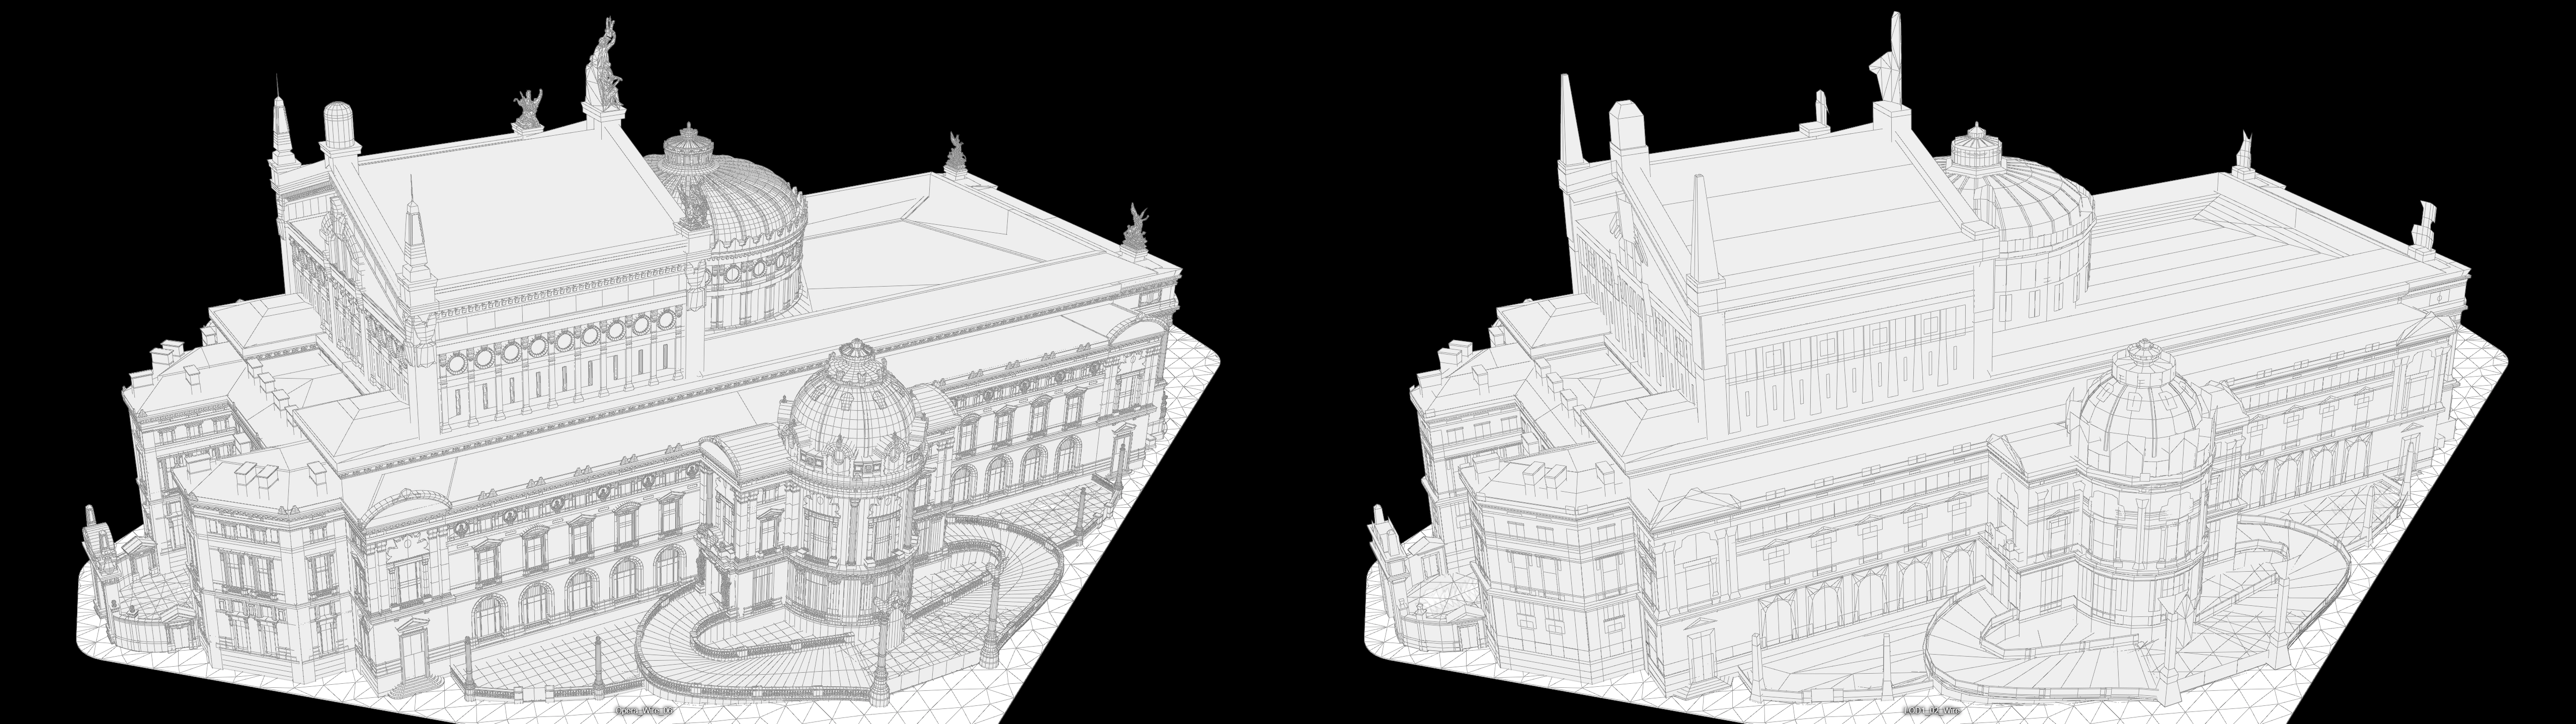
Side LOD0 vs LOD1
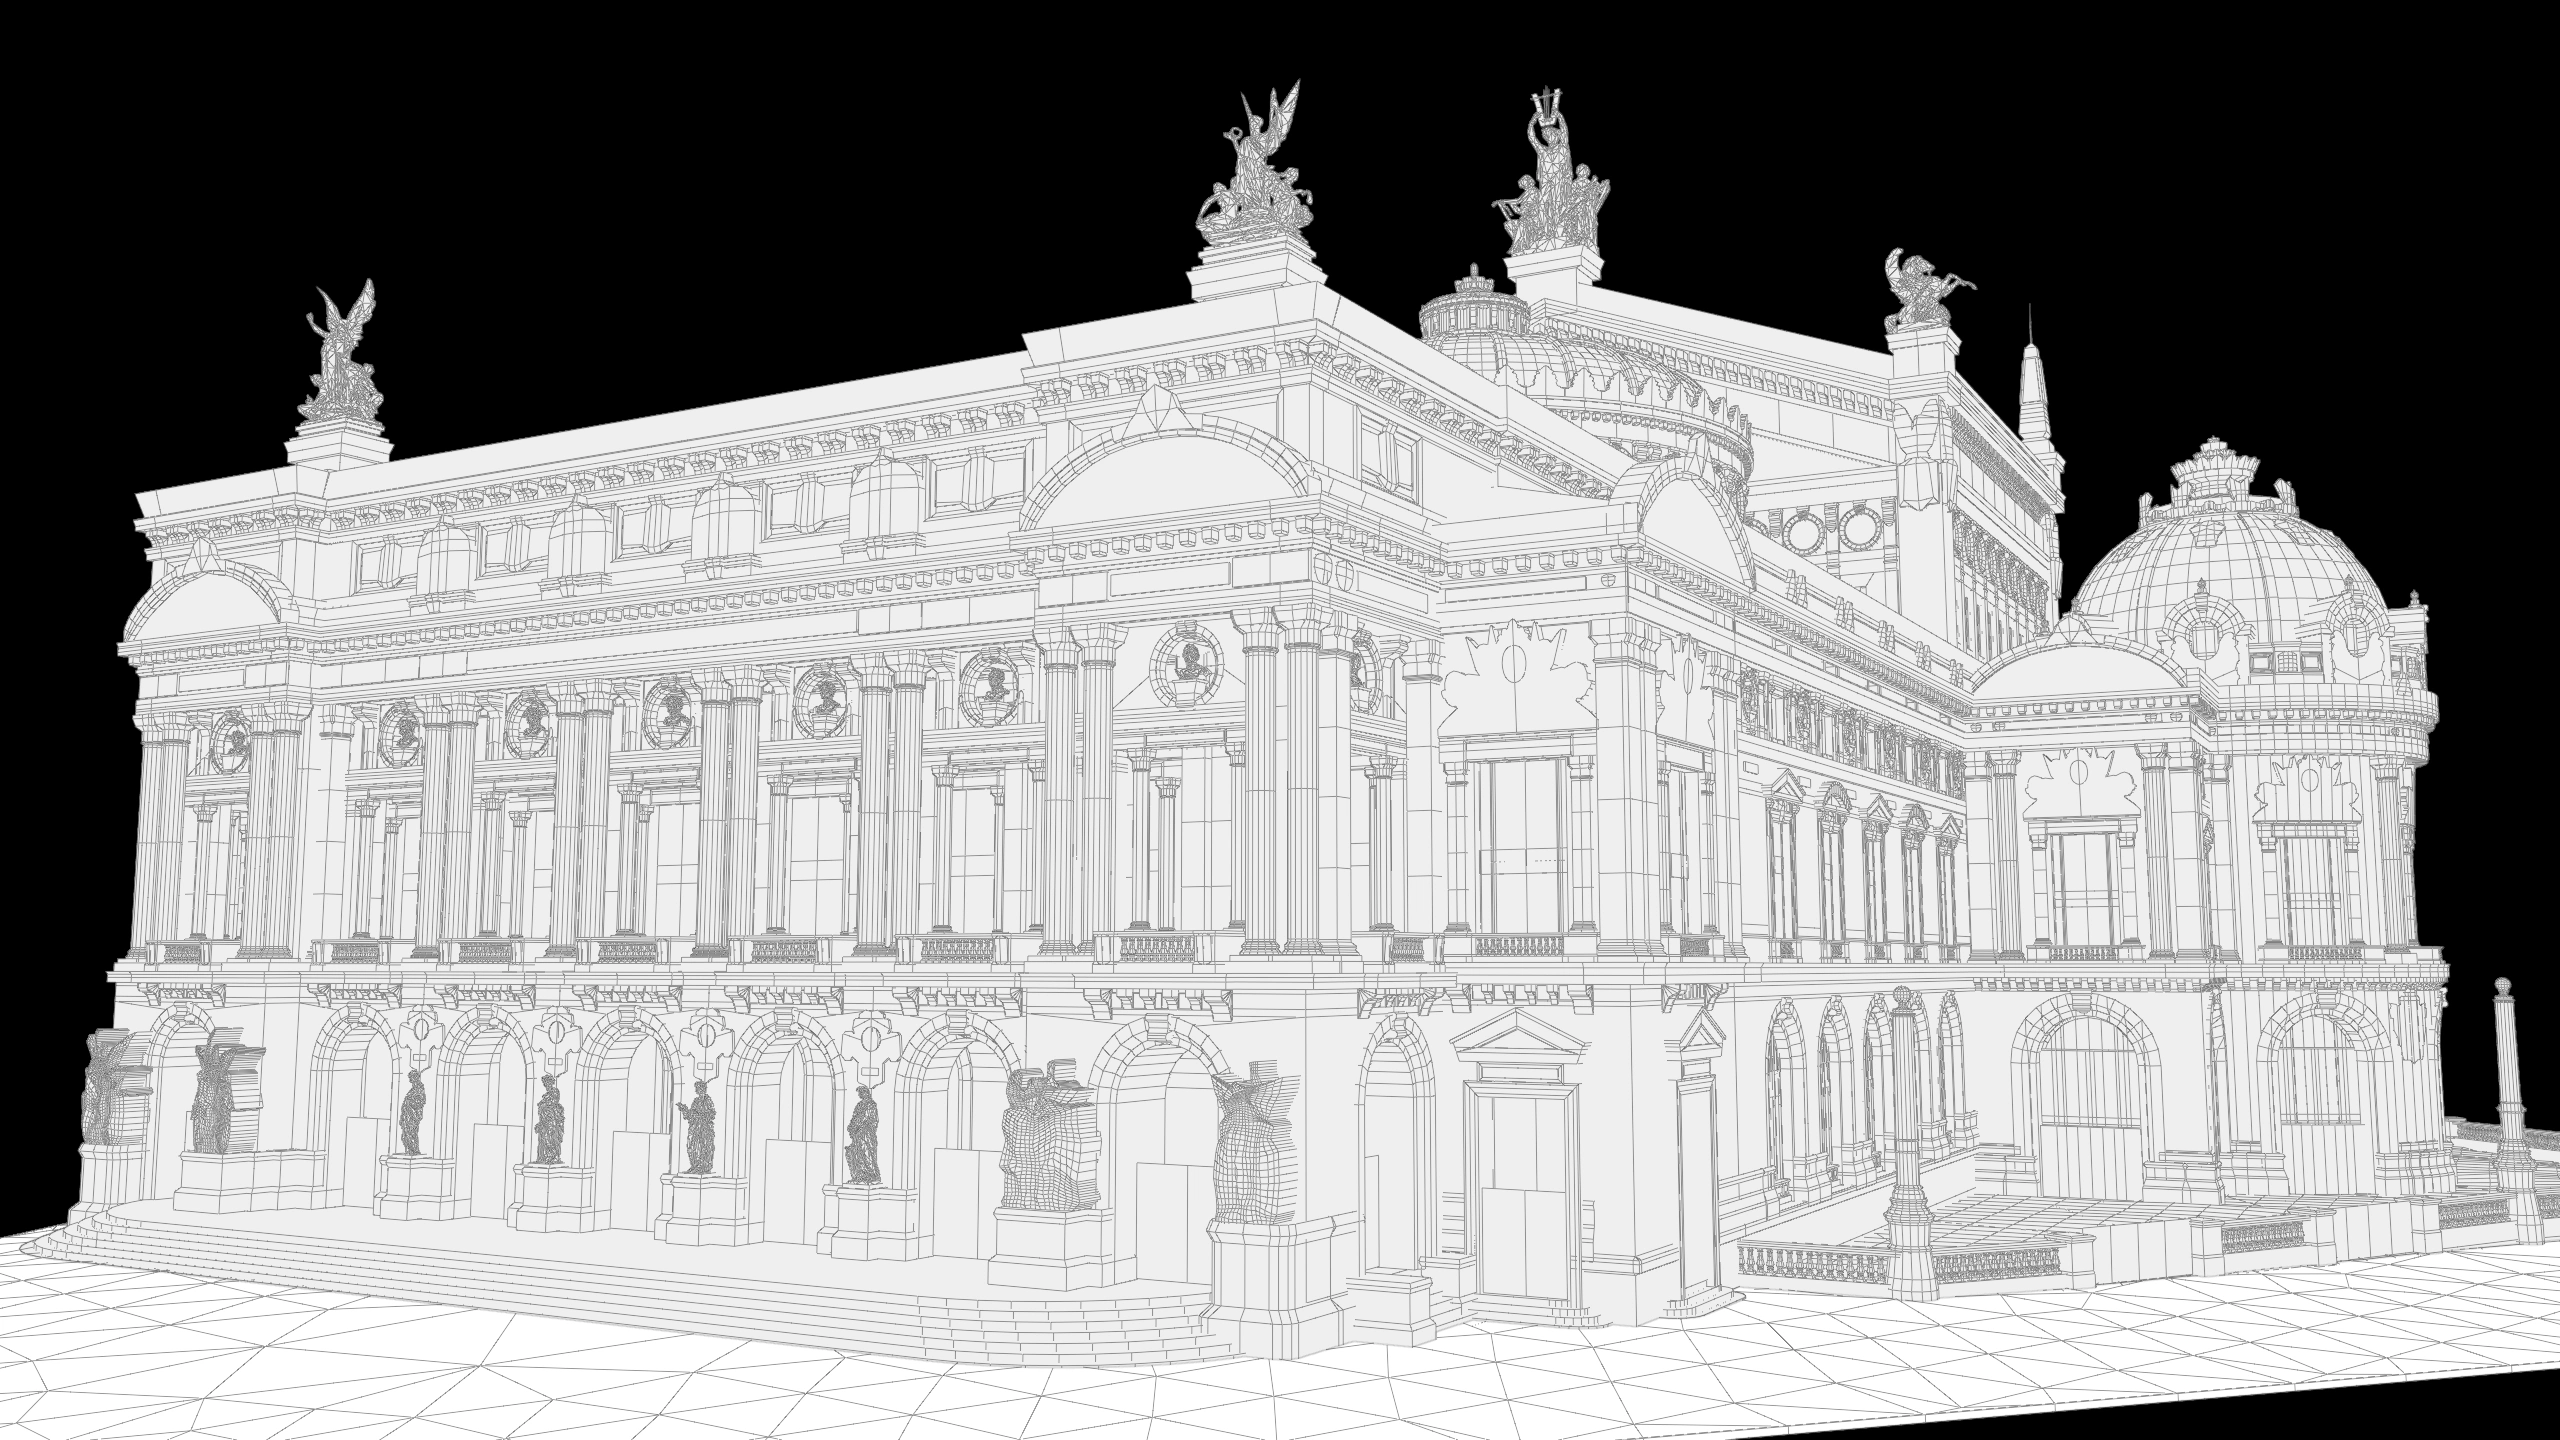
Wire LOD0
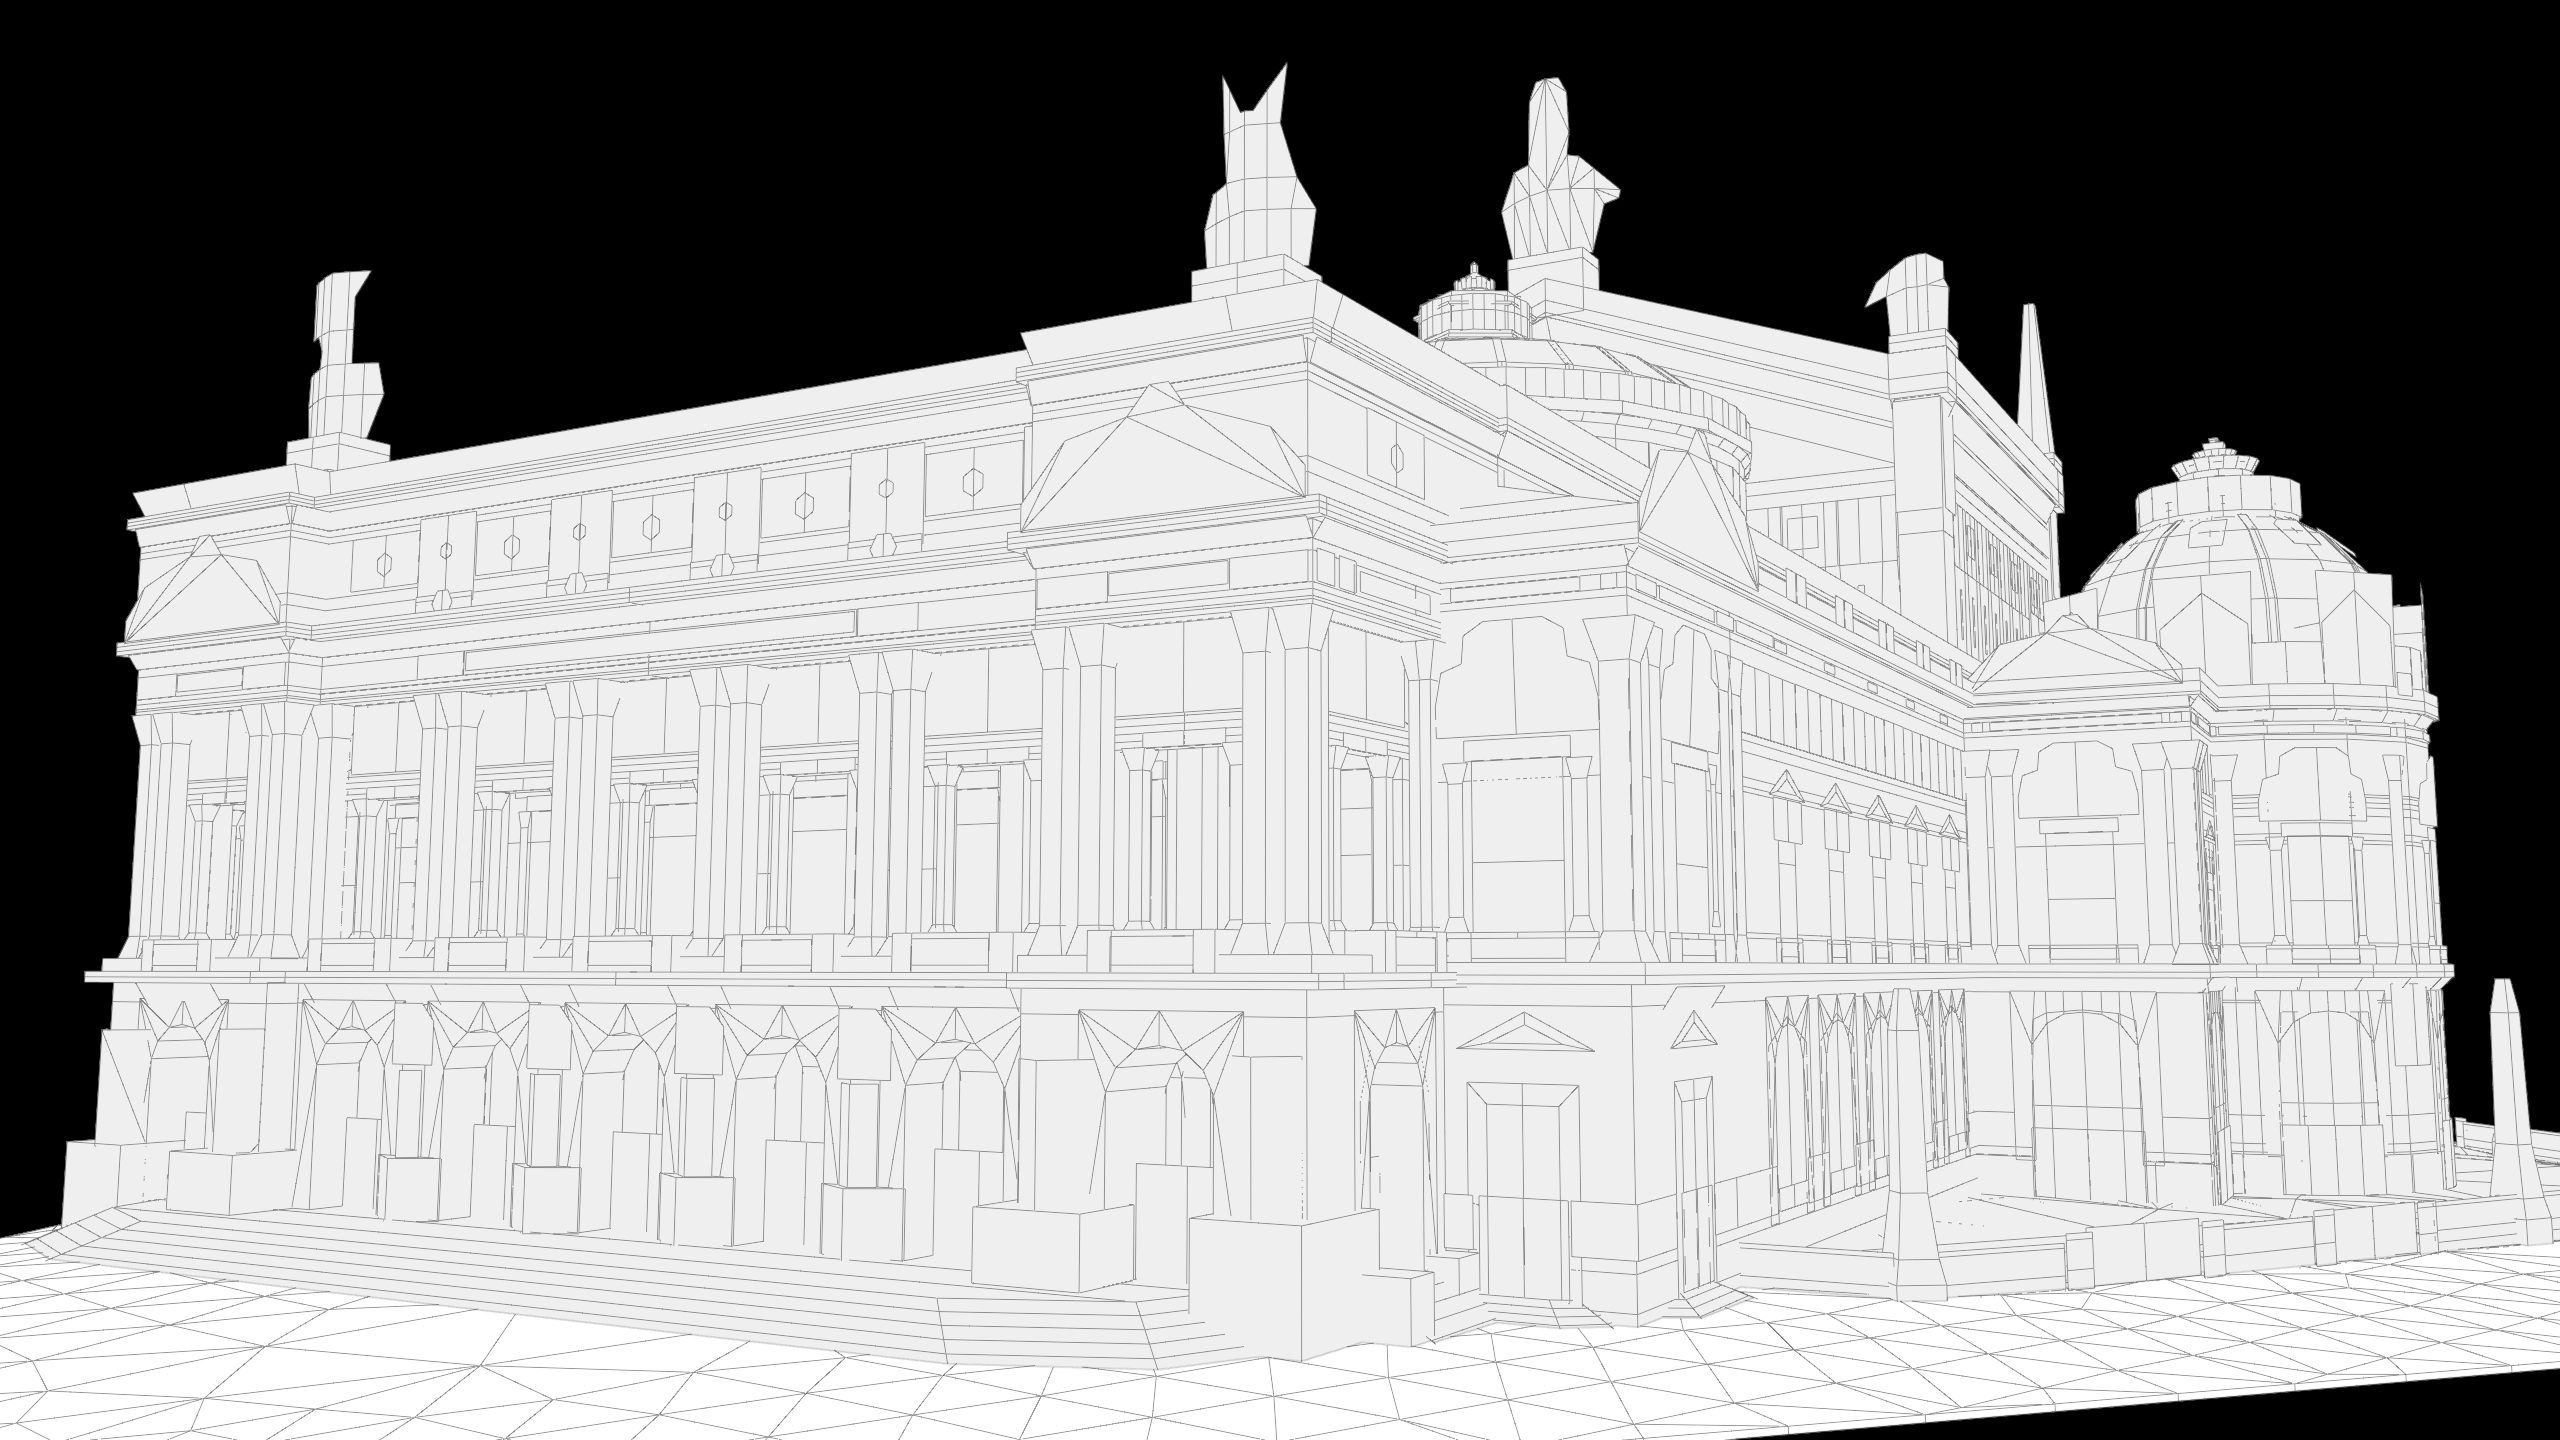
Wire LOD1
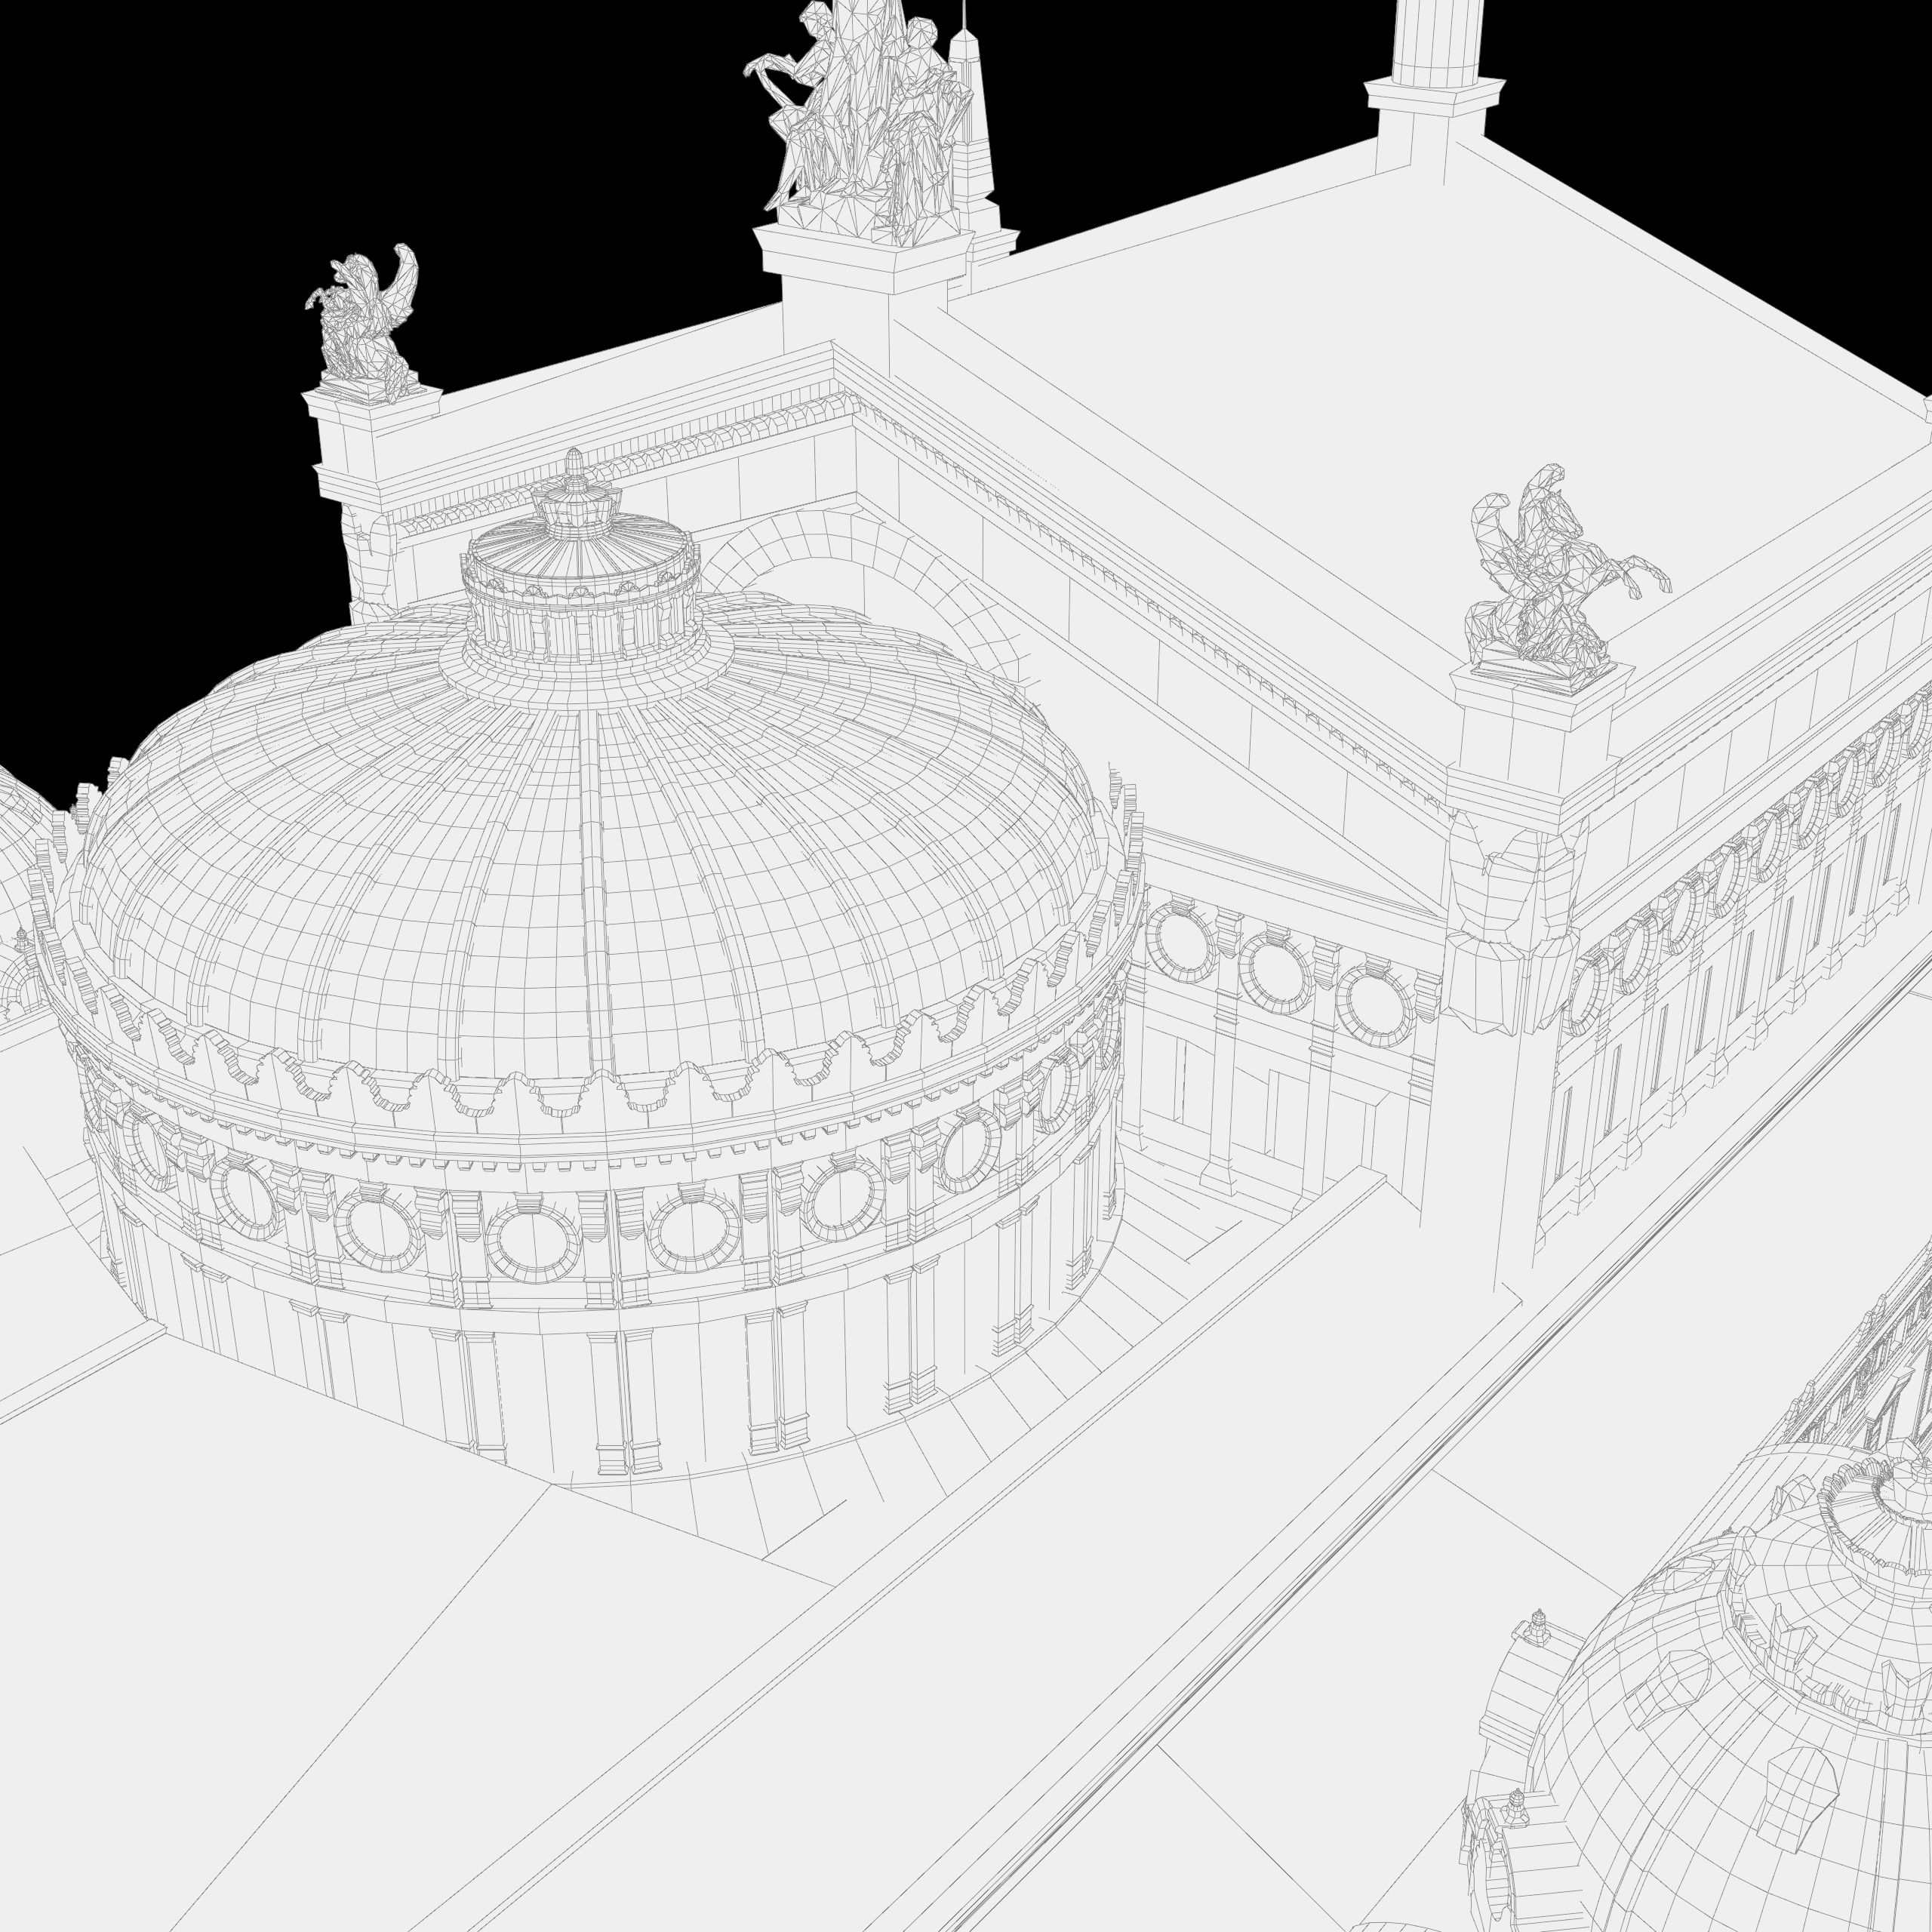
Wire LOD0
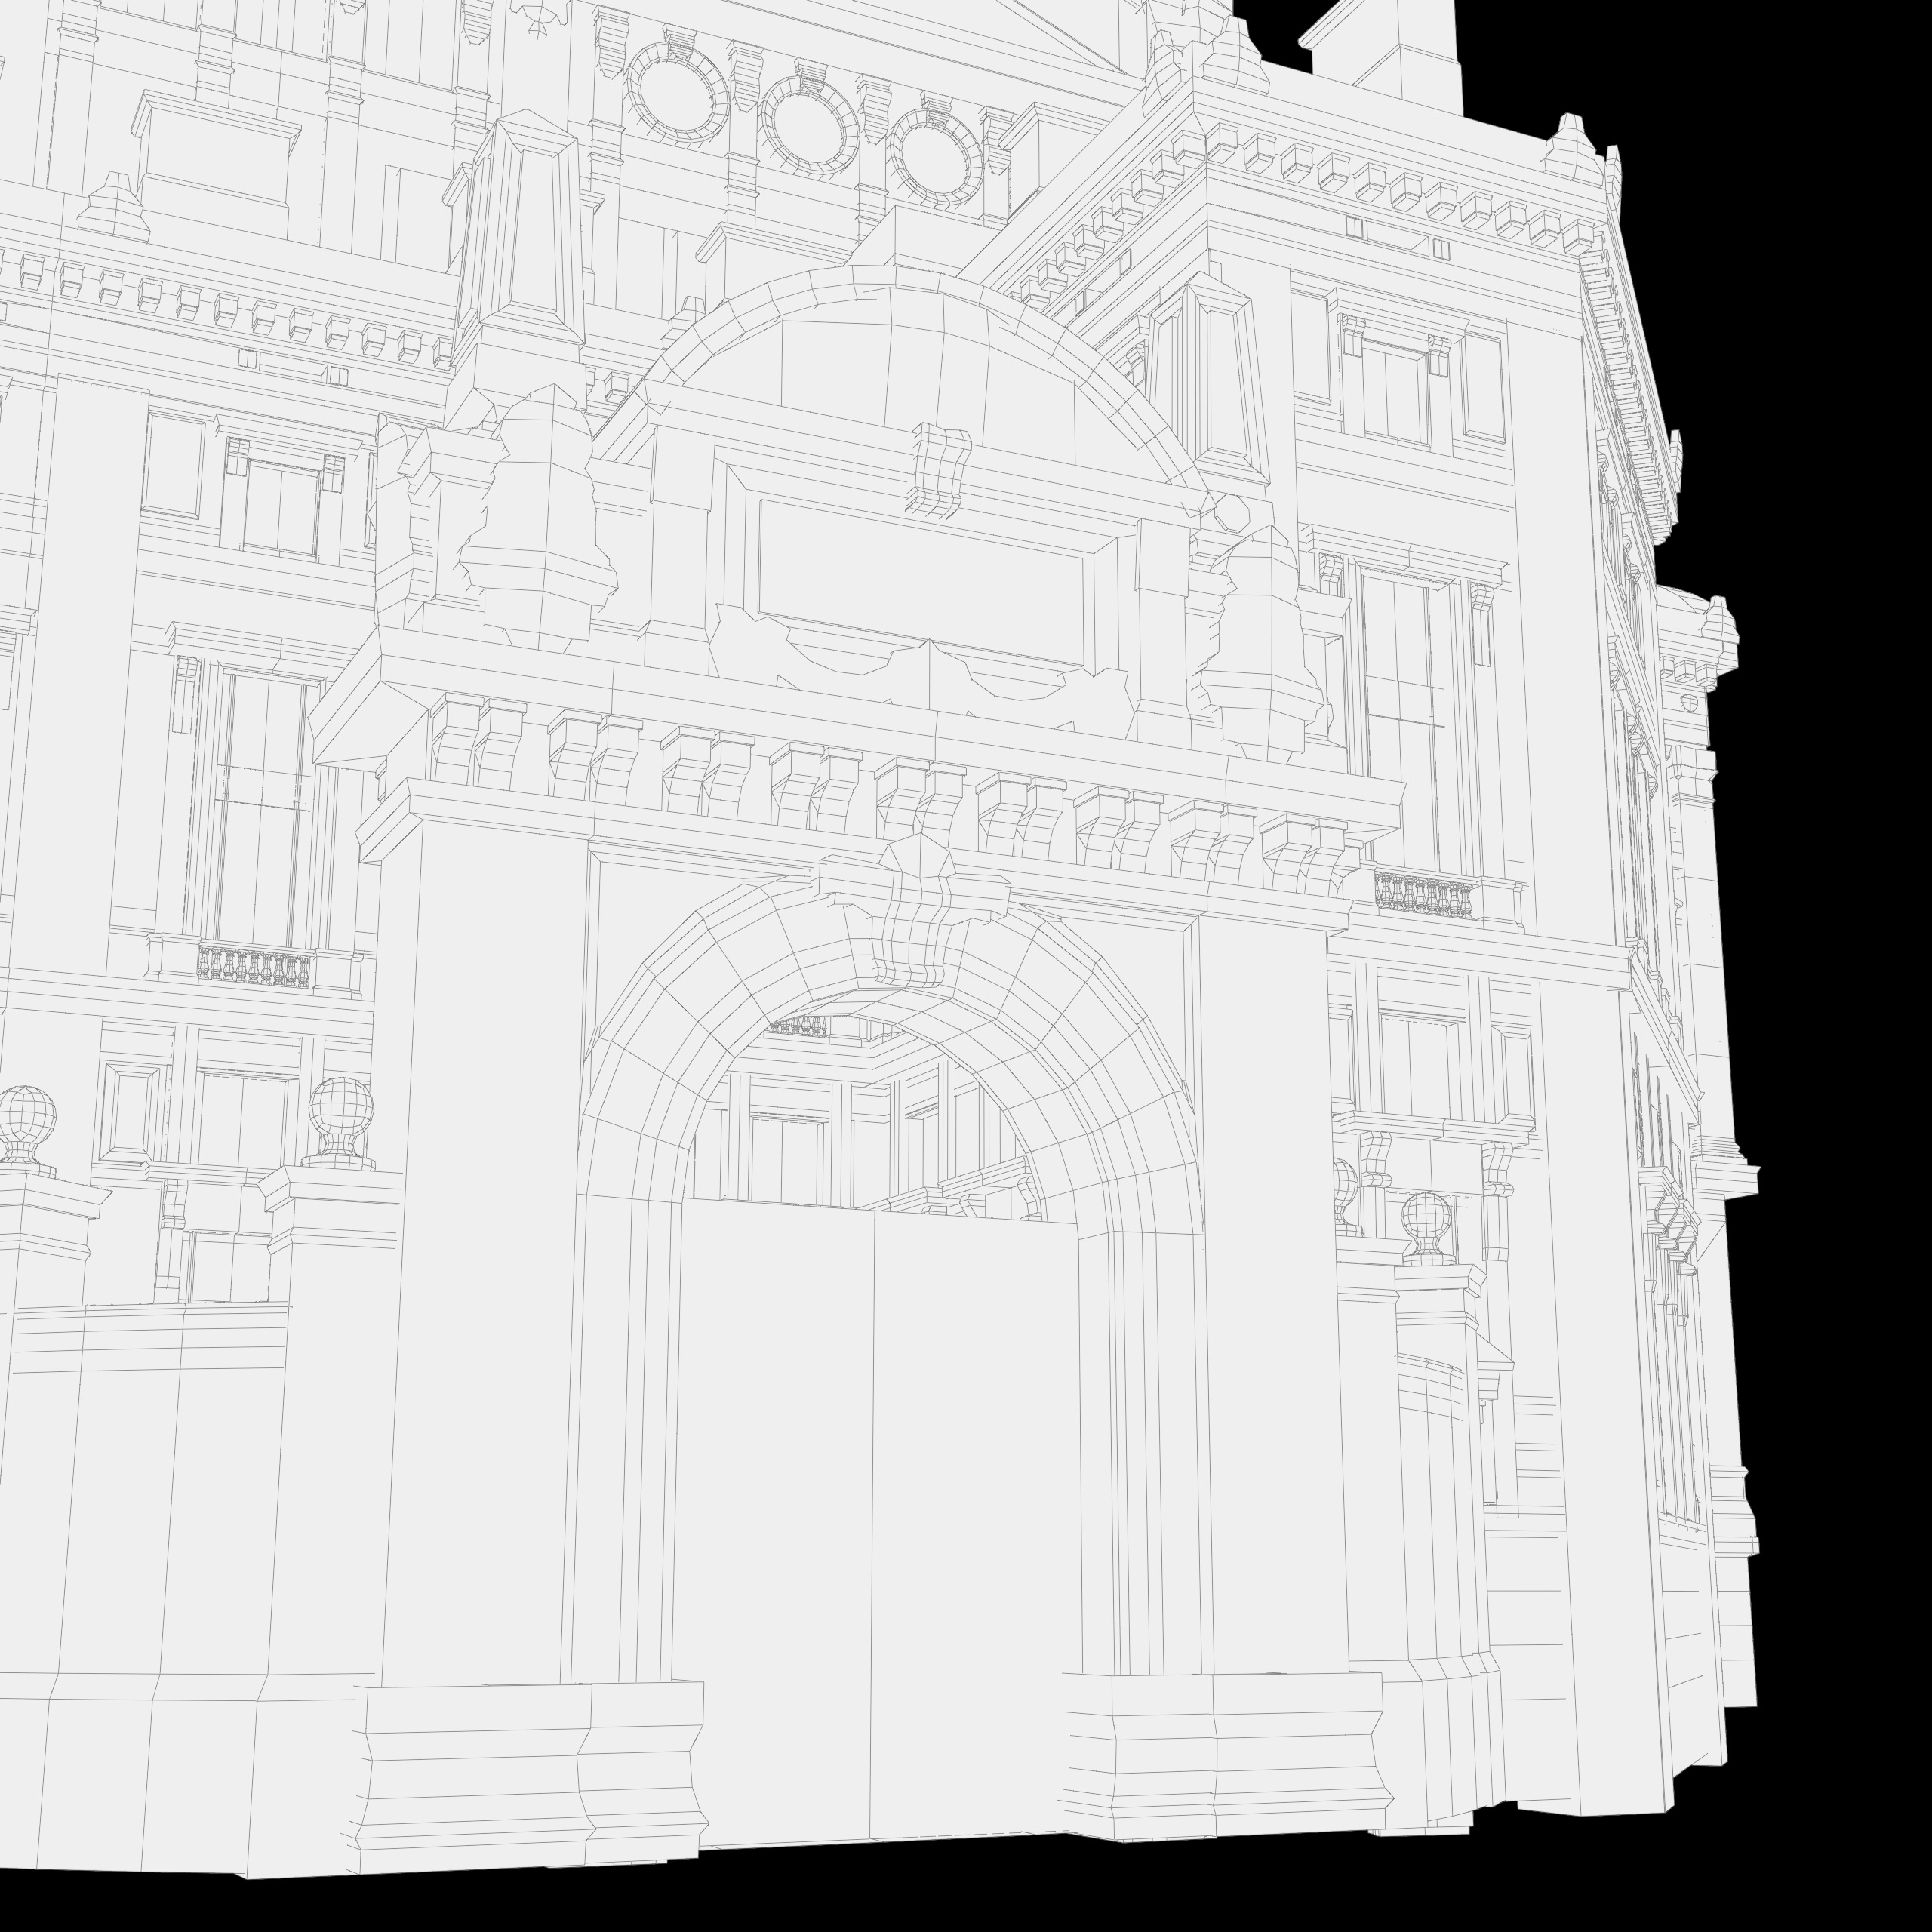
Wire LOD0
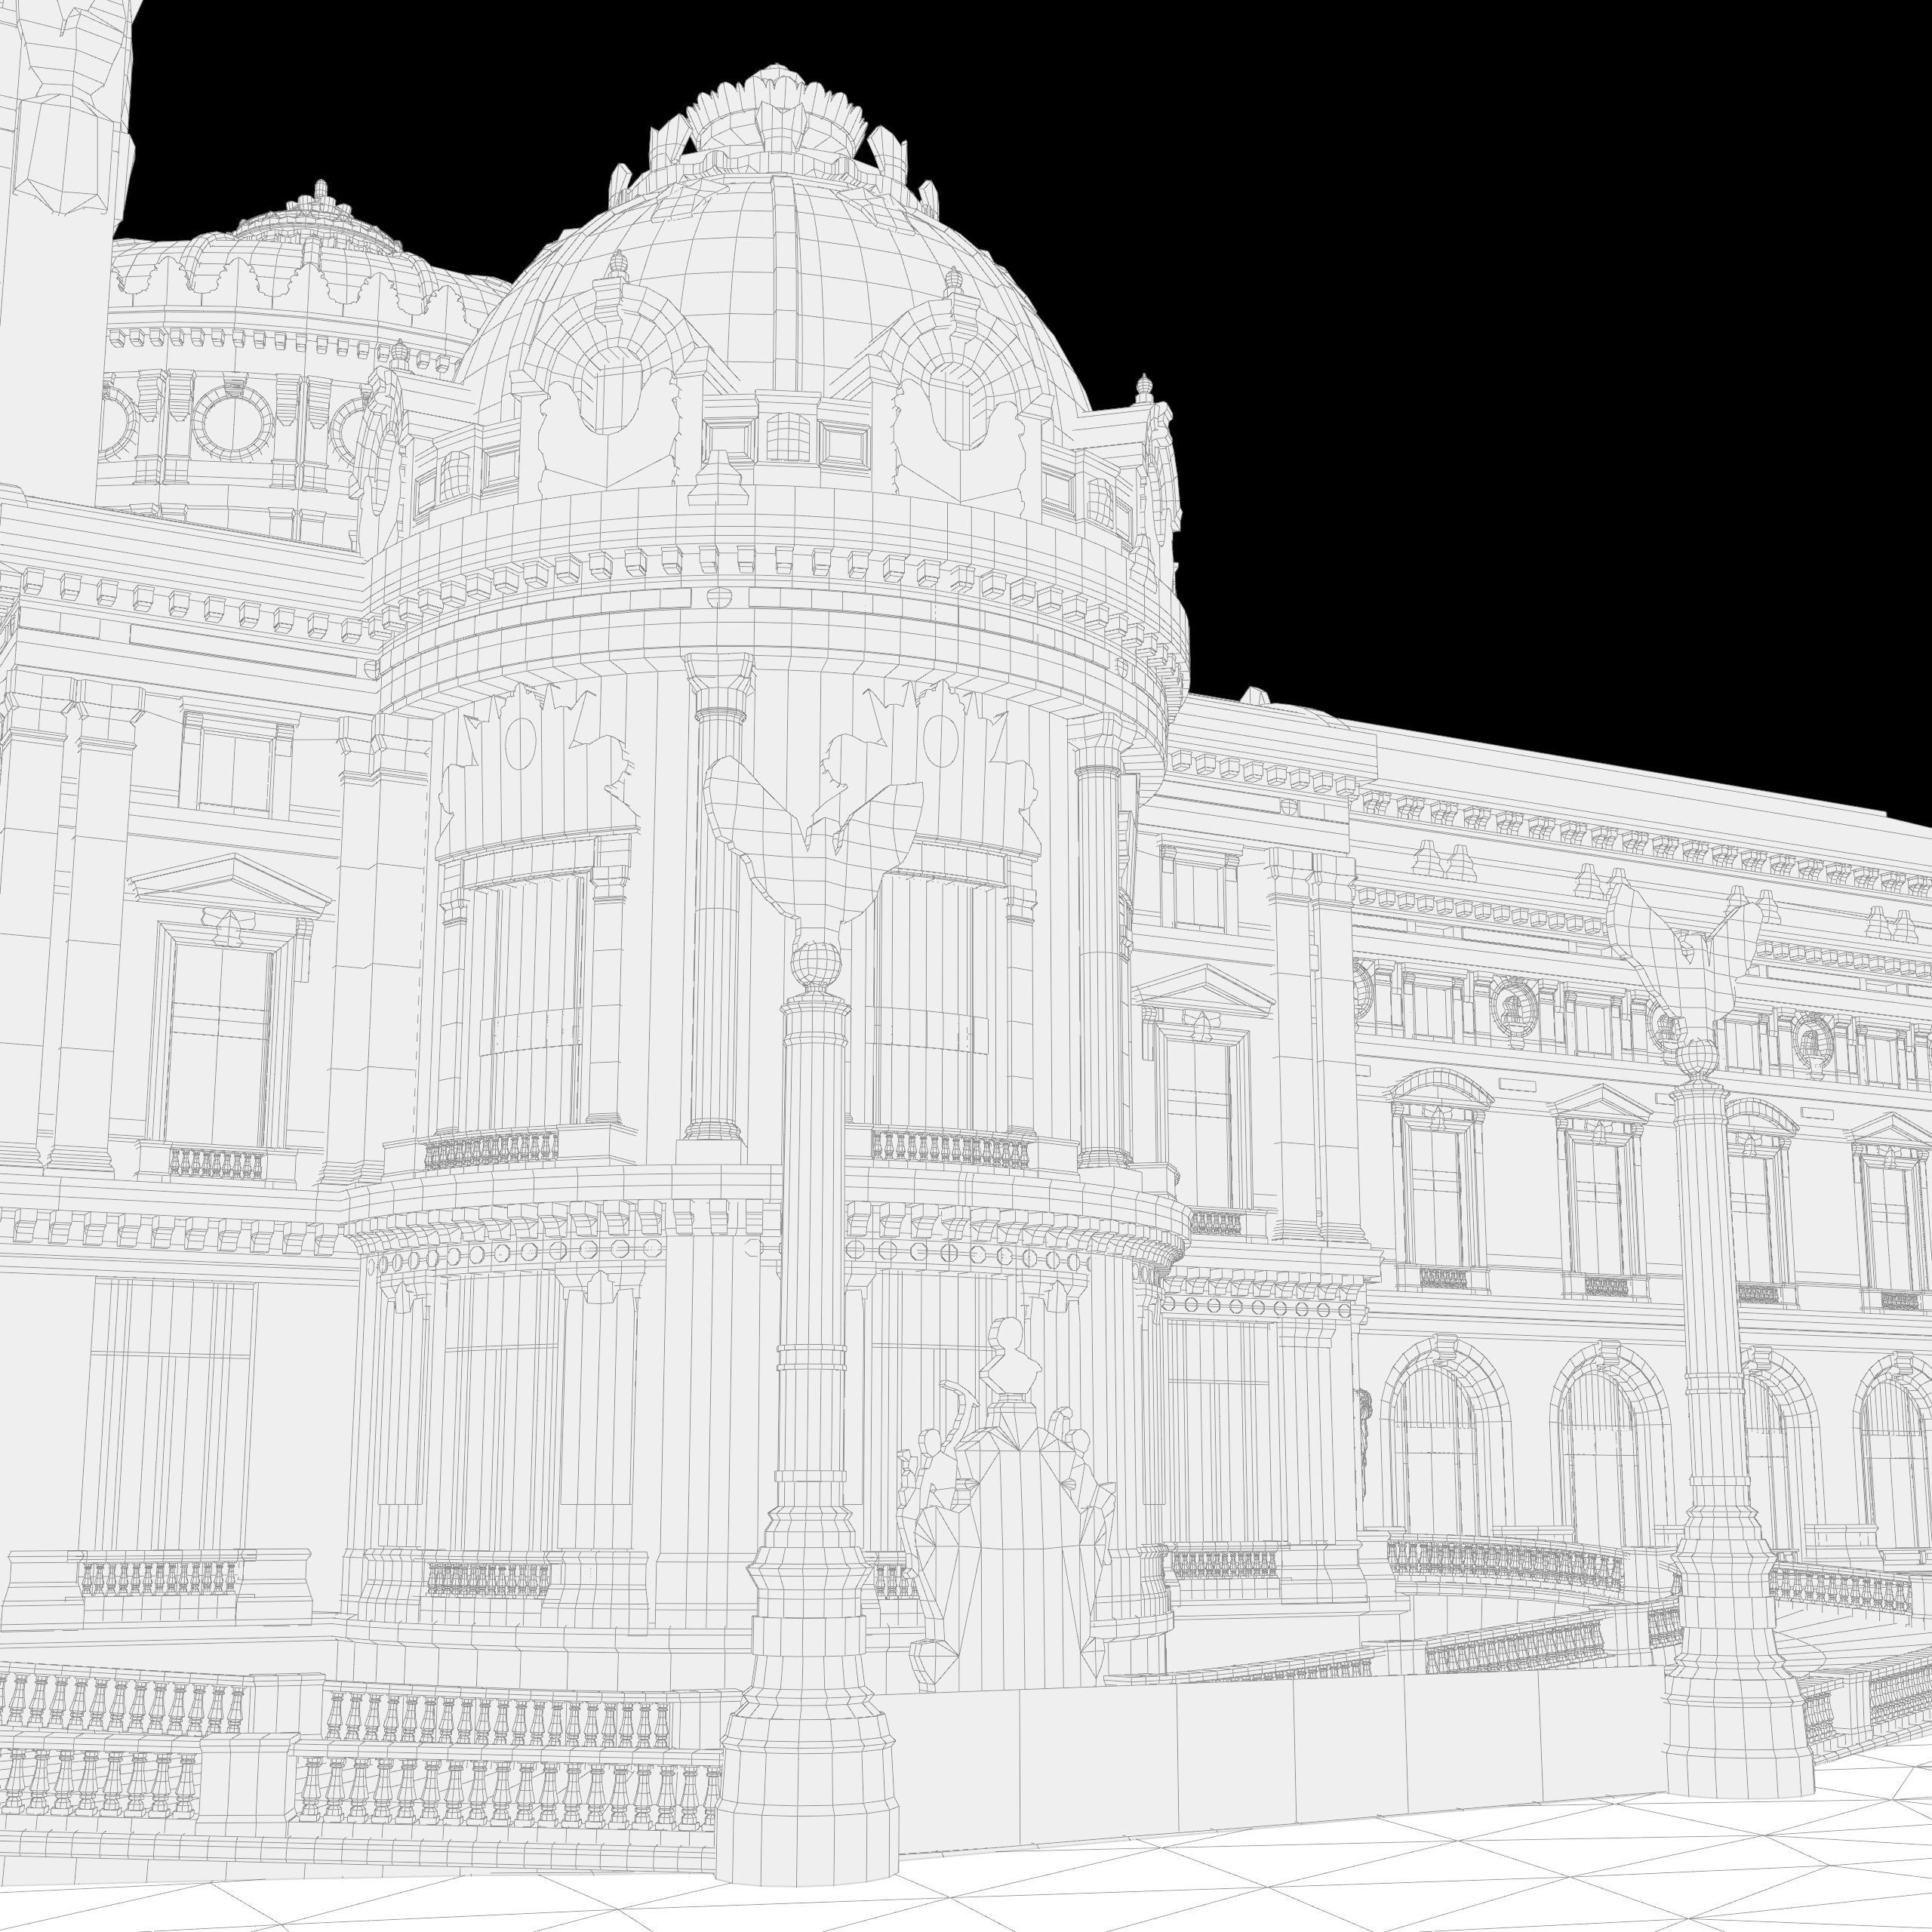
Wire LOD0
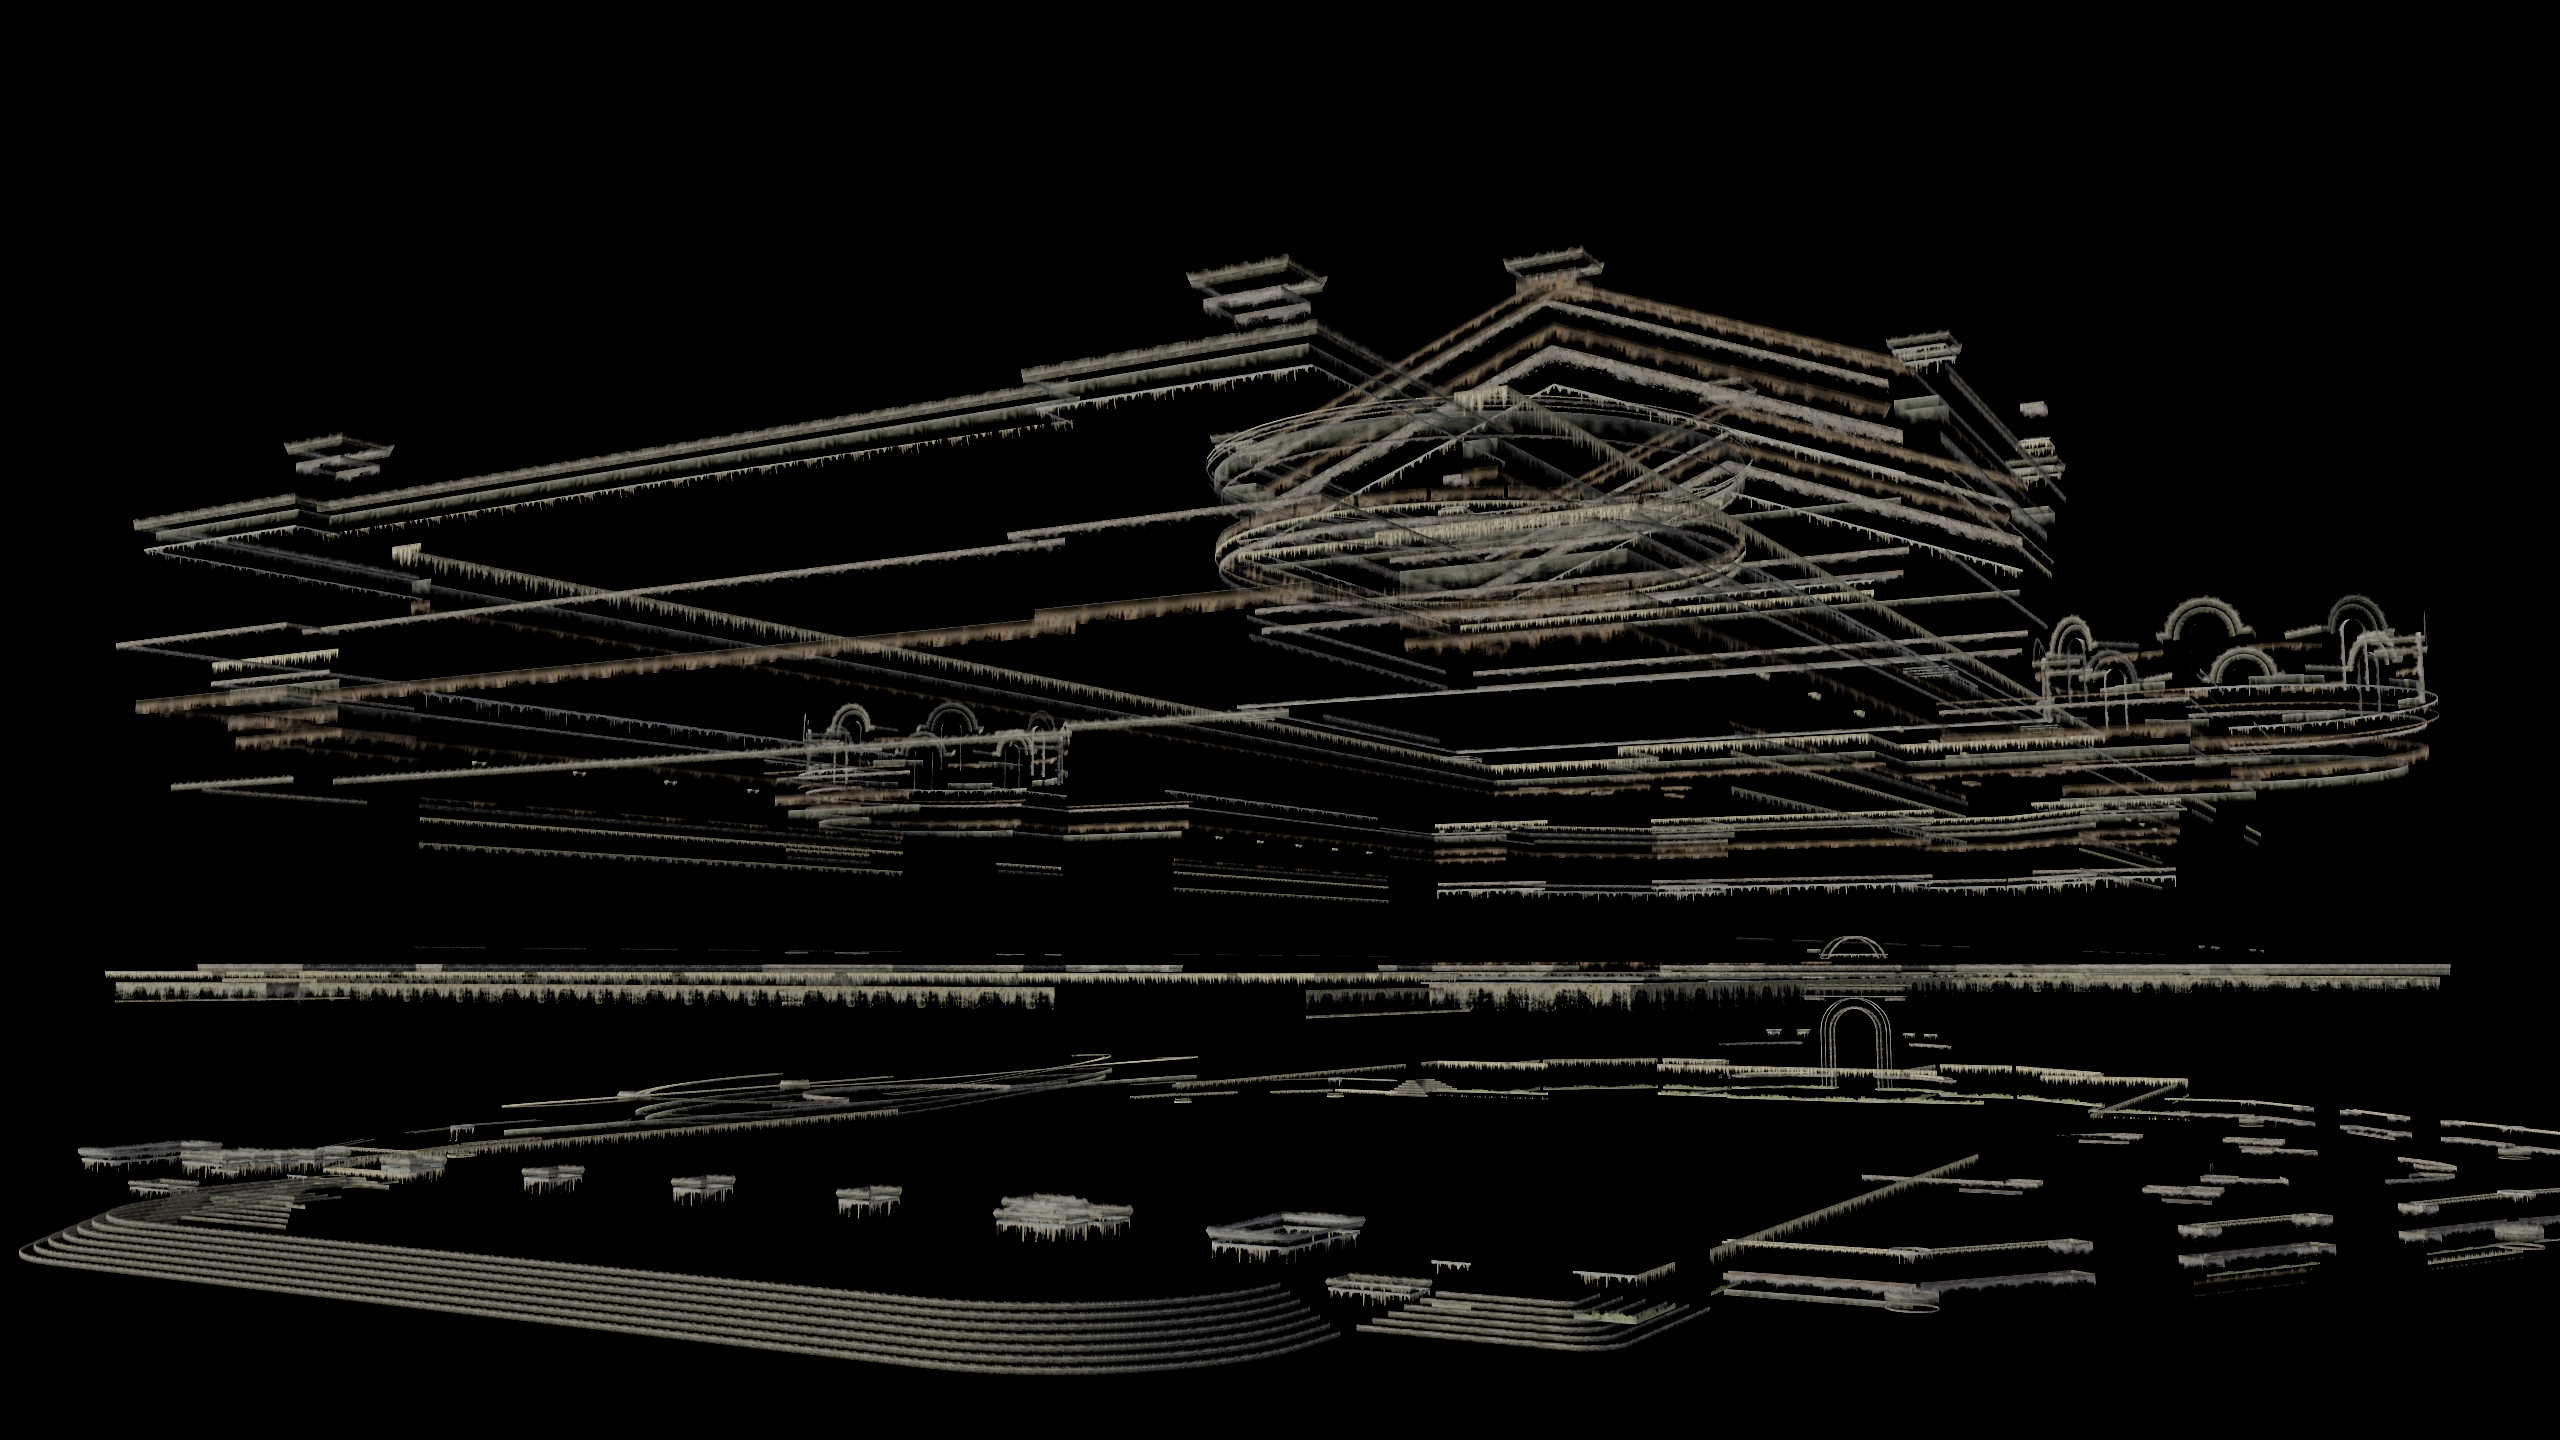
Decal mesh
Modular Construction
I decided that, for most of the building, the best approach is to build it with modular pieces. This allowed me to efficiently assemble the facade while maintaining consistent proportions, topology, and detailing.
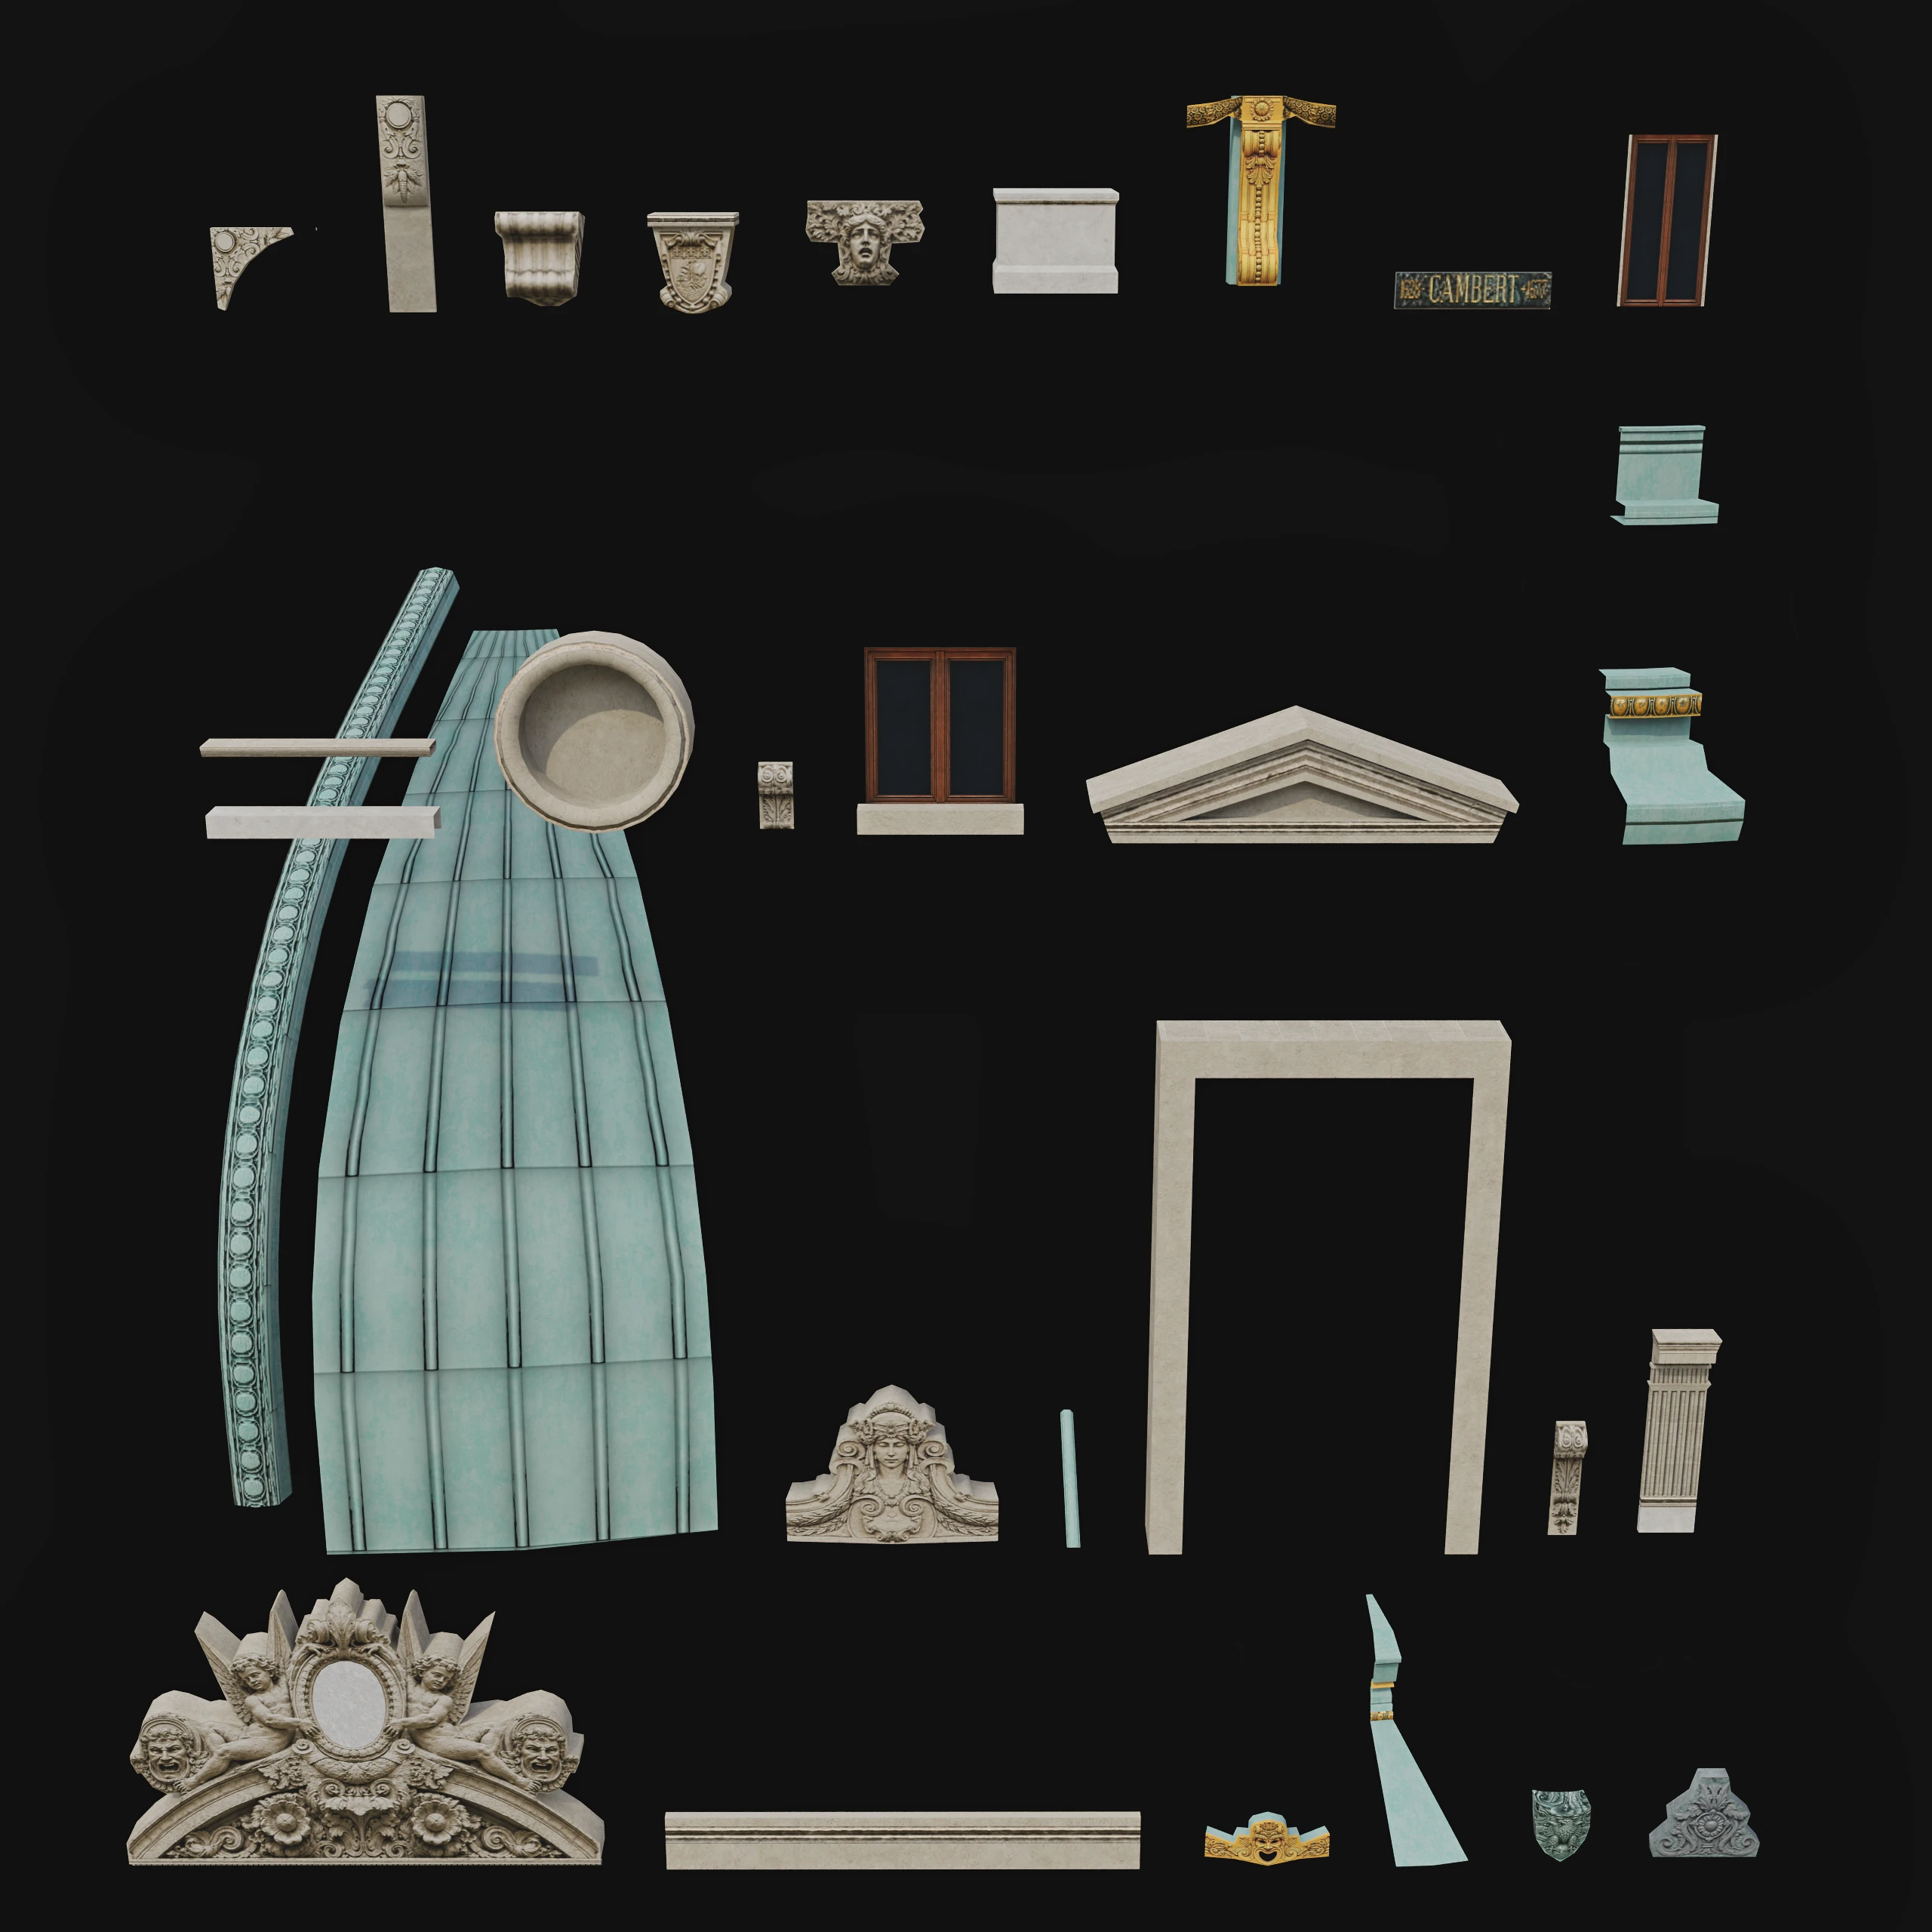
Modular 1
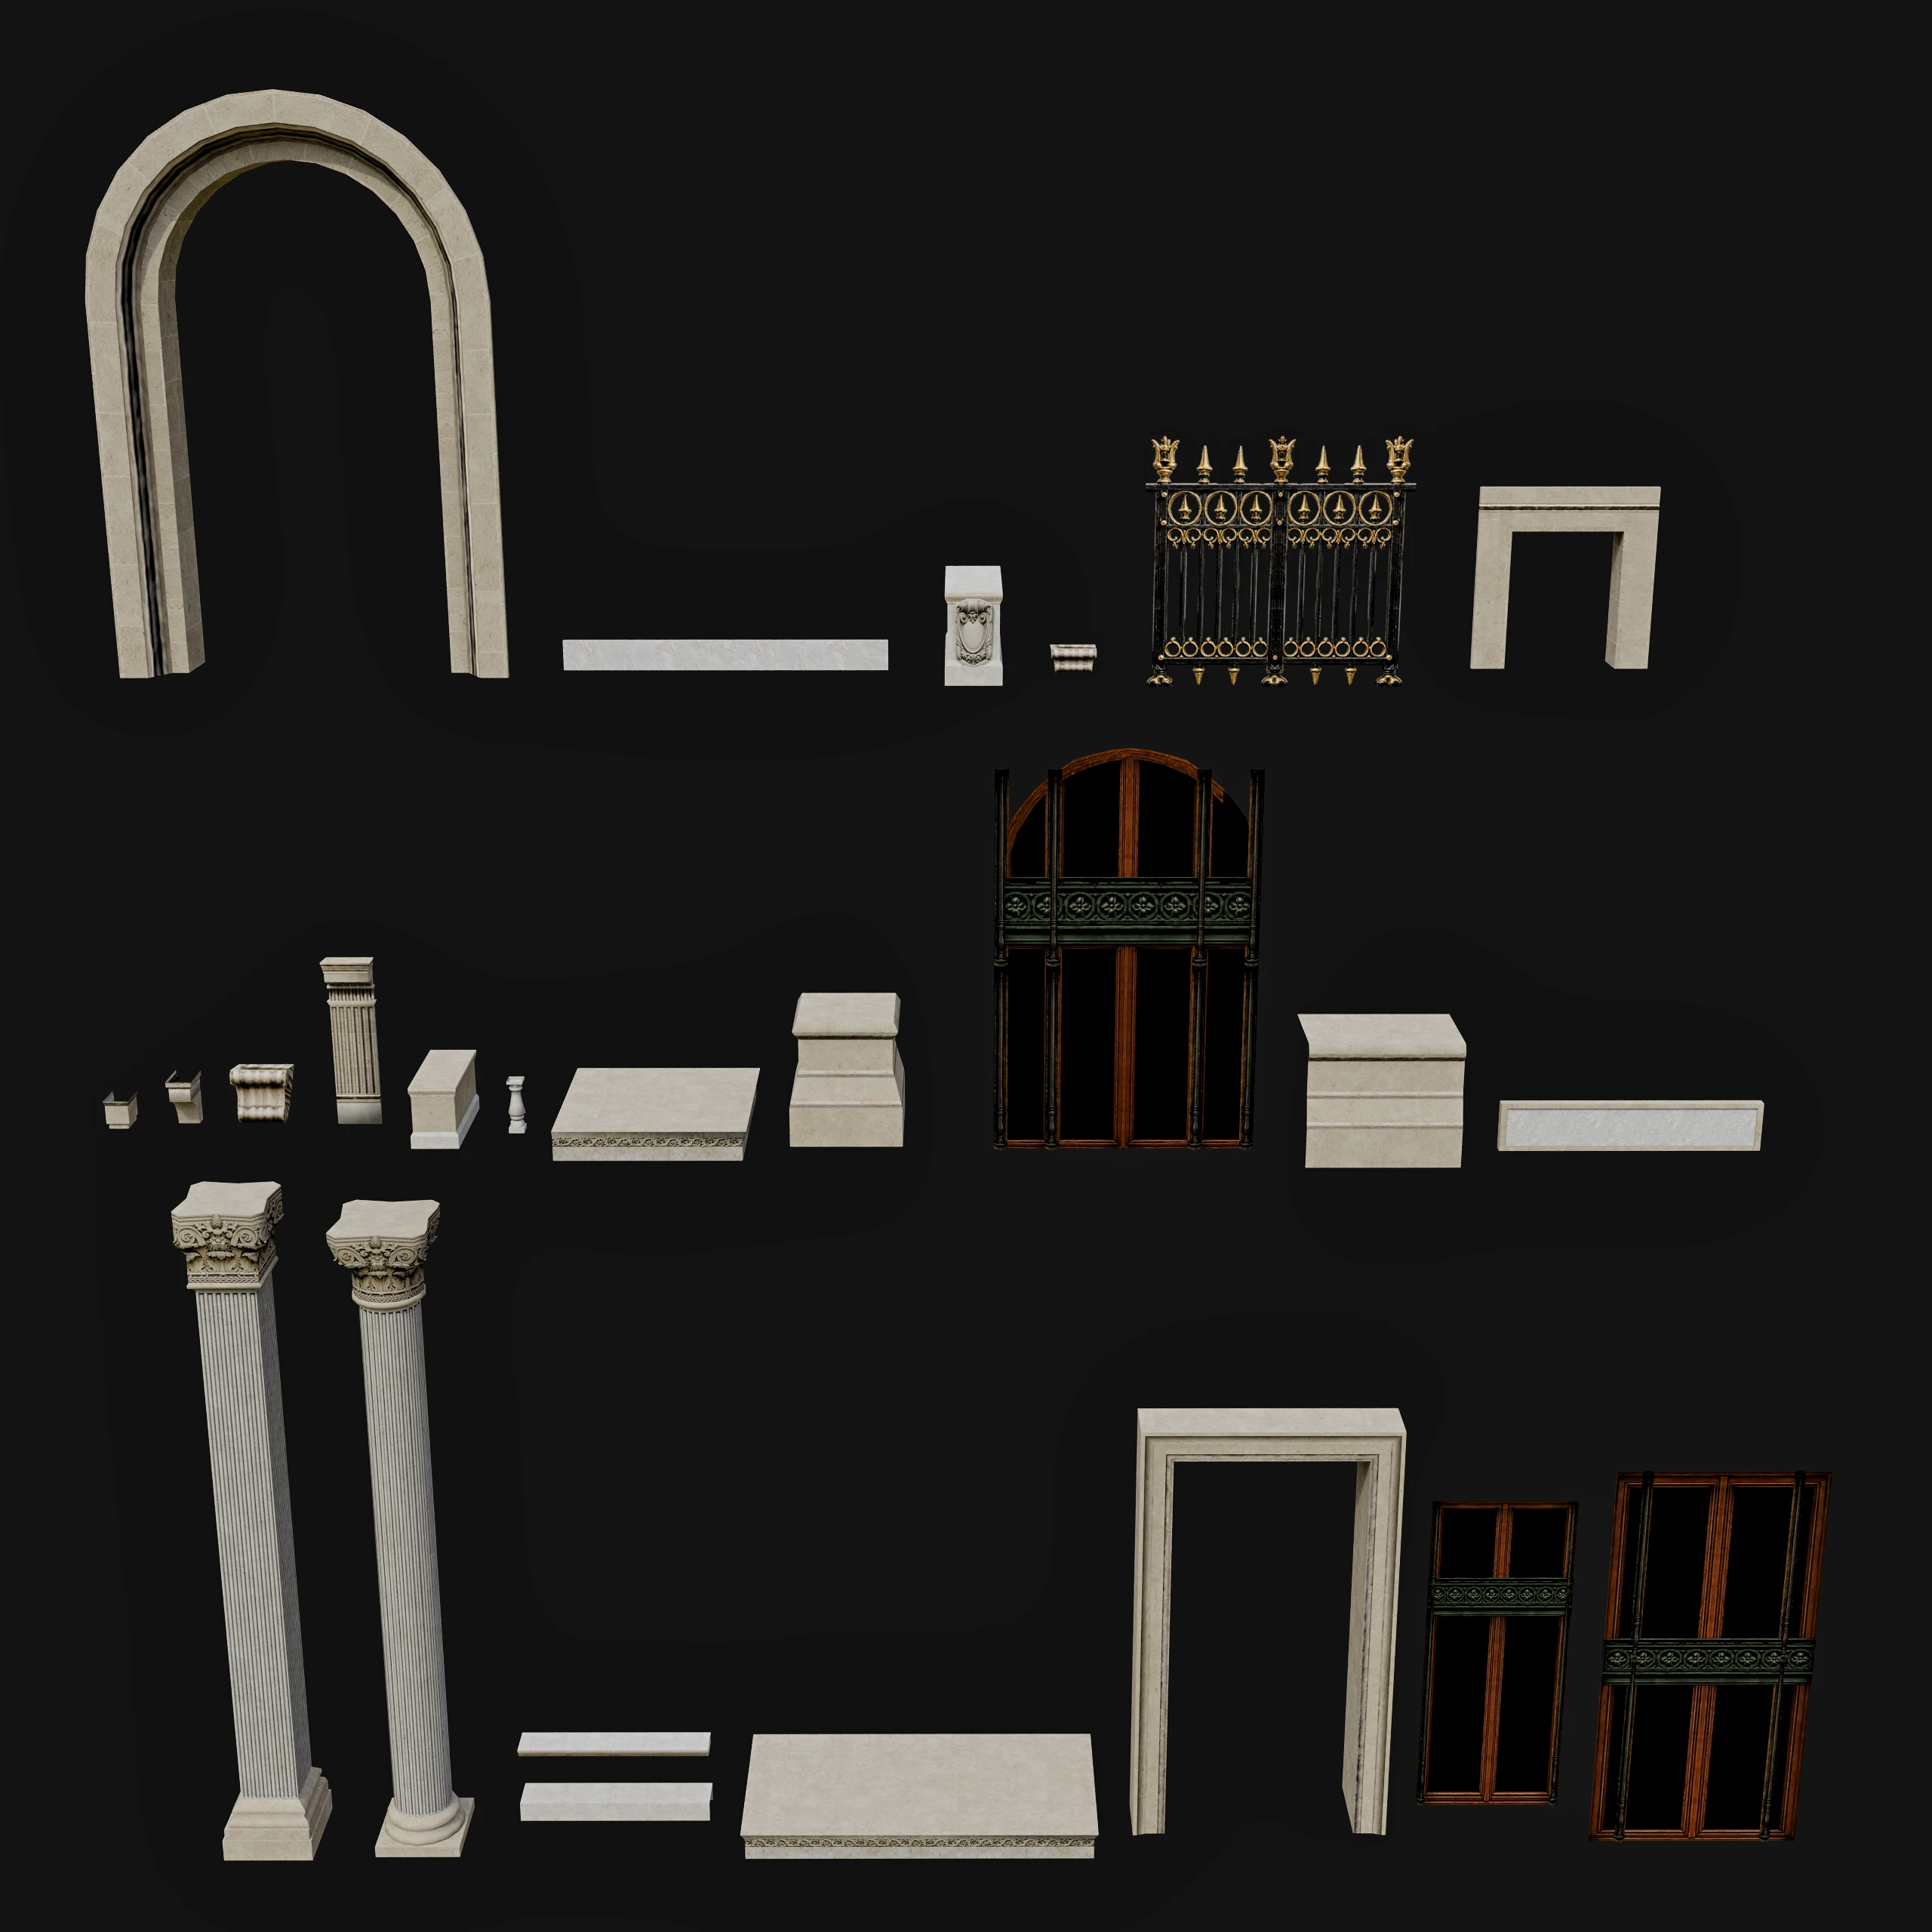
Modular 2
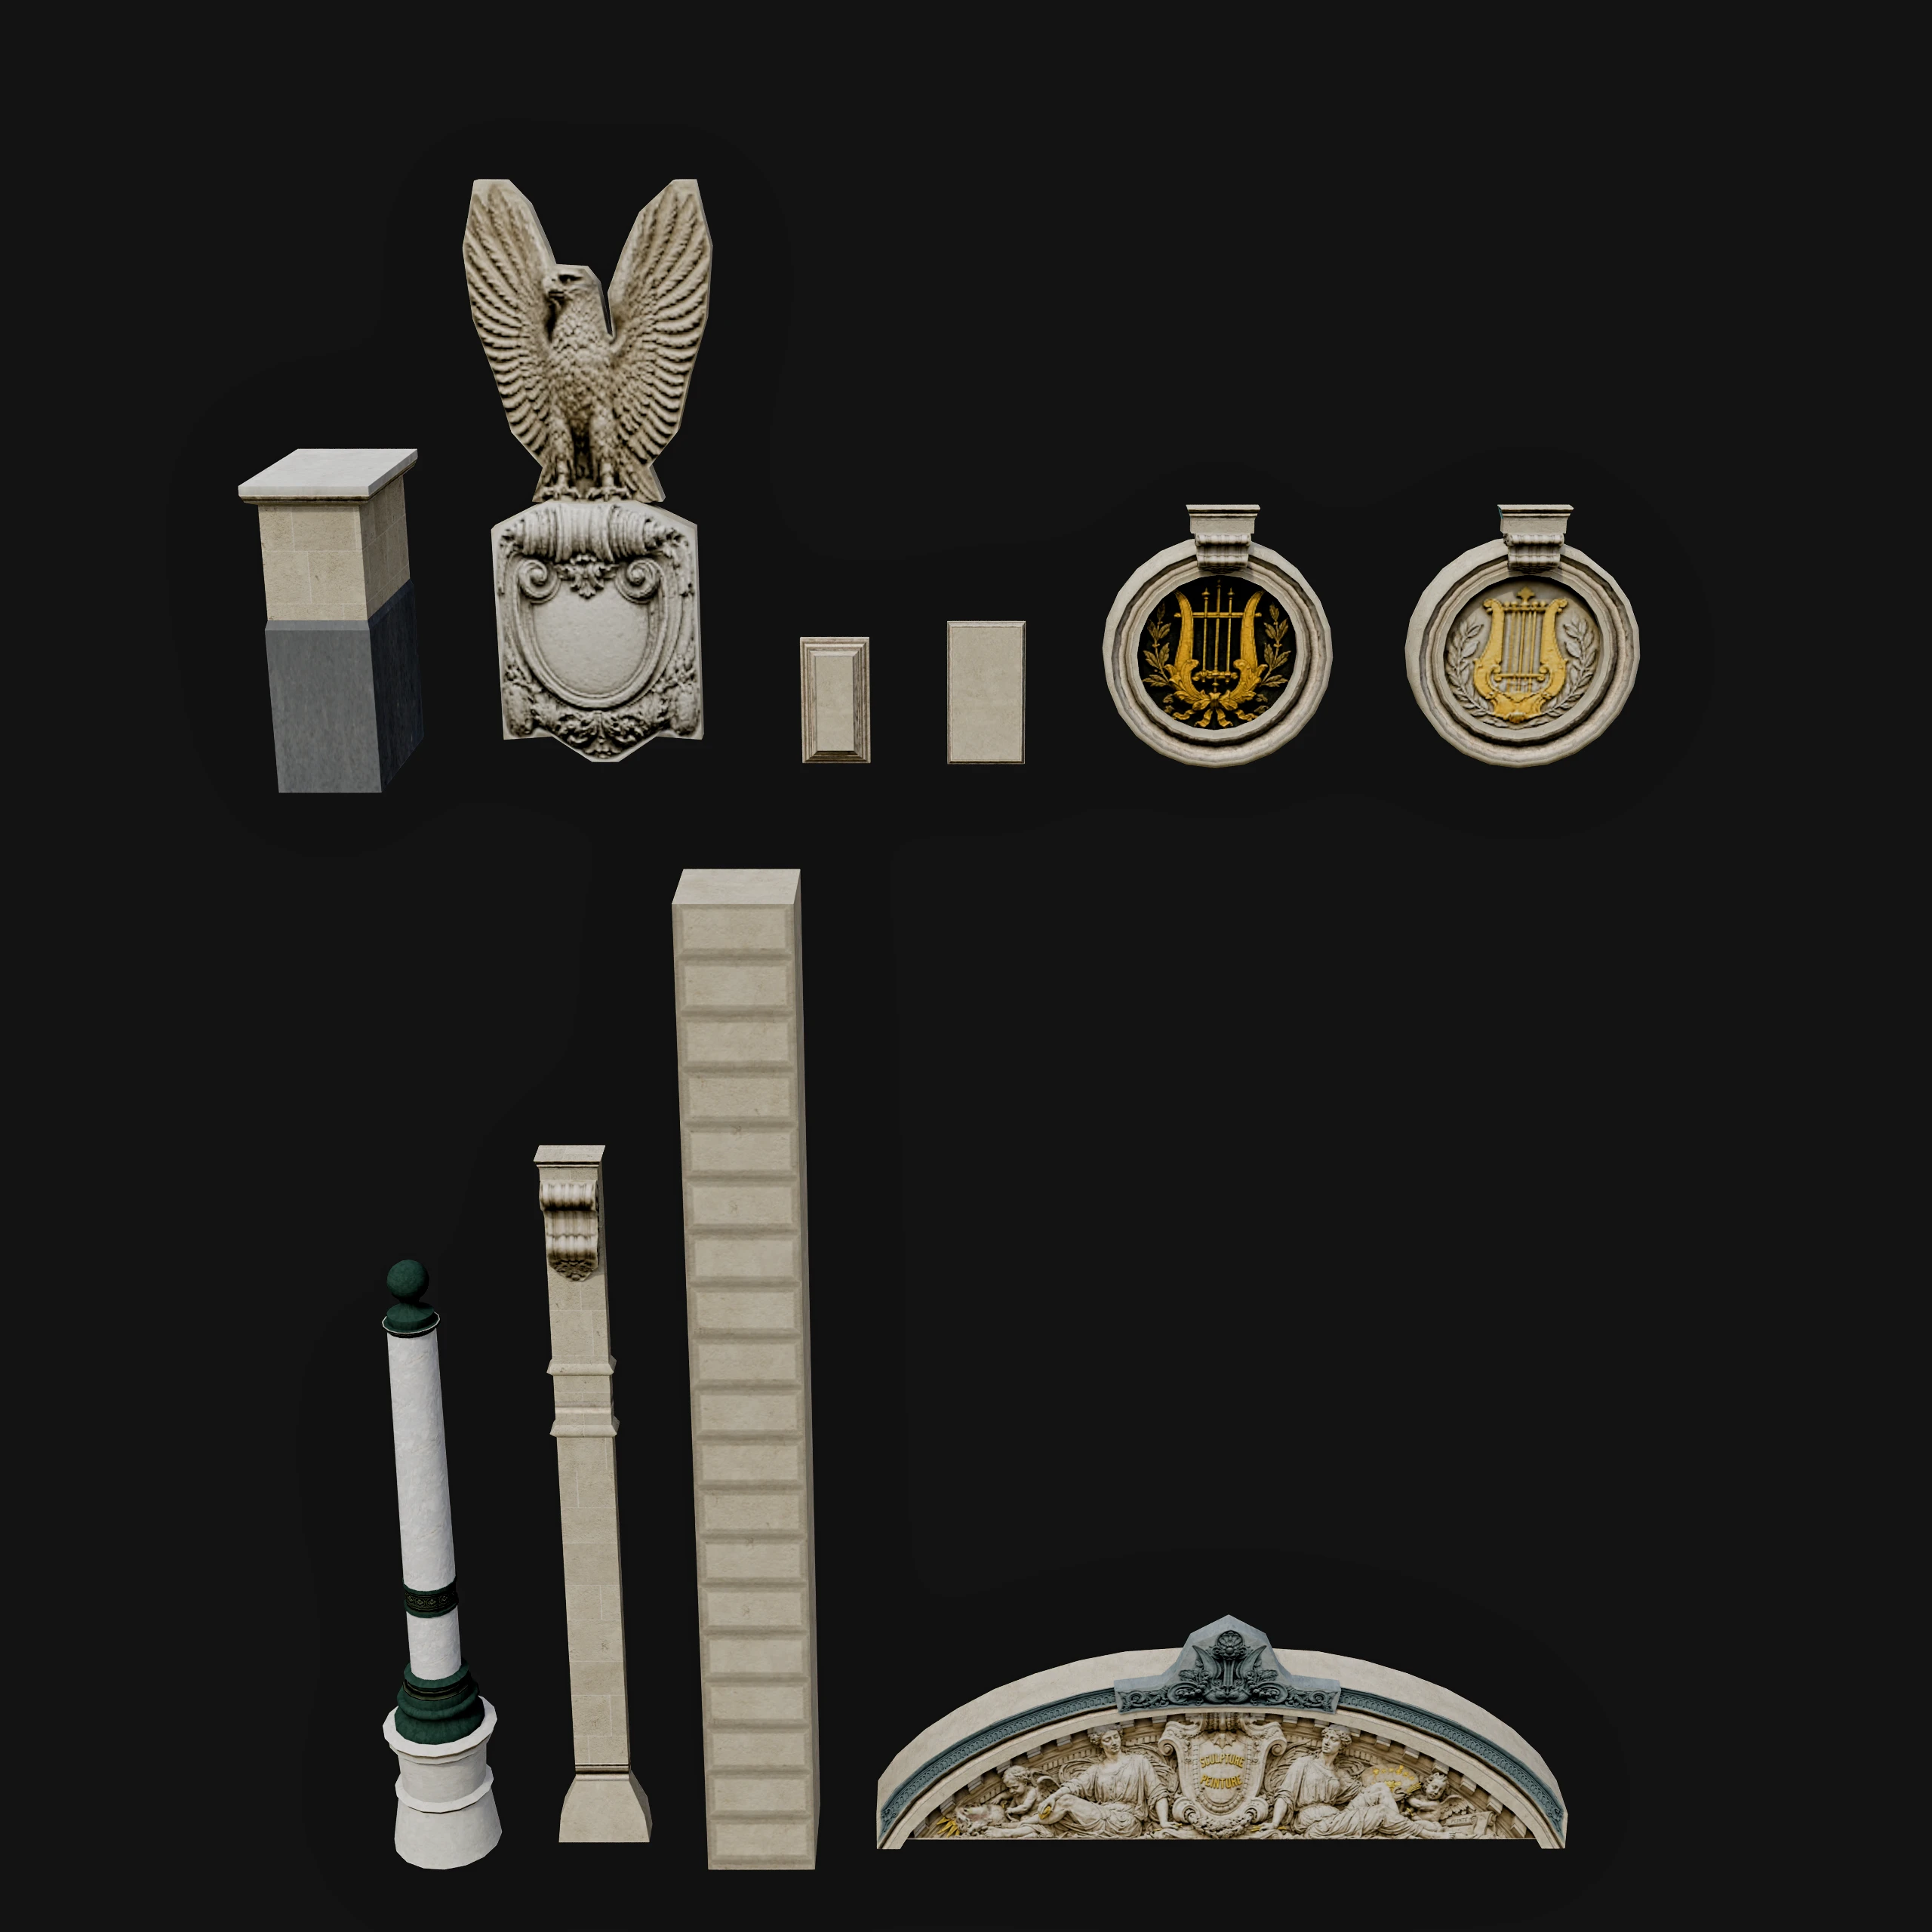
Modular 3
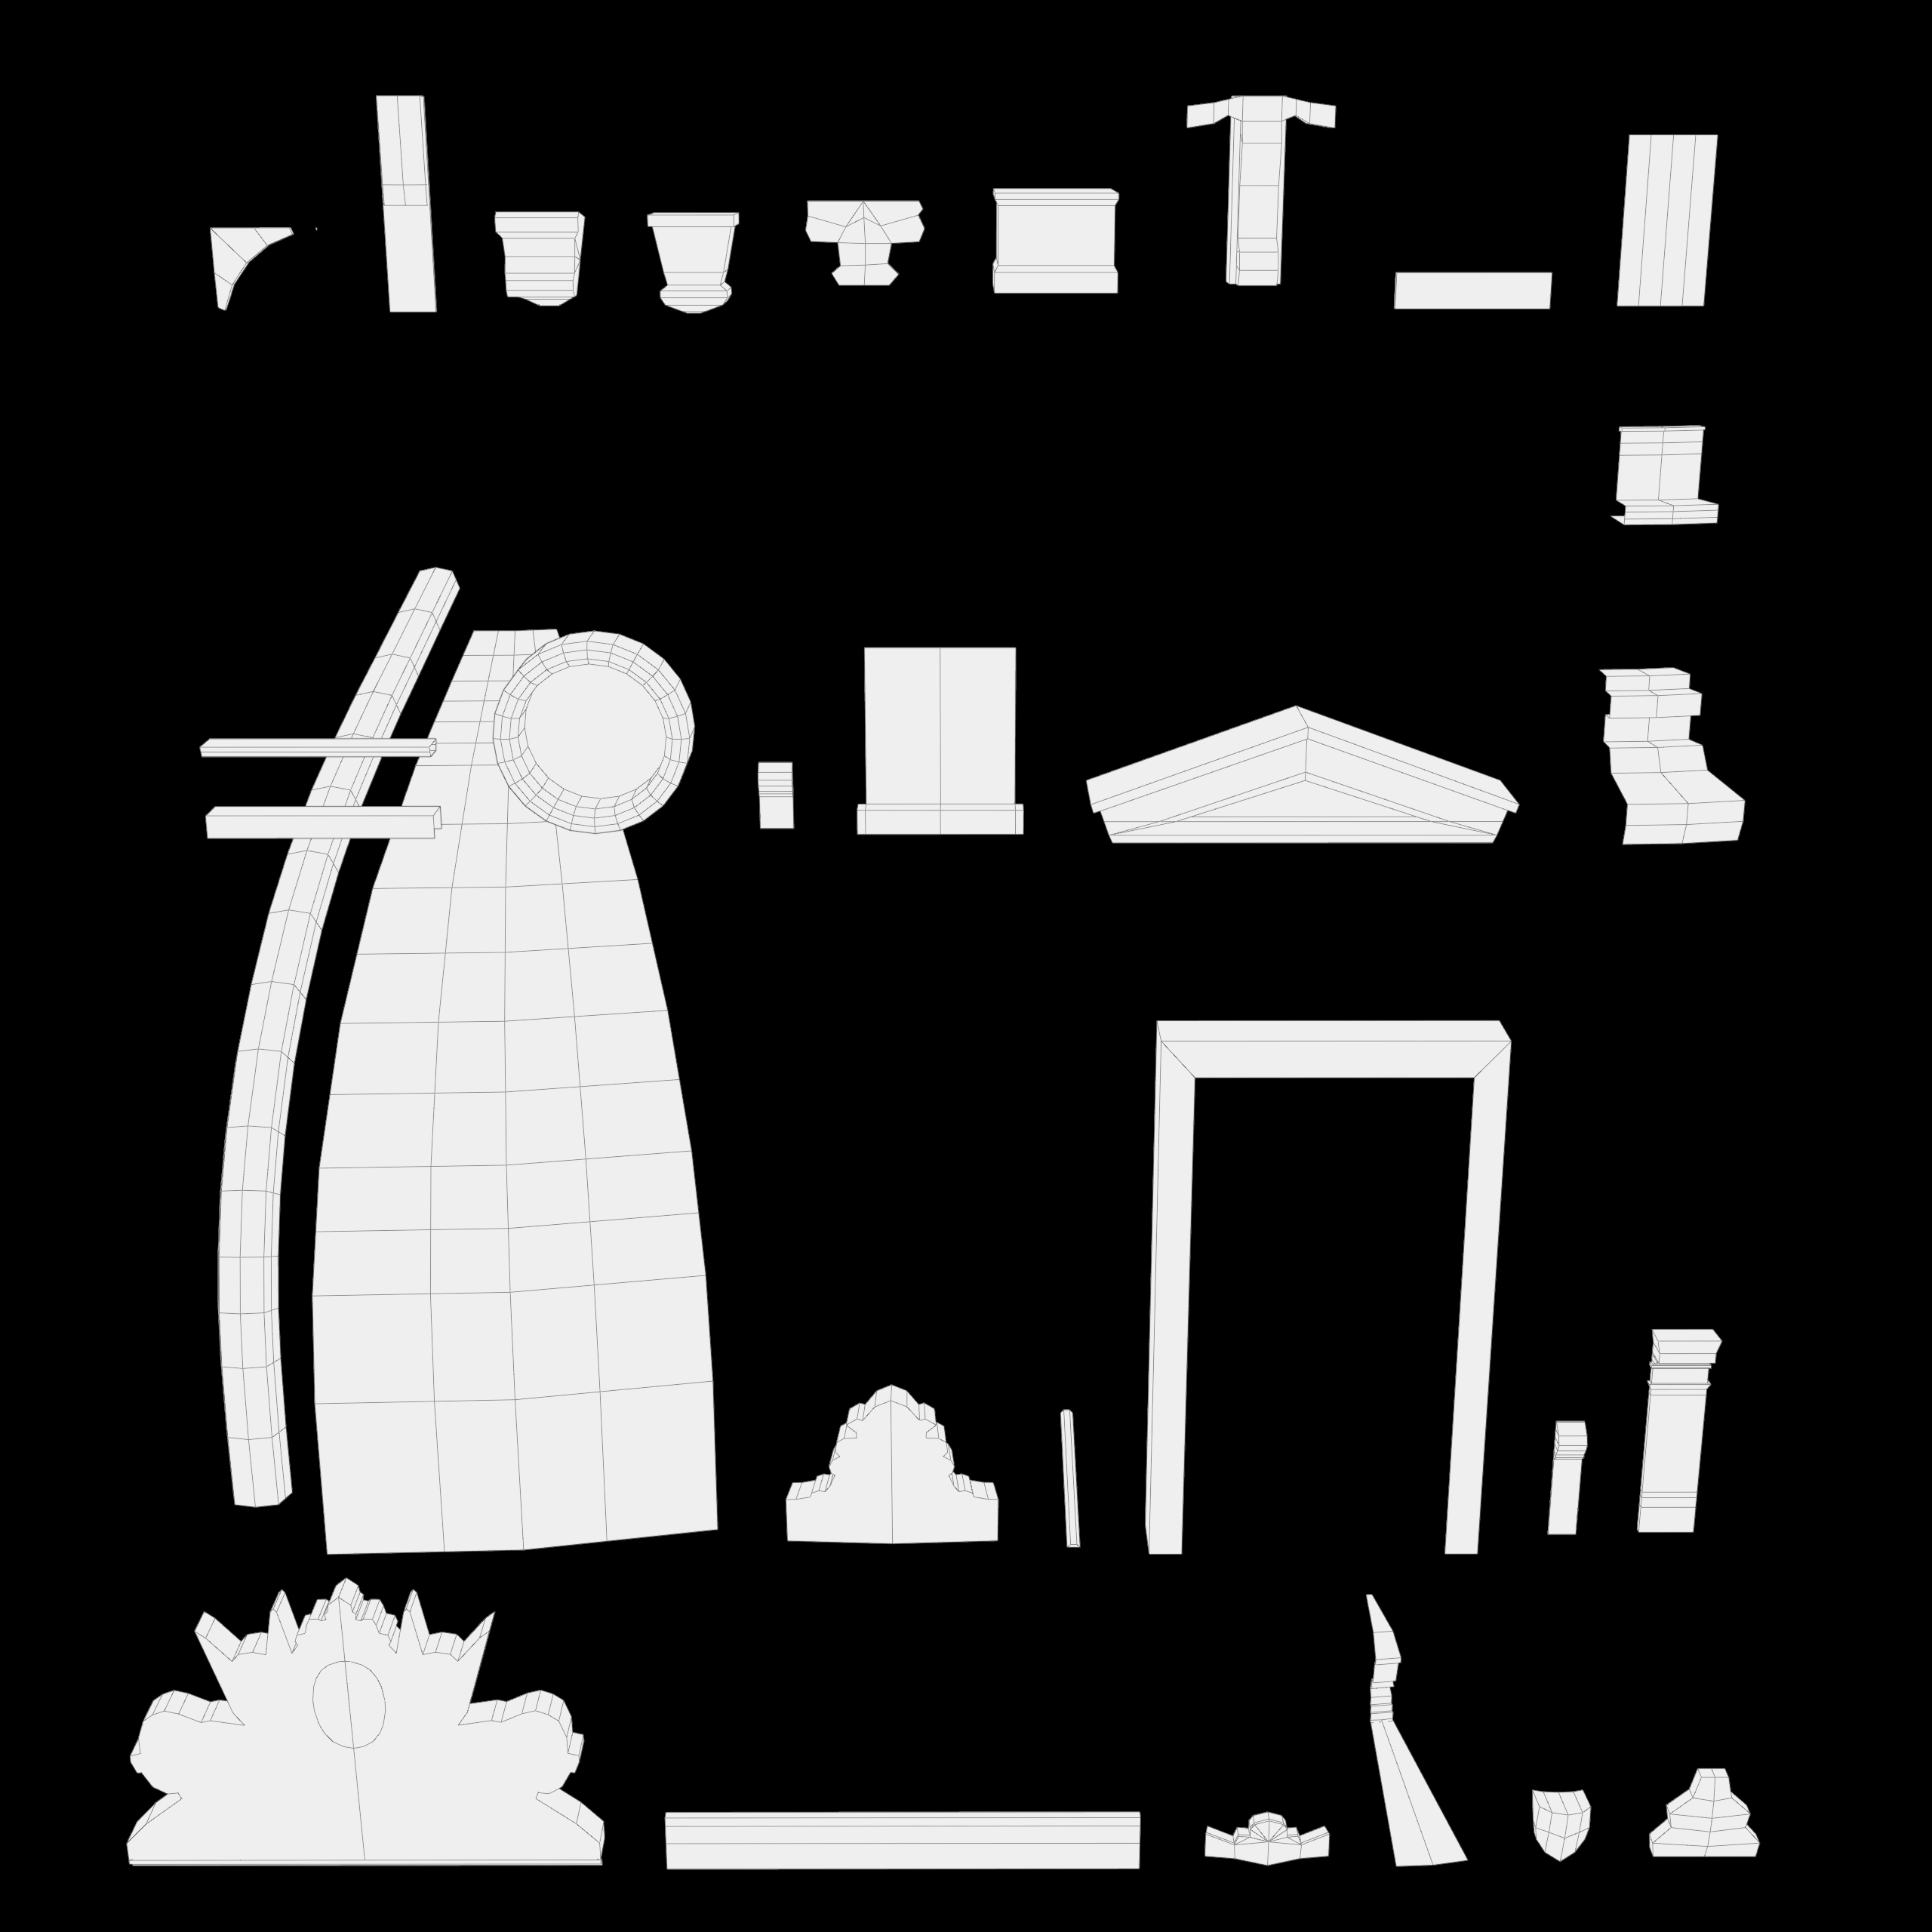
Modular Wire 1
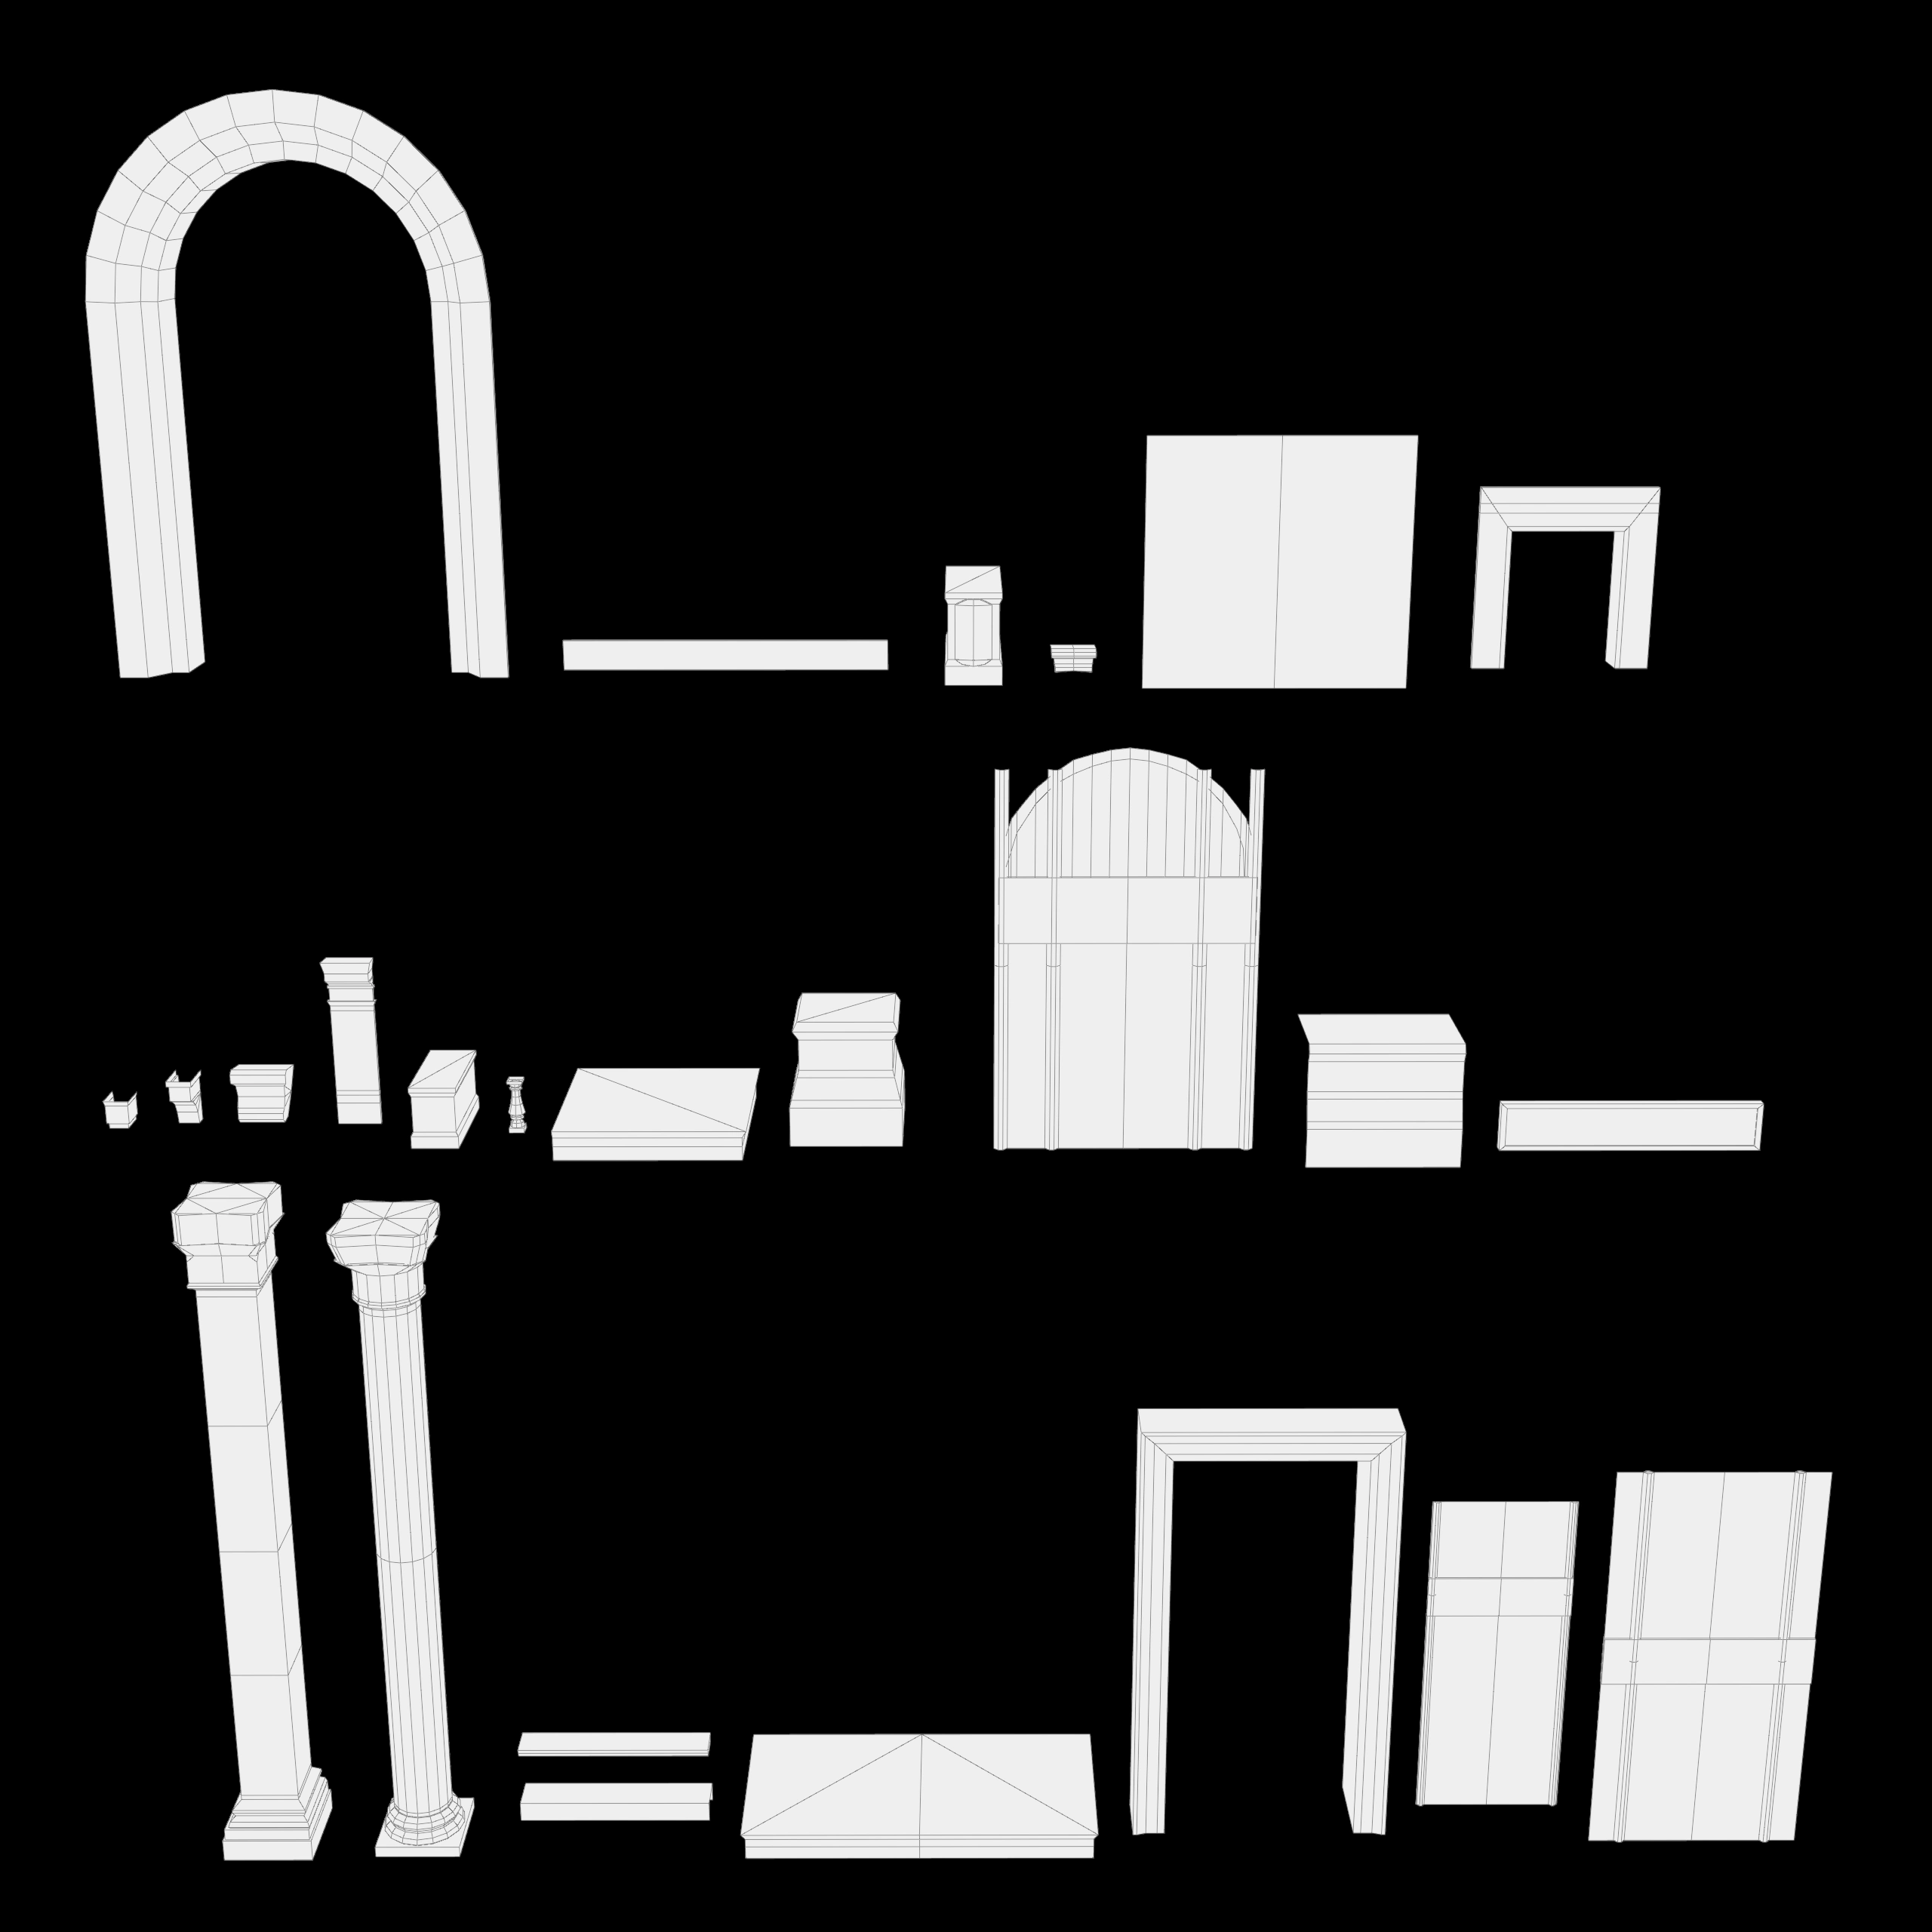
Modular Wire 2
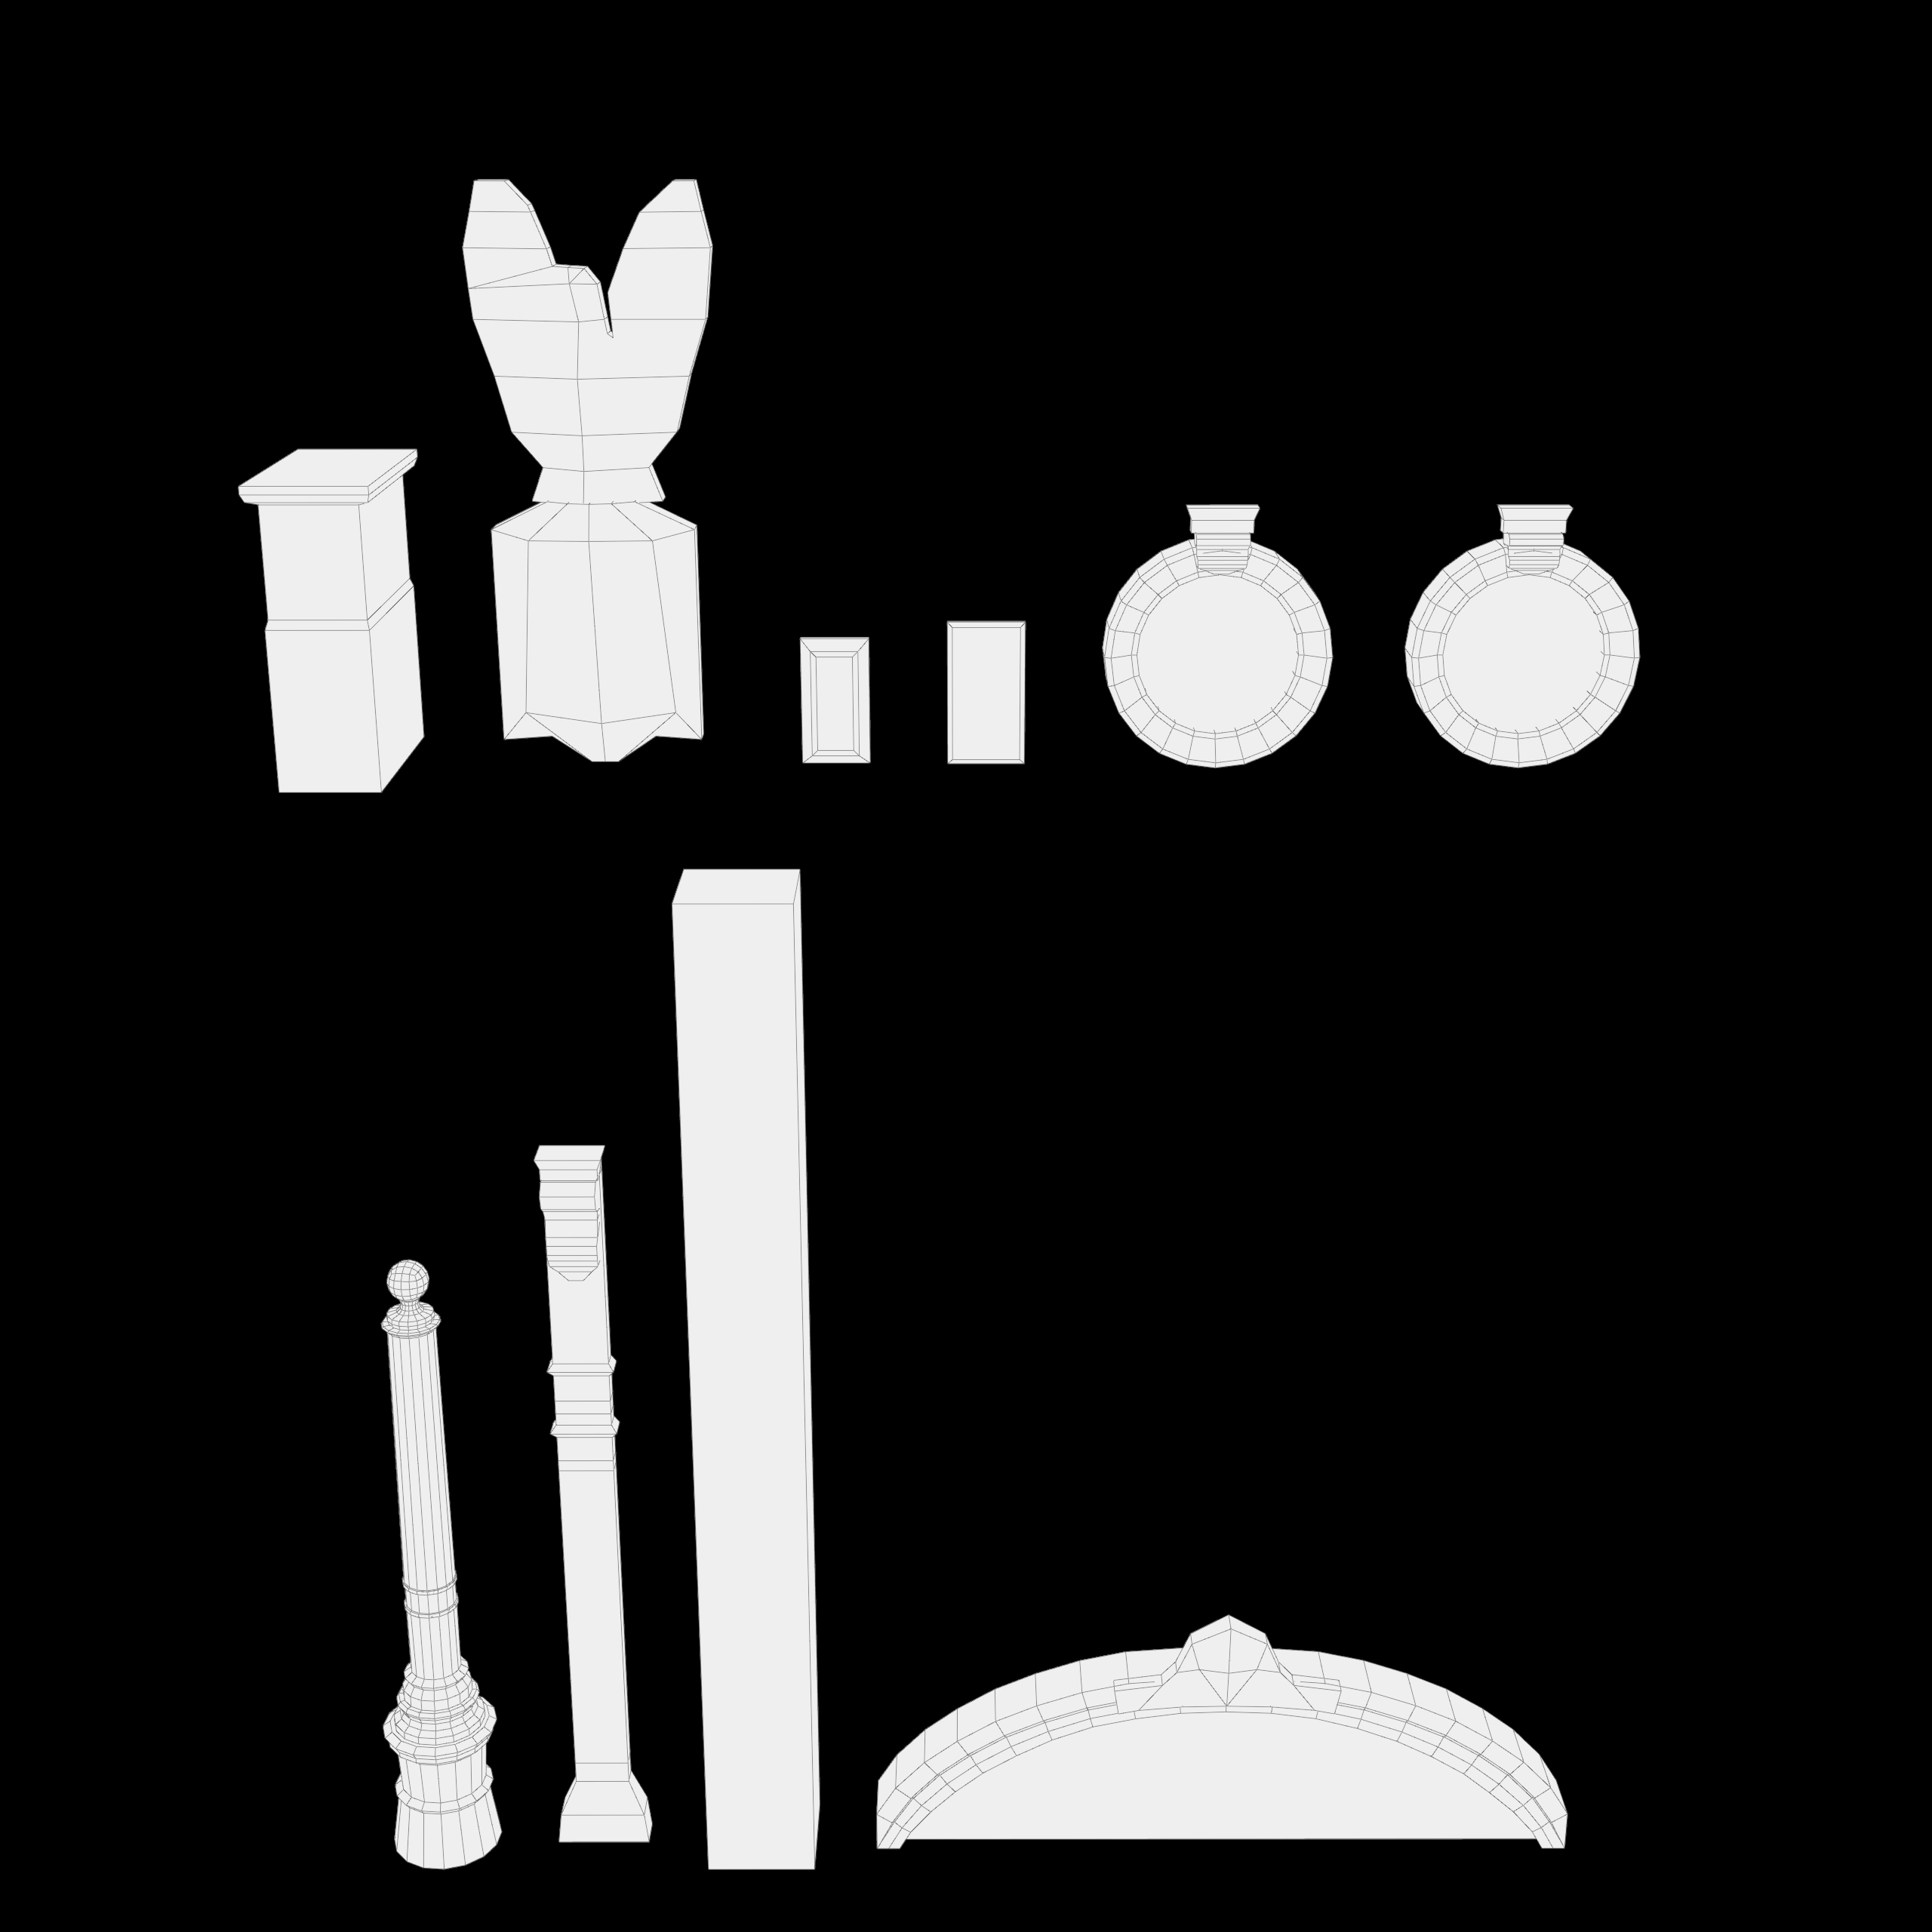
Modular Wire 3
Materials and Textures
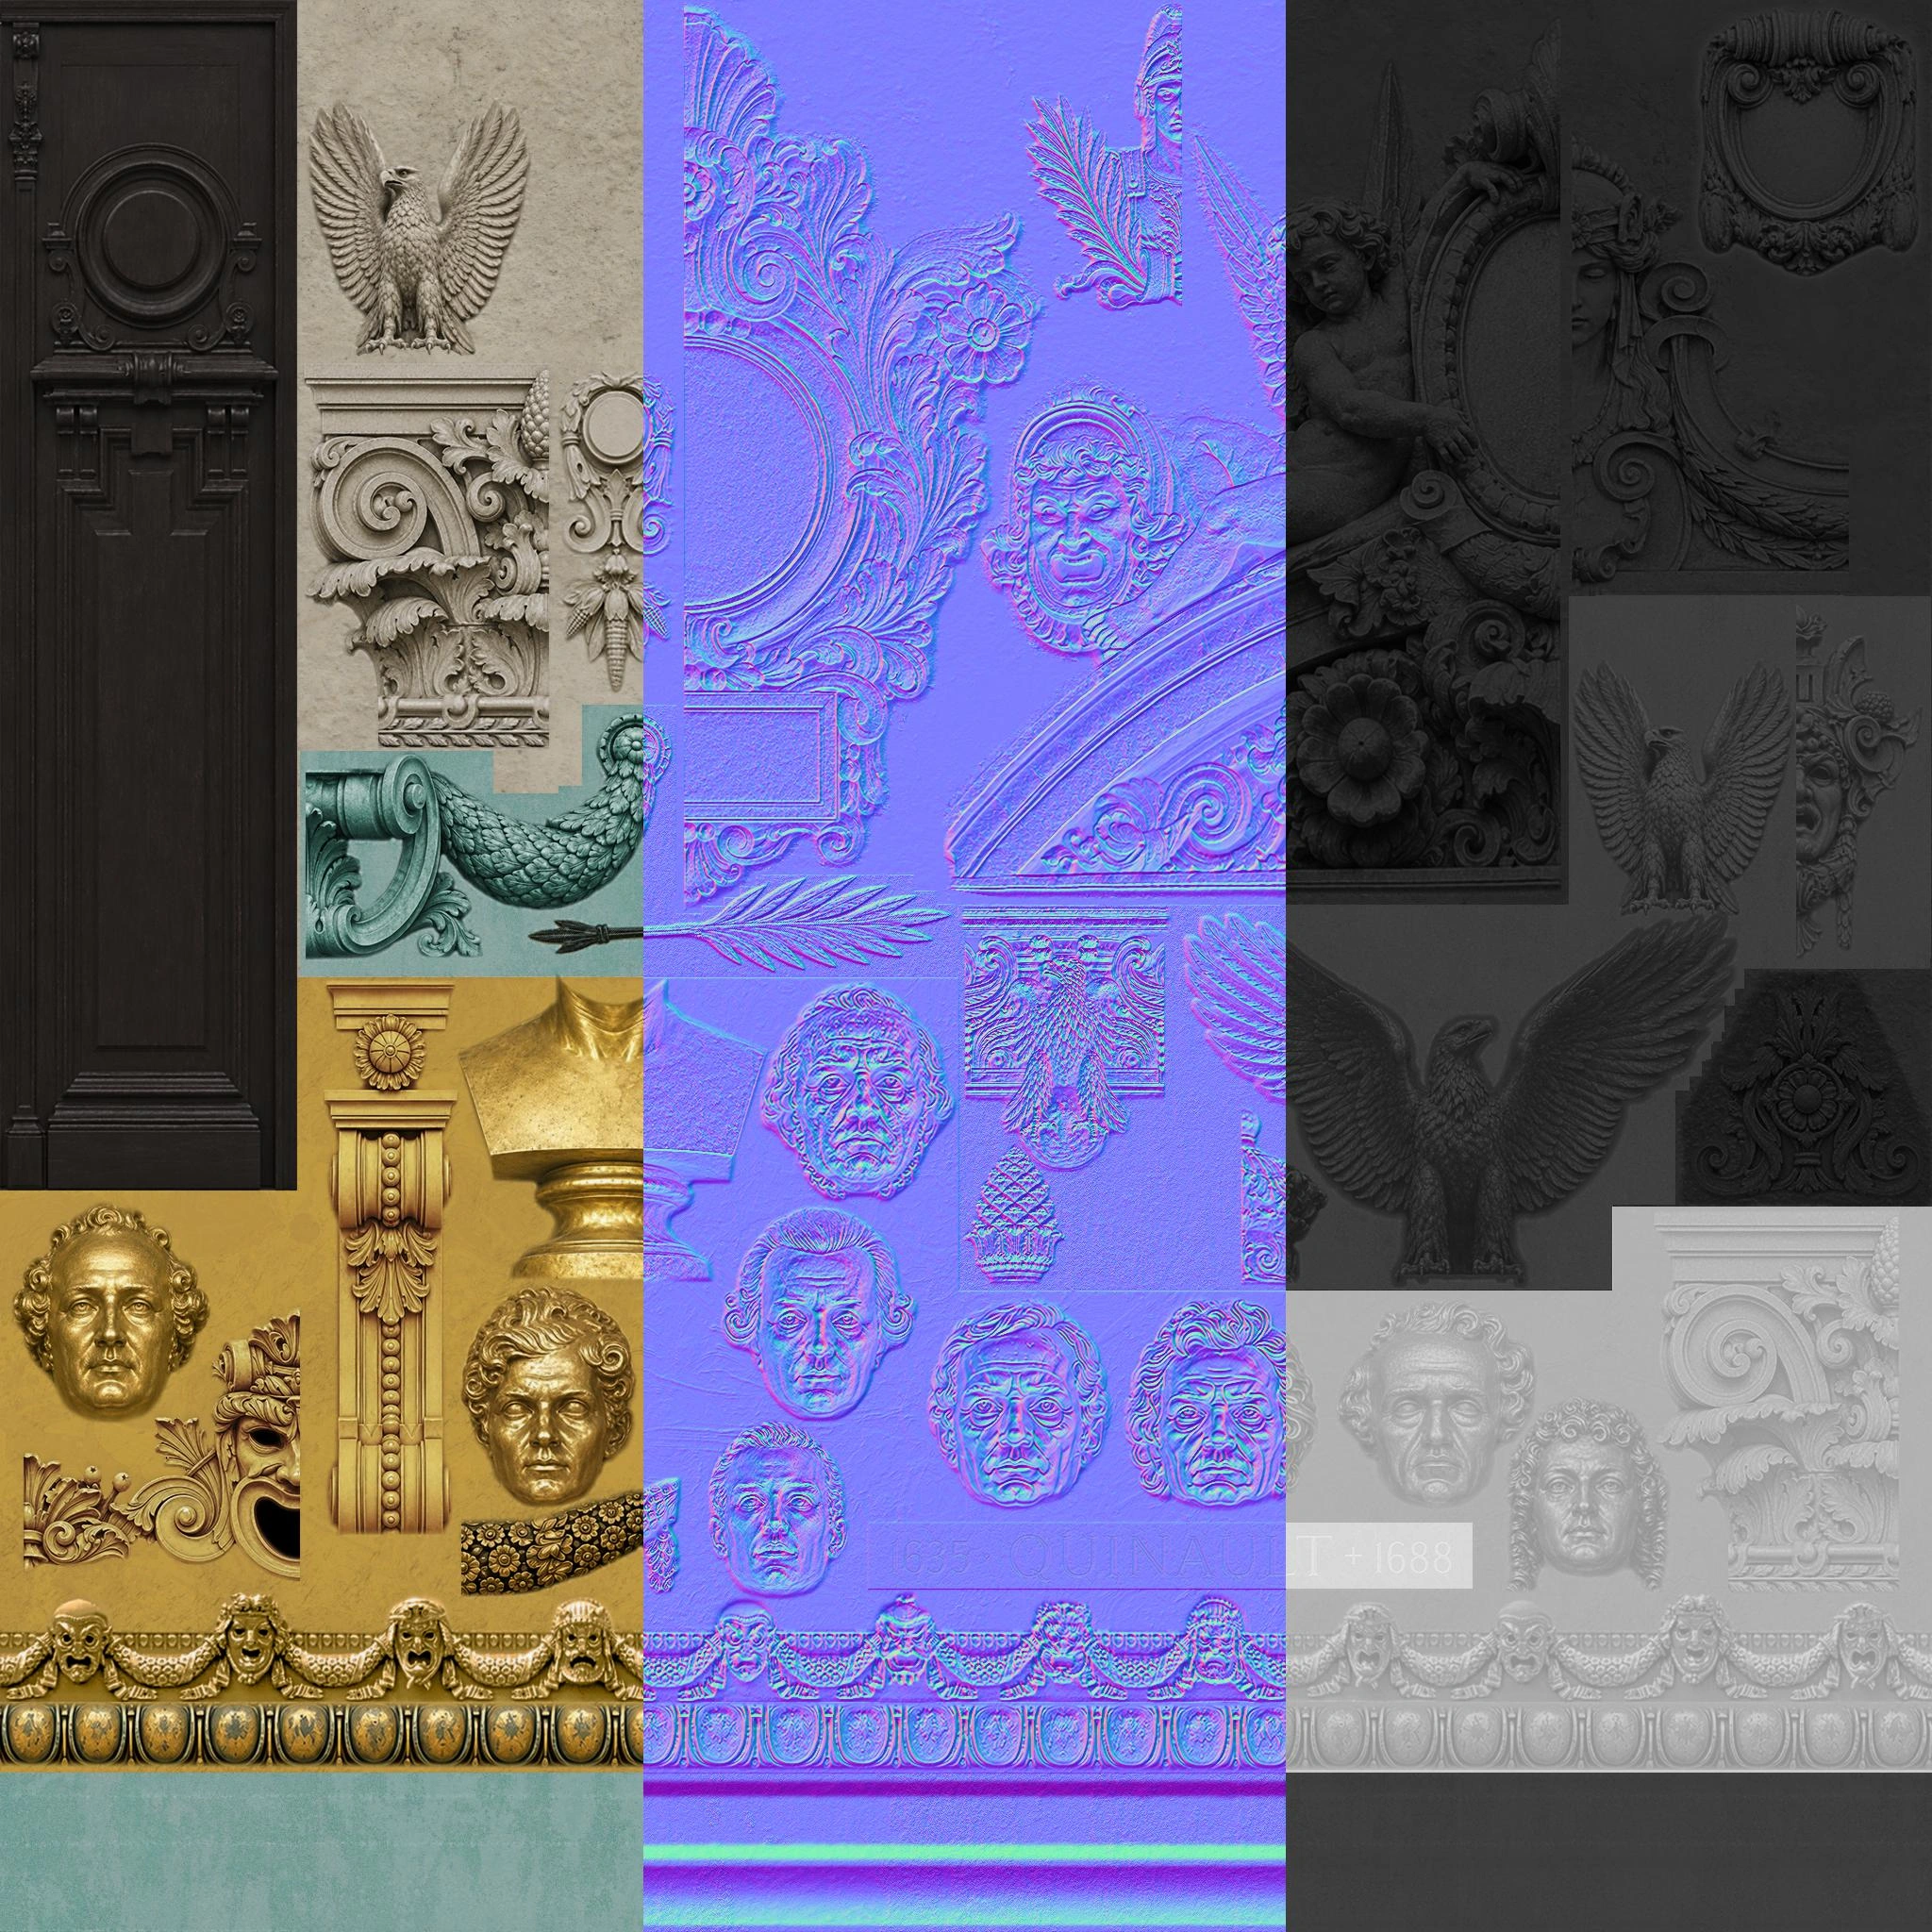
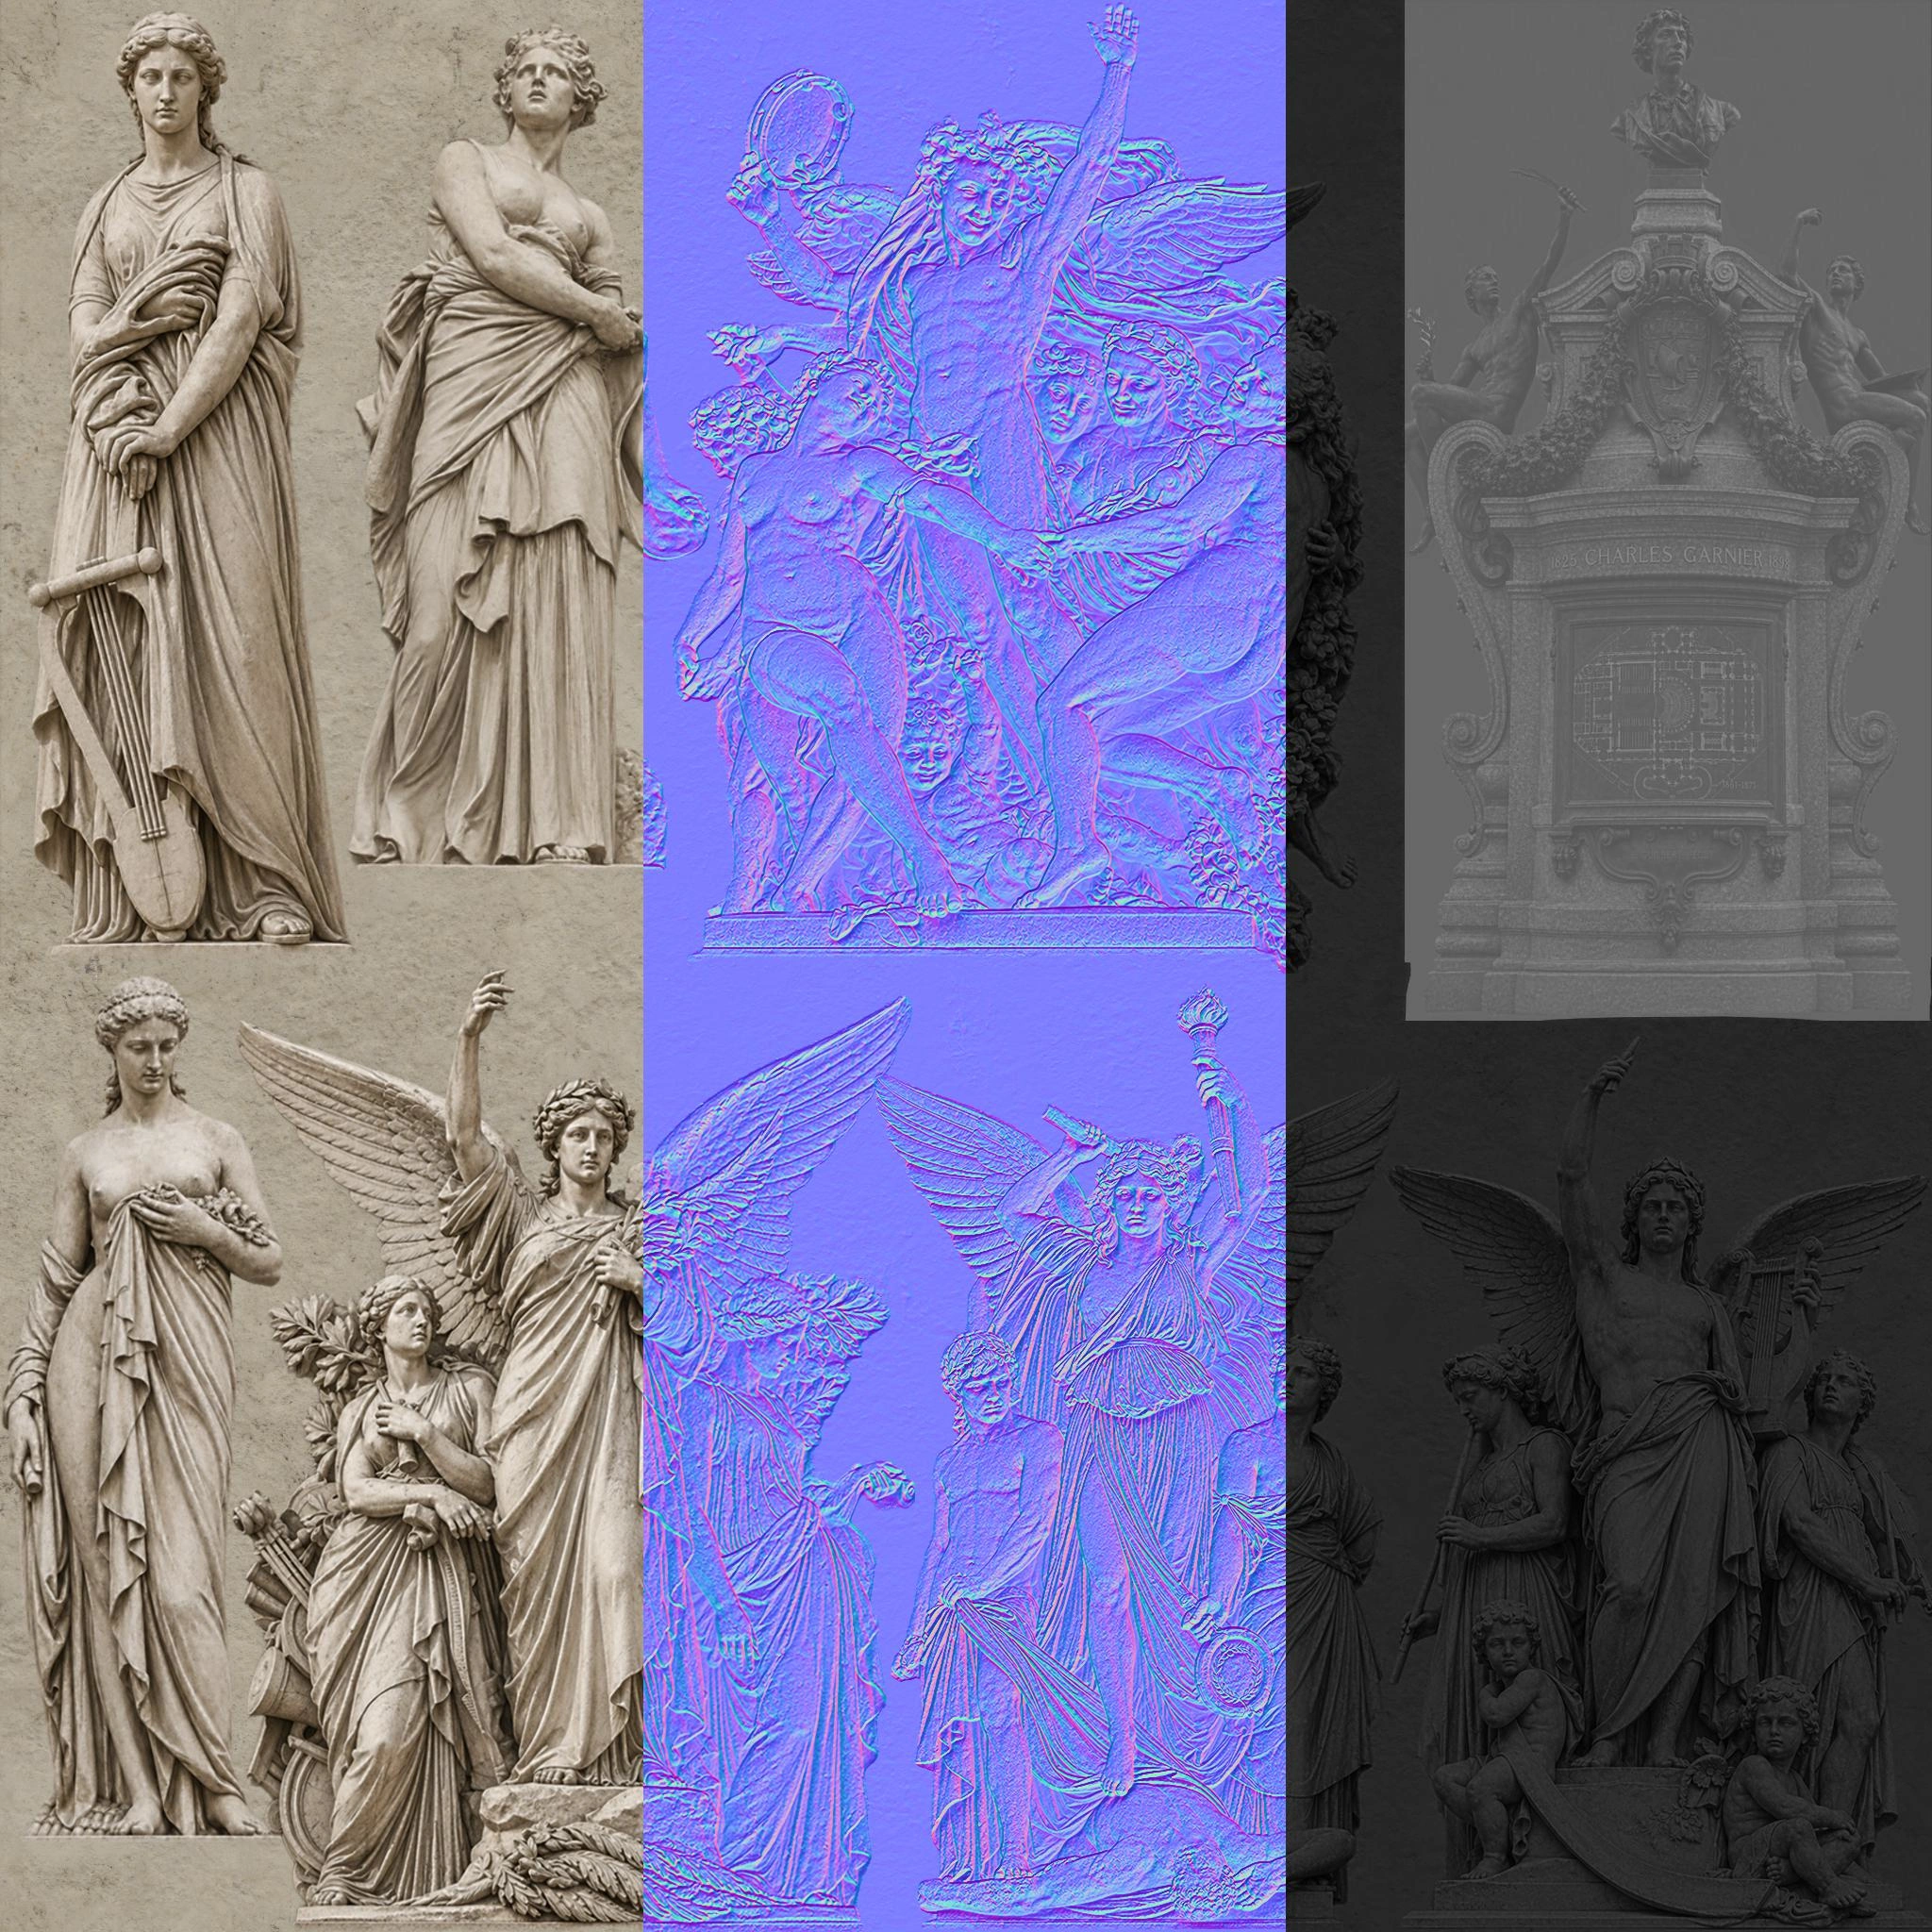
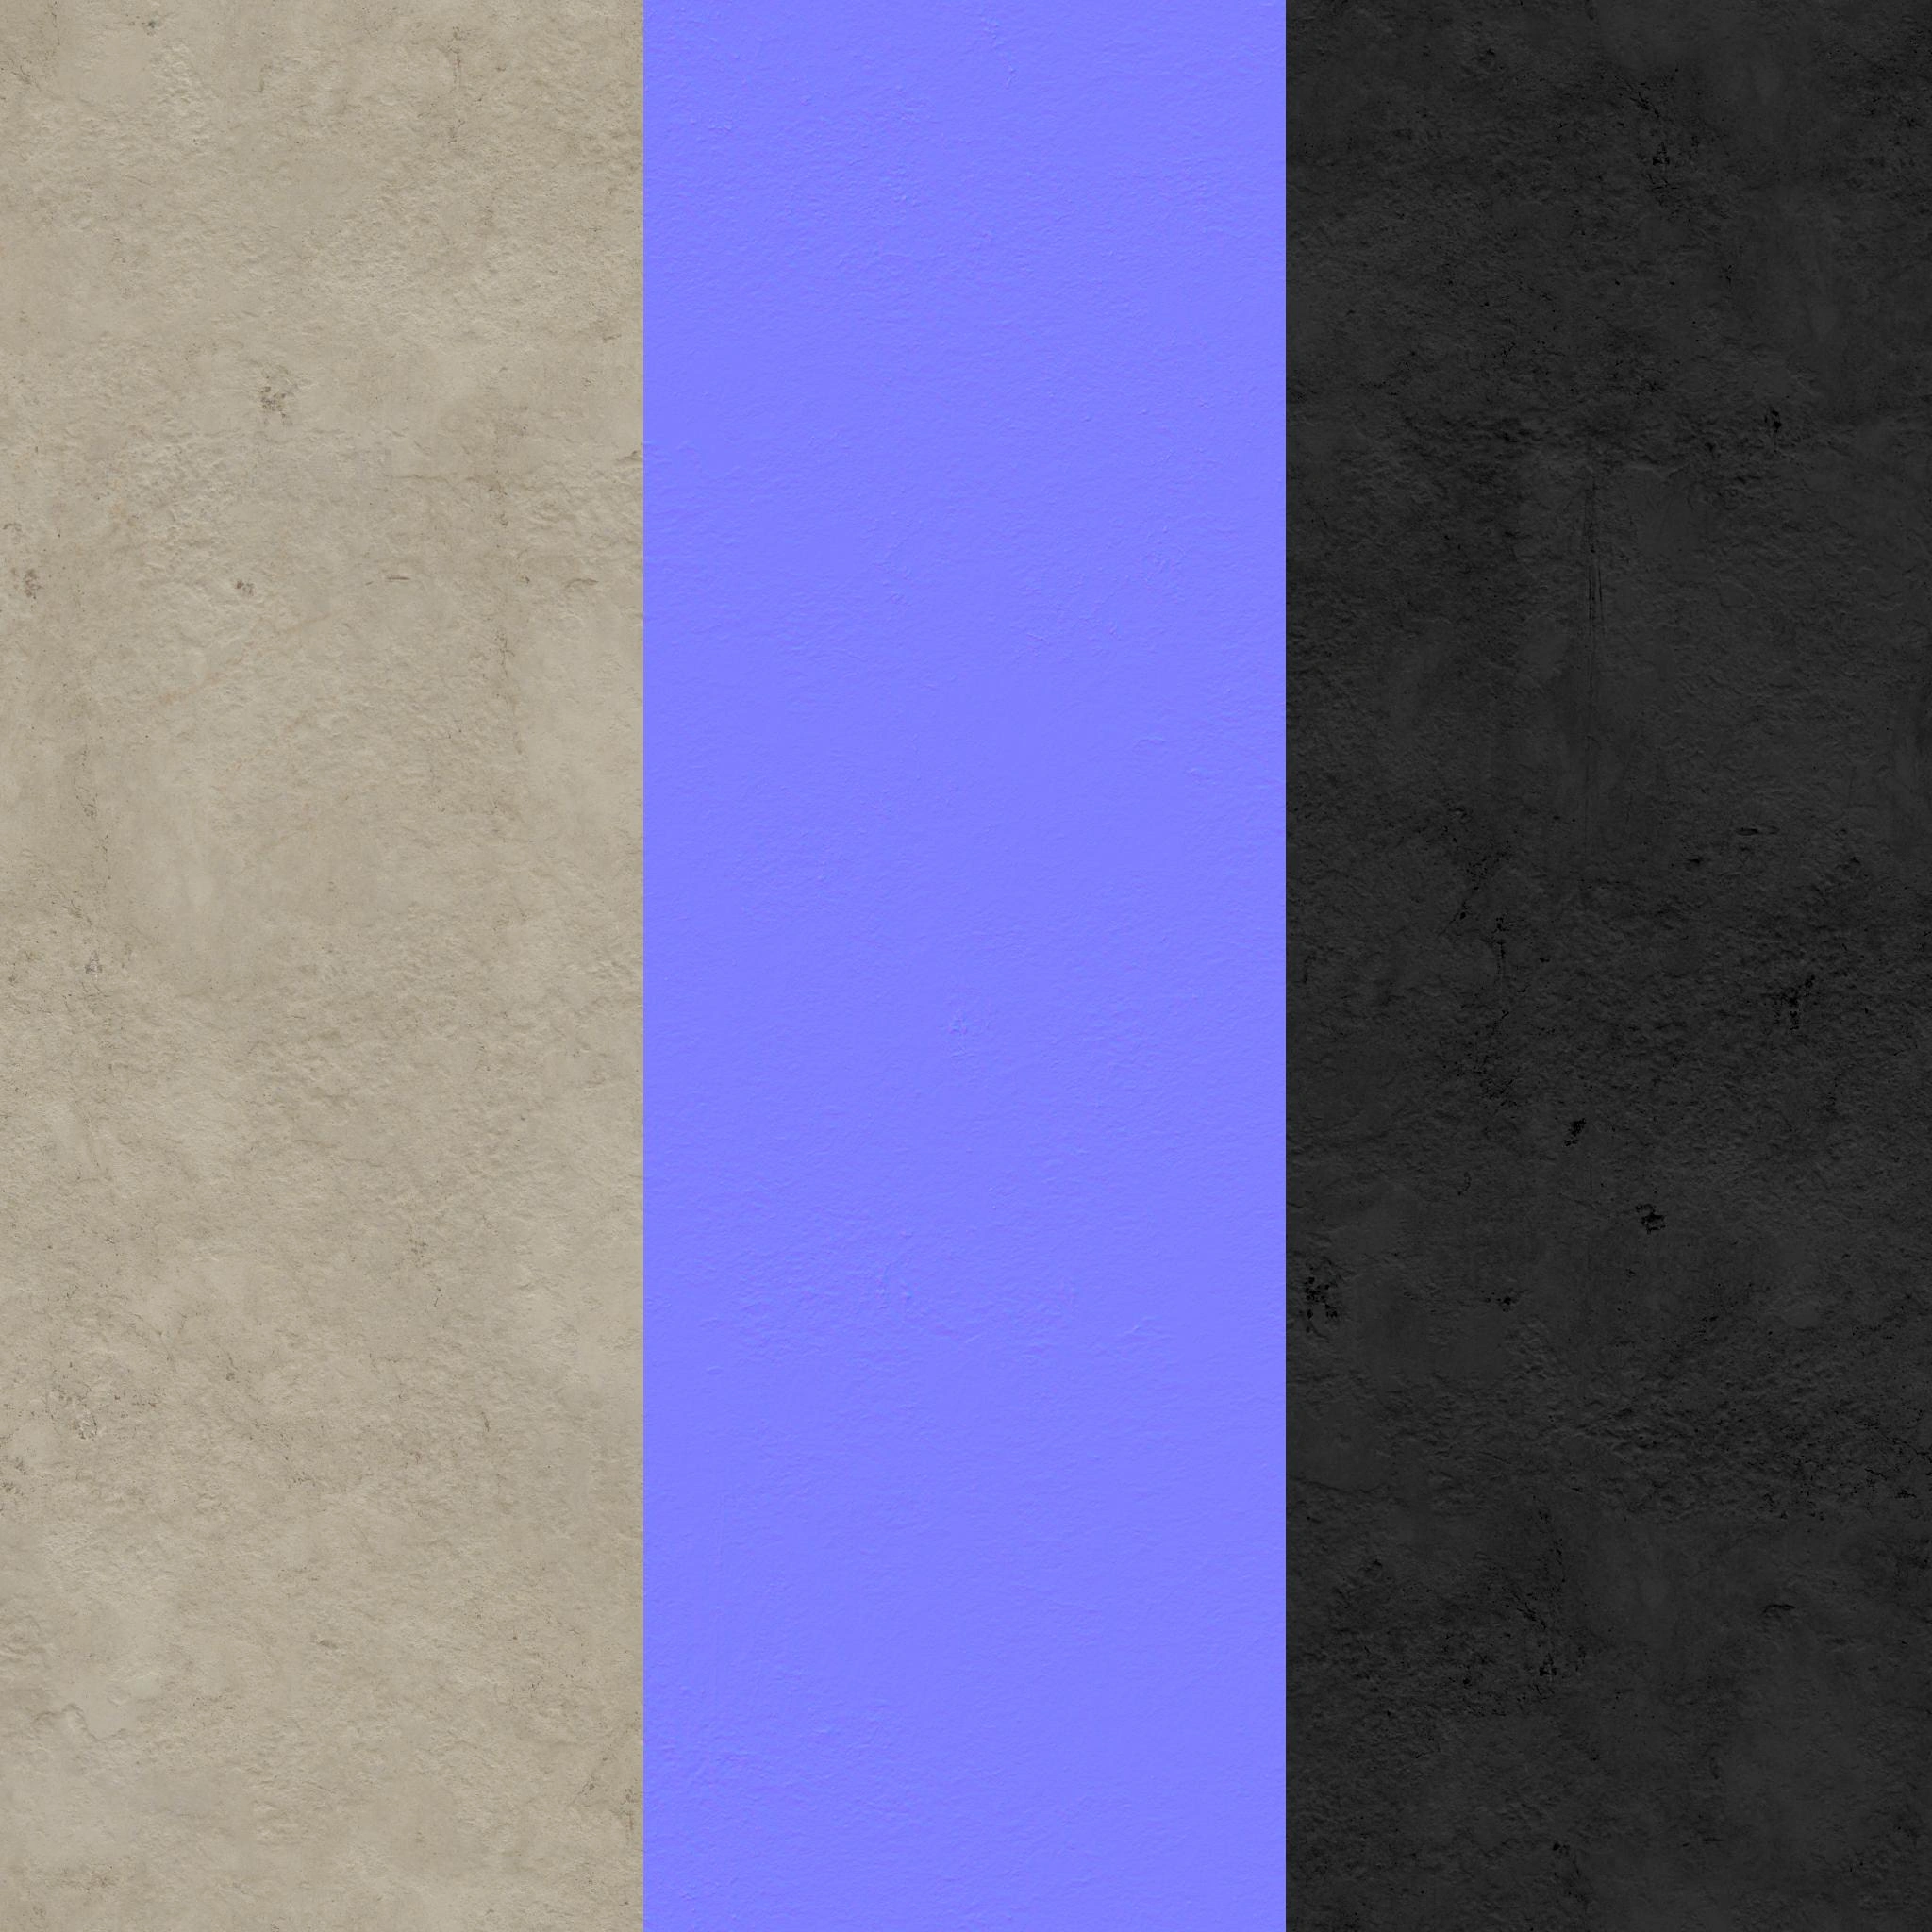
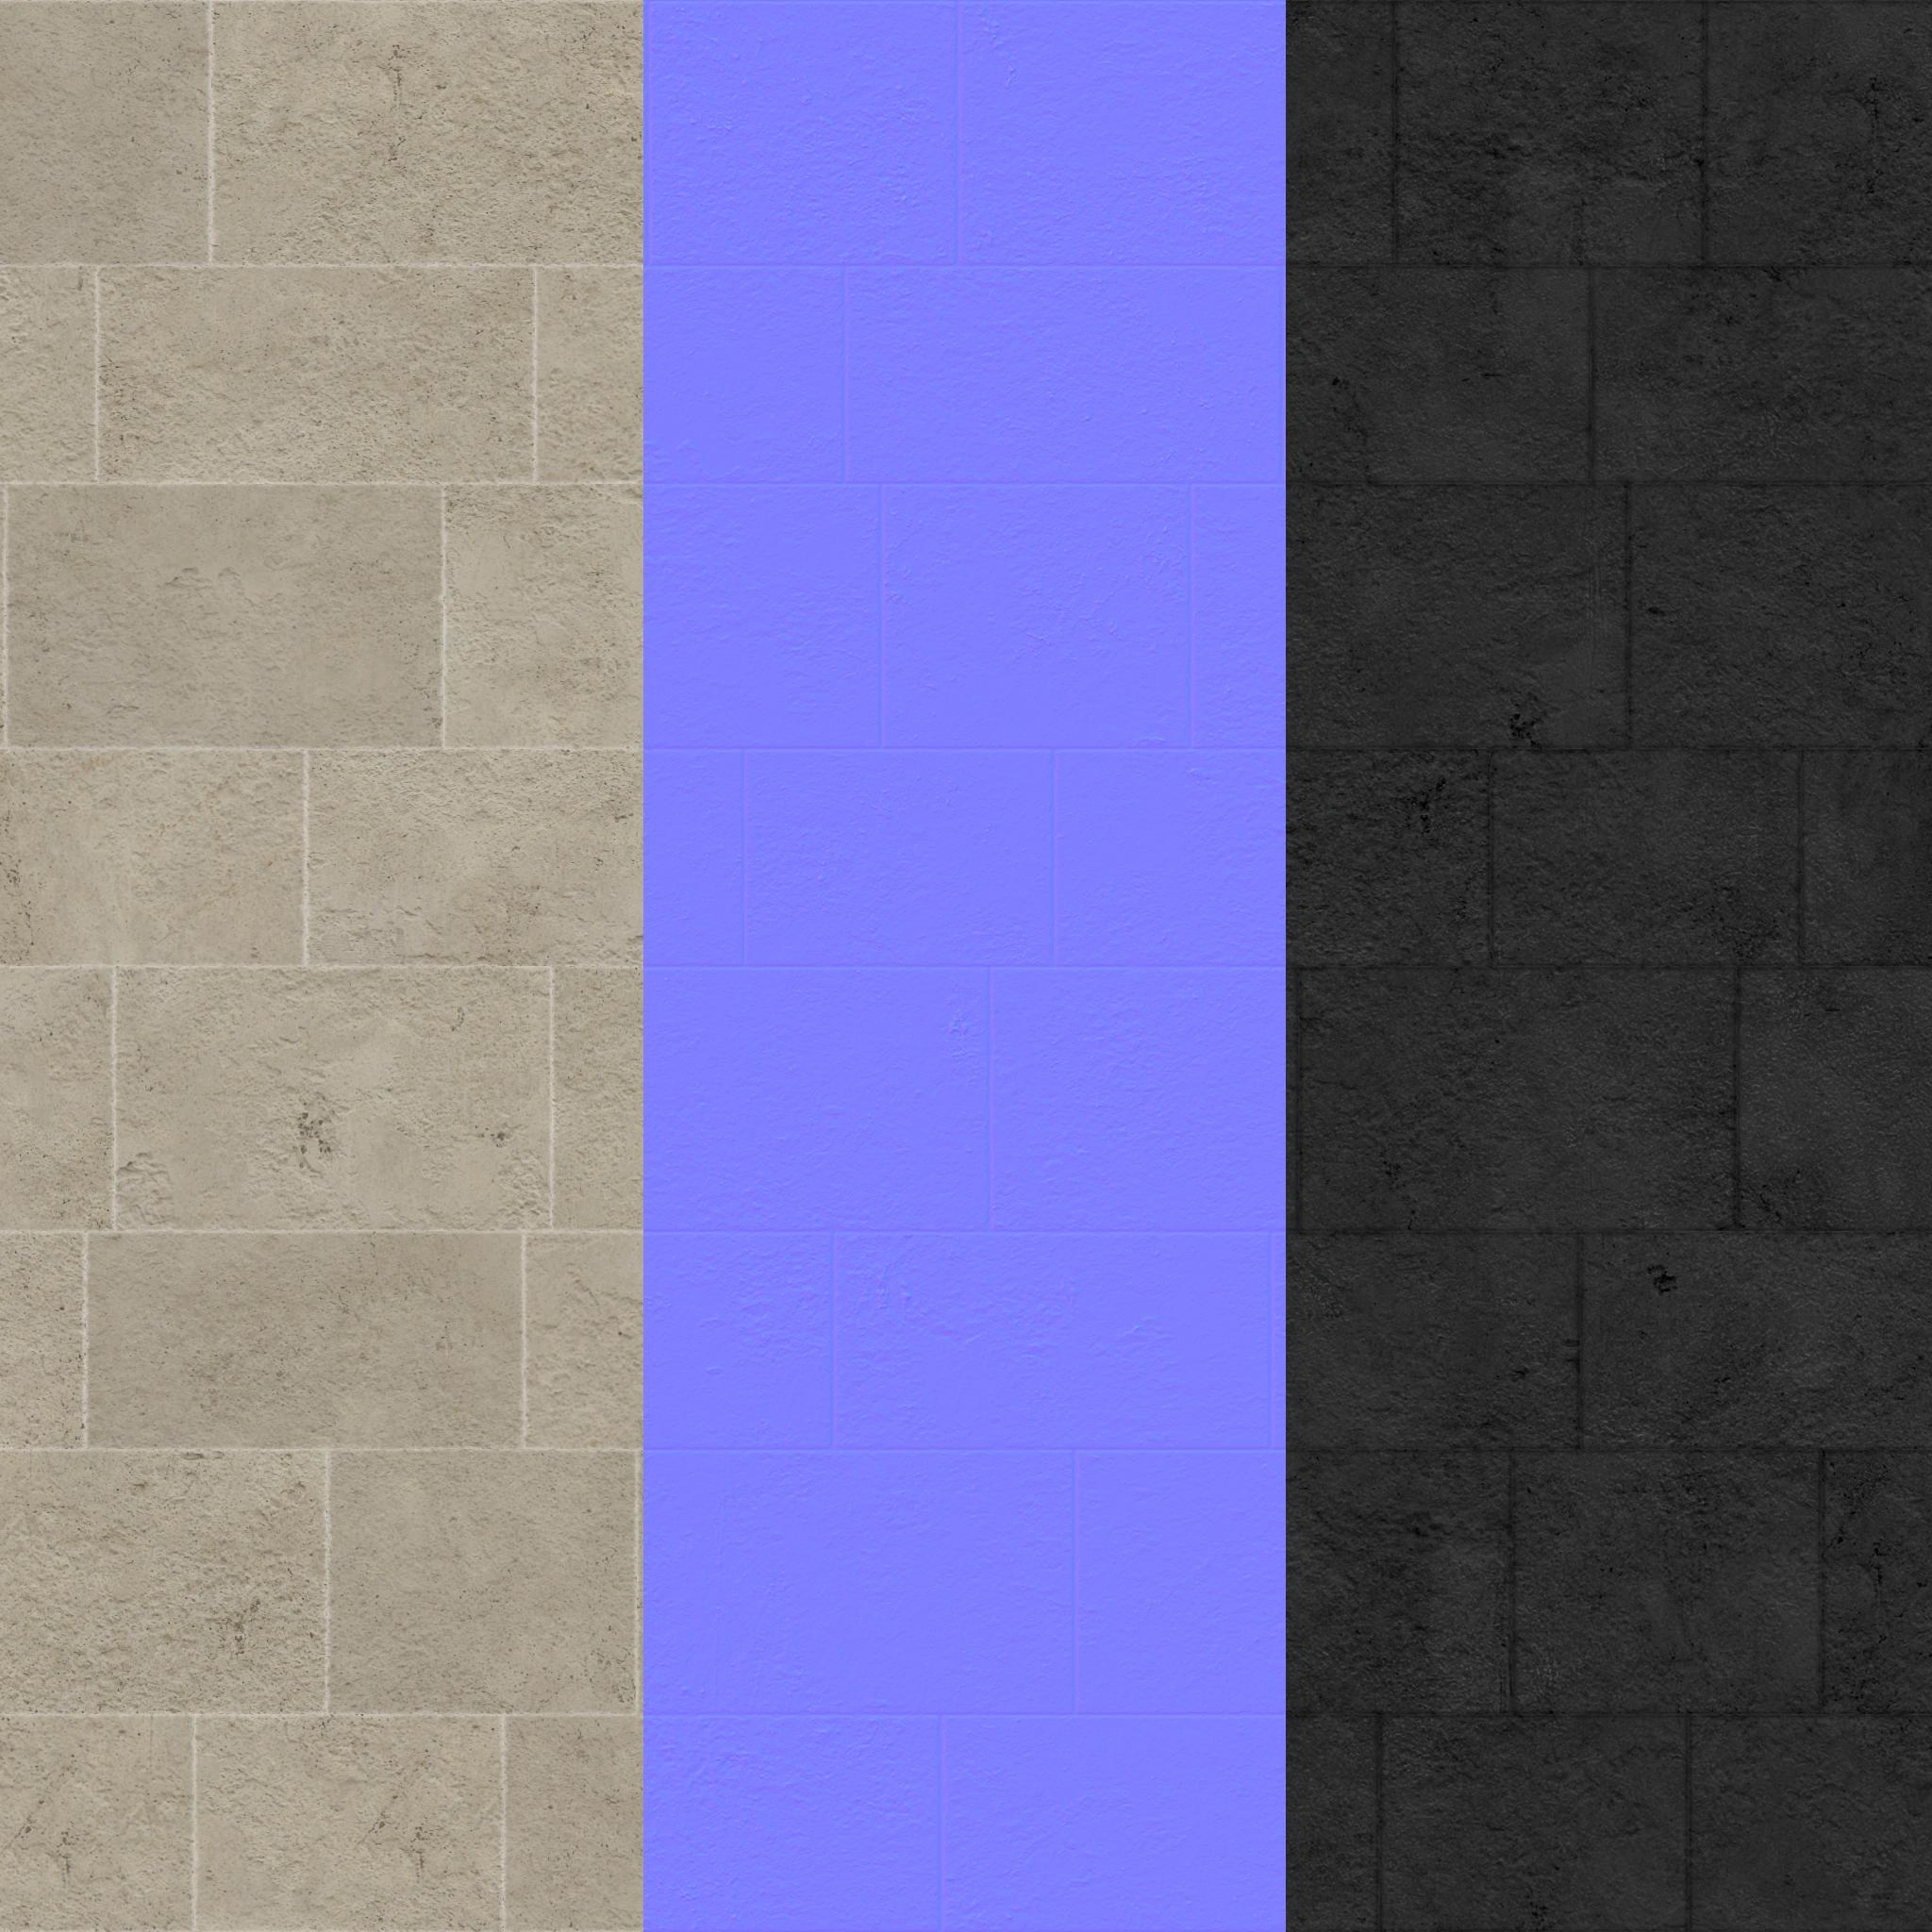
The textures are: Diffuse (opacity in the alpha channel), Normal (DirectX) and Specular with a maximum texture resolution of 1k. They were created combining existing image assets, Substance Designer texturing and AI image upscaling.
I have used Photoshop heavily in this project for texture preparation and assembling the atlases.
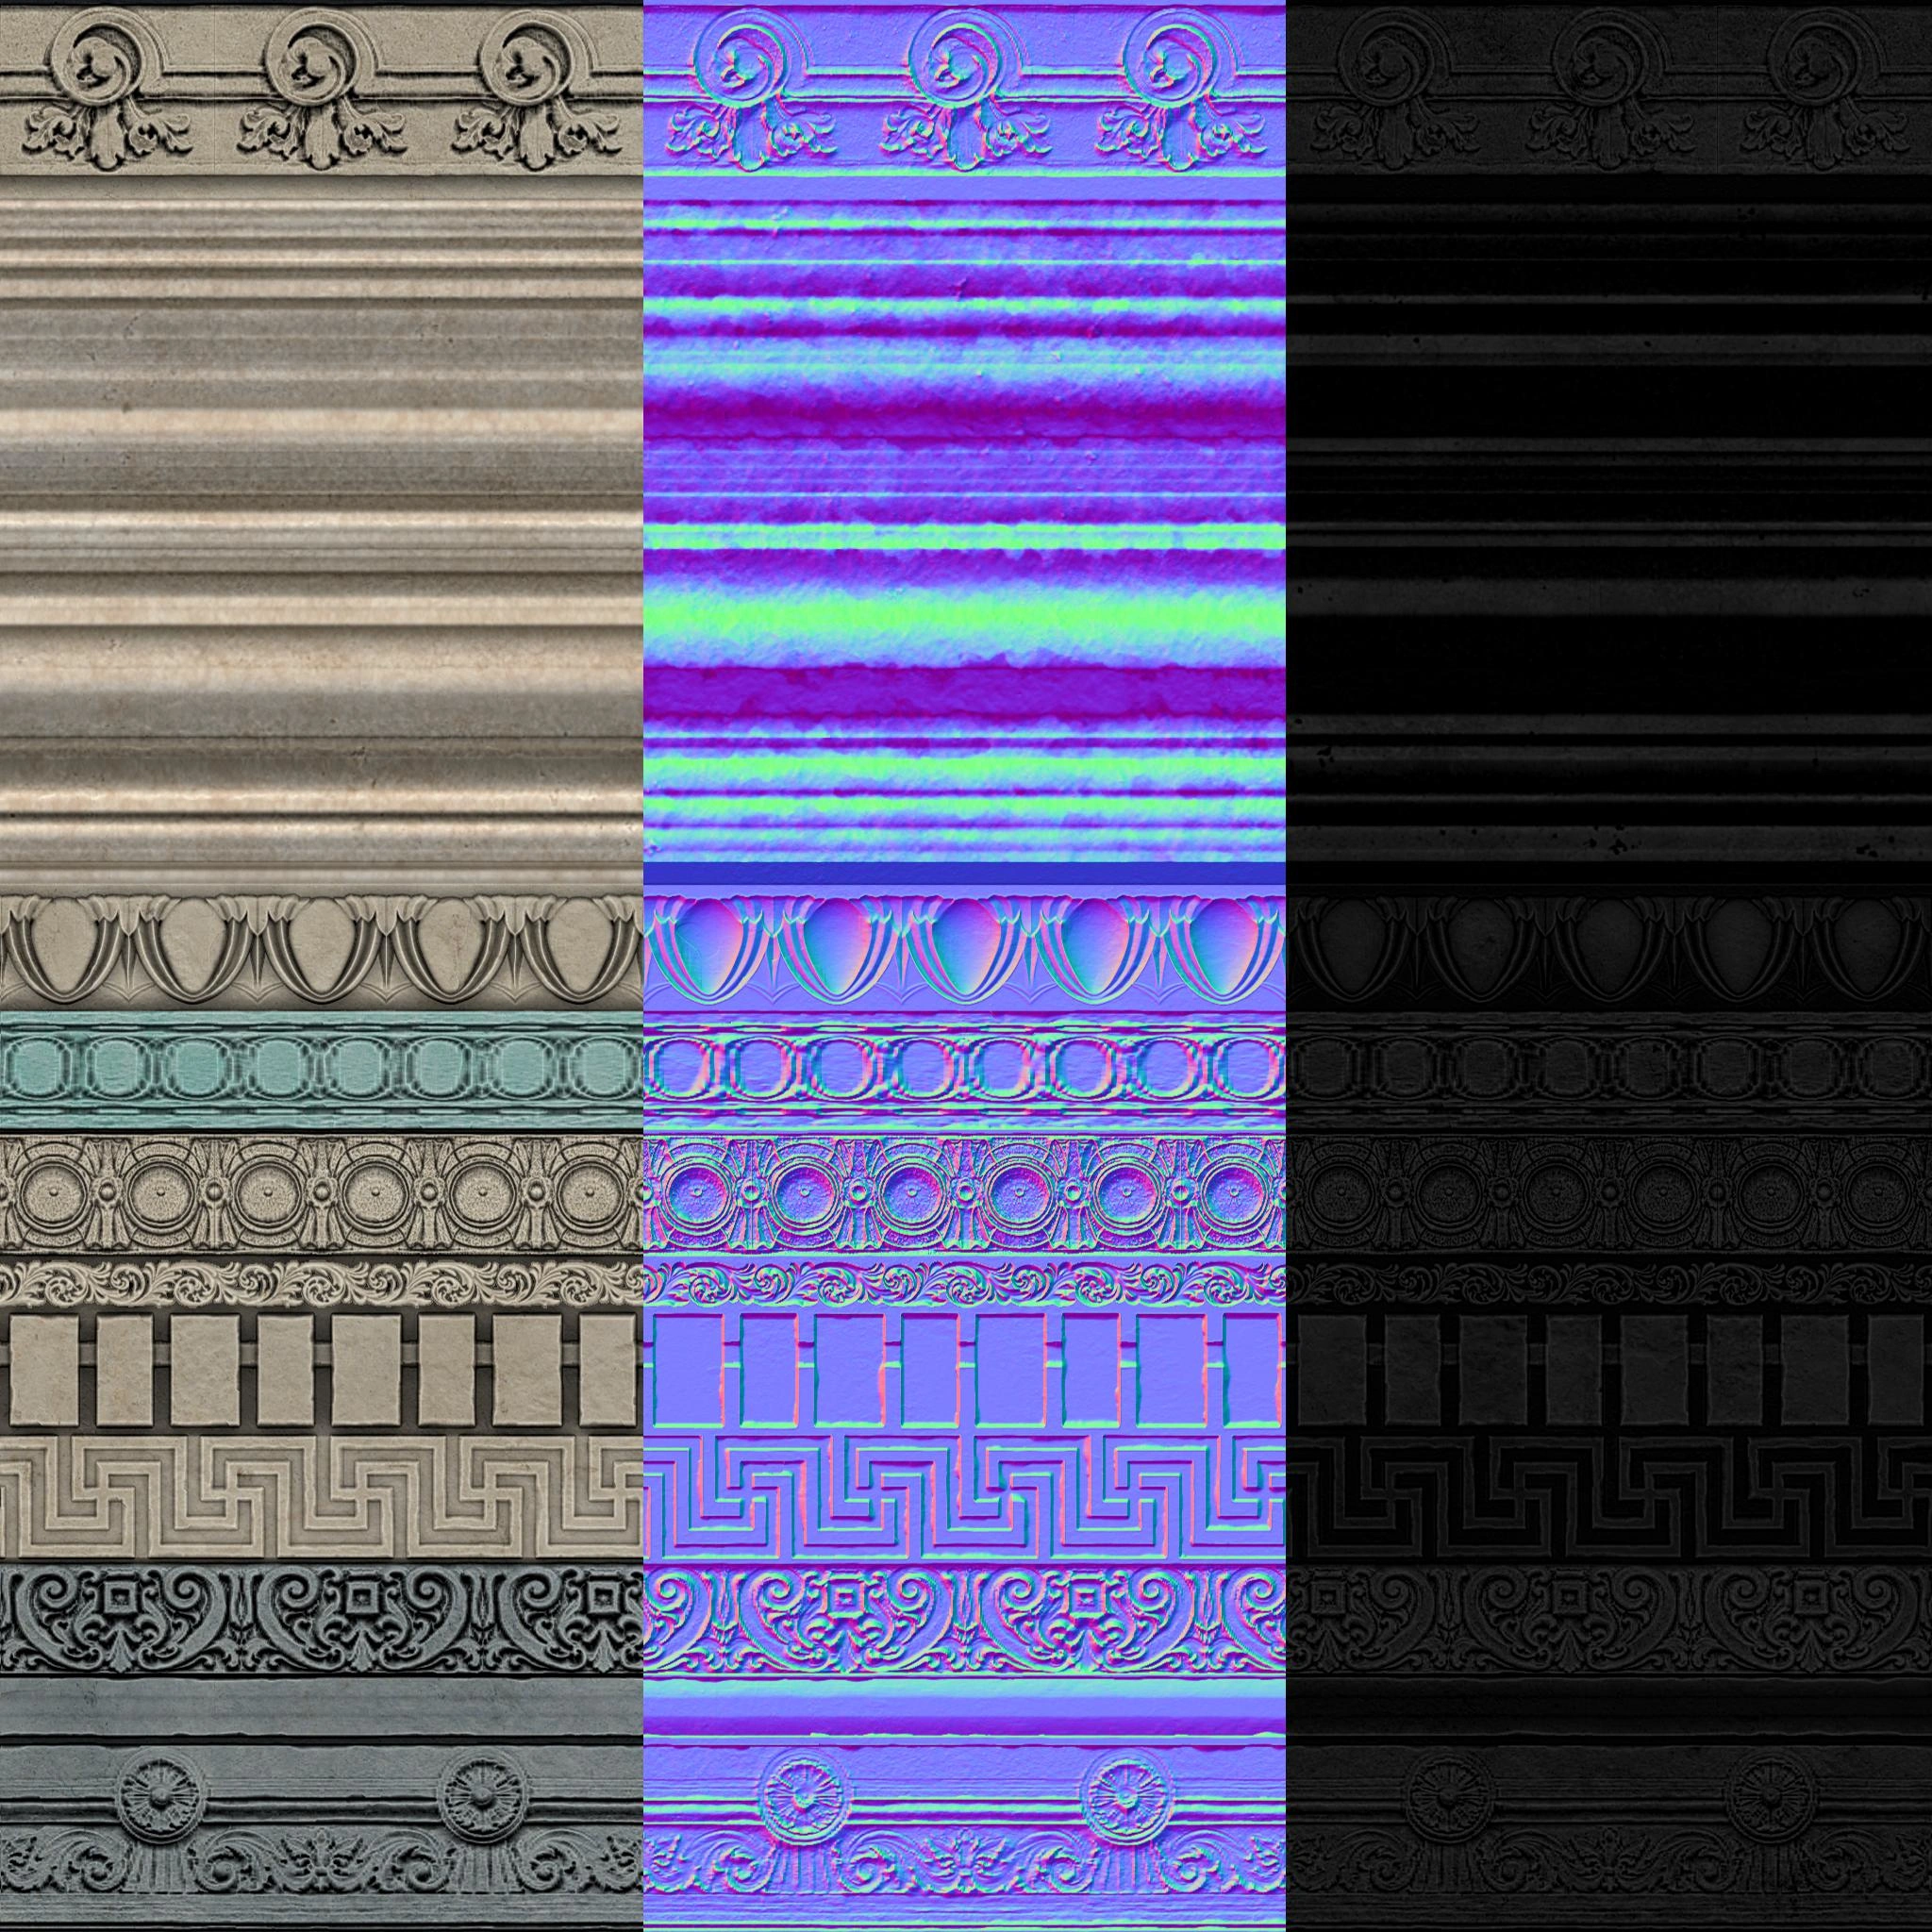
Main Trim
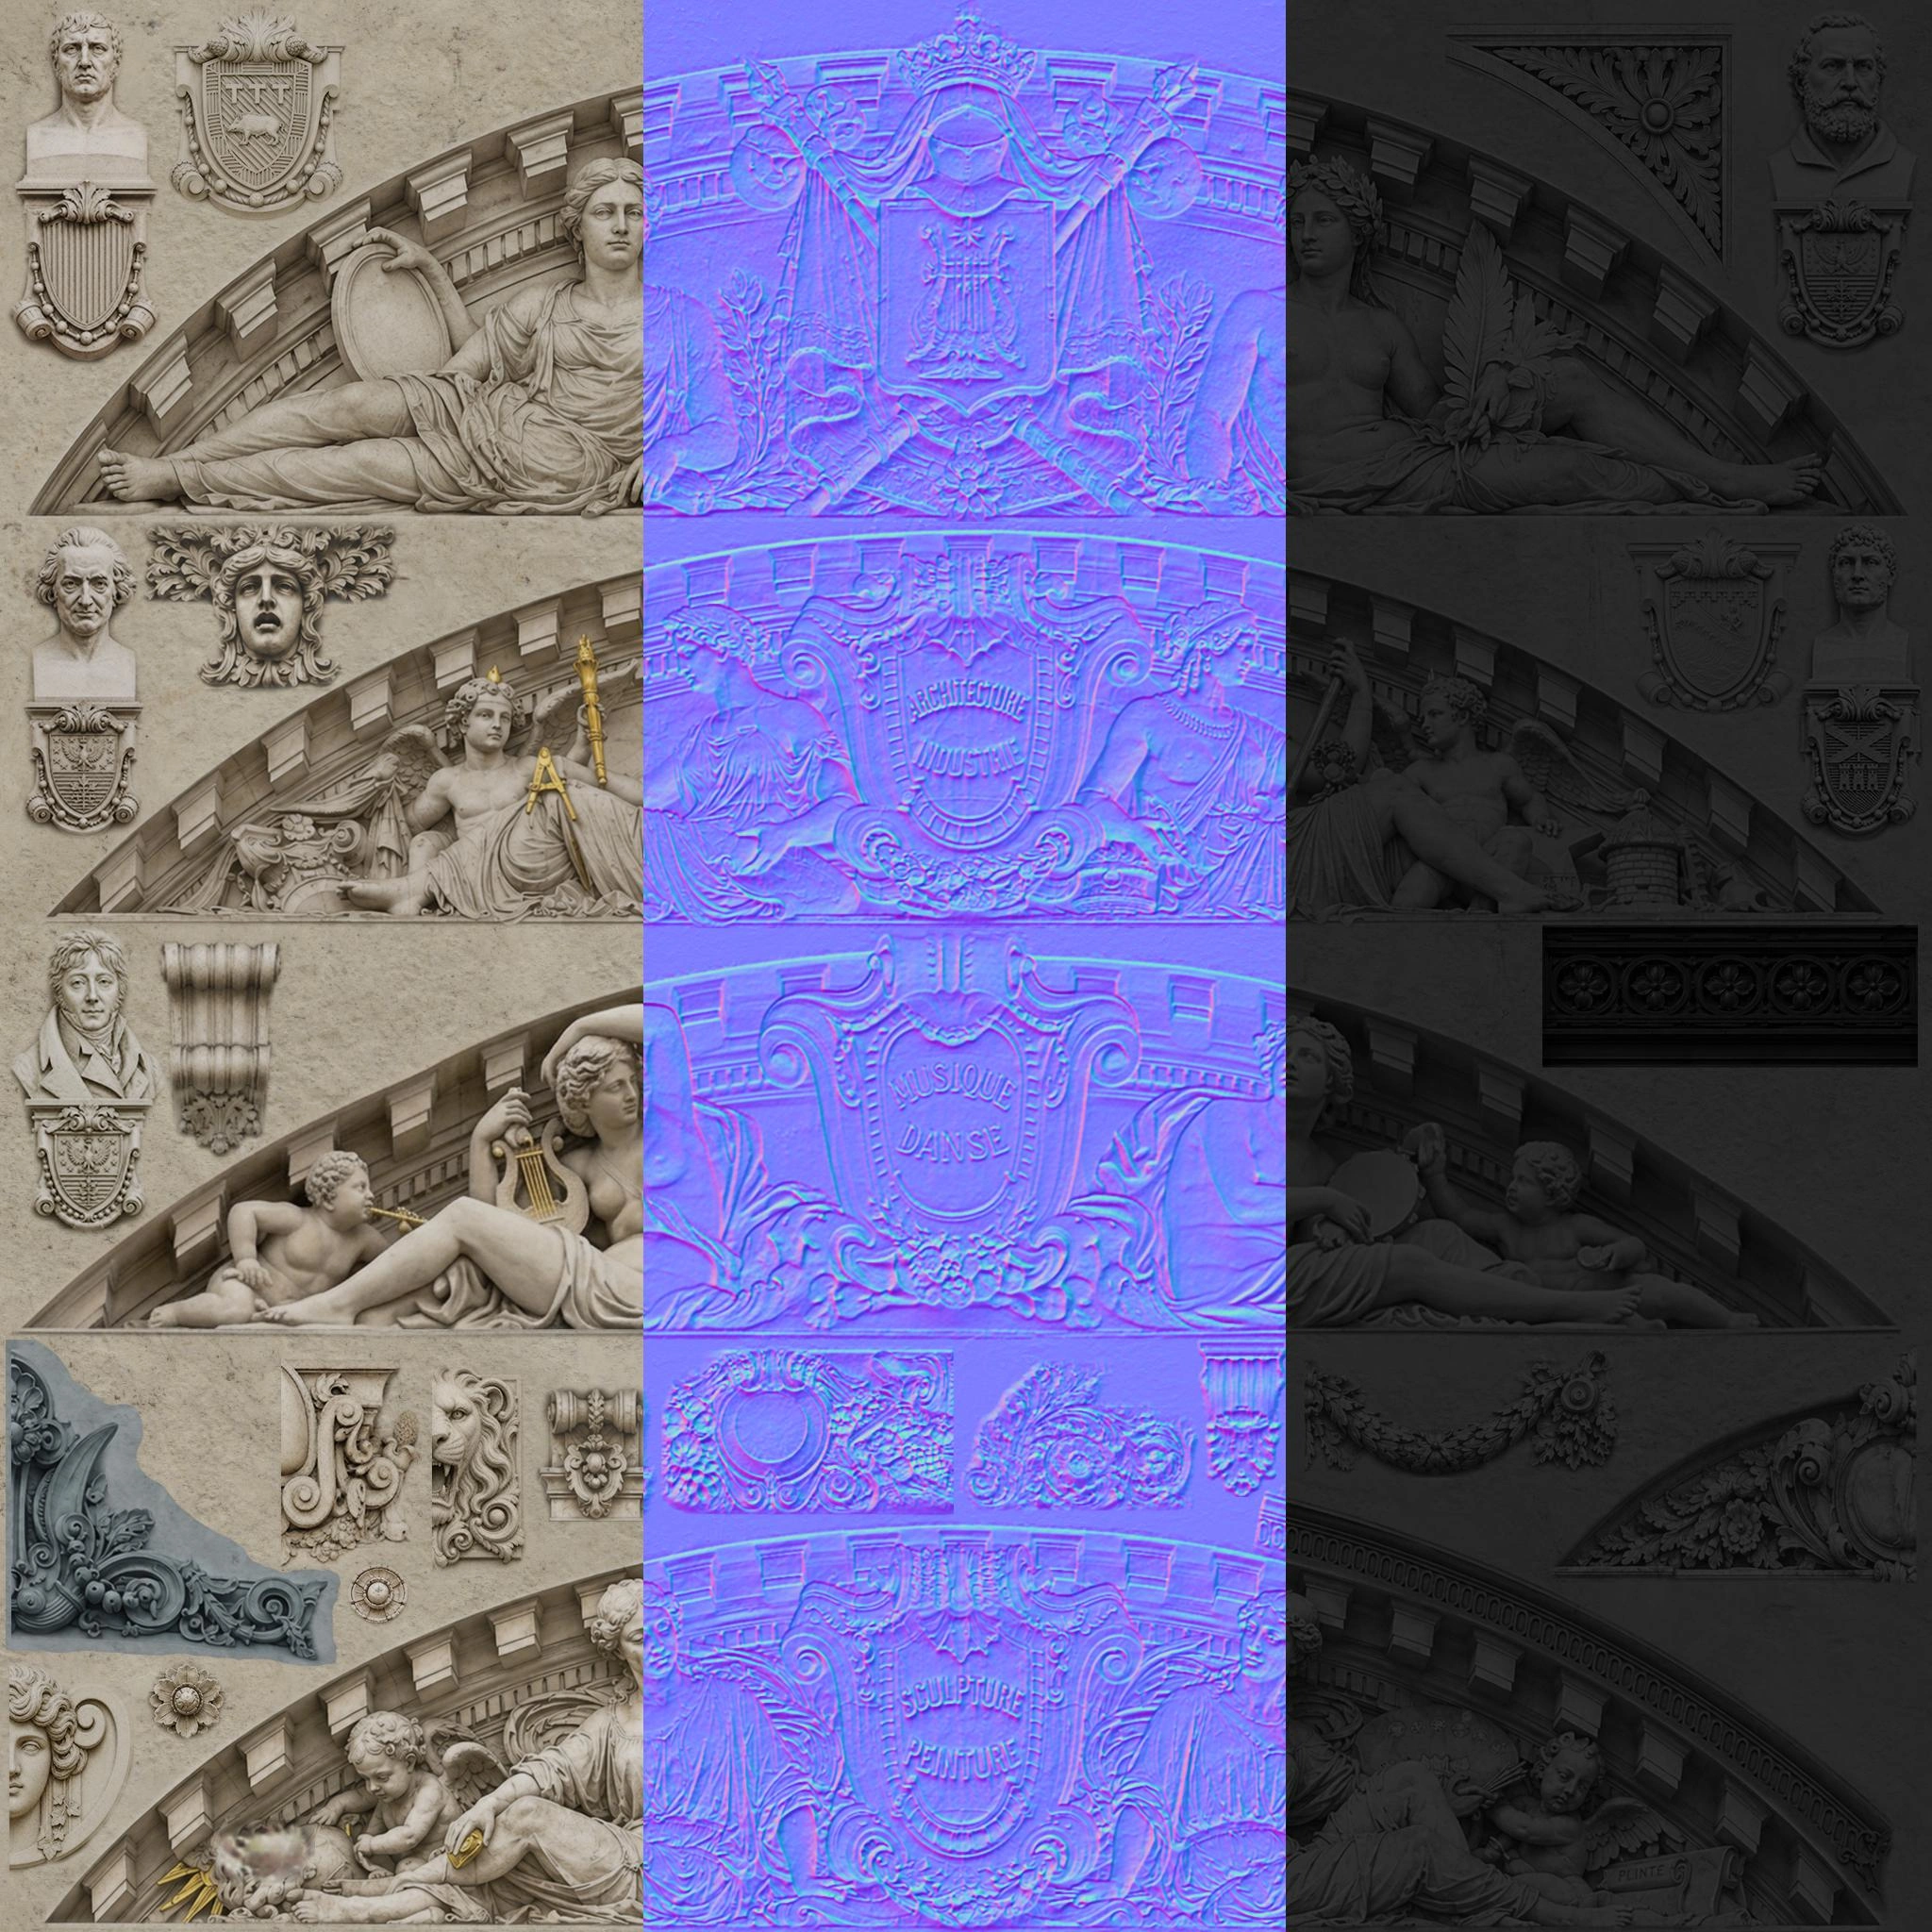
Sculpt Atlas 1
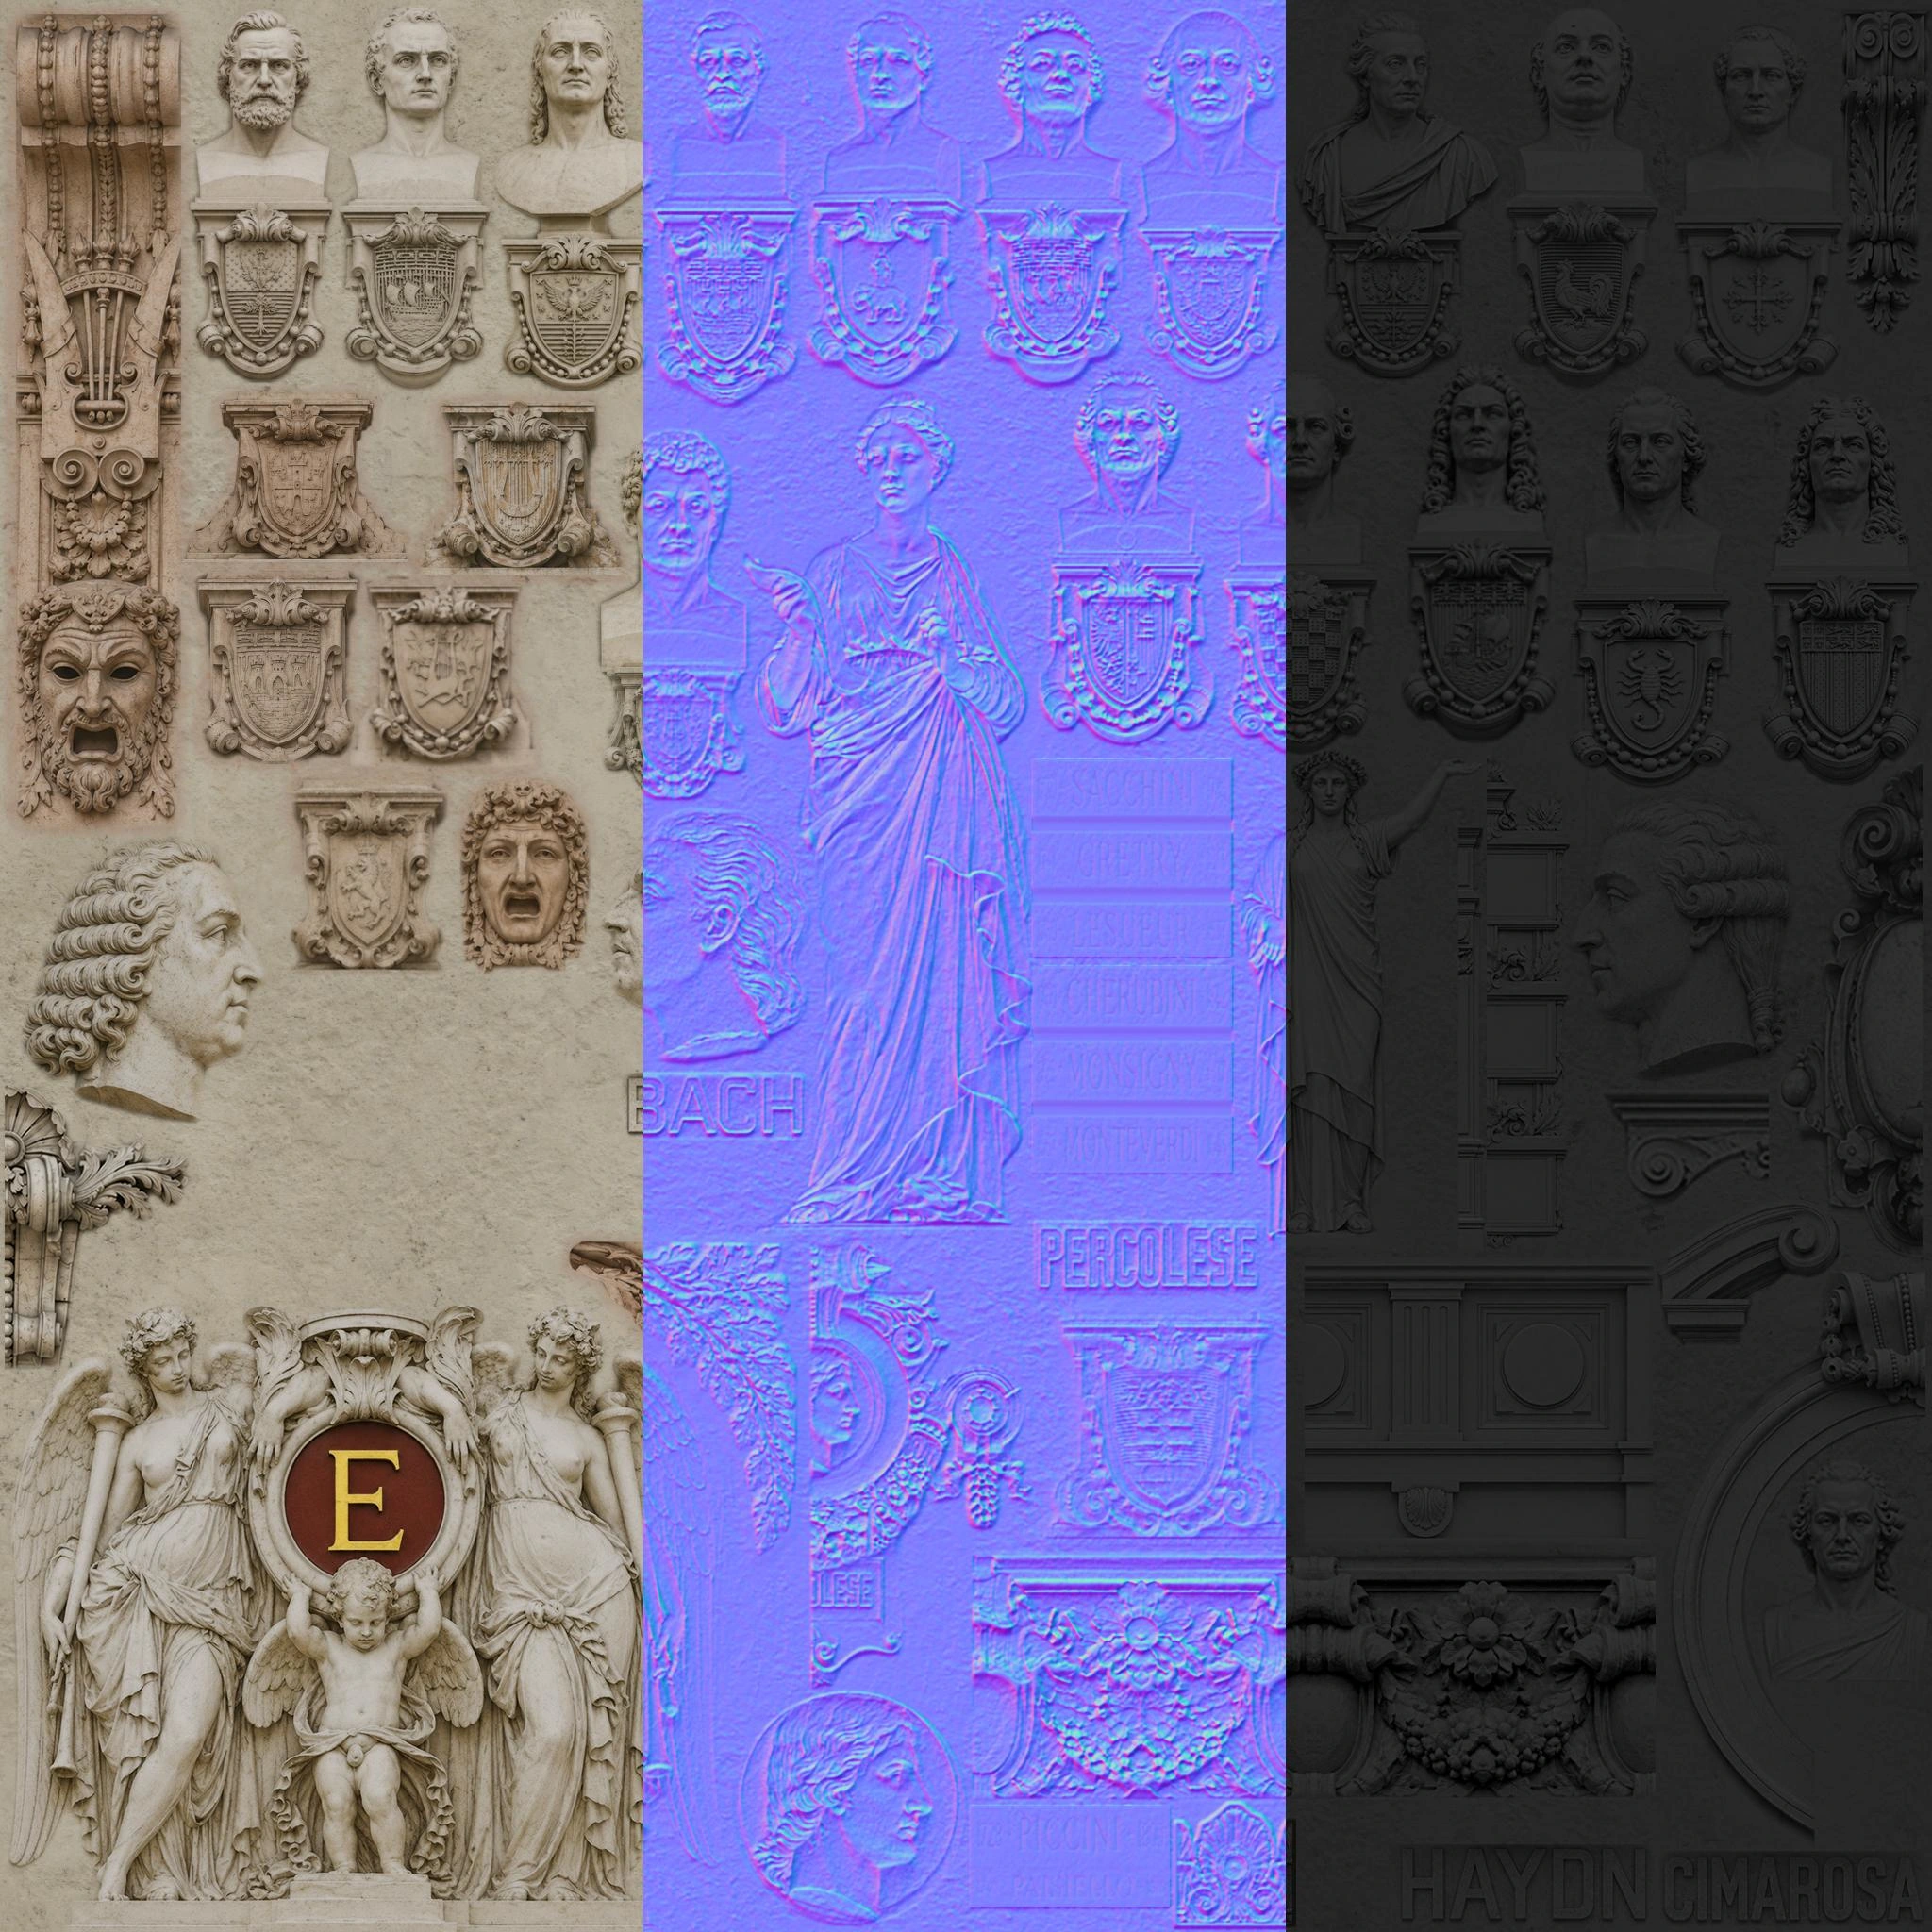
Sculpt Atlas 2
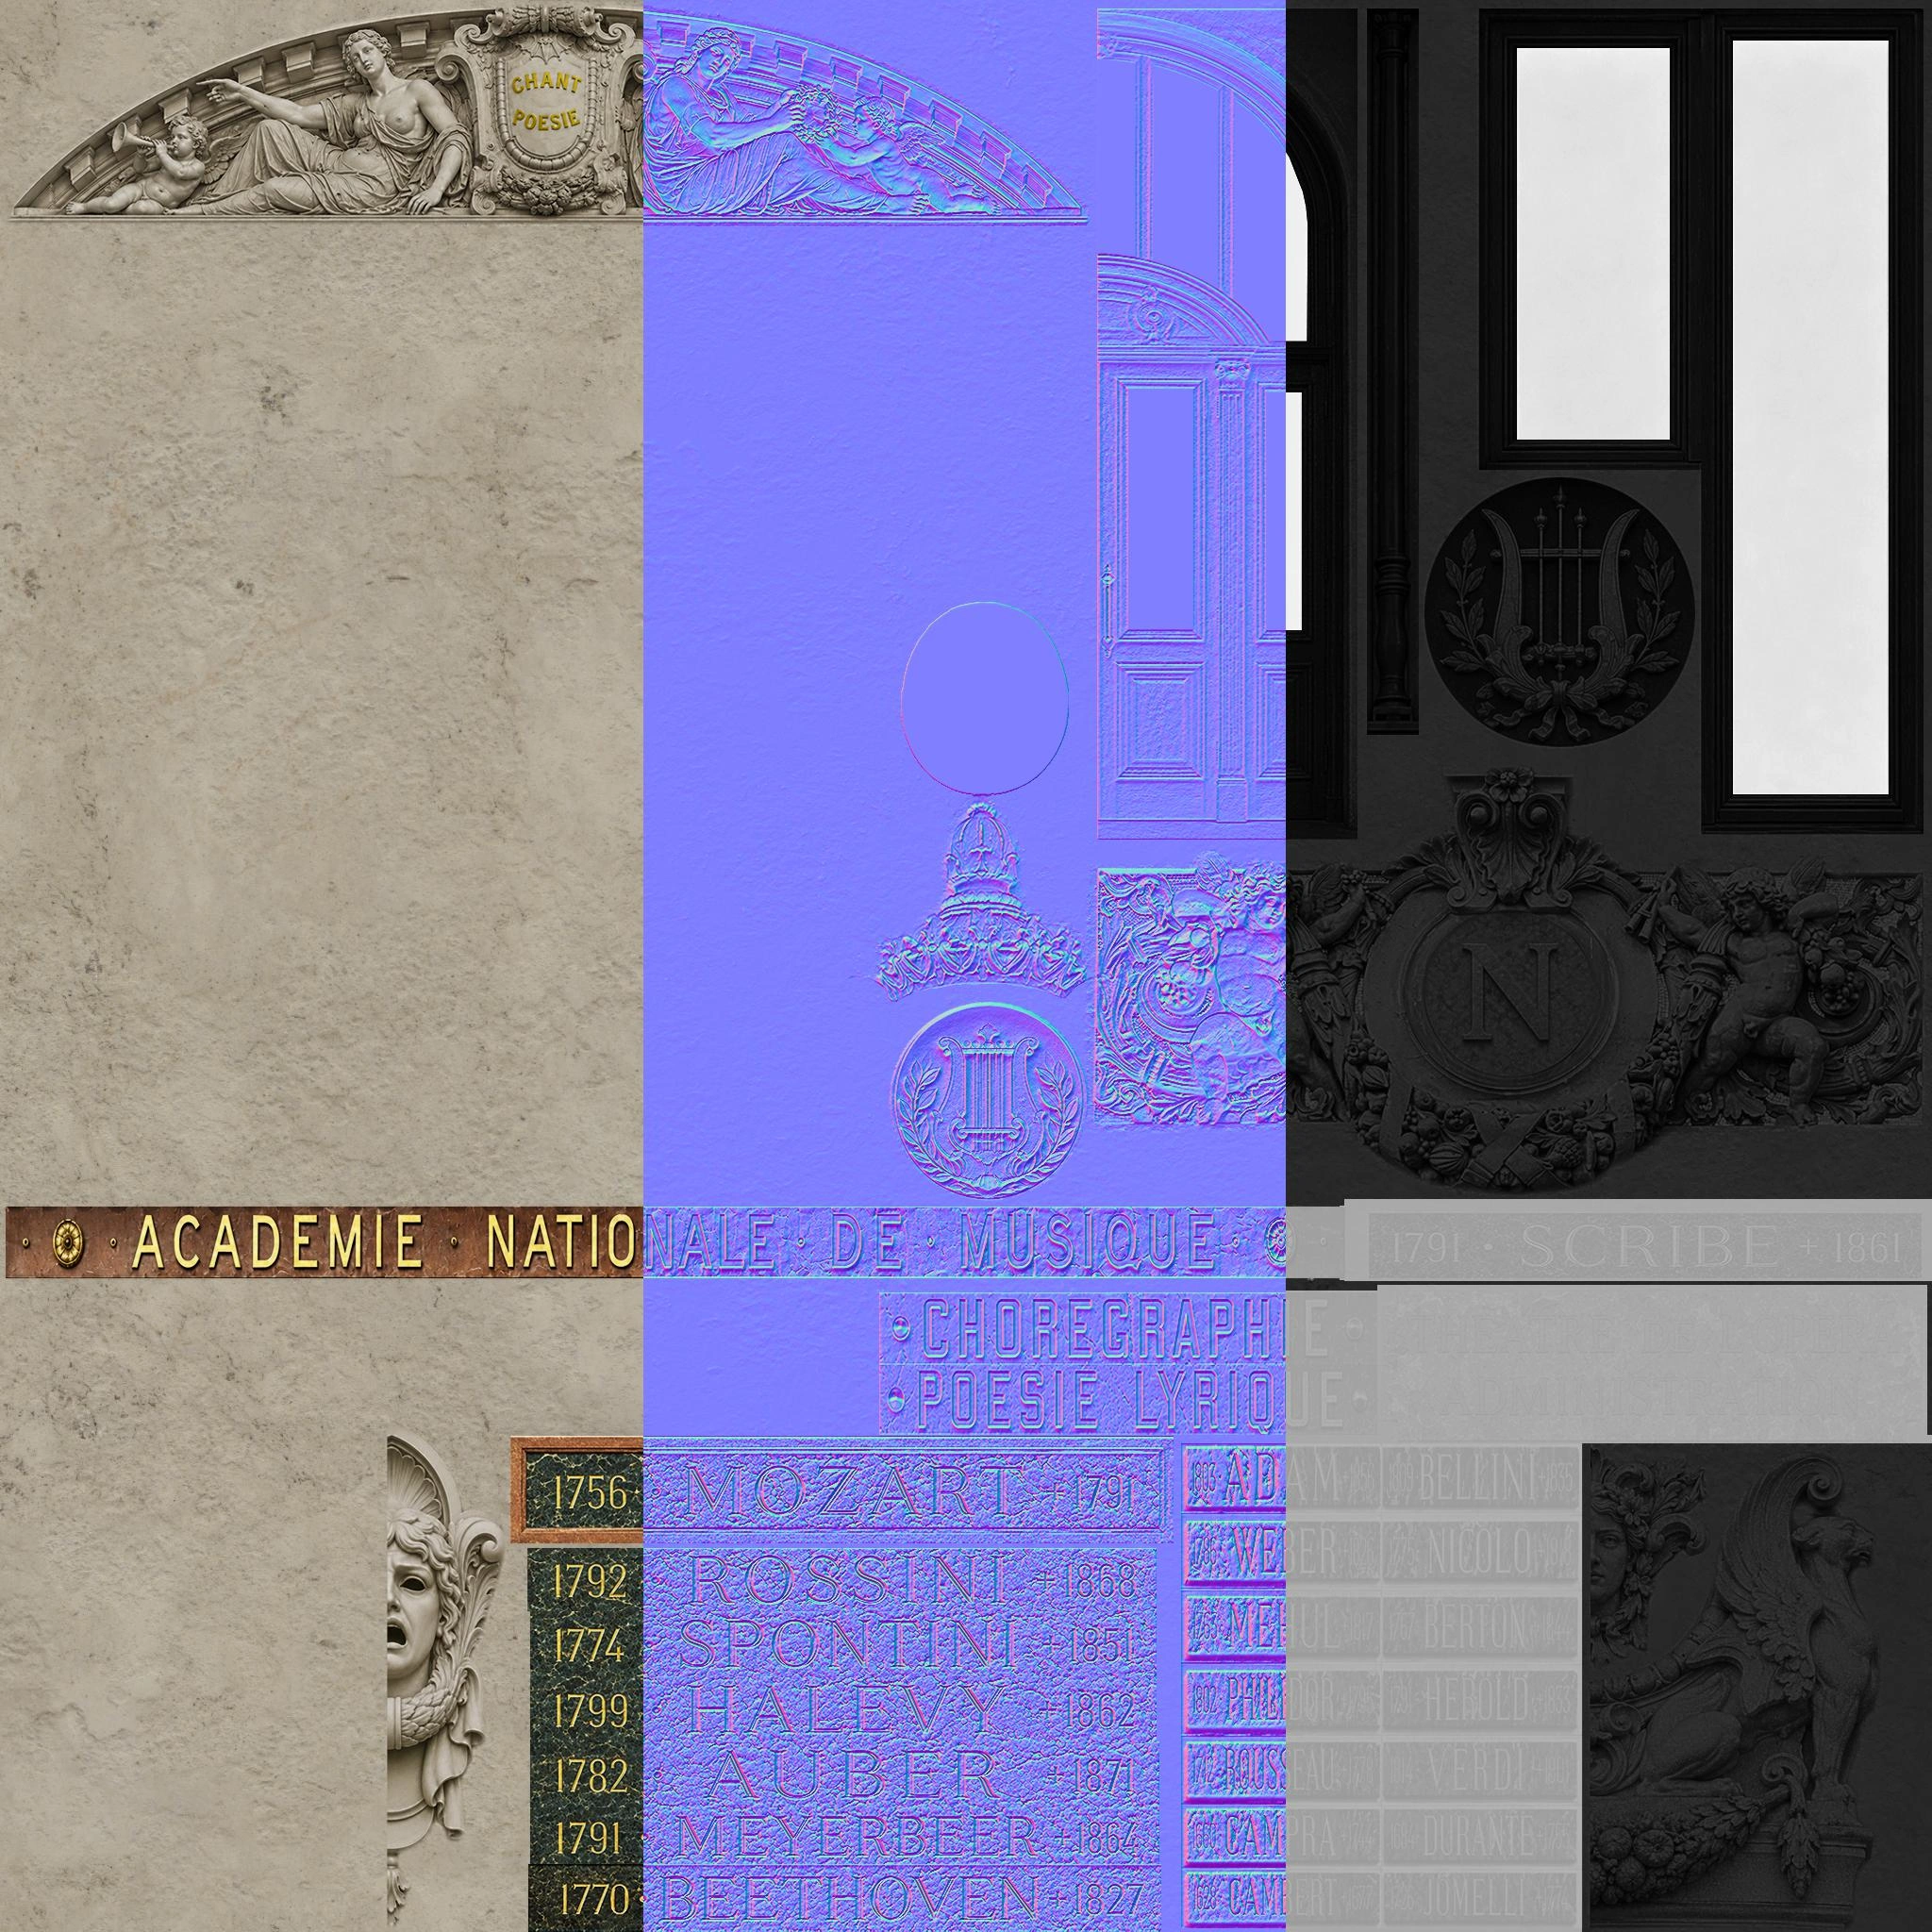
Sculpt Atlas 3
Sculpt Atlas 4
Sculpt Atlas 5
Concrete
Bricks
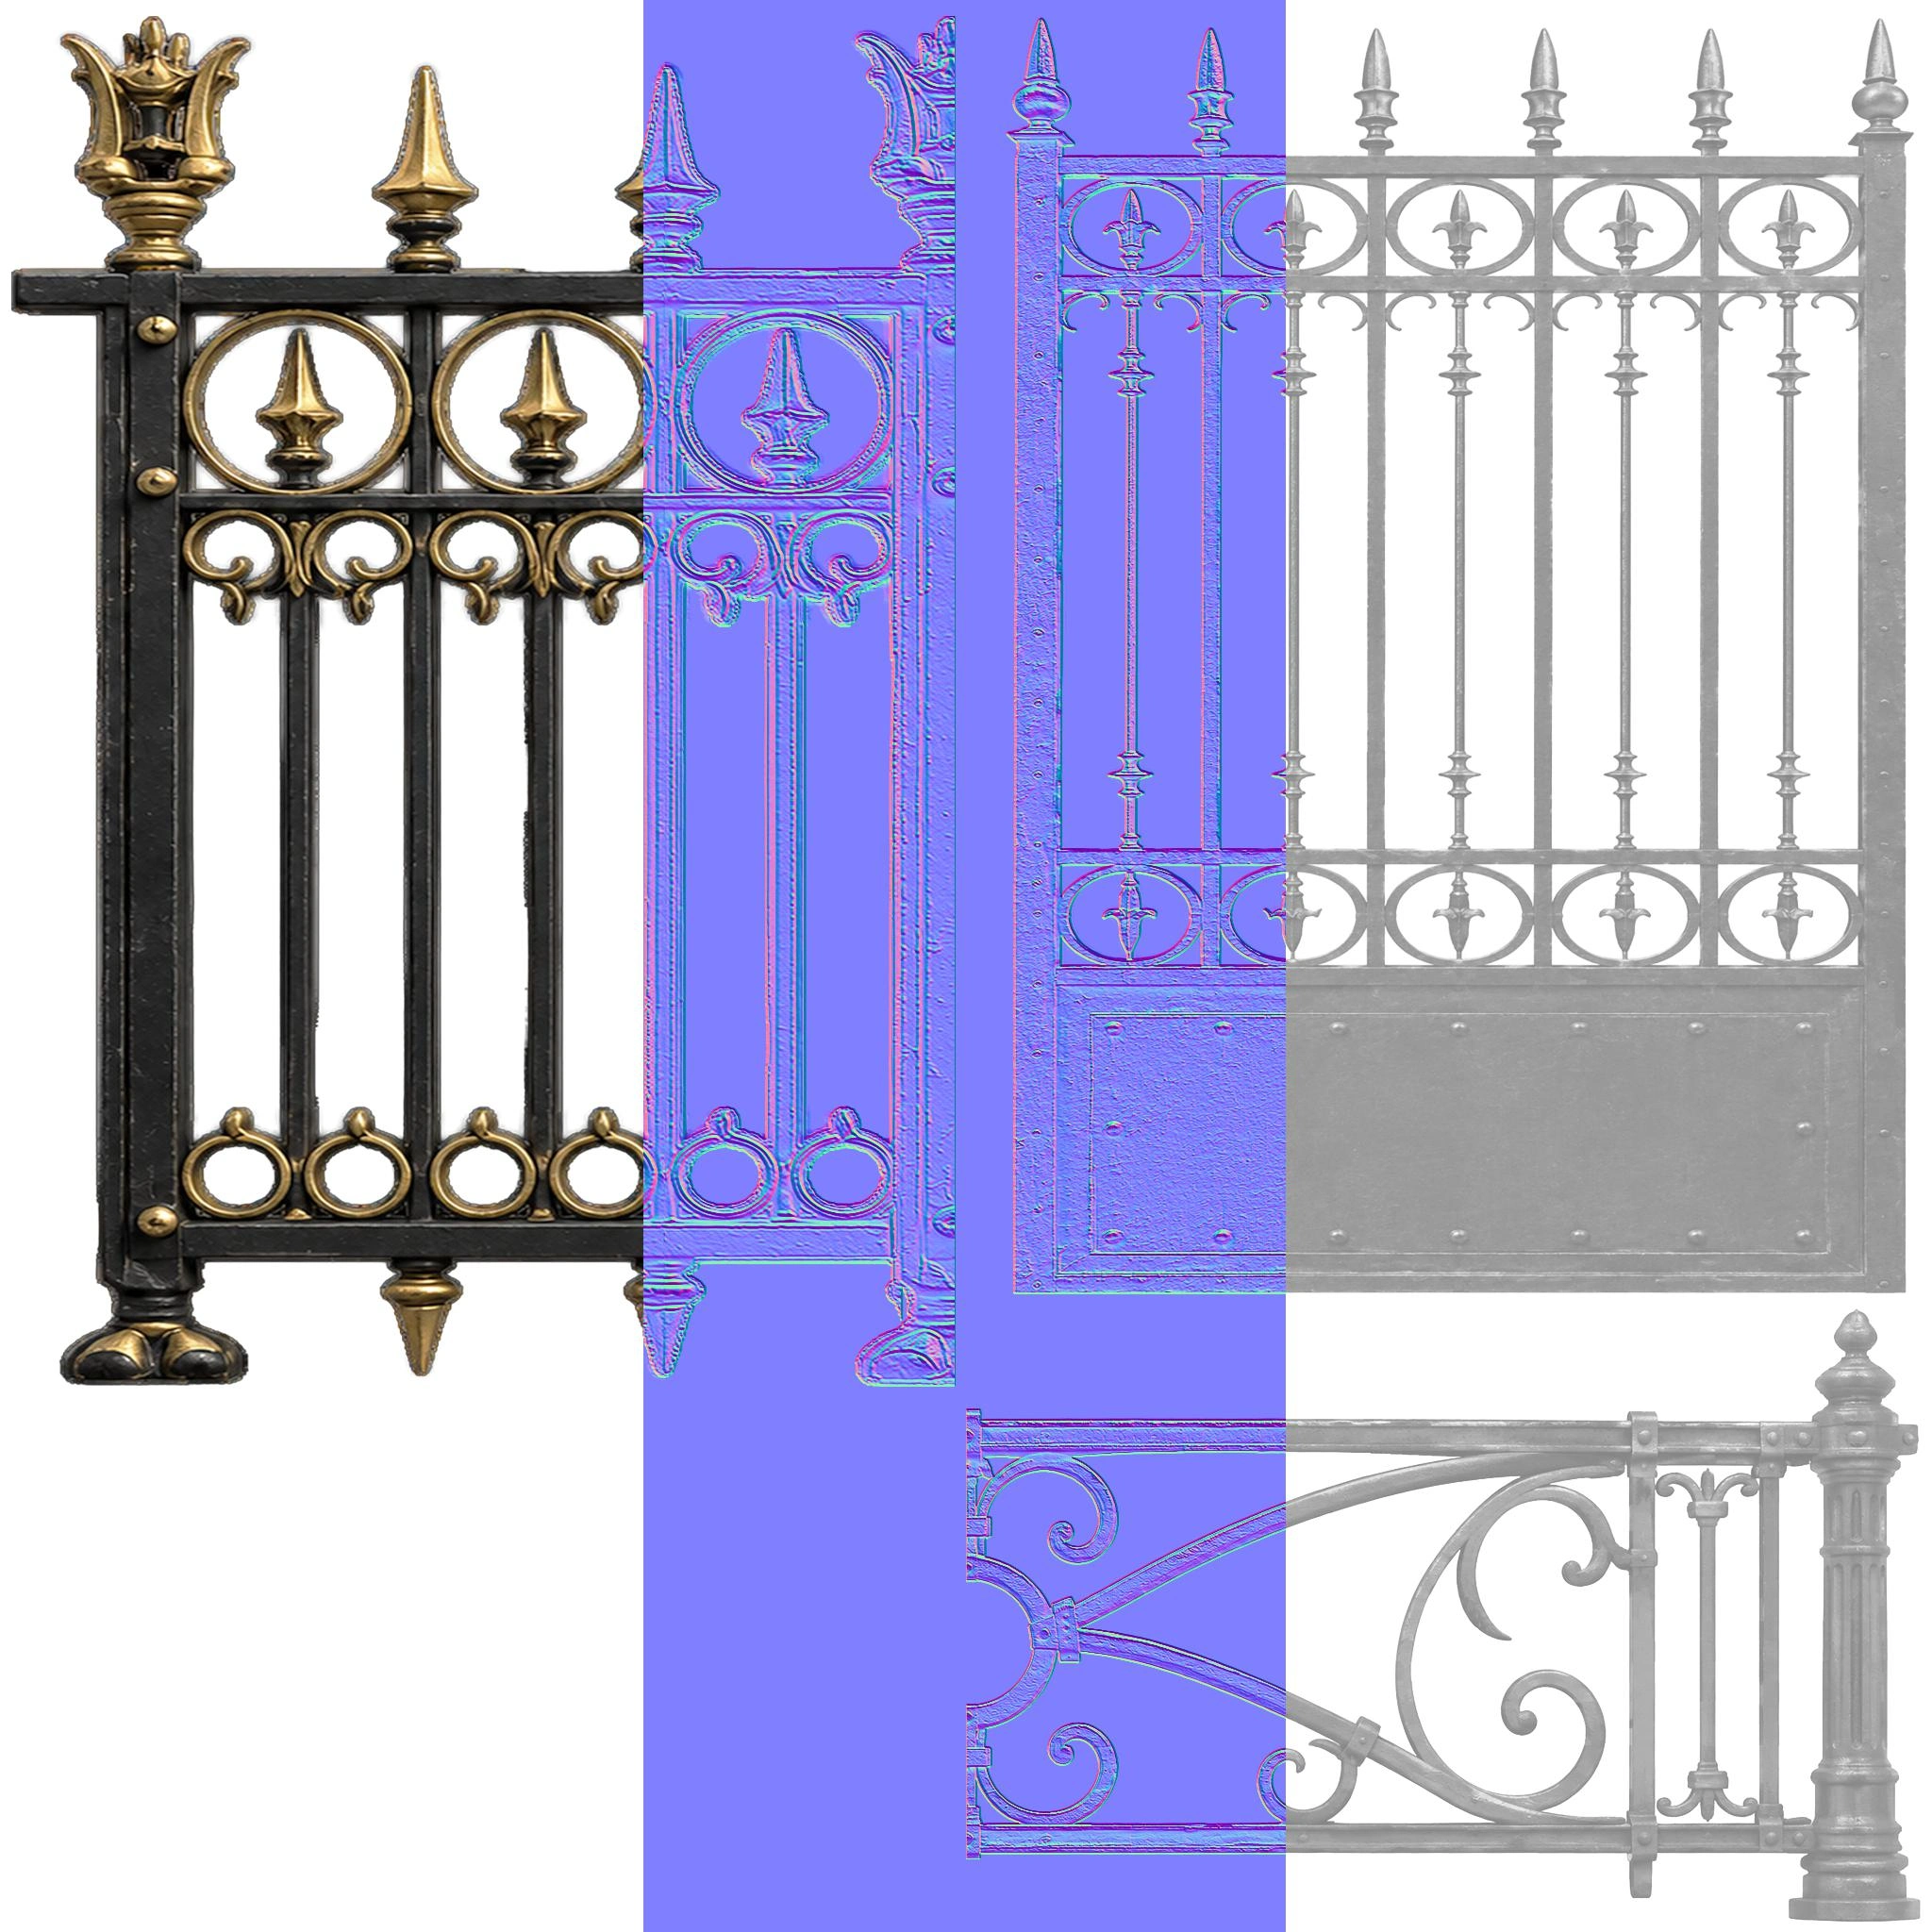
Fence
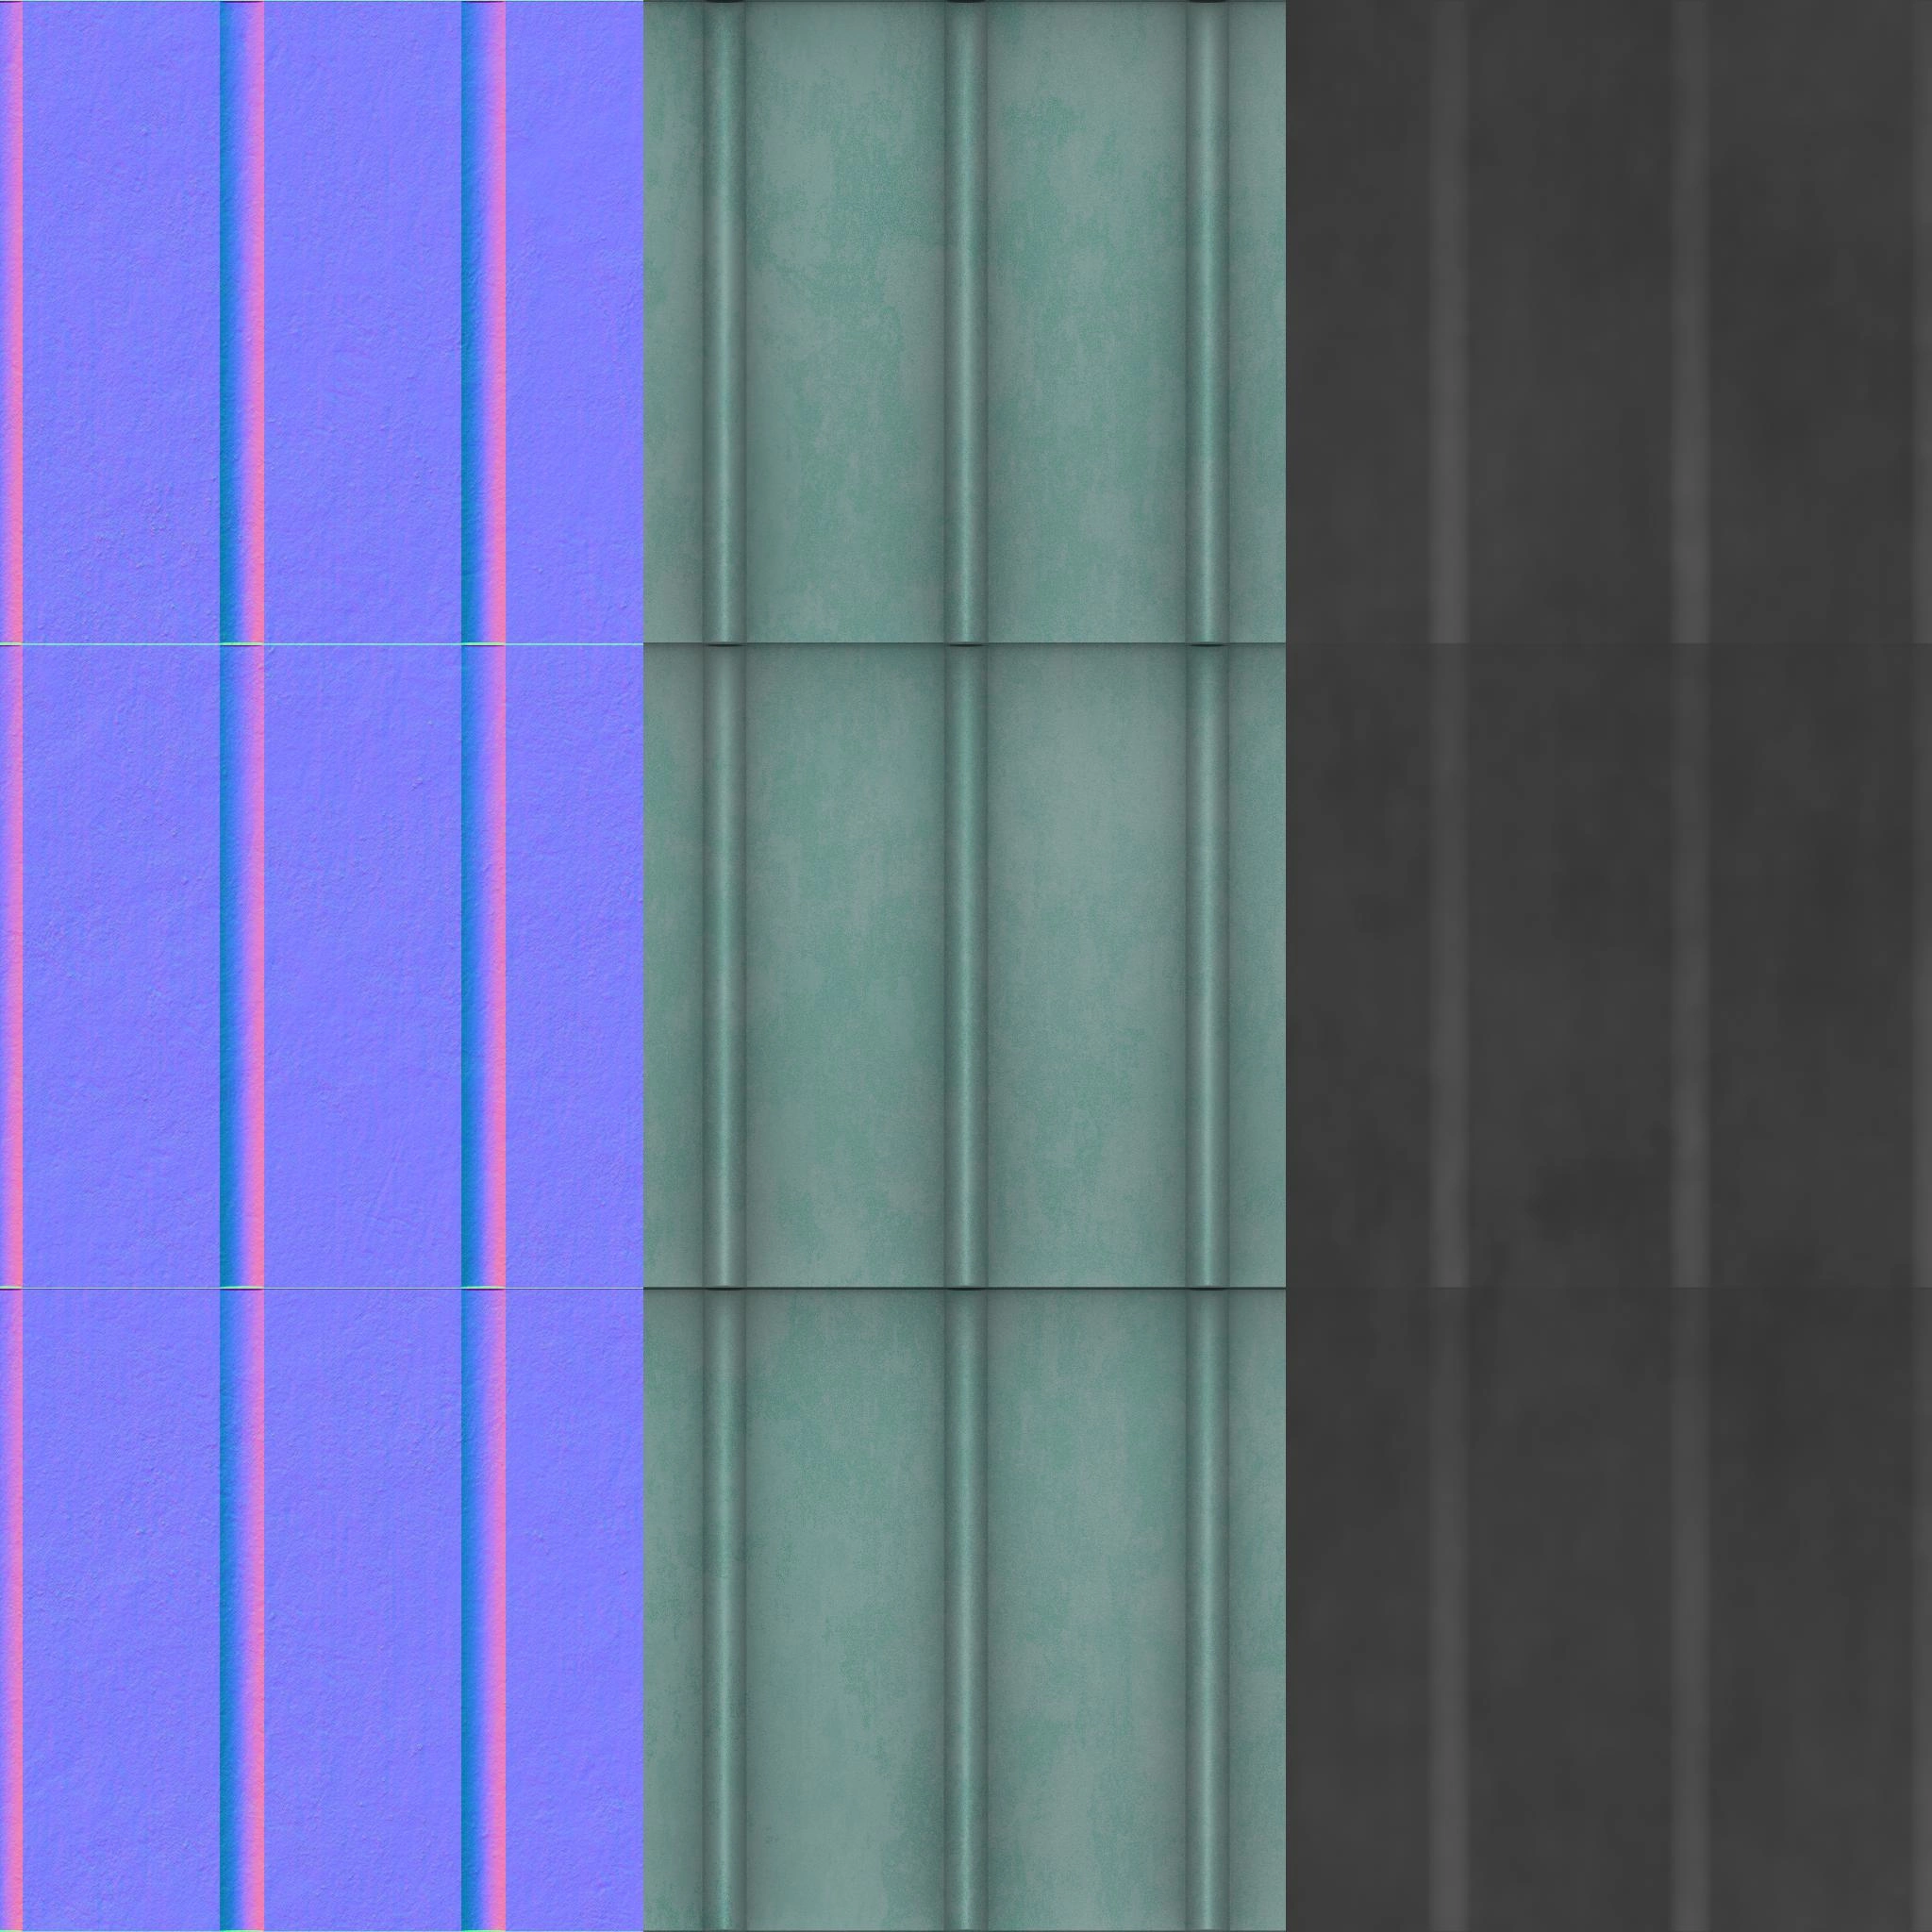
Roof
AI-Assisted Workflows
One of the biggest challenges was the sheer number of architectural sculptures and ornamental elements required to reproduce the Palais Garnier.
I used an AI-assisted workflow to accelerate the texture production pipeline. In order to create the inordinate amount of sculptures and textures required to make this monument look amazing, I used ChatGPT Go and fed it the reference images I collected in order to get cleaned-up, upscaled and adjusted versions of that reference I could use as a texture.
The texture processing quality was excellent and this project would have been impossible to finish within the given time frame without this workflow.
Another AI-assisted workflow was generating 3D statue models from the statue reference images. I don't have much experience with this yet so the results were hit and miss, but most of the statues in the final 3D model were ultimately generated with AI, with some manual clean-up afterwards. The quality of the generation greatly depends on the starting reference images, which were not perfect.
The entire workflow for the sculpture atlases and 3D sculptures was as follows:
Create materials in Substance Designer/Use existing texture sets from my PC/Internet
Use the base colors as a background images in Photoshop were I assembled, cropped and unified the visuals of the AI-generated sculpture images as part of a dense texture atlas (the Sculpture XX textures you can see in the post)
Make masks for different materials on the same atlas
Import the sculpture atlas textures and masks back into SD, generate a normal and roughness/spec map, add damages and details, adjust everything to make it look natural
Export the finished Diffuse, Normal DX and Specular maps as .png images
Generate the statue 3D model from a real reference/AI enhanced reference
Optimize and fix the generated 3D model
Project from front view the statue texture on the 3D model
This workflow is really incredibly quick for generating decent 3D statue models with the texture projected from the front. Of course, this can only work on the sculptures are part of a facade and you can't go behind it since the project technique doesn't work on the back, and the sides are also affected.
Final words
In the end, I had a wonderful time working on this technically innovative project (for me) since I love learning new stuff and making awesome 3D environment art :)
I hope you had a great time reading this as well!
Like this project
Posted Oct 7, 2026
High-fidelity, game-ready Palais Garnier for GTA V, featuring 900k-triangle LOD0, 25k LOD1, modular assets, custom materials and AI-assisted workflows
Likes
0
Views
4
Timeline
May 12, 2026 - Jun 17, 2026