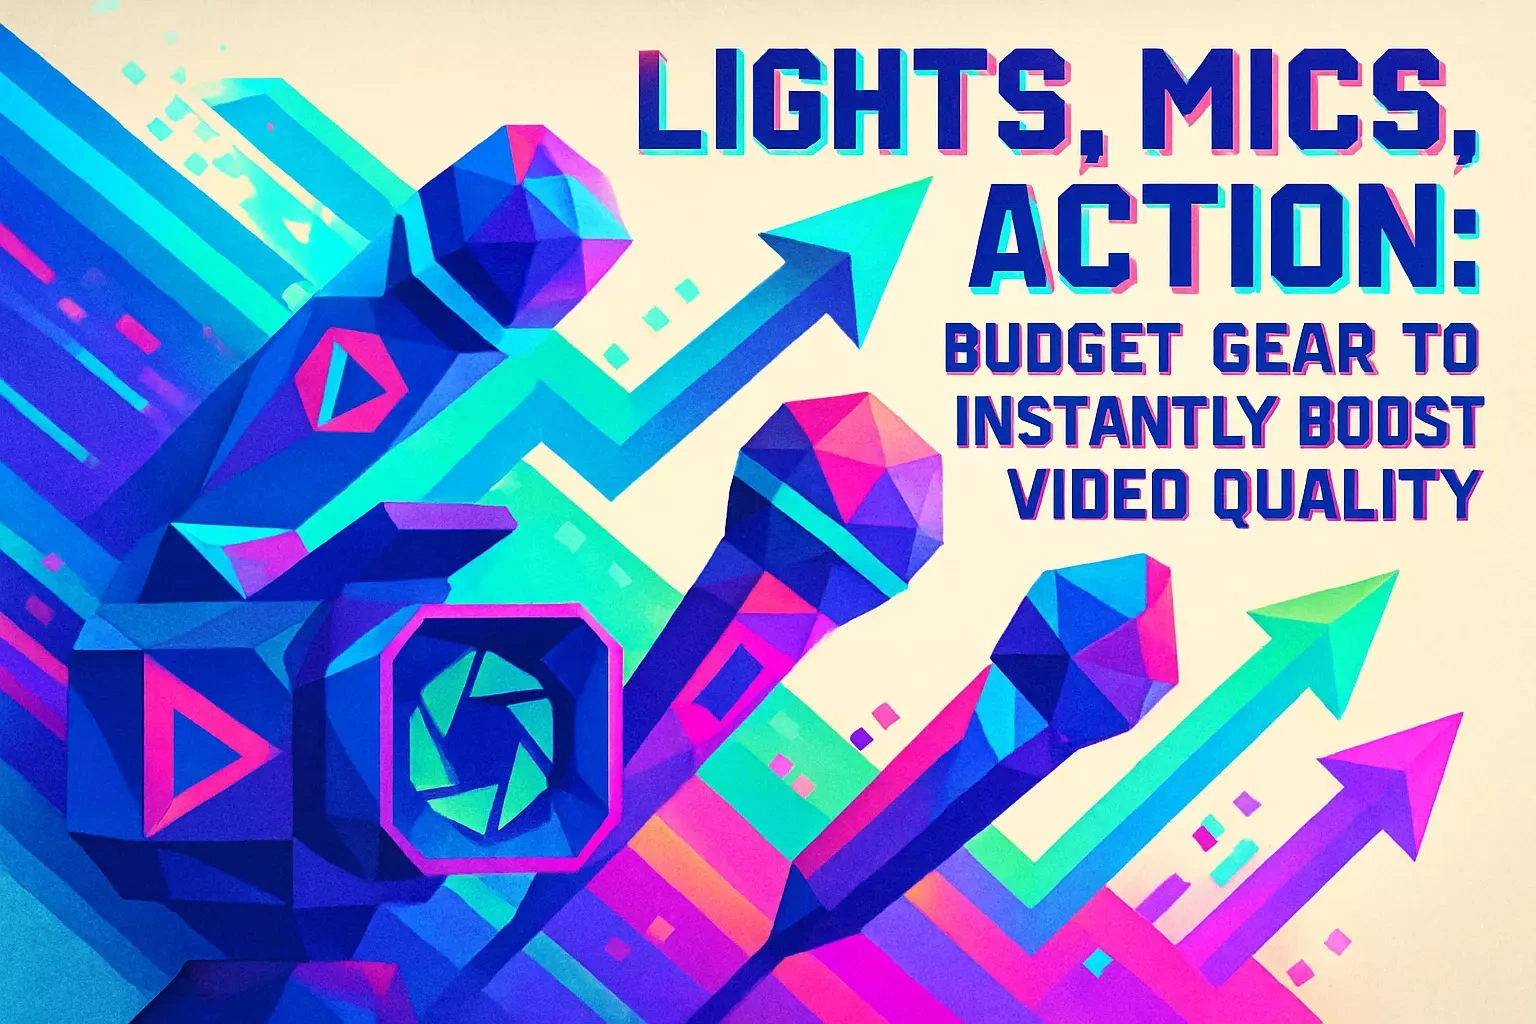
Lights, Mics, Action: Budget Gear to Instantly Boost Video Quality
Irene Allen
Lights, Mics, Action: Budget Gear to Instantly Boost Video QualityWhy Audio is More Important Than Video QualityThe Psychology of Bad AudioHow It Impacts Watch TimeEssential & Affordable Microphone SetupsThe Lavalier Mic: For Clear DialogueThe On-Camera Shotgun Mic: For VersatilityThe Wireless System: For Ultimate FreedomMastering Light on a BudgetHarnessing Natural Light: The Best Free Light SourceYour First LED Light: Ring Lights vs. Panel LightsSimple Three-Point Lighting ExplainedStability is Key: Tripods and GimbalsThe Essential TripodWhen to Use a GimbalConclusionReferences
Lights, Mics, Action: Budget Gear to Instantly Boost Video Quality
Let's be real - you've probably heard that you need an expensive camera to create professional-looking videos. But here's what the pros know: great lighting and crystal-clear audio matter way more than having the latest camera body. Whether you're shooting on a smartphone or a high-end DSLR, a few strategic gear purchases can transform your content from amateur to professional almost overnight.
Think of it this way: your camera is just the foundation. The real magic happens when you nail the fundamentals of production value. Sure, the latest creator gadgets are tempting, but mastering basic lighting and audio will give you bigger improvements than any fancy new camera feature. And if you're looking to collaborate with creators who've already mastered these skills, you can always hire freelance Reels videographers who know their way around professional setups.
Why Audio is More Important Than Video Quality
Here's a truth bomb that might surprise you: viewers will watch a slightly blurry video with perfect audio, but they'll immediately scroll past a 4K masterpiece with terrible sound. It's not just about preference - it's about human psychology and how our brains process content.
Bad audio creates an instant barrier between you and your audience. That tinny echo from your phone's built-in mic? The whooshing wind noise during outdoor shoots? These audio issues scream "amateur" louder than any visual flaw ever could. Meanwhile, clean, professional audio builds immediate trust and keeps viewers engaged.
The Psychology of Bad Audio
Our brains are wired to react negatively to poor audio quality. When viewers hear muffled speech, background hiss, or echo-filled dialogue, they subconsciously perceive the content as less credible. It doesn't matter if you're sharing life-changing advice or showcasing stunning visuals - if people can't comfortably hear you, they won't stick around.
Think about the last time you clicked on a video with terrible audio. Did you make it past the first few seconds? Probably not. Clear audio signals professionalism and shows respect for your audience's time. It tells viewers that you care enough about your message to present it properly.
The interesting part is that this reaction happens instantly. Within the first three seconds of your video, viewers have already judged your production quality based primarily on what they hear. Your perfectly composed shot won't save you if your audio sounds like you're recording in a tin can.
How It Impacts Watch Time
Social media algorithms are ruthless, and they're all about one thing: keeping users on the platform. When viewers click away from your video because of bad audio, you're not just losing that one view - you're telling the algorithm that your content isn't worth promoting.
The numbers don't lie. Videos with clear, professional audio see average watch times that are 40-60% longer than those with poor sound quality. On platforms like Instagram Reels and TikTok, where every second counts, this difference can make or break your content's success.
Poor audio creates a domino effect. Viewers leave quickly, which hurts your completion rate. Low completion rates signal to the algorithm that your content isn't engaging. The algorithm then shows your video to fewer people, limiting your reach and growth potential. All because of something as fixable as audio quality.
Essential & Affordable Microphone Setups
Good news - you don't need to spend thousands on professional audio gear. The microphone market has exploded with budget-friendly options that deliver surprisingly professional results. Let's break down the three main types that'll cover 90% of your recording situations.
Each microphone type serves a specific purpose, and understanding these differences will help you choose the right tool for your content style. Whether you're a talking-head creator, an on-the-go vlogger, or someone who needs maximum flexibility, there's an affordable solution waiting for you.
The Lavalier Mic: For Clear Dialogue
Lavalier mics (or "lav mics") are those tiny microphones you see clipped to people's shirts on TV. They're absolute game-changers for anyone creating content where speech is the main focus. Think tutorials, interviews, or any video where you're primarily talking to camera.
The beauty of lav mics lies in their proximity to your mouth. By positioning the mic just 6-8 inches from your voice source, you capture clean dialogue while minimizing room echo and background noise. Budget wired options start around $20-30, and they'll outperform your camera's built-in mic every single time.
For smartphone creators, look for lav mics with TRRS connectors or USB-C/Lightning adapters. Popular budget choices include the Boya BY-M1 or the Purple Panda lavalier. These simple wired options are perfect for seated content where you don't need to move around much. Just clip it to your collar, hide the wire, and you're ready to record crystal-clear audio.
The On-Camera Shotgun Mic: For Versatility
Shotgun mics are the Swiss Army knives of the audio world. These directional microphones mount directly to your camera or smartphone rig, picking up sound from whatever direction they're pointed. They're ideal for creators who need flexibility and don't want to deal with body-mounted mics.
The compact versions designed for content creators have revolutionized mobile videography. Mics like the Rode VideoMicro or Deity V-Mic D4 Mini give you professional-quality directional audio for under $100. They're perfect for run-and-gun shooting, where you might be interviewing someone one moment and capturing B-roll the next.
What makes shotgun mics special is their pickup pattern. They focus on sound coming from the front while rejecting noise from the sides and rear. This means you can record in moderately noisy environments and still capture usable audio. Just remember - while they're more forgiving than built-in mics, they still work best when positioned relatively close to your subject.
The Wireless System: For Ultimate Freedom
Wireless mic systems used to cost thousands, but the game has completely changed. Modern compact wireless systems offer professional features at prices that won't break the bank. If you're serious about content creation and need to move freely while recording, this is your next upgrade.
Systems like the Rode Wireless GO or the Hollyland Lark series have made wireless audio accessible to everyone. Starting around $150-200, these systems give you the freedom to record from anywhere within 200+ feet of your camera. No more being tethered by cables or worrying about hiding wires.
The real advantage comes when you're creating dynamic content. Dancing while explaining a concept? Walking through a location while narrating? Demonstrating products that require both hands? Wireless systems make all of this possible while maintaining broadcast-quality audio. Many newer models even include built-in recording capabilities, giving you a backup audio file in case of interference.
Mastering Light on a Budget
Lighting might seem intimidating, but it's actually one of the easiest aspects of video production to improve on a budget. The difference between amateur and professional-looking footage often comes down to understanding and controlling light. And here's the kicker - you can start with completely free light sources.
Before you rush out to buy lighting equipment, understand this fundamental truth: good lighting is about quality, not quantity. One well-placed light source beats five poorly positioned ones every time. Let's explore how to harness both natural and artificial light to make your videos shine.
Harnessing Natural Light: The Best Free Light Source
The sun is the most powerful light source available, and it's completely free. Learning to work with natural light is a skill that'll serve you throughout your content creation journey. The key is understanding how to position yourself relative to windows and outdoor light.
For indoor shooting, face a large window during the day. This creates soft, flattering light that wraps around your face naturally. Avoid sitting with the window behind you - this creates a silhouette effect that makes you look dark against a bright background. If the light feels too harsh, hang a white sheet over the window to diffuse it.
Outdoor creators should master the concept of "golden hour" - that magical time just after sunrise or before sunset when the sun creates warm, cinematic lighting. During harsh midday sun, find open shade under trees or buildings. This gives you even lighting without squinting or harsh shadows. Remember, overcast days are actually fantastic for video - clouds act like a giant softbox, creating perfectly diffused light.
Your First LED Light: Ring Lights vs. Panel Lights
When you're ready to invest in artificial lighting, you'll face a common dilemma: ring light or LED panel? Both have their place, and understanding their strengths will help you choose wisely.
Ring lights became famous through beauty content creators, and for good reason. They create distinctive catchlights in the eyes and provide shadowless illumination perfect for close-up shots. Budget ring lights start around $30-50 and often include phone holders and adjustable color temperature. They're ideal for talking-head videos, makeup tutorials, or any content where you're the sole focus.
LED panels offer more versatility but require slightly more skill to use effectively. These rectangular lights can be positioned at various angles to create different moods and effects. A basic bi-color LED panel (around $40-80) lets you adjust both brightness and color temperature, matching different lighting conditions. Panels are better for lighting larger areas, multiple subjects, or creating more dramatic lighting setups.
Simple Three-Point Lighting Explained
Three-point lighting sounds fancy, but it's actually a simple concept that Hollywood has used for decades. Once you understand it, you can recreate professional lighting with just one or two budget lights and some creativity.
The setup consists of three elements: a key light (your main light source), a fill light (to soften shadows), and a back light (to separate you from the background). Your key light should be positioned at a 45-degree angle to your face, slightly above eye level. This creates natural-looking shadows that add dimension to your features.
Here's the budget hack: use a window or single LED as your key light, then bounce light back with a cheap reflector (or even a white poster board) as your fill. For the back light, a simple desk lamp pointed at the wall behind you can create separation. You don't need three expensive lights - just an understanding of how light works and some creative problem-solving.
Stability is Key: Tripods and Gimbals
Shaky footage is an instant credibility killer. No matter how great your content is, viewers associate unstable video with amateur production. The good news? Achieving rock-solid stability doesn't require expensive equipment - just the right tools for your shooting style.
The debate between tripods and gimbals often confuses new creators. Here's the simple truth: they serve completely different purposes. Understanding when to use each will elevate your production value and save you from buying gear you don't actually need.
The Essential Tripod
A basic tripod is non-negotiable equipment for any serious content creator. It's the foundation of professional-looking static shots, from talking heads to product demonstrations. Yet many creators try to get by with propping their phone against books or holding their camera by hand. This is a mistake that's easily fixed.
A decent tripod starts around $25-40 and will last for years. Look for one with adjustable height (at least 5 feet), a quick-release plate, and sturdy legs. Smartphone creators should get a tripod with a phone mount included. The ability to set up your shot and step into frame transforms your production capabilities.
Beyond eliminating shake, tripods enable consistency. When you can replicate the same framing and height across multiple videos, you create a professional look that viewers subconsciously appreciate. They also free you up to focus on your performance rather than holding a camera steady. That energy translates directly to better, more engaging content.
When to Use a Gimbal
Gimbals are the secret weapon for smooth, cinematic movement. These motorized stabilizers counteract your hand movements, creating footage that looks like it was shot on a Hollywood dolly. But here's the thing - you only need a gimbal if movement is part of your content style.
If you're creating walking tours, following action, or want those smooth push-in shots that add production value, a gimbal is worth the investment. Budget smartphone gimbals start around $80-100, while options for larger cameras begin around $150. Popular choices like the DJI OM series or Zhiyun Smooth models offer professional features at accessible prices.
The learning curve for gimbals is real but manageable. Spend time practicing basic movements: the slow push-in, the orbit around a subject, the reveal shot. These simple techniques, when executed smoothly, add tremendous production value to your content. Just remember - a gimbal isn't a replacement for a tripod. It's a specialized tool for specific creative shots.
Conclusion
Transforming your video quality doesn't require a massive budget or years of film school. By focusing on the fundamentals - clear audio, good lighting, and stable footage - you can create content that rivals productions with budgets ten times larger. The gear we've covered represents the sweet spot of affordability and impact.
Start with audio. Seriously, if you only buy one piece of gear after reading this, make it a microphone. Your viewers will thank you, and your engagement metrics will show the difference. Once you've nailed your sound, experiment with lighting. Even just positioning yourself near a window can dramatically improve your visual quality.
Remember, gear is just a tool. The best equipment in the world won't save boring content, but even basic gear in skilled hands can create magic. Focus on mastering one element at a time. Learn how your new microphone picks up sound in different environments. Understand how light changes throughout the day in your filming space. Practice smooth camera movements until they become second nature.
The creators who succeed aren't necessarily those with the biggest budgets - they're the ones who understand how to use their tools effectively. Every piece of gear mentioned in this guide has been chosen for its ability to deliver professional results without professional prices. Now it's time to stop making excuses and start creating content that truly shines.
Your audience is waiting for your message. Don't let technical limitations hold you back any longer. Pick one area to improve, invest in the right budget gear, and watch your content quality soar. The gap between amateur and professional is smaller than you think - and now you have the roadmap to bridge it.
References
Like this project
Posted Jun 30, 2025
Great video isn't just about the camera. Discover the essential, budget-friendly lighting and audio gear that will instantly elevate the quality of your Reels.