Implement Two-Tier Architecture in AWS with Terraform
Ankit Jodhani
ℹ️Synopsis
Hi folks, this is Ankit jodhani, a DevOps enginner, I recently graduated from university and currently exploring and learning DevOps and cloud with AWS. In this project, I'm going to implement 2 tier architecture using Terraform which should be highly available and scalable. so to achieve that we gonna use the following list of services of AWS. you can use any cloud provider that you like. in my case it is AWS.
📃 list of services
Amazon Certificate Manager (SSL)
Amazon Route 53 (DNS service)
Amazon CloudFront(CND)
Amazon EC2 (Server)
Amazon Auto Scaling group (Scale on demand)
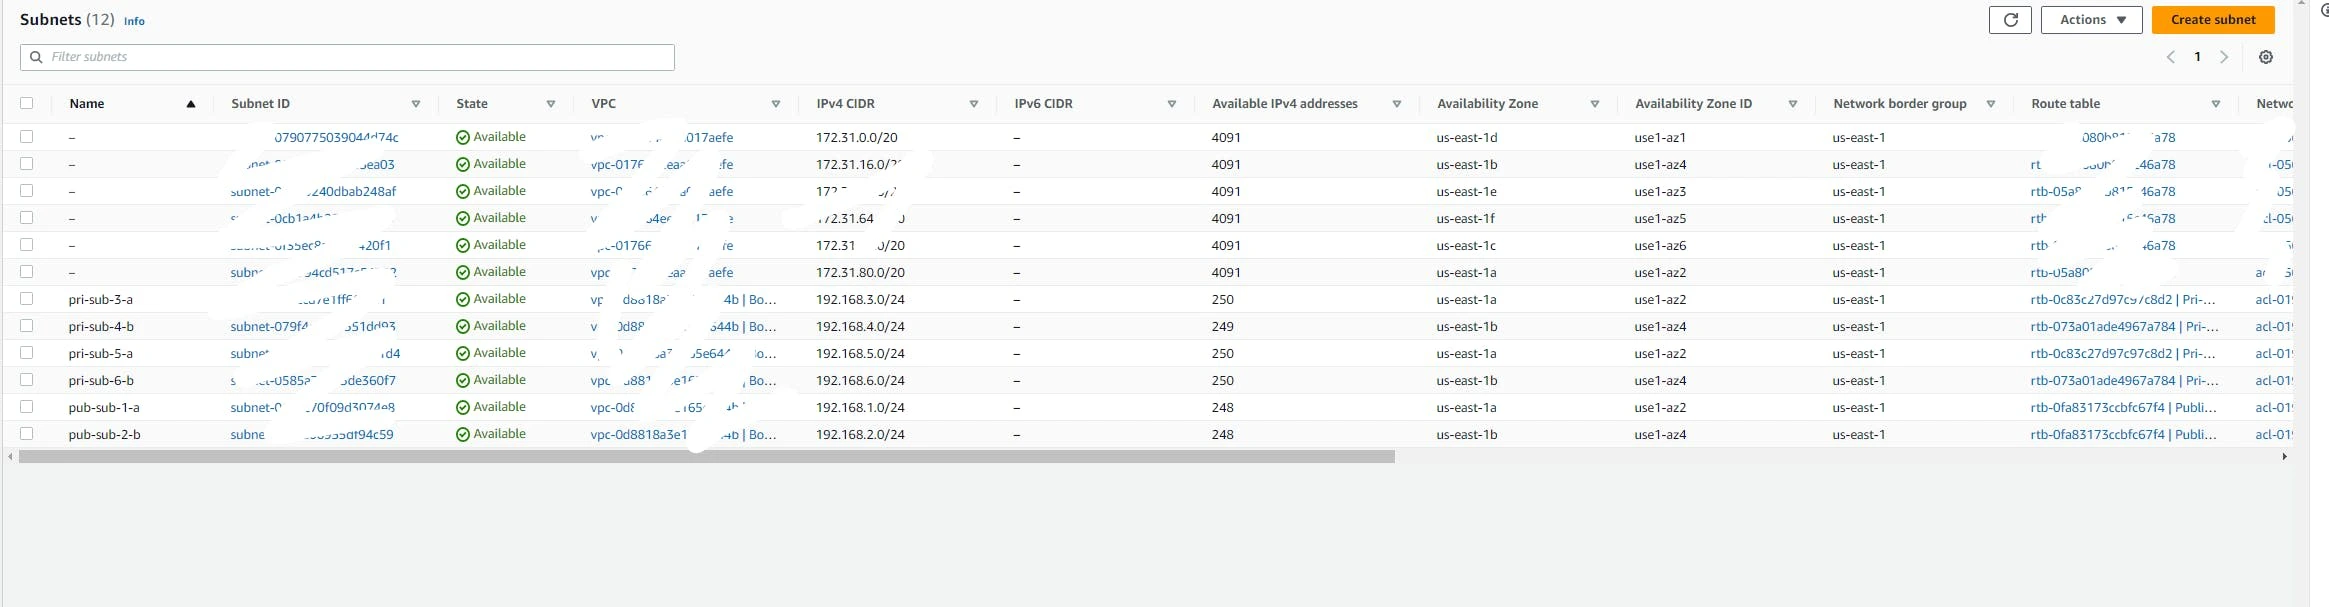
Amazon VPC (Virtual private cloud: Private Network)
Amazon RDS (Relational database services: Database)
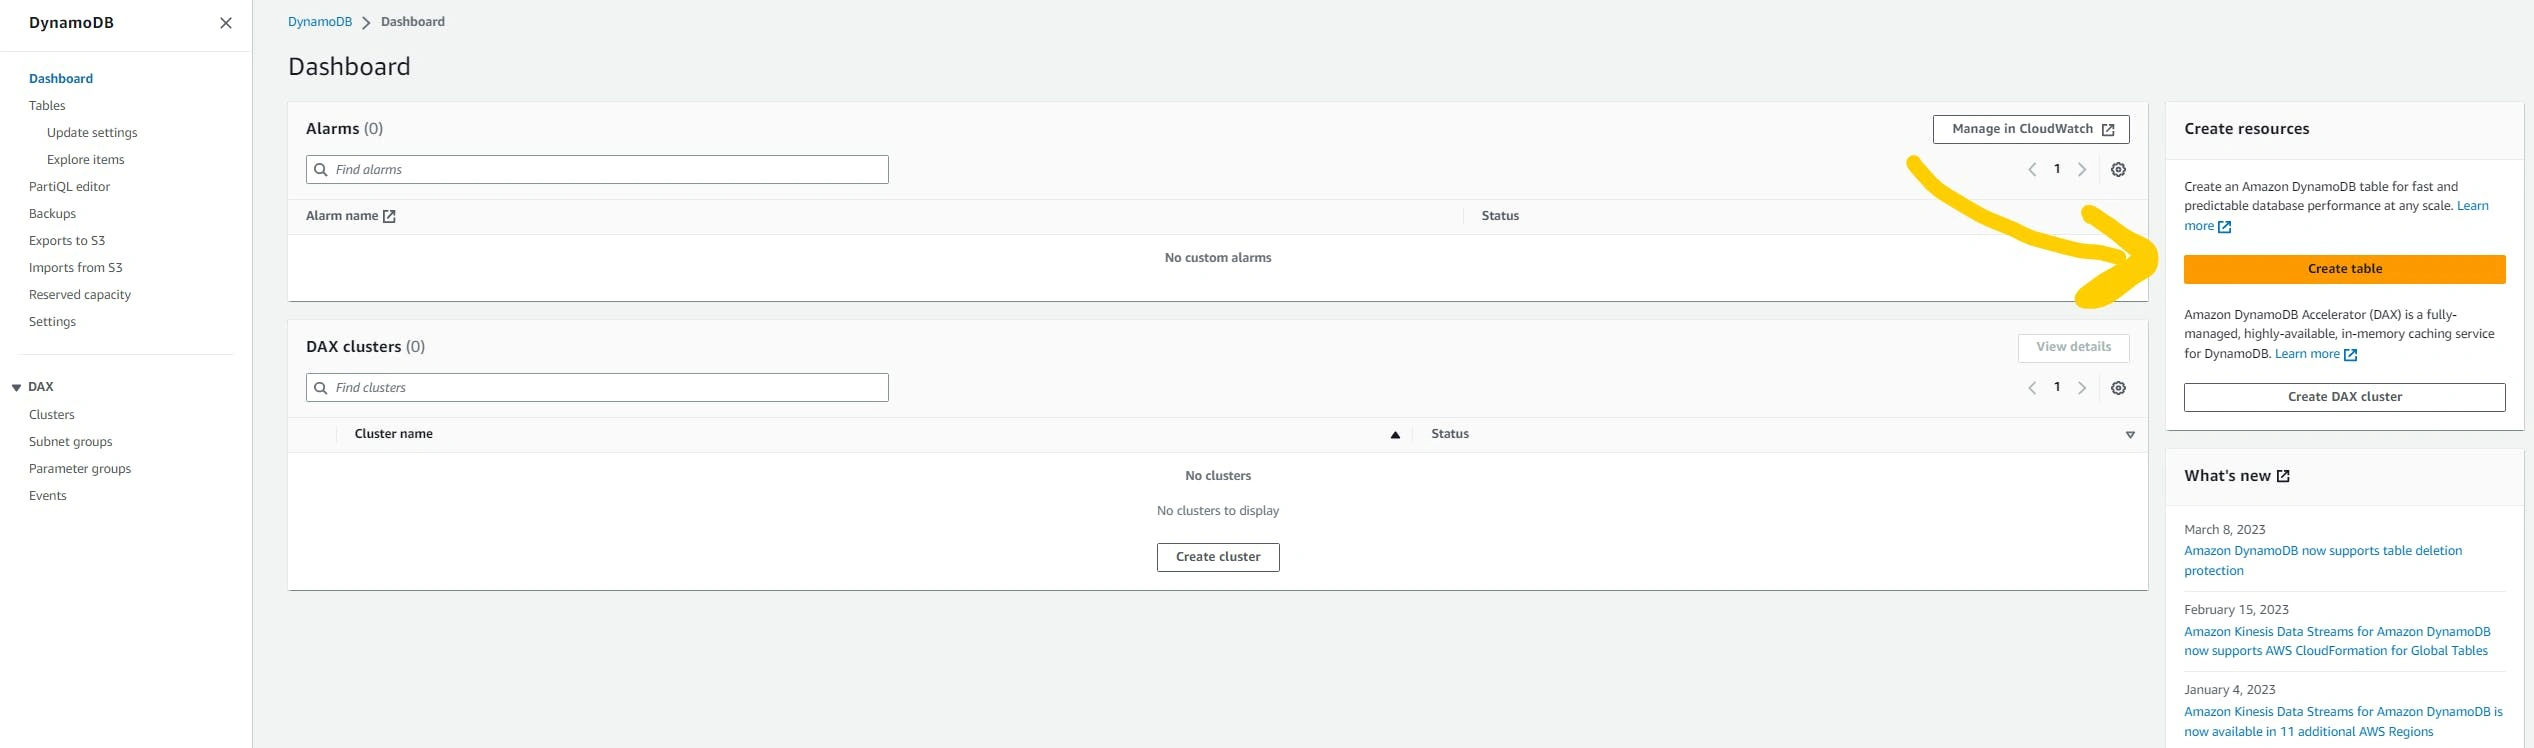
Amazon DynamoDB (State-locking for testate file)
Amazon S3 (storing backend and achieving versioning)
Amazon CloudWatch (Alarm when CPU utilization increase or decreases)
so let's get started.
💡Plan of execution
What is two-tire architecture
Architecture of project
Local setup
IAM secret key setup
Write terraform file
Outputs
Resources
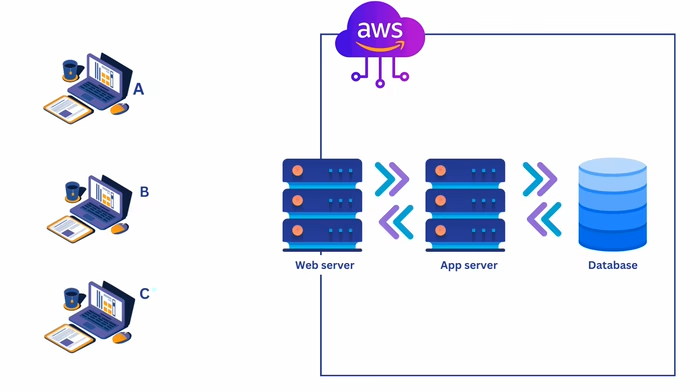
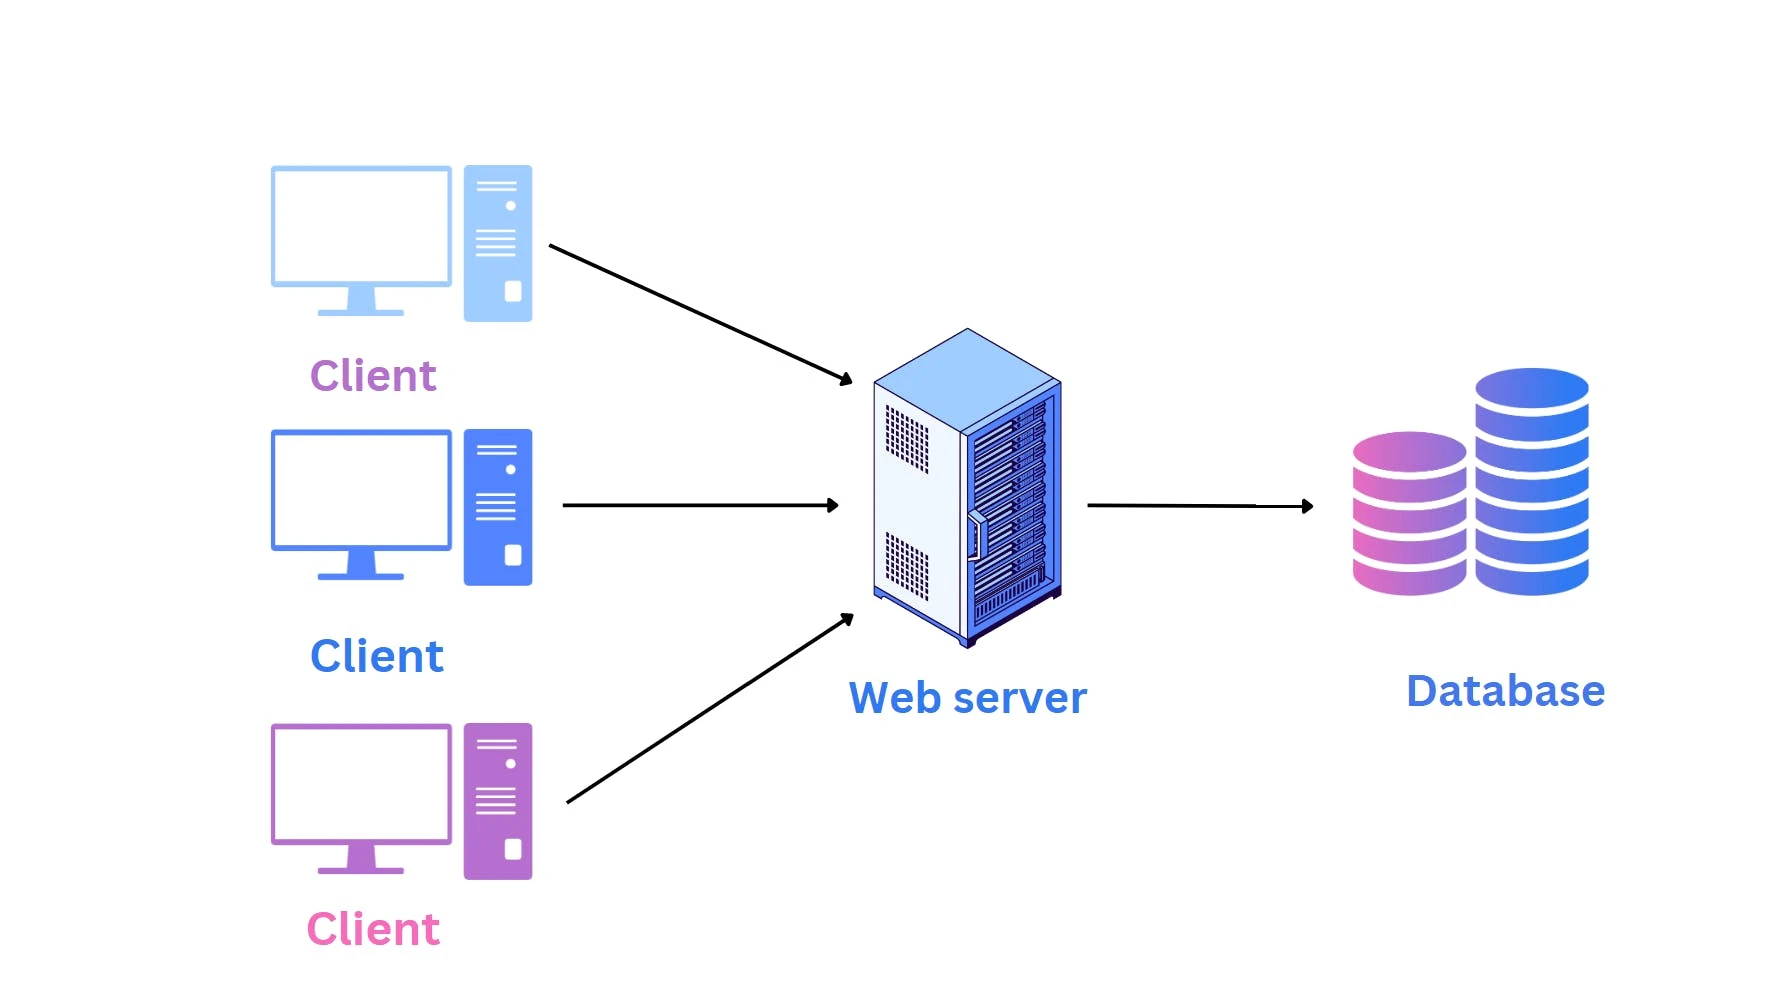
🏠Two-tire architecture
Two-tier architecture, also known as client-server architecture, is a software design pattern that divides an application into two main parts or tiers: the client tier and the server tier. Each tier has specific responsibilities and interacts with each other to provide functionality to end-users.
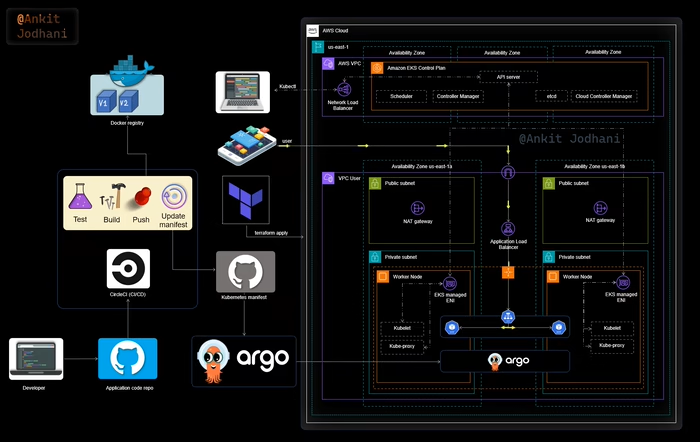
🏡Architecture
Let's see the architecture of today's project. we are going to follow a goal-driven approach that helps us to put in minimum effort and gain lots of results. it's very important to understand what we are going to build and to understand you can follow the below architecture. I request you please go through it once. it helps you a lot while building this project.
🖥️Local setup
VS Code
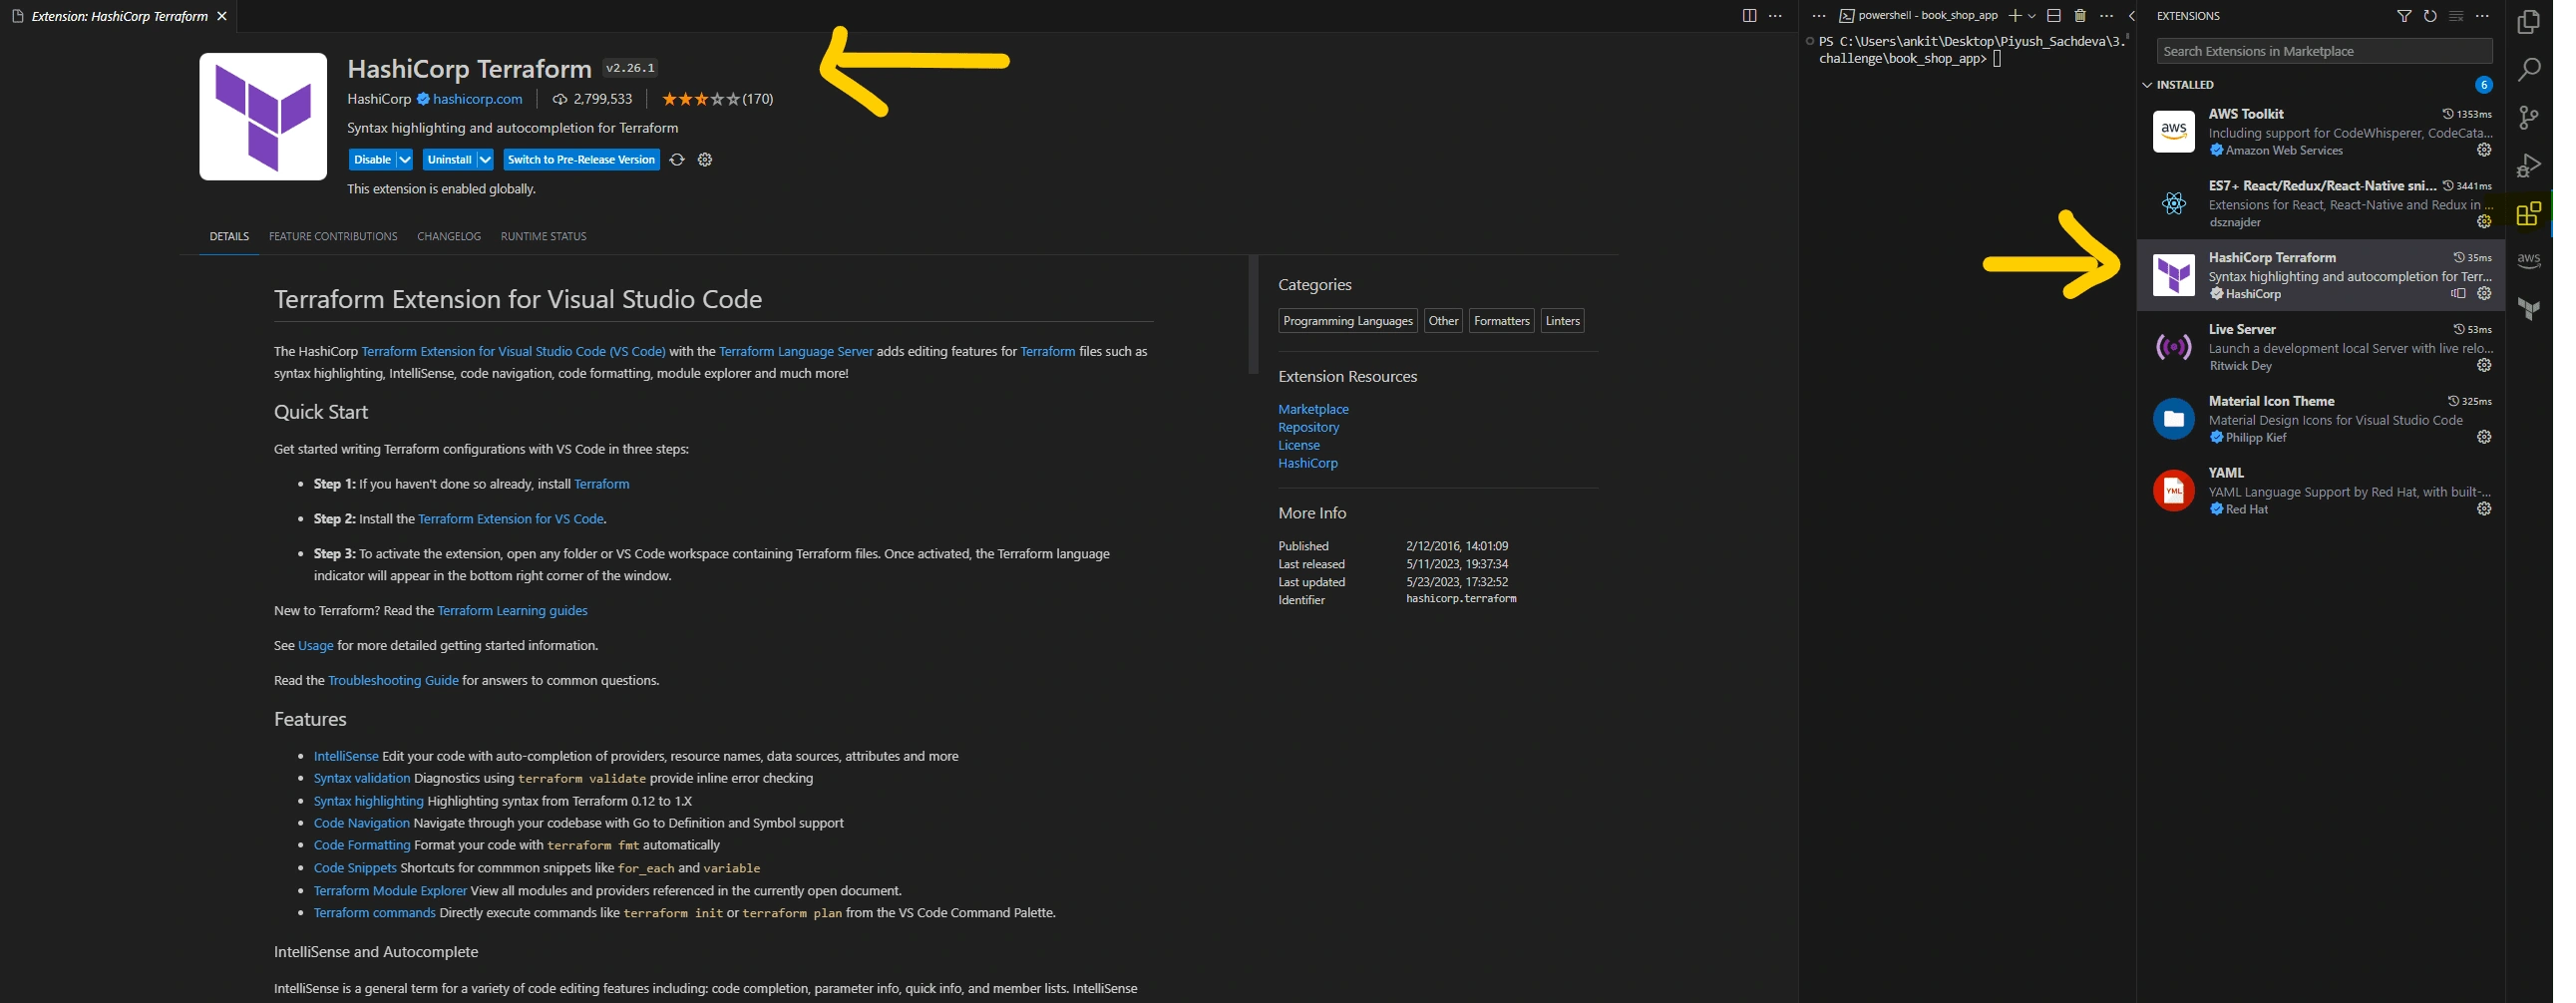
Terraform Install
AWS CLI
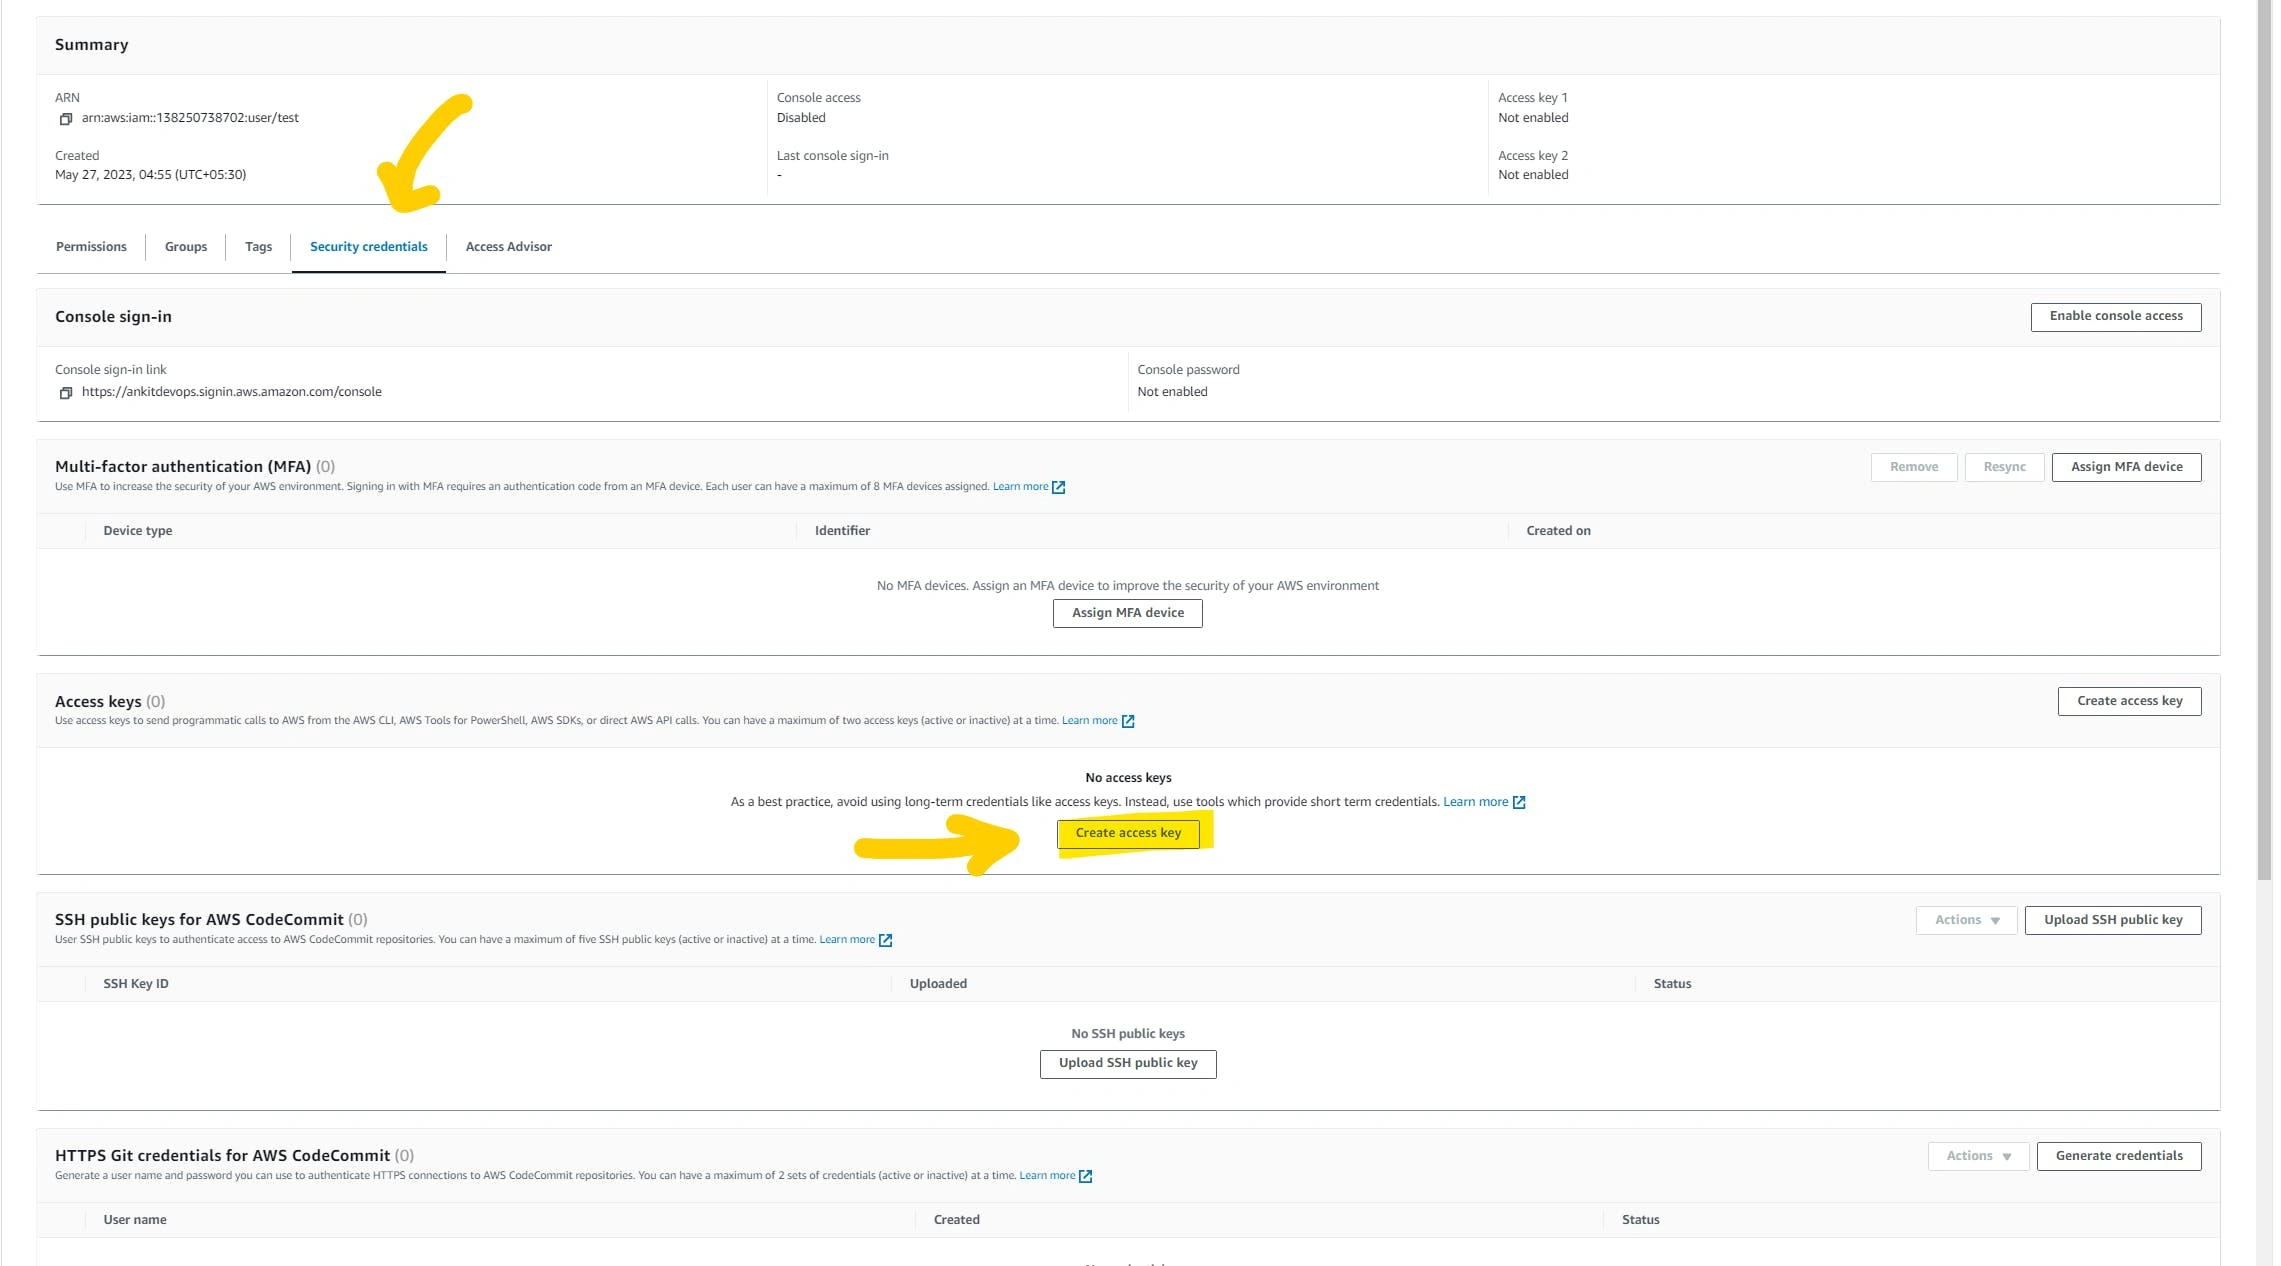
🚨 IAM secret key
I hope you have installed all the software and tools. now it's time to open the AWS console. please head over to IAM service.
Create USER


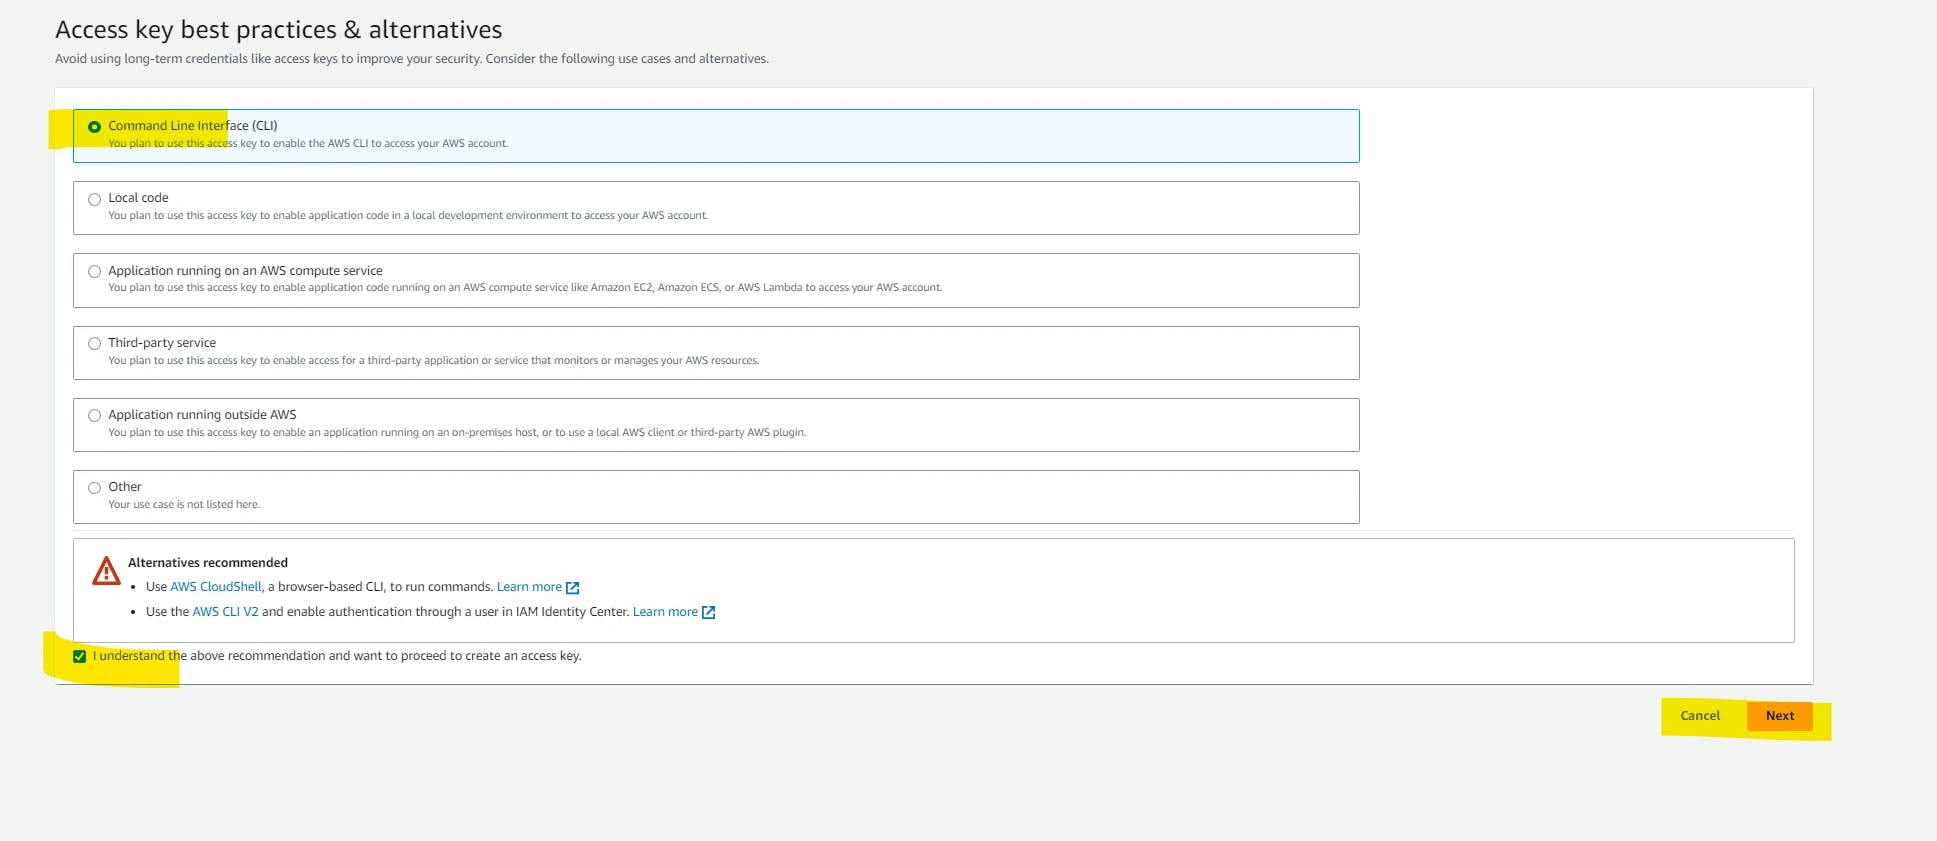
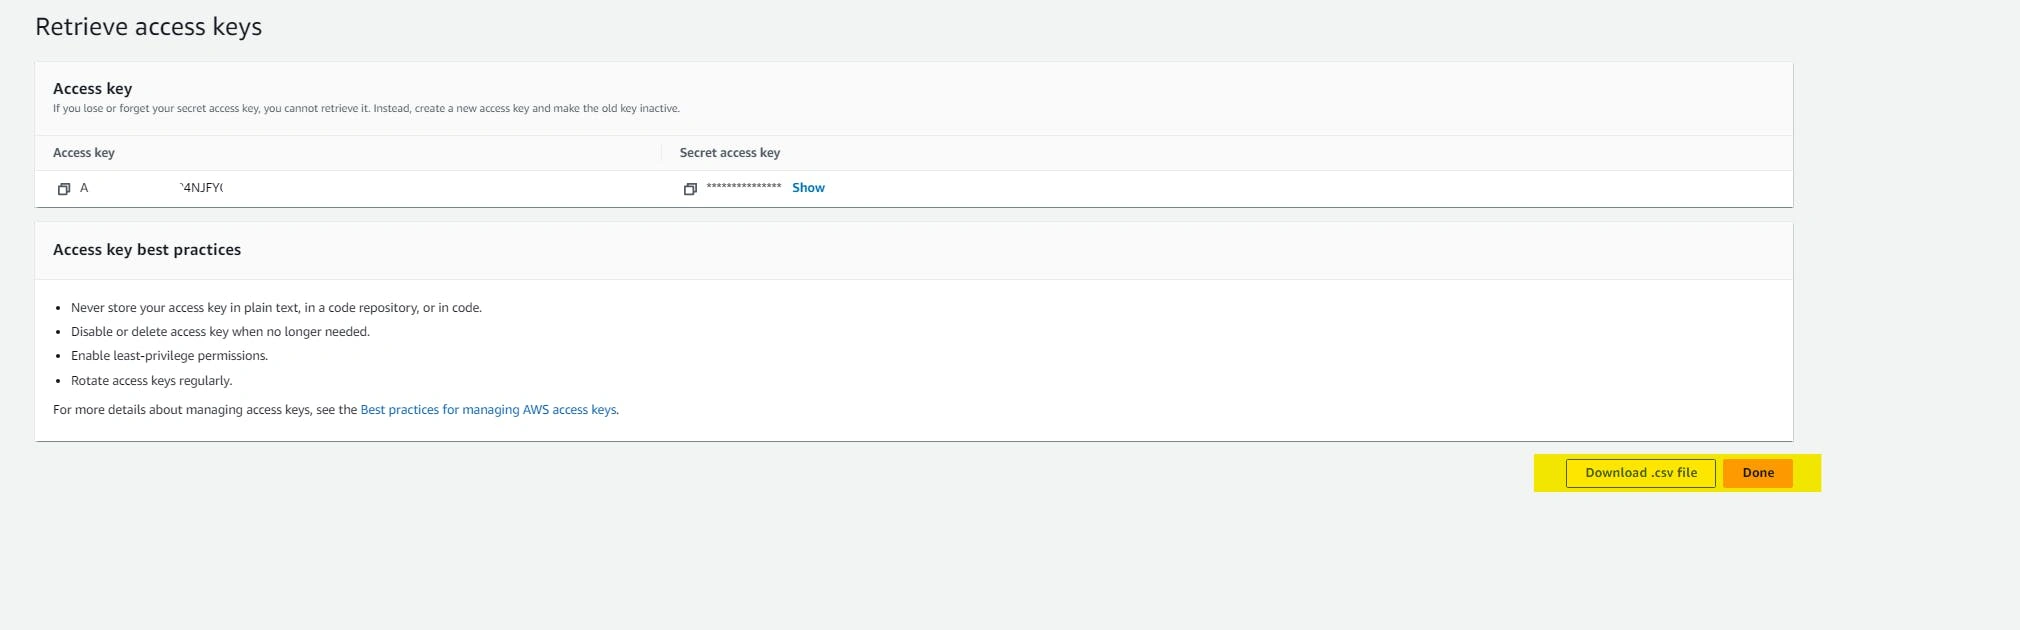
Create a secret key.
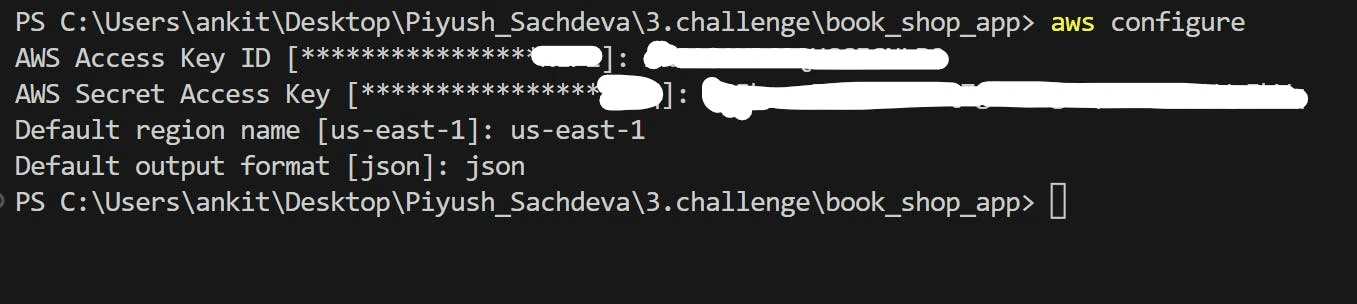
Configure AWS-CLI
✍️ Write Terraform files
Finally, it's time to write your infrastructure. but before you jump on it. let me clarify a few things, we are going to best practices while writing code.
🤩Best practices
store state files on remote location
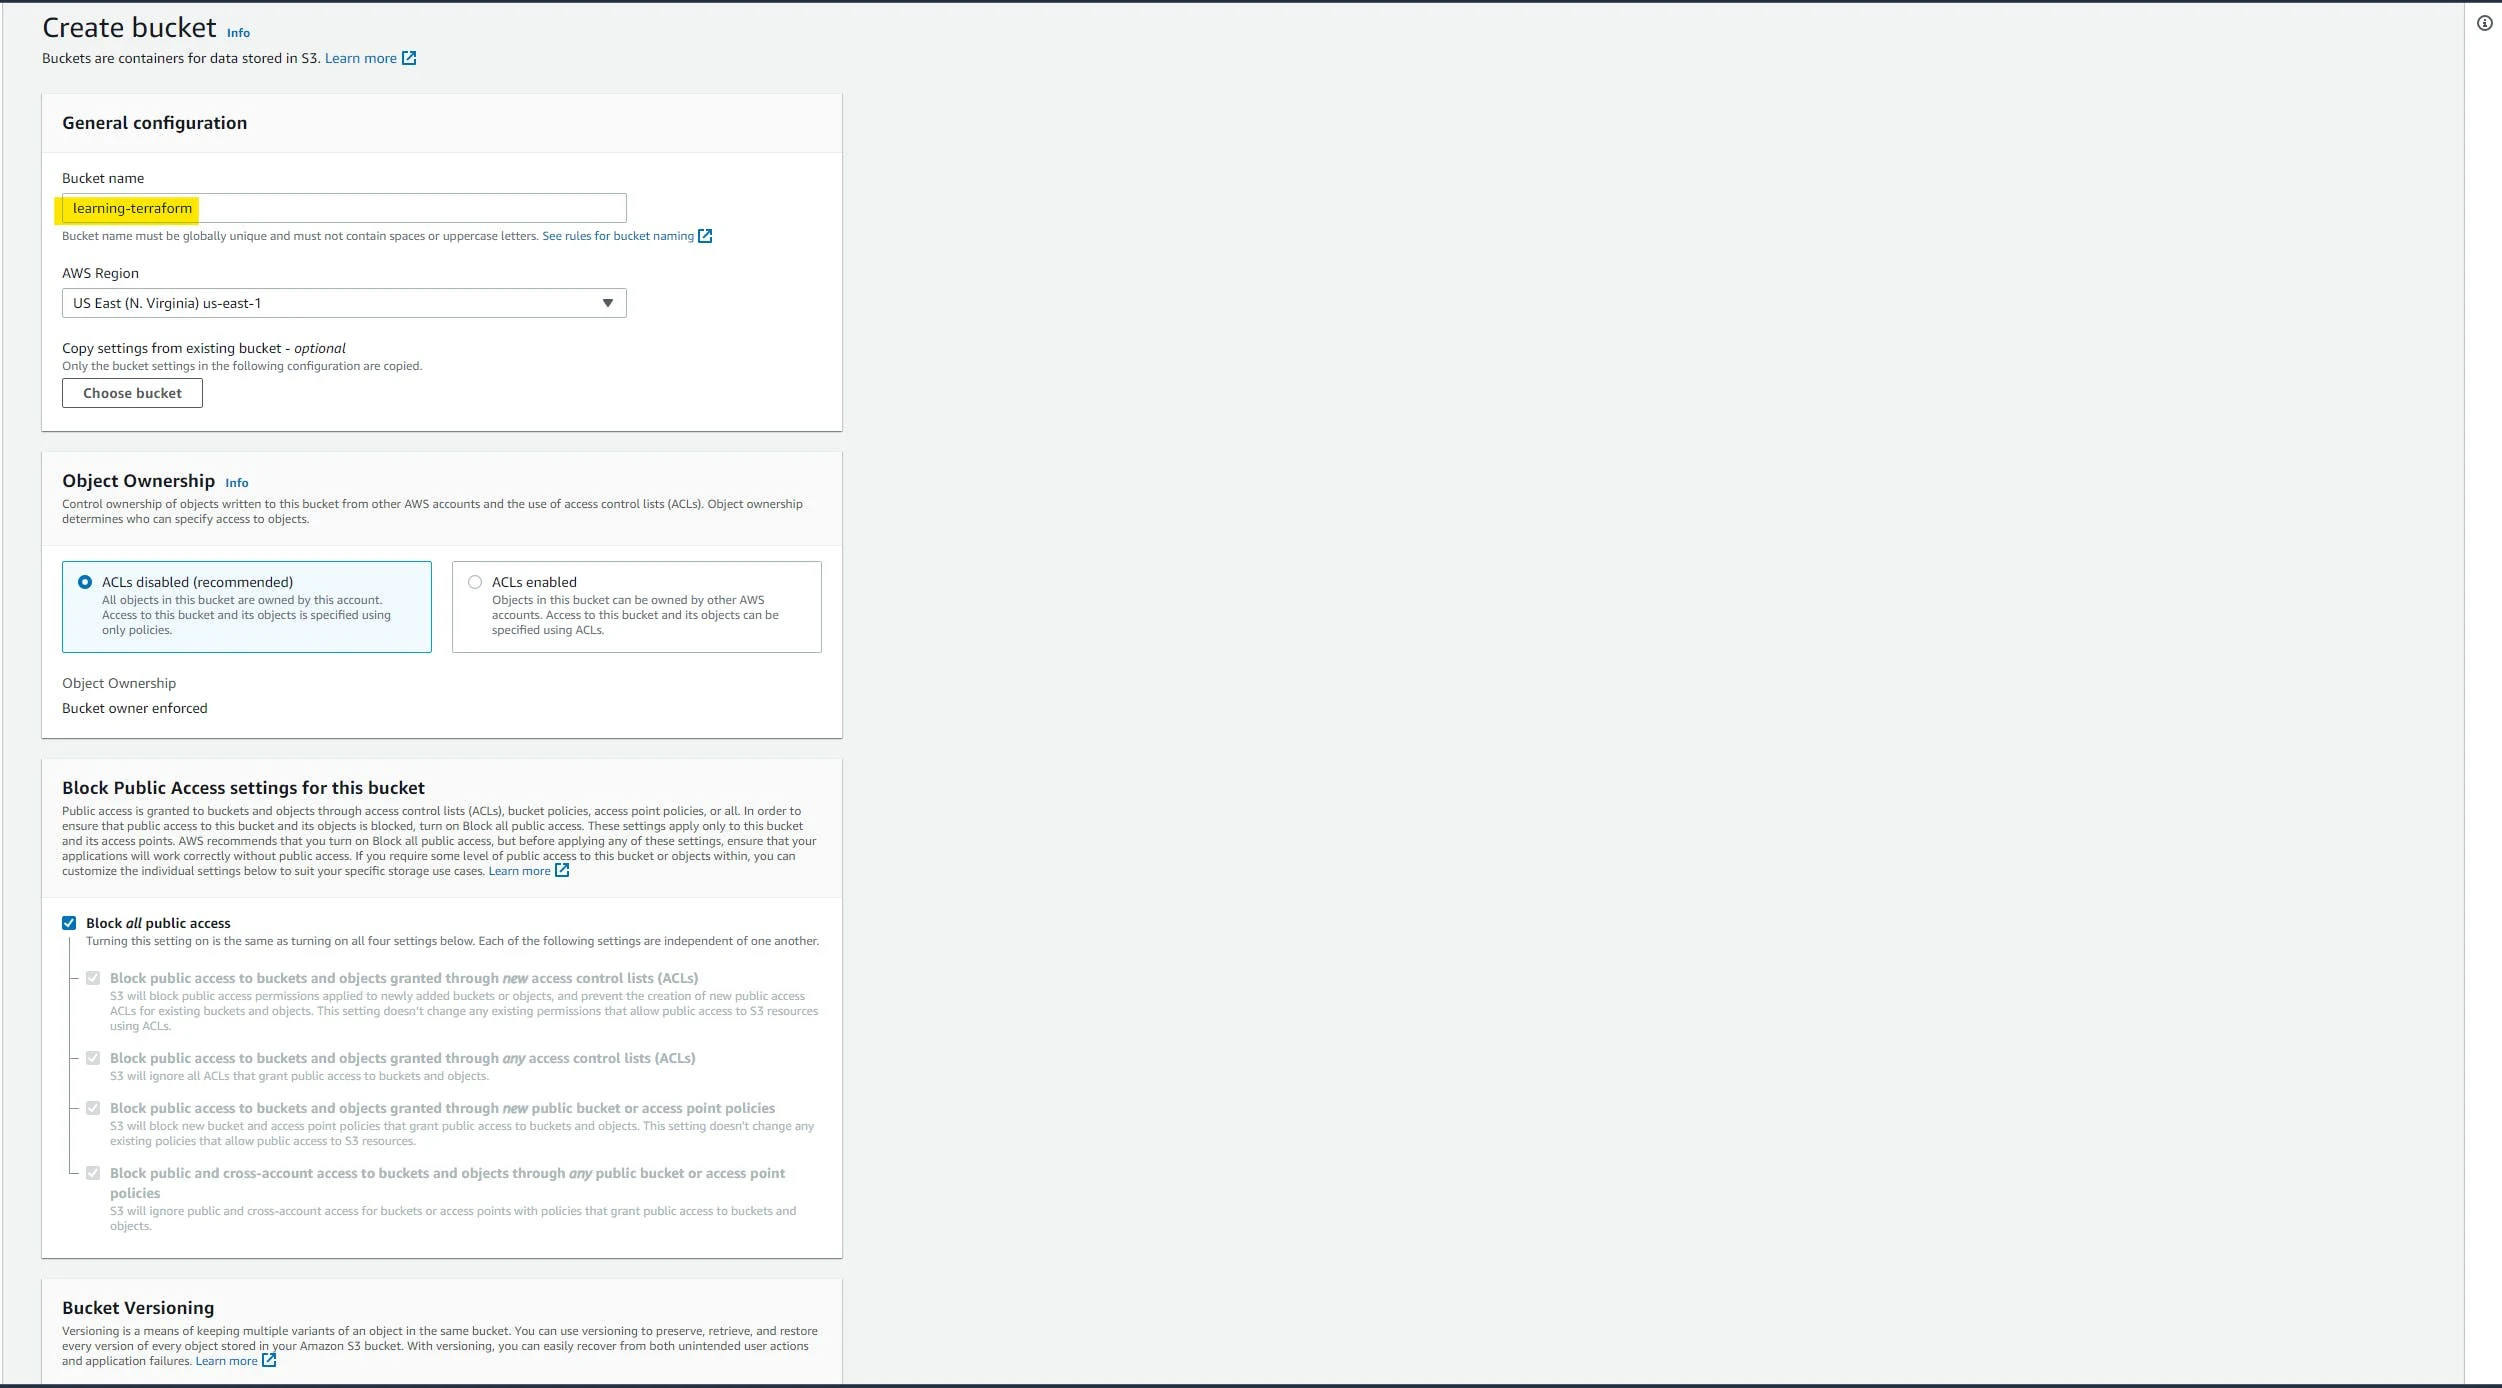
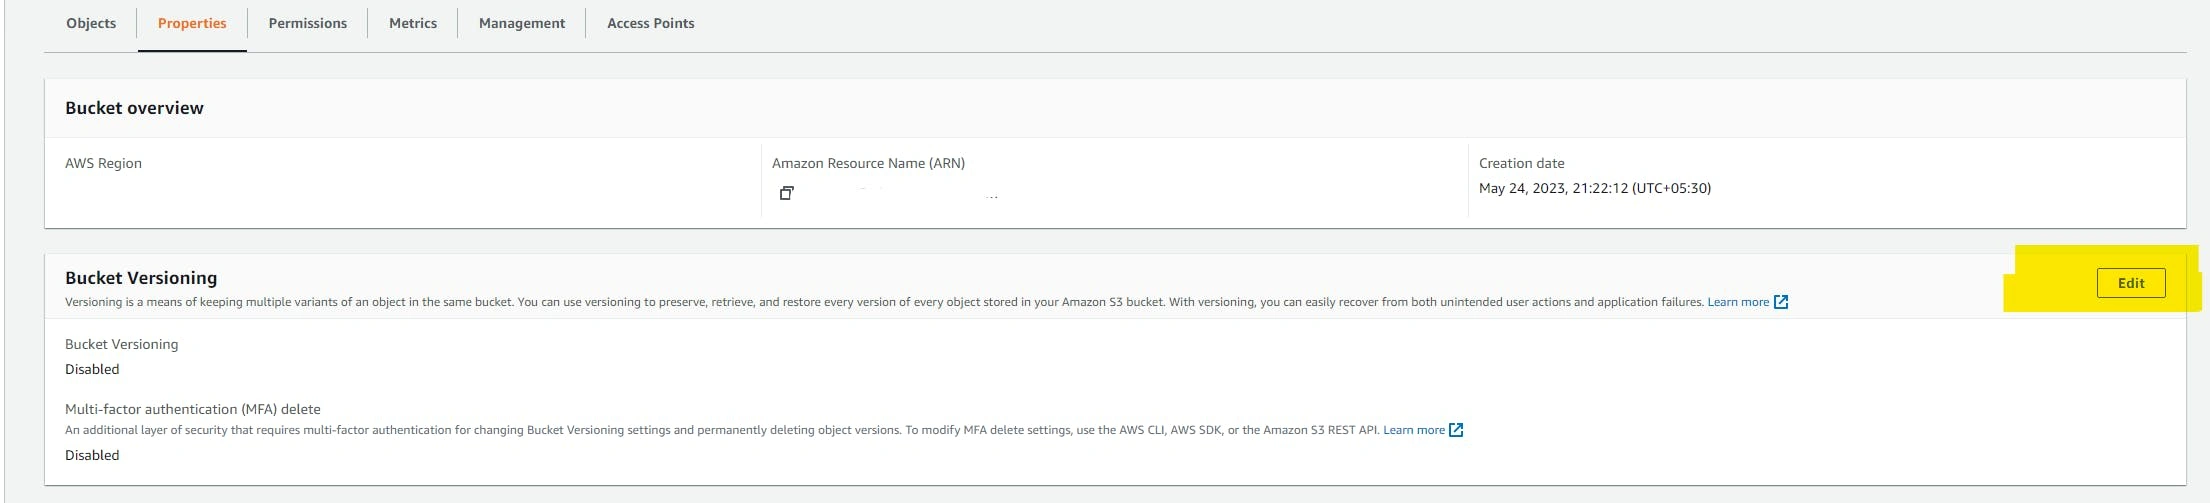
try to keep versioning for backups
state-locking so that we can keep tfstate file consistent while working on a collaborative project

use VCS like git and github
follow modular approach
NOTE: You will get all the code and files on my GitHub repository and I'll share the link with you at the END of the blog. but let me share a few things that you need to take care of while writing code in the backend.tf file.
book_shop_app/backend.tf
Create one file with the name of terraform.tfvars in the project directory.
book_shop_app/terraform.tfvars
Note: above file is very important to set up the infrastructure so make sure you fill all the variable's values carefully.
Please visit my Github repository for to source code. and there you will find instructions to clone the repo and run it on your local machine.
Github link: https://github.com/AnkitJodhani/3rdWeekofCloudOps
🖥️Outputs
let's see what Terraform created on our AWS console.
VPC
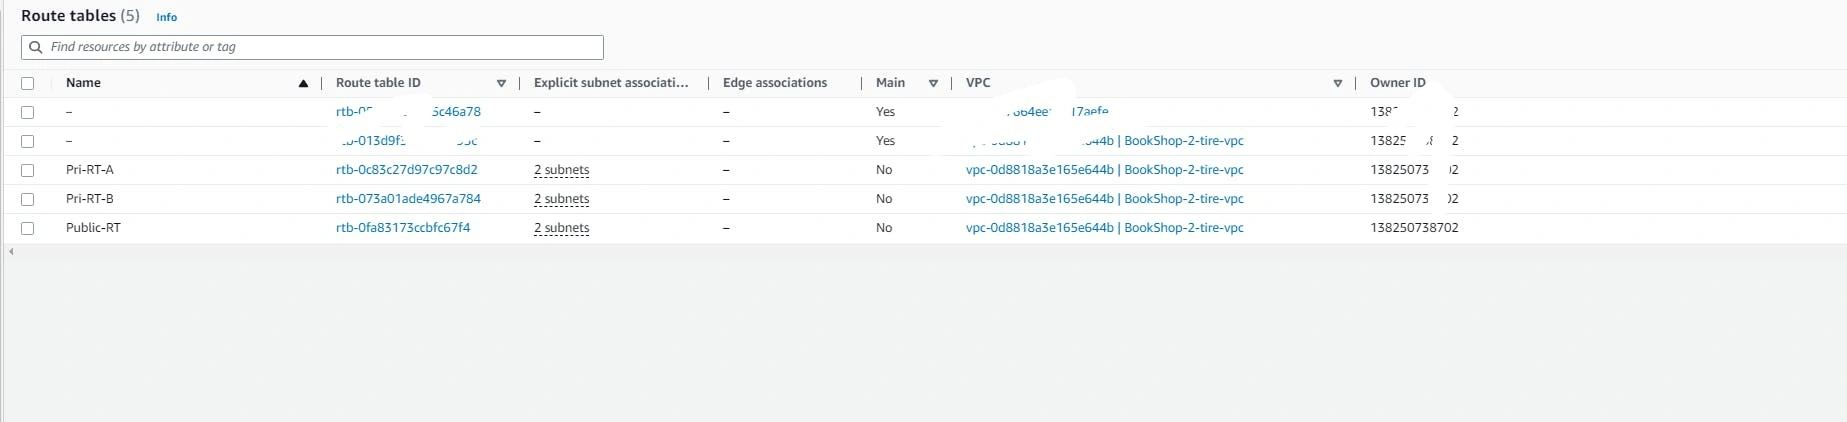
Routing table
NAT-gateway

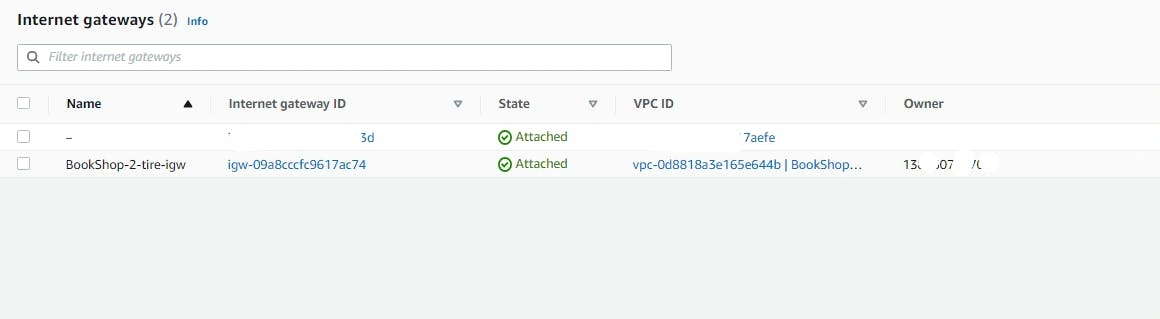
Internet-gateway
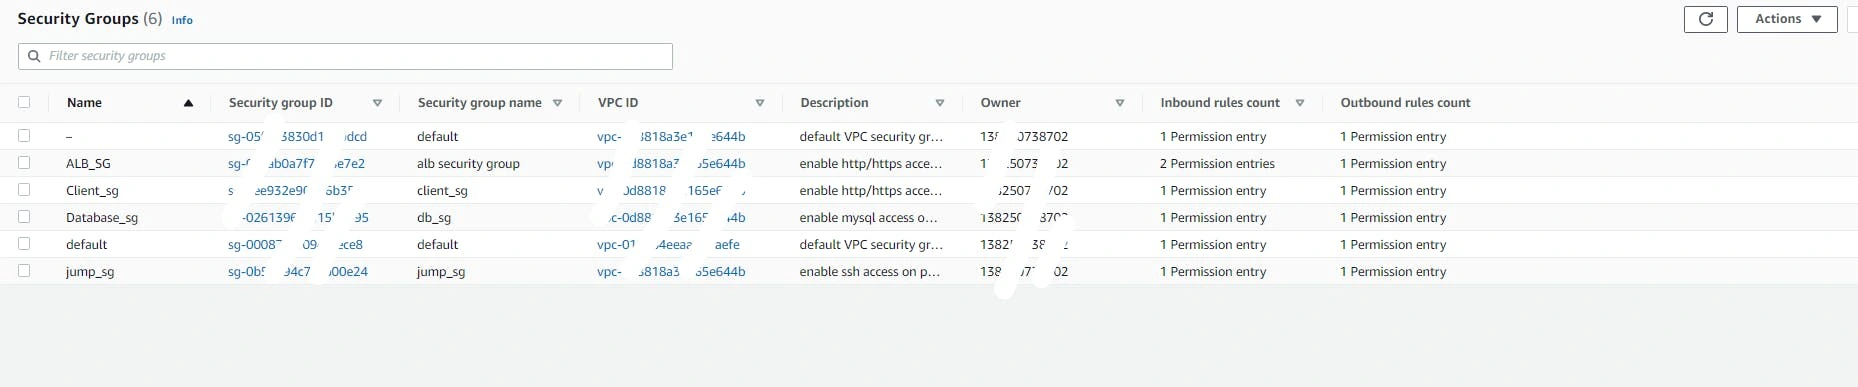
security groups
launch template

auto-scaling group

EC2 servers (Jump server )

Target group

Application load balancer

RDS instance

CloudFront distribution

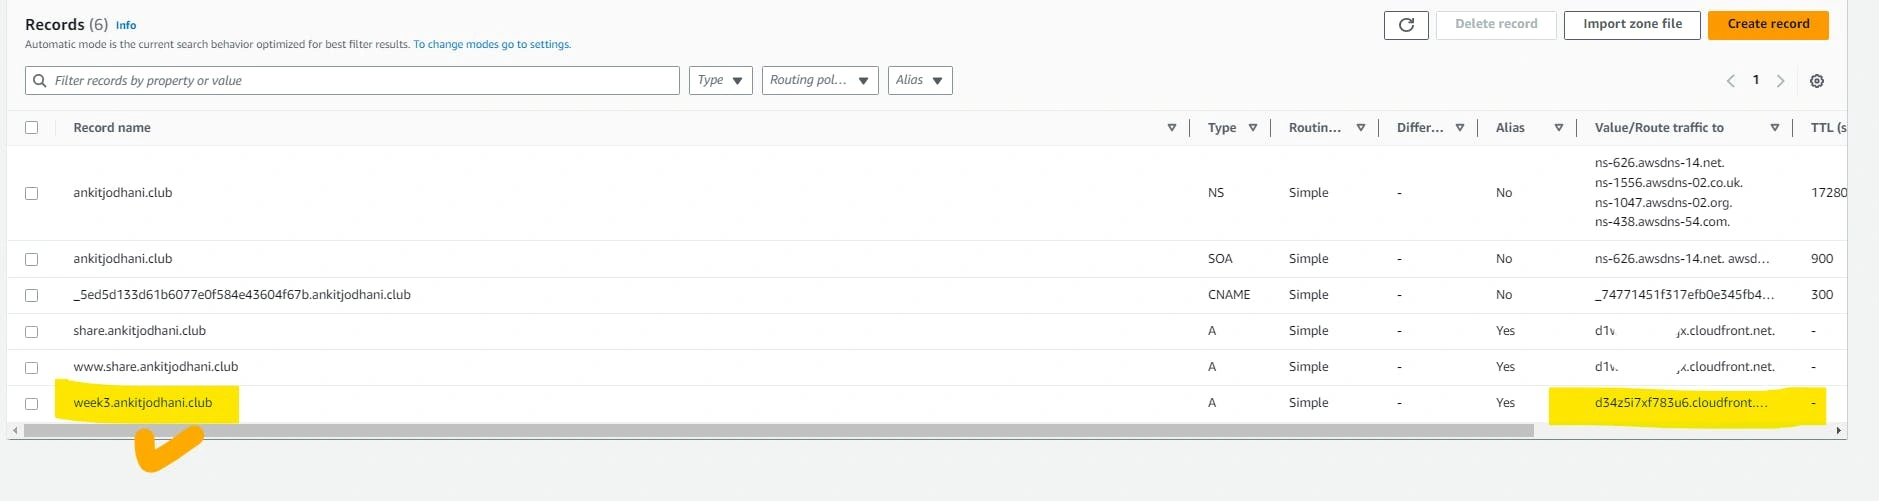
Record in route 53
📚Resources
🙏Thank you for reading...
please follow for more such content😅.
🧑💻 Github repository link: github.com/AnkitJodhani/3rdWeekofCloudOps
🧑💻 Github profile: https://github.com/AnkitJodhani
✈️ Linkedin: https://www.linkedin.com/in/ankit-jodhani/
Like this project
Posted Aug 12, 2023
Implementing Two-Tier Architecture in AWS with Terraform,