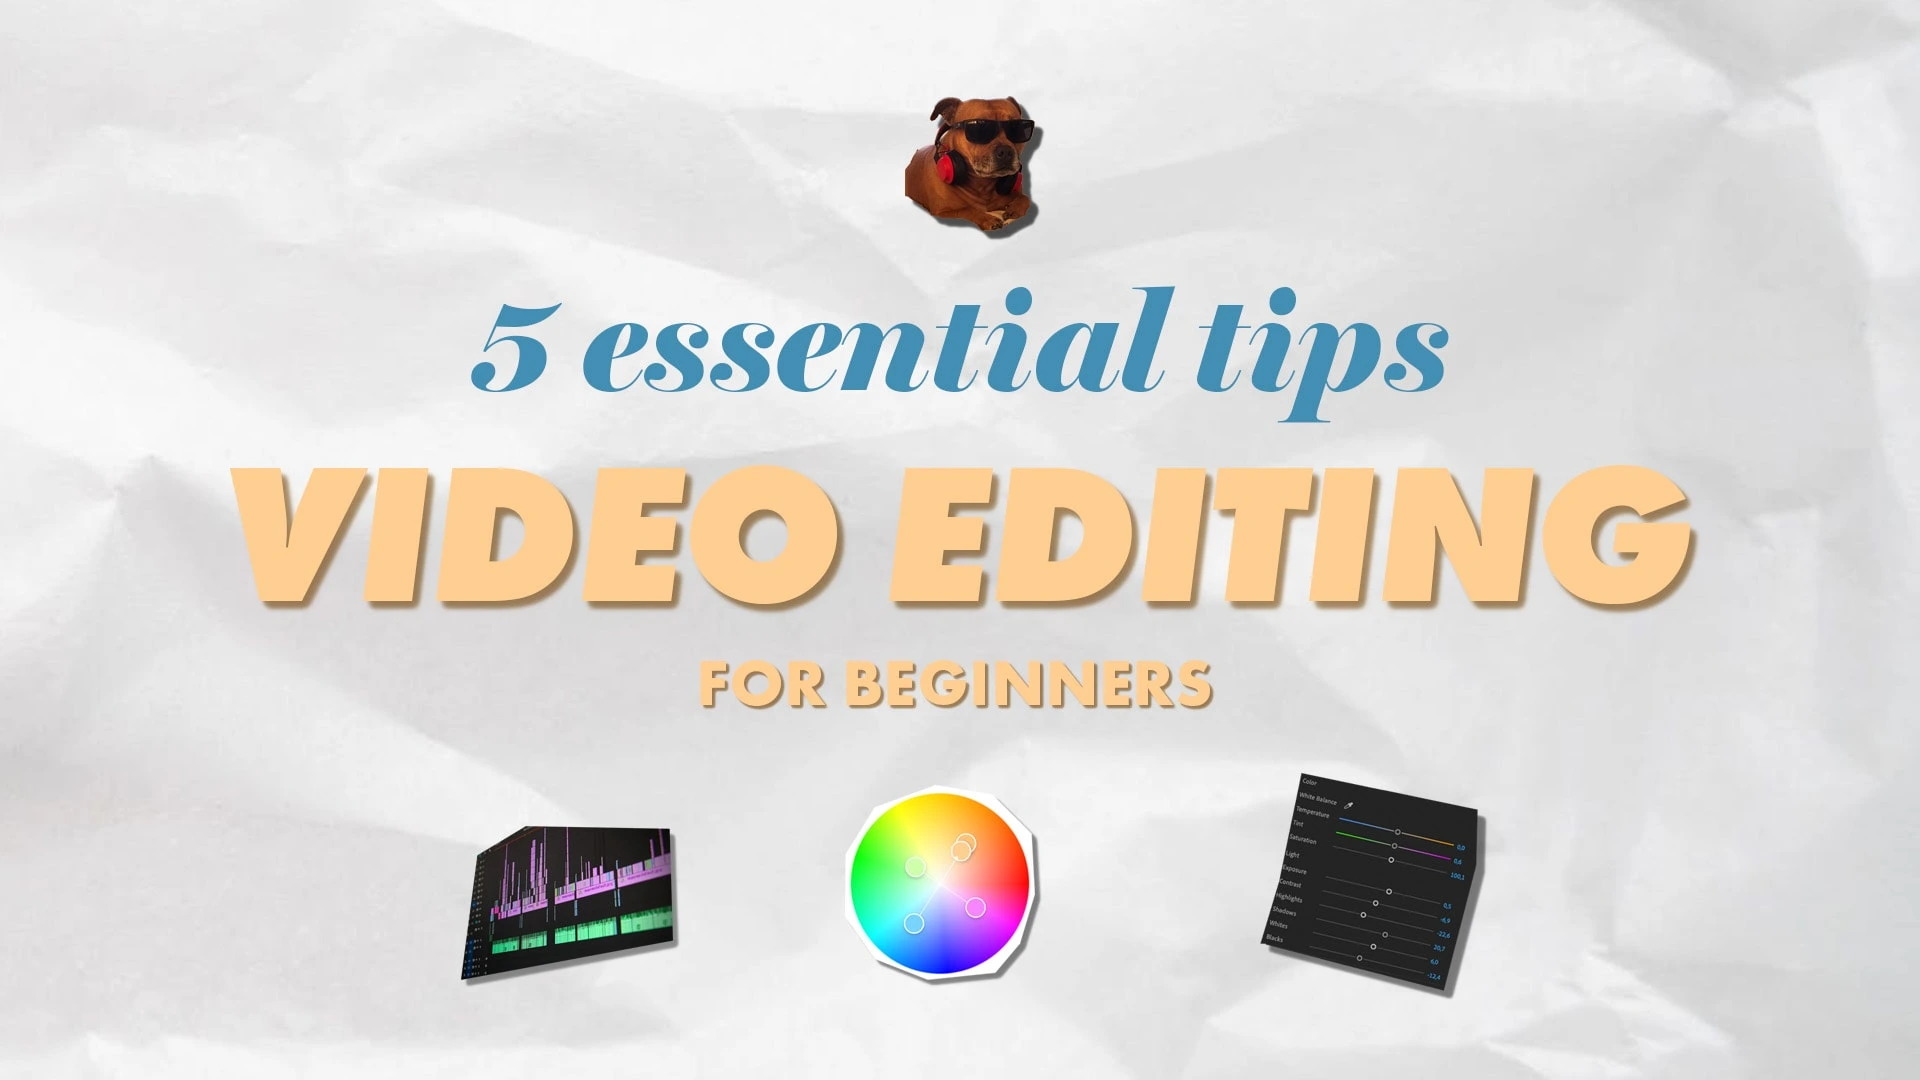
Video Editing for Beginners: 5 Essential Tips
Toni Leirvik Larsen
The importance of video editing
With the rise of short-form content on platforms like TikTok and Instagram Reel, video as a medium has never been more popular and easier to make. And luckily for us, low technical quality can actually be a good thing because it feels less like an ad and more like something authentic. So if you haven’t jumped on the video creation and editing bandwagon, now is the time to make the leap.
Whether you want to create content for your social media accounts, edit a video ad for your product, make a tutorial for your customers, or just need to communicate something fast and efficiently, learning the basics of video editing can go a long way.
The purpose of this article is to provide an introduction and beginner-friendly tips for video editing. After you’re done reading I highly encourage you to look up some of the terms and techniques for more in-depth information. There are lots of fun and relevant tutorials on YouTube.
Tip 1: Plan your project
Tip 1: Plan Your Project
It’s easy to get excited when you have a cool idea and just want to throw yourself into the creative process immediately. But very often you can end up with an incomplete project because when that initial spark and motivation disappear, it’s hard keeping yourself disciplined. Especially when there’s no structured plan to follow.
Define objectives and target audience
Start by asking questions like:
Why are you making this video?
Who do you want to watch it?
What do you wish to accomplish?
Create a storyboard and shot-list
A storyboard is a collection of images and illustrations meant to inspire and provide examples of how the final video should look.
A shot-list is a written list of the things that needs to be recorded or created.
A pro tip is to include the video editor in the preproduction (planning) before anyone starts recording. It can make the whole process more streamlined and easy for everyone involved.
Organize raw footage and project files
A cluttered house creates a cluttered mind, and that goes for your project as well. If you’re lazy or just not used to organizing in general, set the bar low and create the following folders:
Audio
Footage
Images
Graphics
As you get more comfortable I encourage you to add subfolders for relevant categories, but to start with just keep it simple. You would be surprised how many editors I’ve worked with that use just one folder for all of the footage and audio assets. It’s a nightmare to work with and a huge time waster.
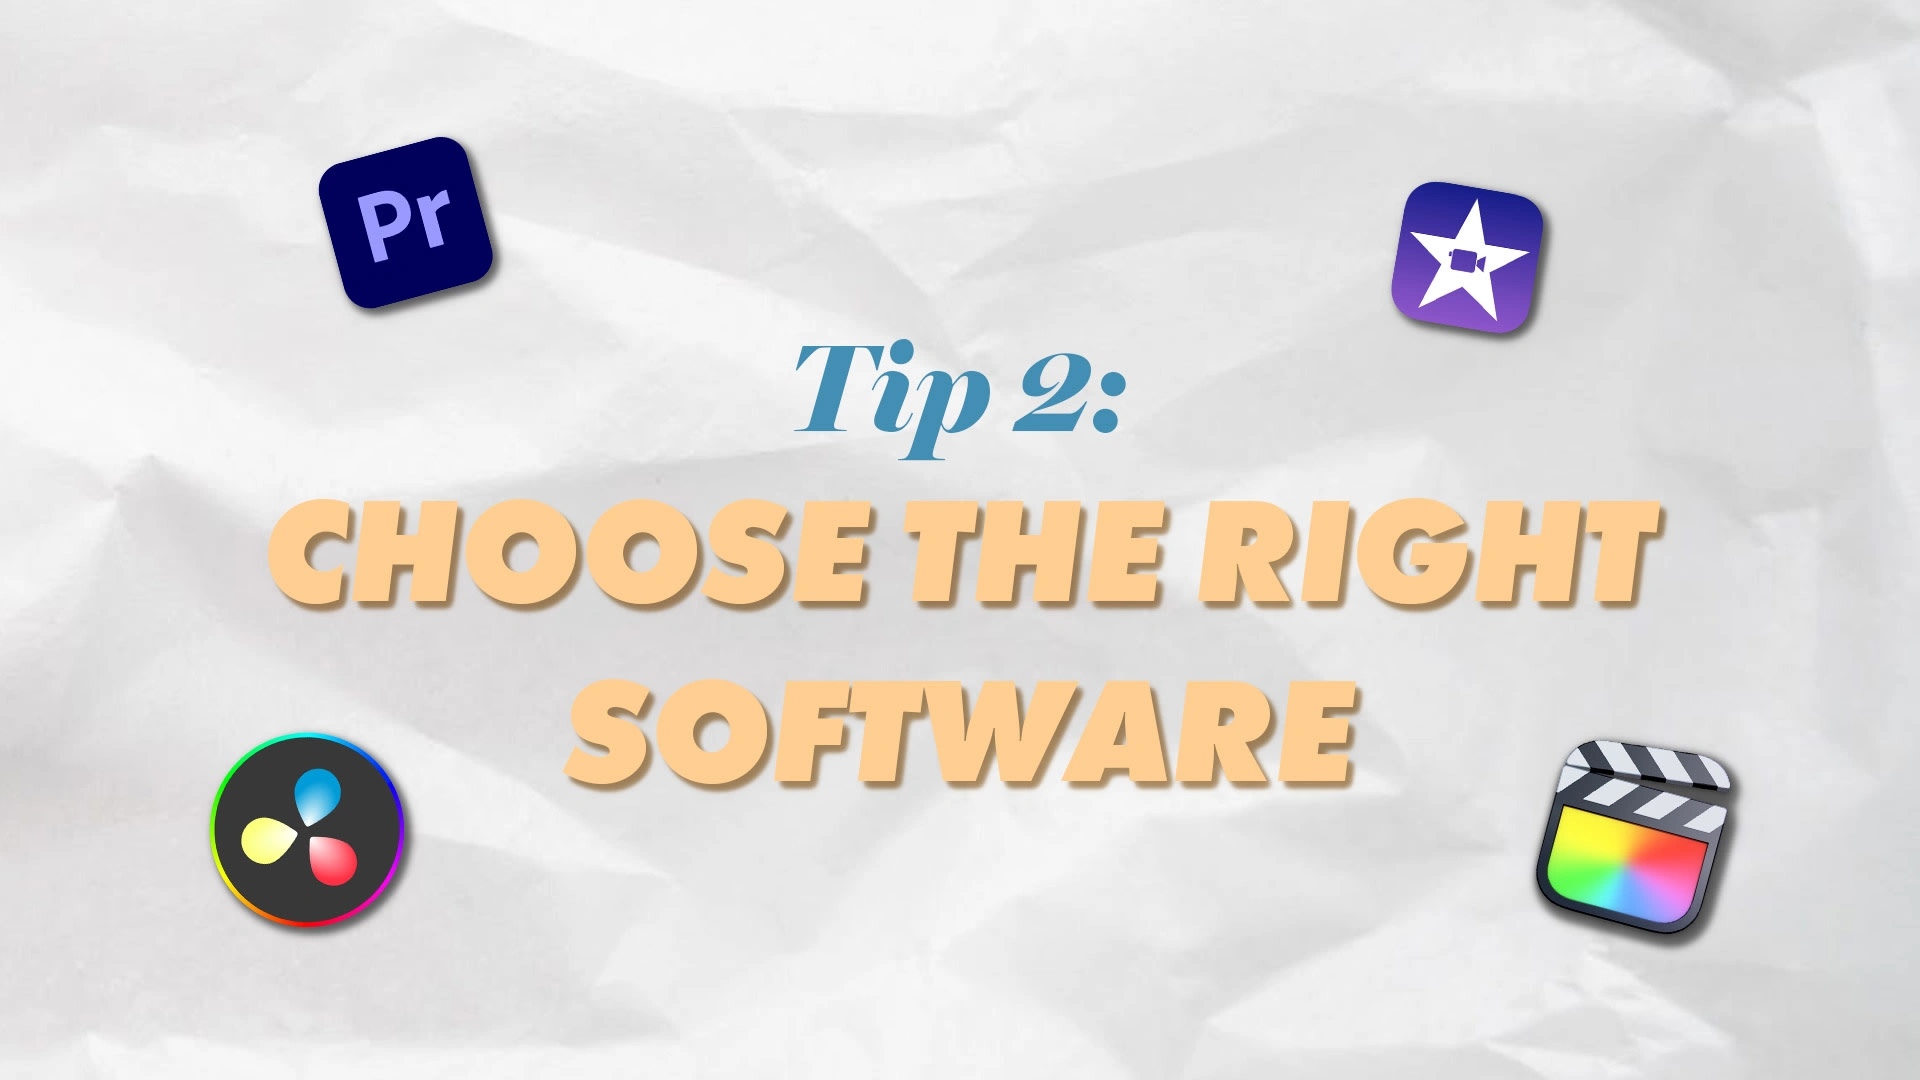
Tip 2: Choose the right software
Tip 2: Choose the right software
To keep this article short, here are the 3 most popular editing apps (my observation):
Adobe Premiere Pro (Mac/Win)
Final Cut Pro (Mac)
DaVinci Resolve (Mac/Win)
But for beginners, I would recommend a free and less complicated alternative to get started with, like iMovie (Mac) and Windows Video Editor. When the day comes that your software is limiting what you want to create while editing, I recommend you check out the alternatives above.
If you’re shooting a TikTok or Instagram Reel on your phone I highly recommend you check out the editing functions within the apps. They’re getting very innovative and have native access to a ton of filters that you won’t find on desktop editing apps.
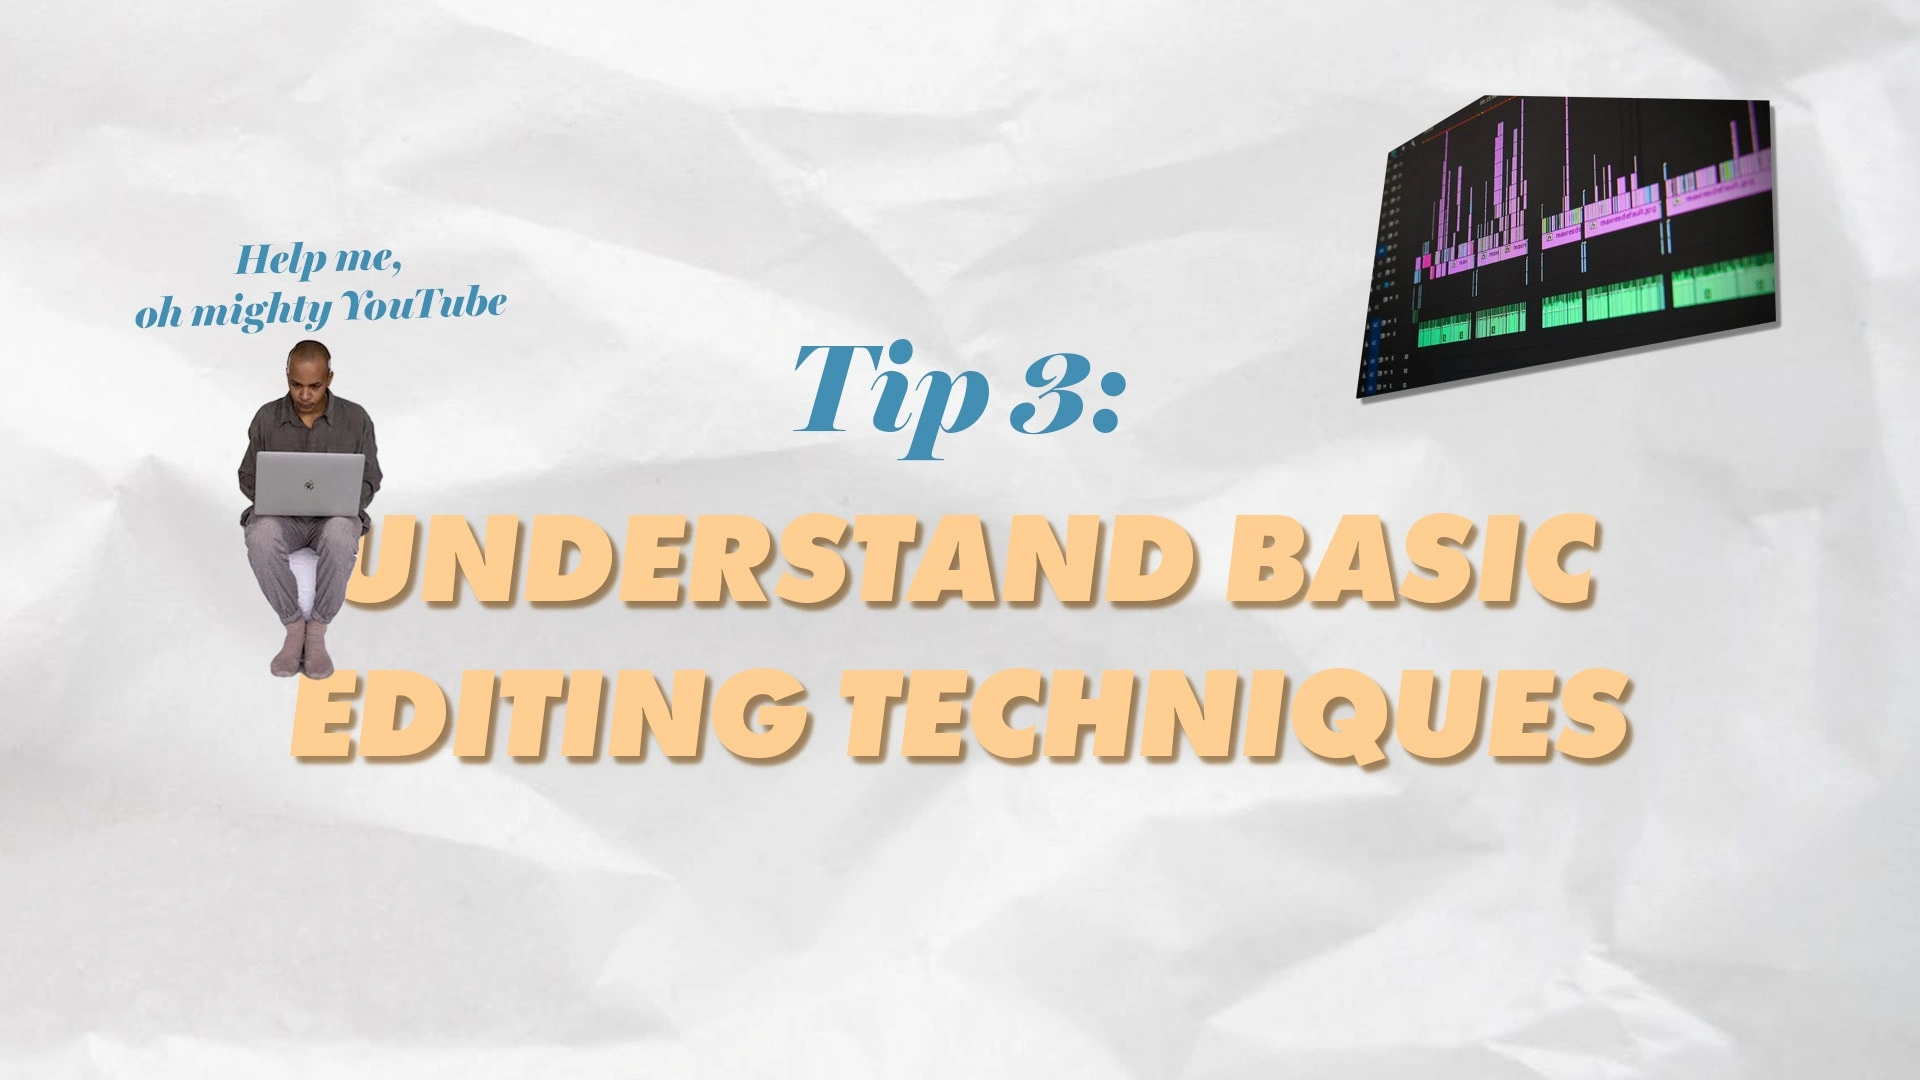
Tip 3: Understand basic editing techniques
Tip 3: Understand Basic Editing Techniques
Familiarise yourself with the app interface.
This can often be the most scary part of learning new software. You open it up and you just see a bunch of panels and labels that at first glance don’t make much sense. Start by asking yourself a few questions like:
How to import my assets (music, footage, etc)?
Where is the timeline?
How to view footage inside the app?
Learn different types of cuts and transitions
A lot of beginners go overboard with adding a bunch of crazy zoom transitions, combined with spinning effects and lens flares, color grades that change all blue to sea green (my worst nightmare), and the list goes on. It’s the equivalent to someone who adds range dressing to every single dish and calls themselves a chef.
Instead, I recommend you start off with 2 simple, but important, things: “Clean cuts” and “Fade transitions”.
Practice these two religiously and you will master the most important thing that separates the average from the pros: Timing.
Explore basic editing techniques
For most video edits, especially going on social media platforms, you will need to learn the following 3 techniques:
Trimming down footage:
Removing unnecessary parts that you don’t need.
Jump-cuts:
Cutting out dead air, for example, pauses between talking points.
Adding on-screen text:
Having text appear on the screen.

Tip 4: Utilise sound design
Tip 4: Utilise Sound Design
Importance of audio in video editing
Audio often gets overlooked when editing a video. After all, it’s not the eye-catching part of it. But it does catch your attention and affects your overall impression of the video.
Watching a video is an audio-visual experience (unless you’re watching on a muted phone). Often it’s more important with high-quality audio than high-quality visuals.
Tips for capturing high-quality sound during a shoot
Use an external microphone instead of the built-in mic on your camera. If you’re using your phone and you’re talking to the camera, connect a wired hands-free and hold it close to your mouth so you can be heard loud a clear.
If you don’t have an external microphone just hold the camera/phone closer to yourself or to the source you’re recording.
Try to avoid places with a lot of background noise like cafes, crowded places, construction sites, etc.
Editing audio tracks
I’m gonna keep this one simple and give you my rule of thumb:
If someone’s talking, lower the music. If/when they stop talking, raise the music back up.
And don’t feel that you have to add music. If the video works without anything playing in the background, feel free to leave it out.

Tip 5: Color adjustments and on-screen text
Tip 5: Enhance with color adjustments and on-screen text
Color correcting
A typical beginner mistake is to go crazy with the color edit. It’s ok to experiment and train your eyes. But try to keep in mind when you’re editing that this usually comes across as unprofessional. This is a very complicated topic, both technically and theoretically. But we’re gonna keep things simple, so here are a couple of things to focus on:
Exposure: The footage is bright enough.
Making sure that the main subject is exposed properly is key. Shooting with auto settings on camera usually takes care of this, but take a look and make small adjustments if needed.
White balance: Not too cold, nor too warm.
If the footage looks too cold (blue), add yellow. If it’s too warm (yellow), add blue.
Text Overlay
3 Things to keep in mind when you’re adding on-screen text to a video:
Don’t cover the subject's face.
Use white or another color that contrasts well with the image and is easy to read.
Add a drop shadow to the text to make it stand out more.
Maintain consistency throughout the video.
When you’re adjusting exposure and color, or adding on-screen text, it’s important to maintain the same style throughout the edit. So if you’re using footage from two different cameras you can try your best to color-match them and make everything feel cohesive.

Recap
Recap
We’re only scratching the surface of video editing, but if you learn the 5 tips you’re well on your way to becoming your own video editor:
Plan your project
Chose the right software
Understand basic editing techniques
Utilise Sound Design
Enhance with color adjustments and on-screen text
I recommend you don’t get stuck on a linear learning process; instead, focus on getting your hands dirty. Google some topics, watch a couple of tutorials on YouTube. And whenever things get overwhelming:
Keep it short, simple, and to the point.
Like this project
Posted May 19, 2023
Short-form videos as content have never been more popular. In this article, I'll provide an introduction and beginner-friendly tips for video editing.
Likes
0
Views
38
Clients
Contra