Movie Theater Review App Development
Sharayah Rushing
Movie Theater Review App
Overview
We were tasked with creating an app that drew on concepts we learned throughout the course. The project had two phases:
Phase One: No use of AI
Phase Two: AI use allowed
Problem/Goal
I decided to create a movie theater reviewer app that would act almost as an interactive blog. Think a recipe blog where you can save favorites but for movie theaters. I had a few priorities going into this project:
I wanted to make it look as visually appealing as possible. Up until this point, I had mainly used static colors as app backgrounds. I wanted to play around with gradients to create something more eye-catching.
I wanted some sort of user input aspect (the drop-down menu)
I wanted to create a way for users to save their favorite theaters from my list
Solution
Phase One
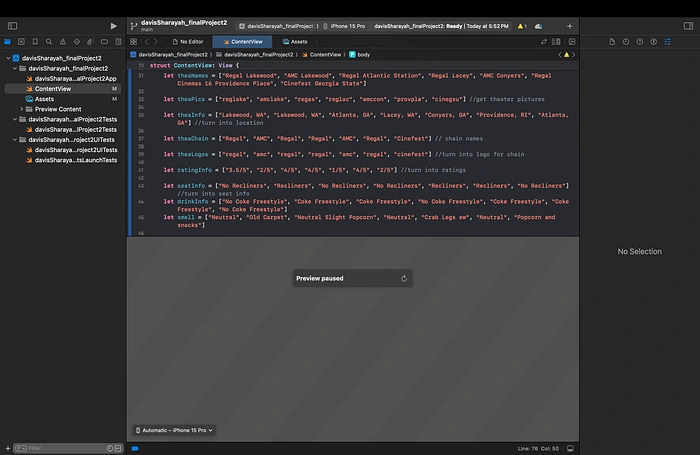
My base code for phase one came from a previous exercise we did putting together an array of Formula 1 drivers. I replaced the info in the arrays with the theater info I wanted.
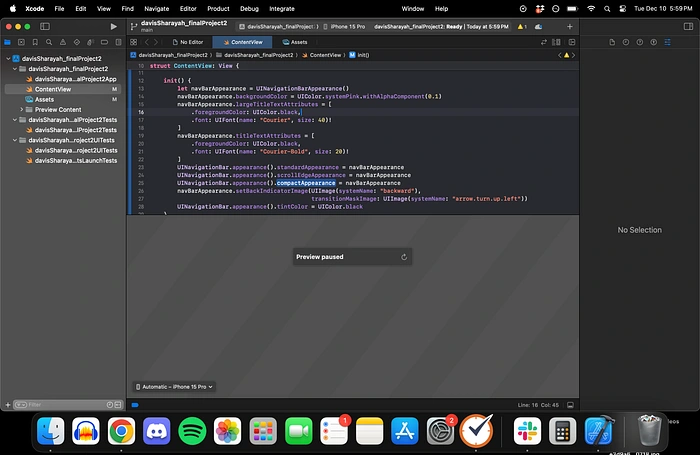
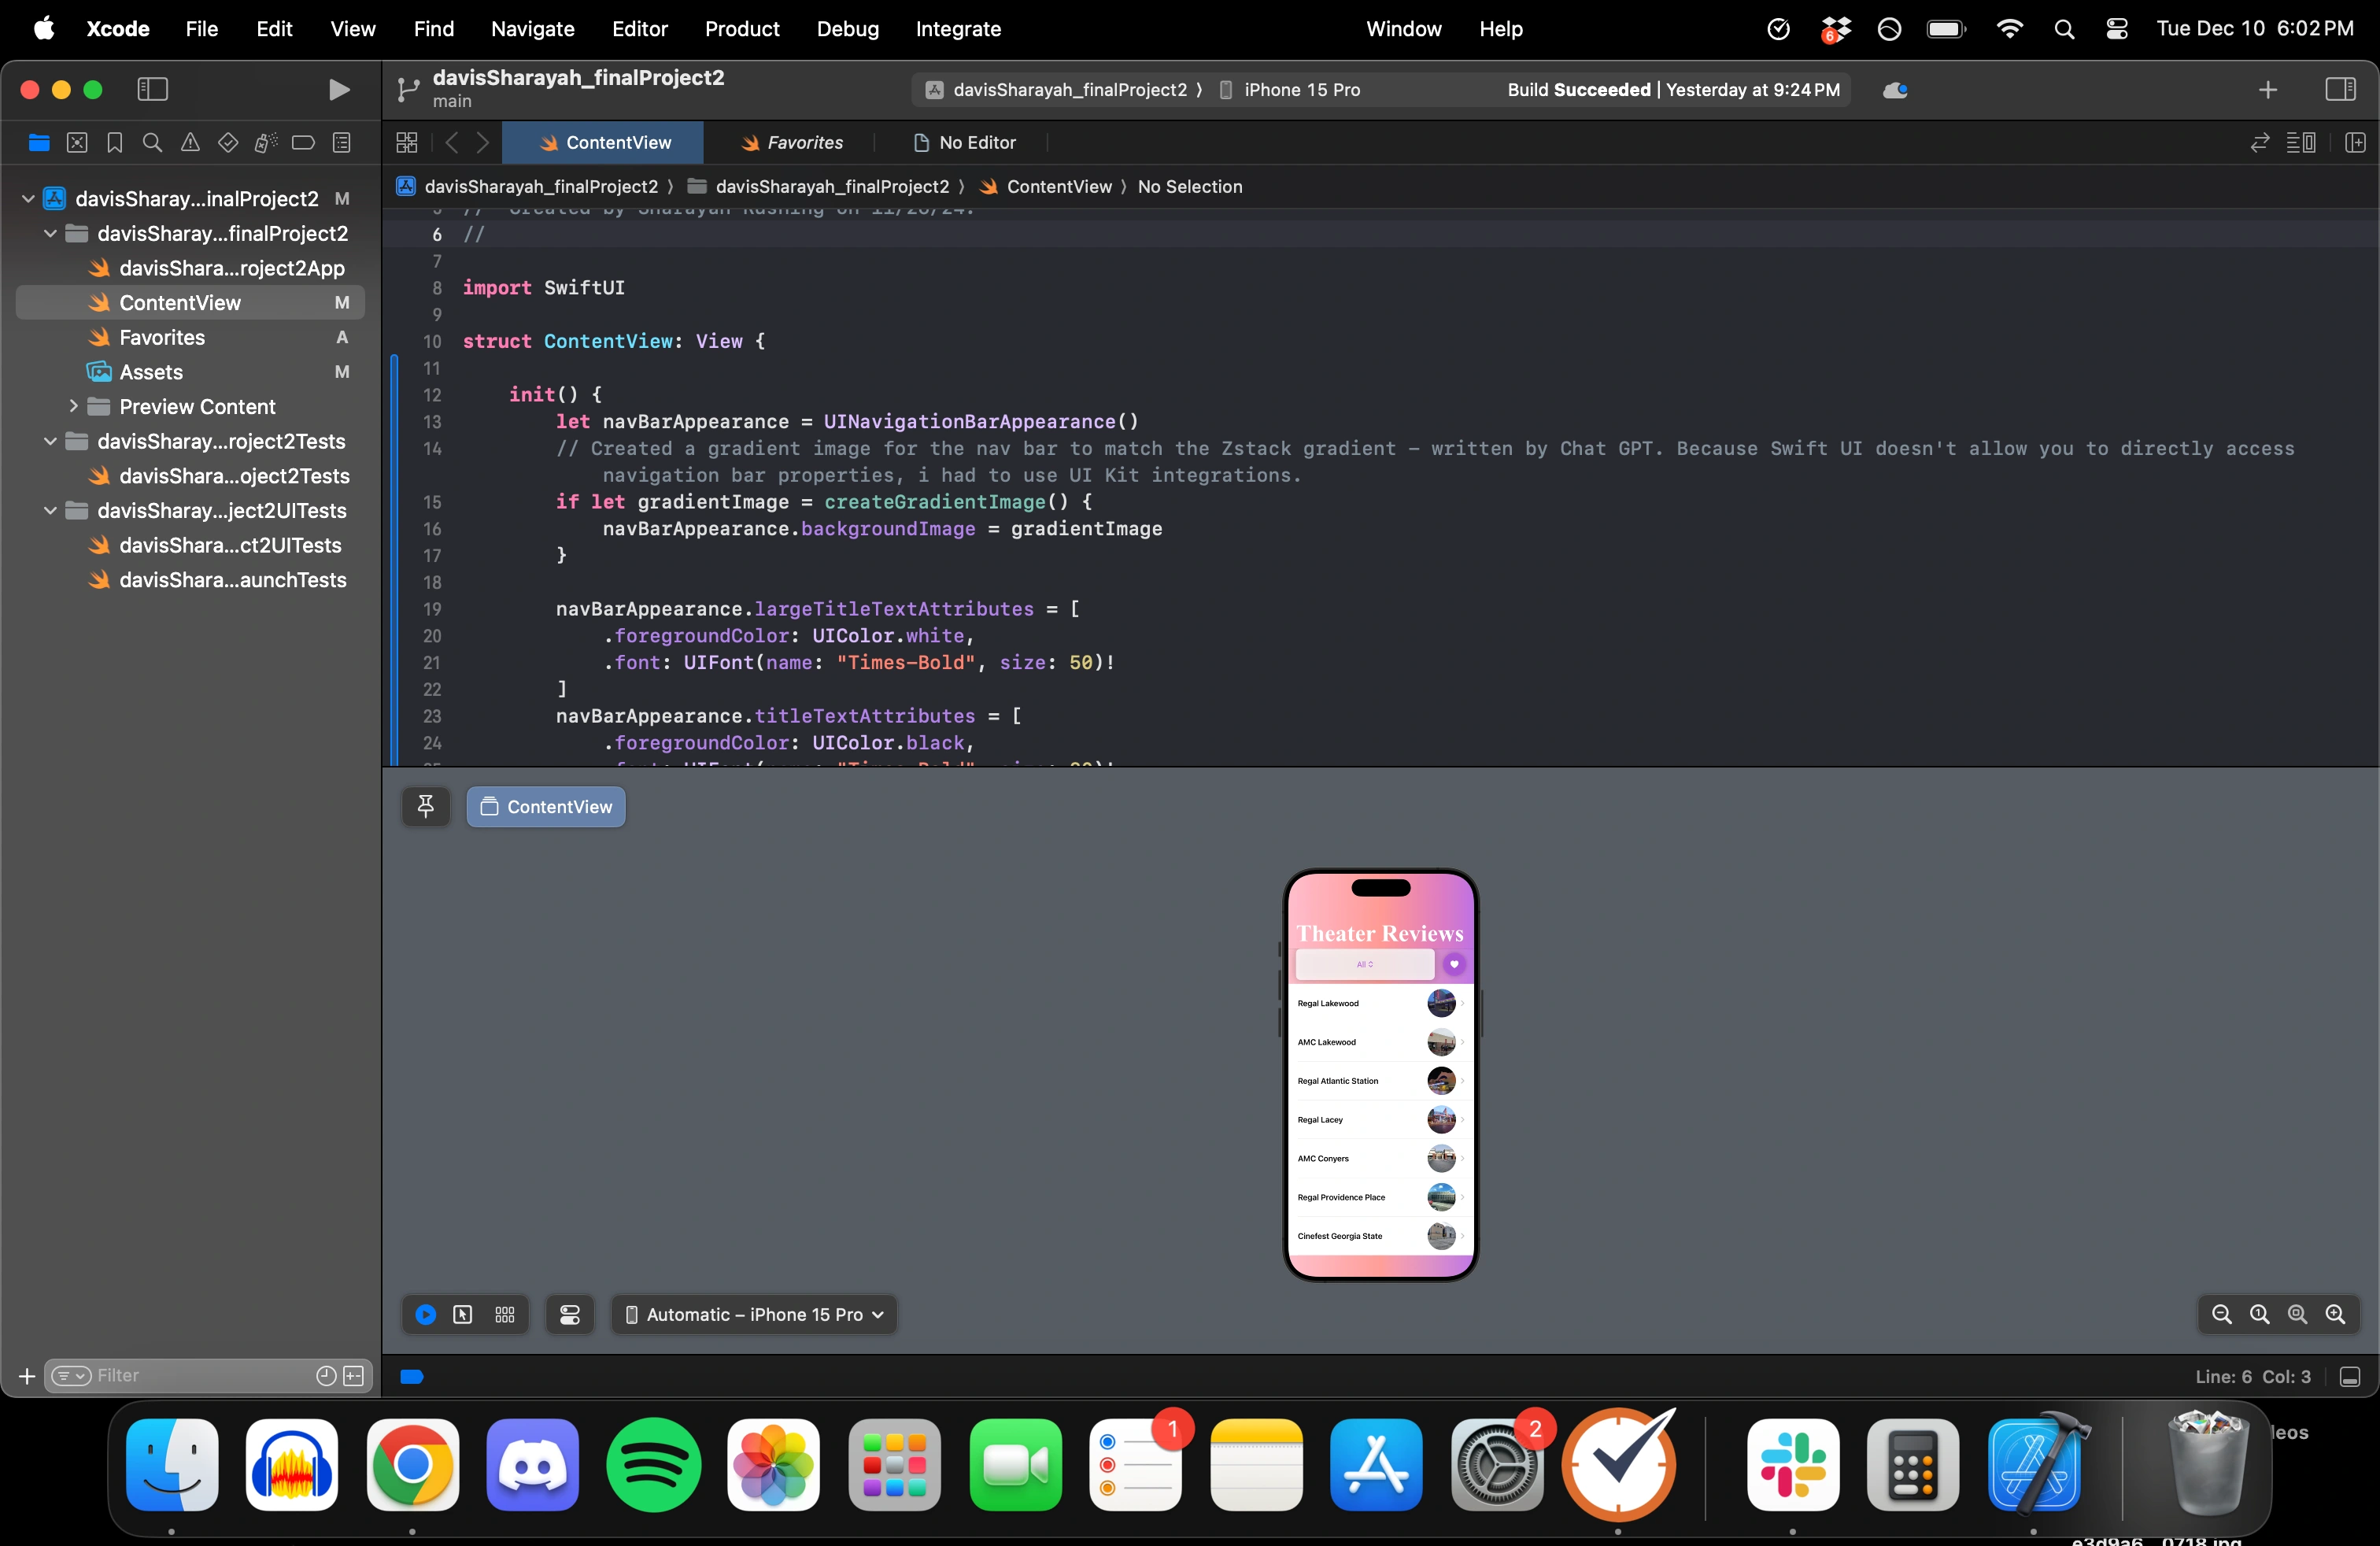
I also set up the nav bar appearance based on a previous course exercise. At this point, I didn’t know if I could carry the gradient I wanted to create for the background up to the navigation bar. So I just kept it as a light pink in this phase.
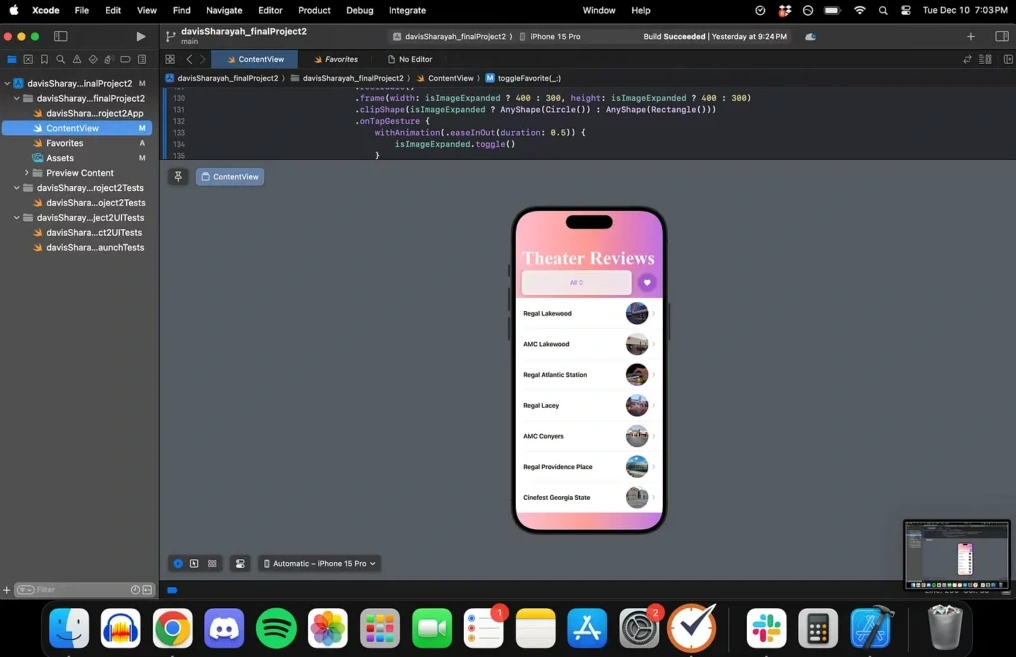
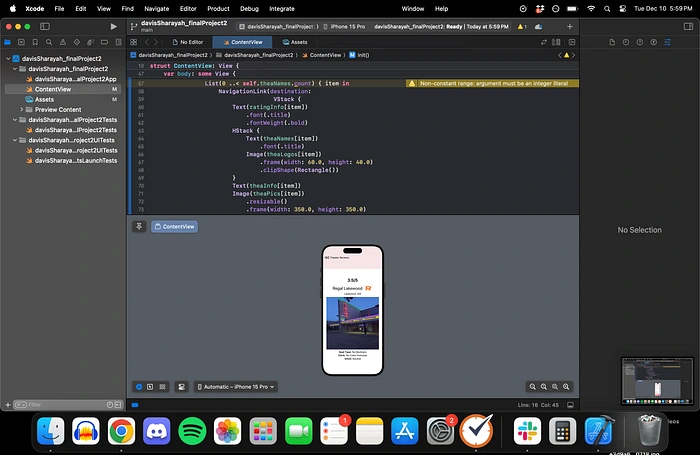
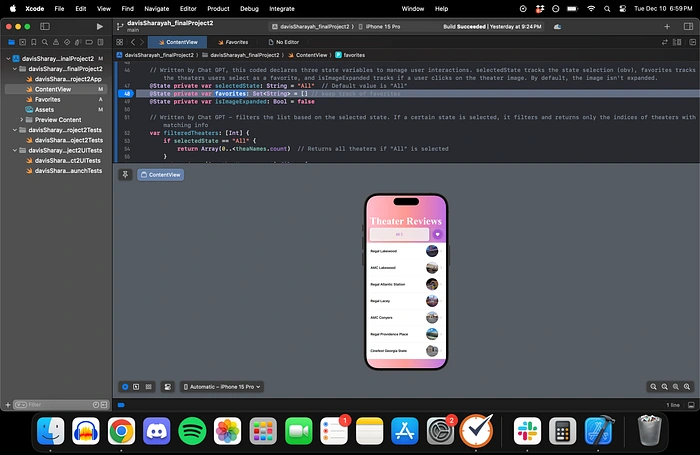
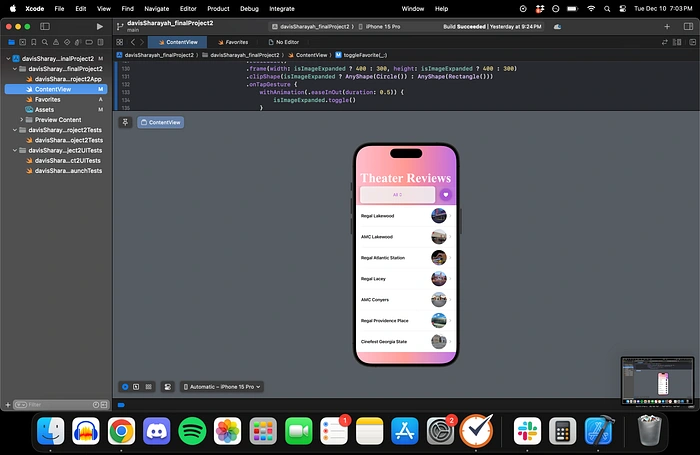
I then created a list of navigation links that would list all of the theaters and a little thumbnail image of the theater exterior. When you click on the link in the list, it takes you to a detailed view with all of the theater’s info (the theater chain logo, rating, image, location, seat type, drink options, and smell).
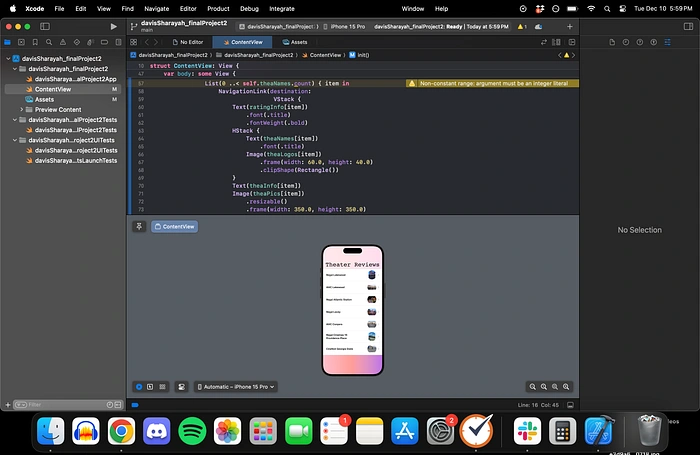
I also created a custom back button here. I decided to make it the “rewind” symbol to keep with the film theme.
Phase Two
I was happy with the way Phase One came together, but I thought it could look and function so much better.
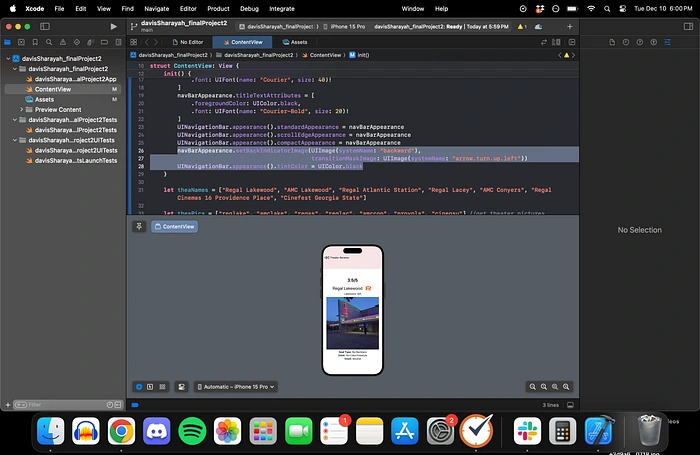
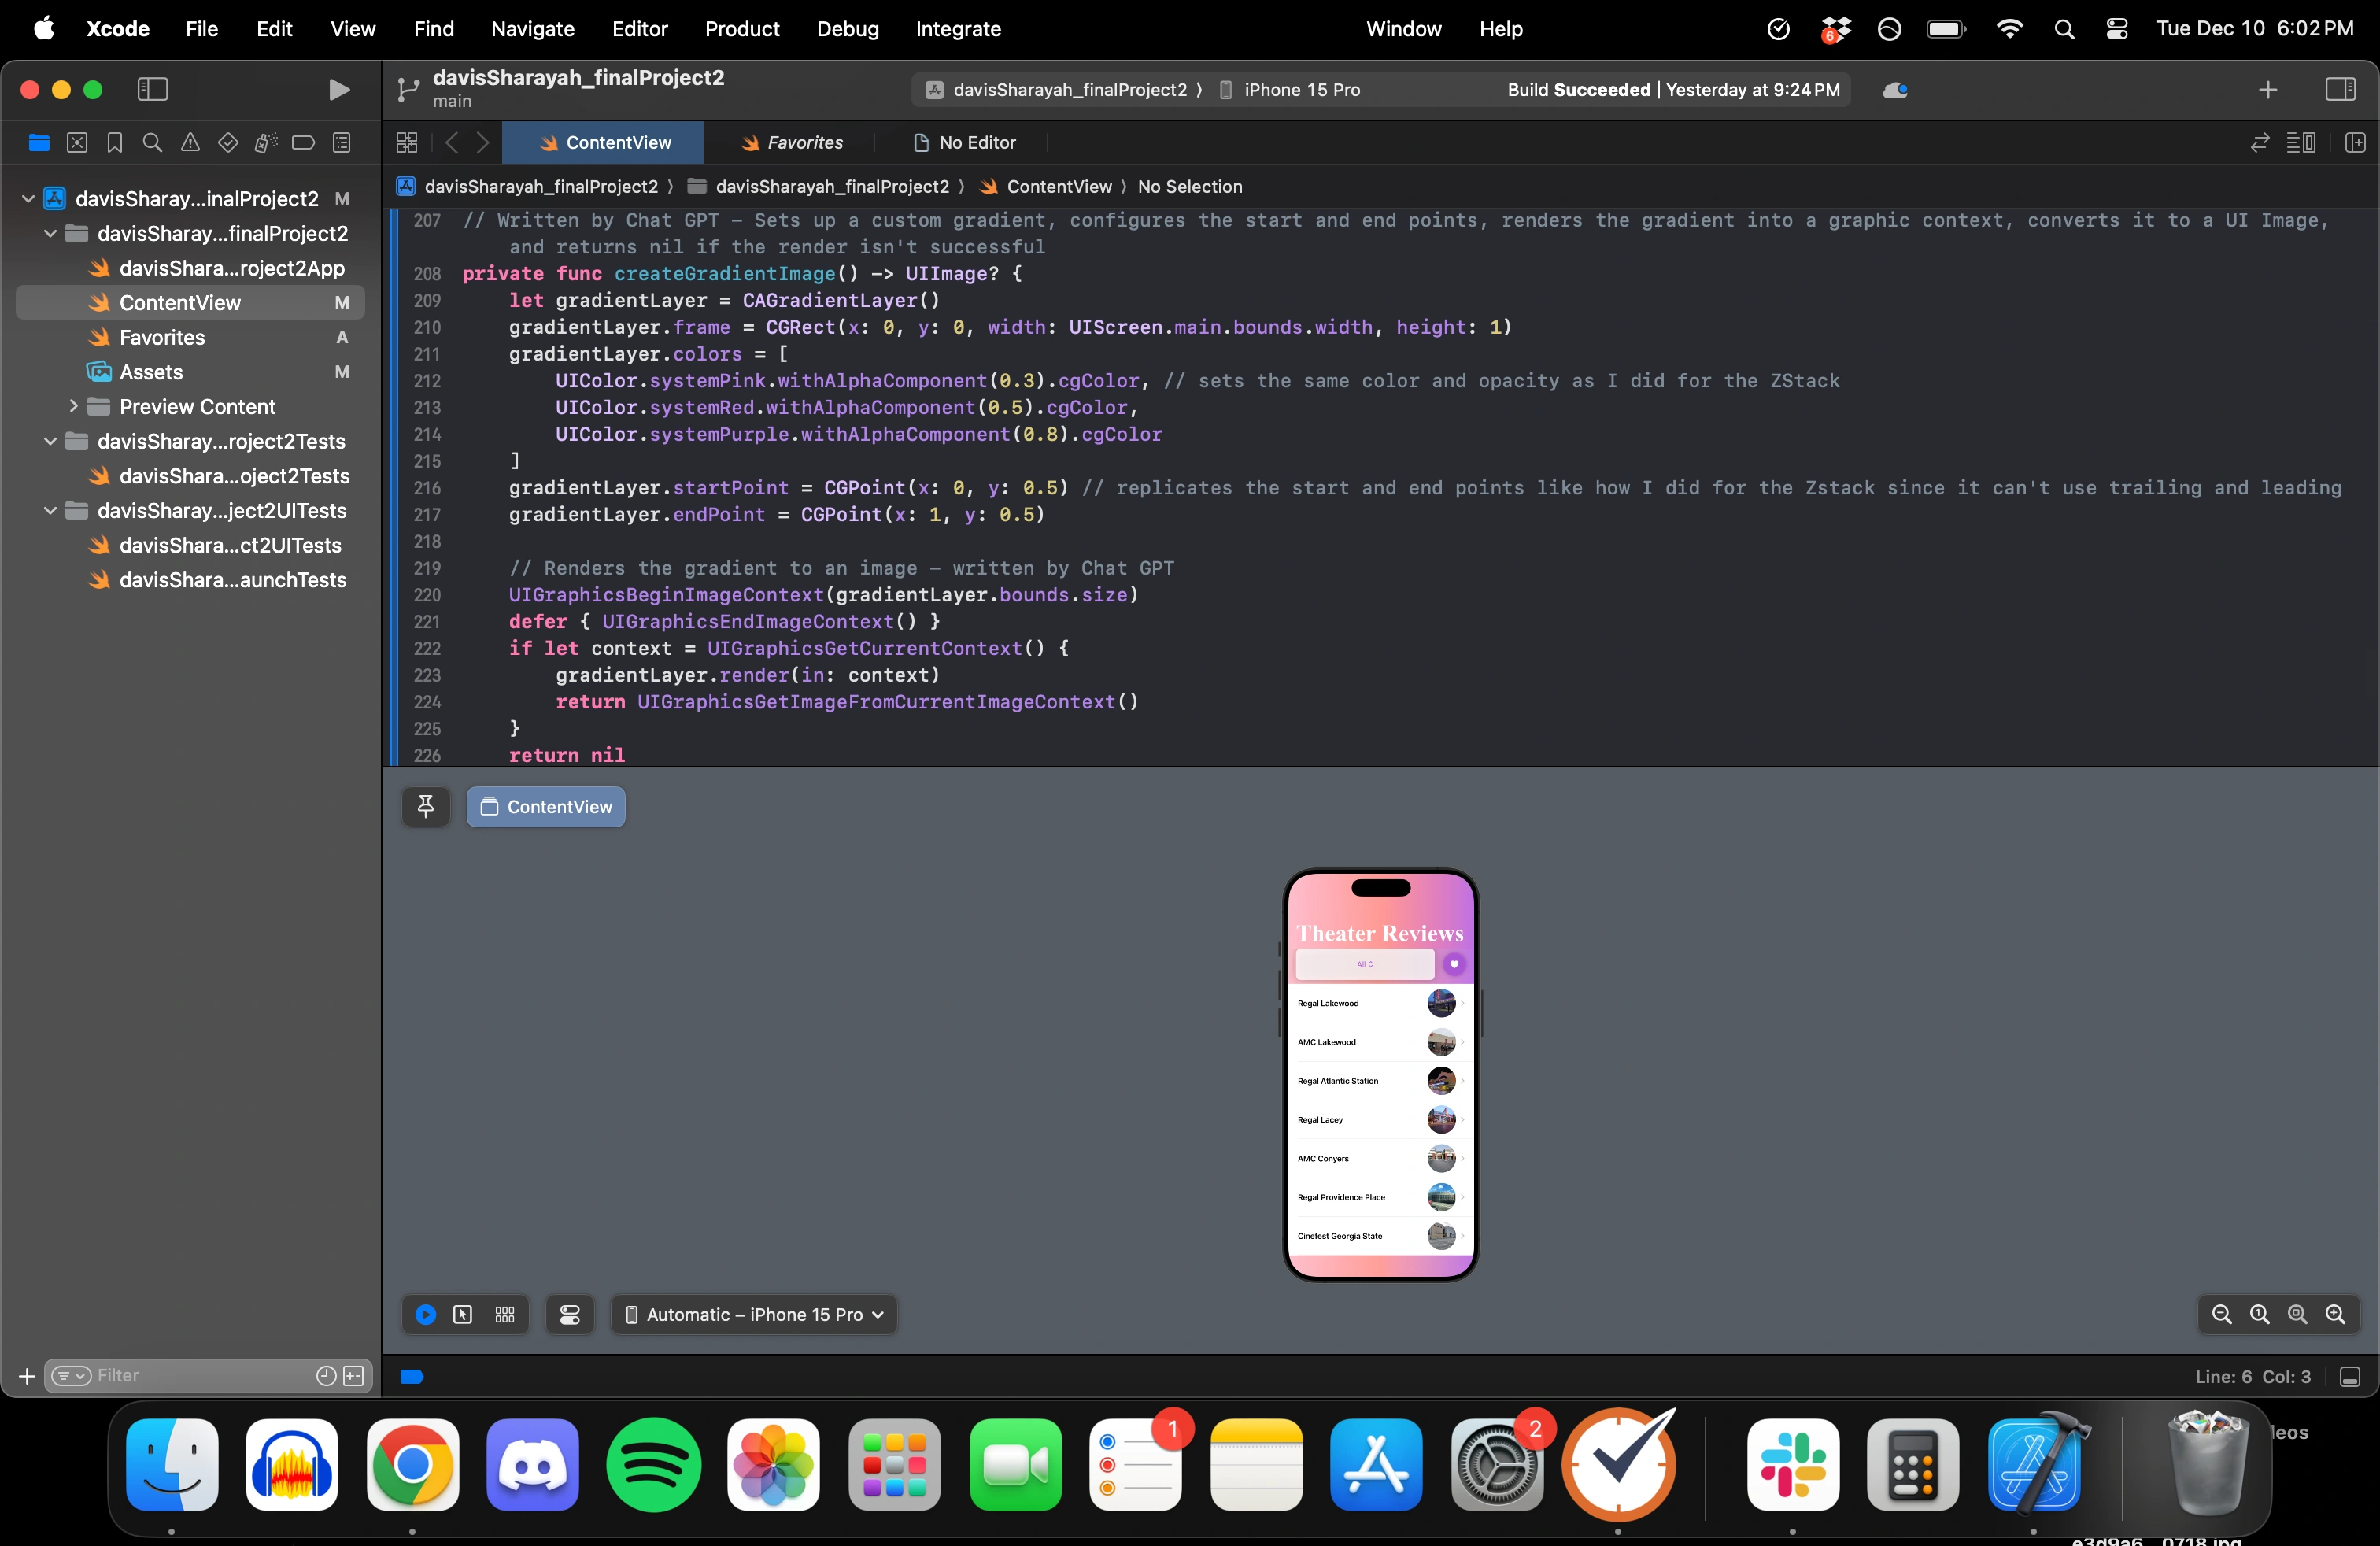
My first order of business was trying to figure out how to bring the linear gradient up to my navigation bar. It turns out, I had to render the gradient as a UI image and then apply it to the NavigationBarAppearance info at the top. This was a completely new concept for me, but it opened up a world of possibilities in app design that I didn’t know about before.
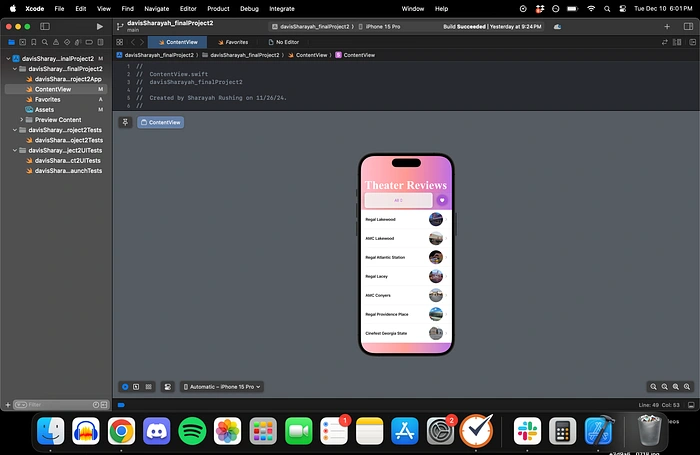
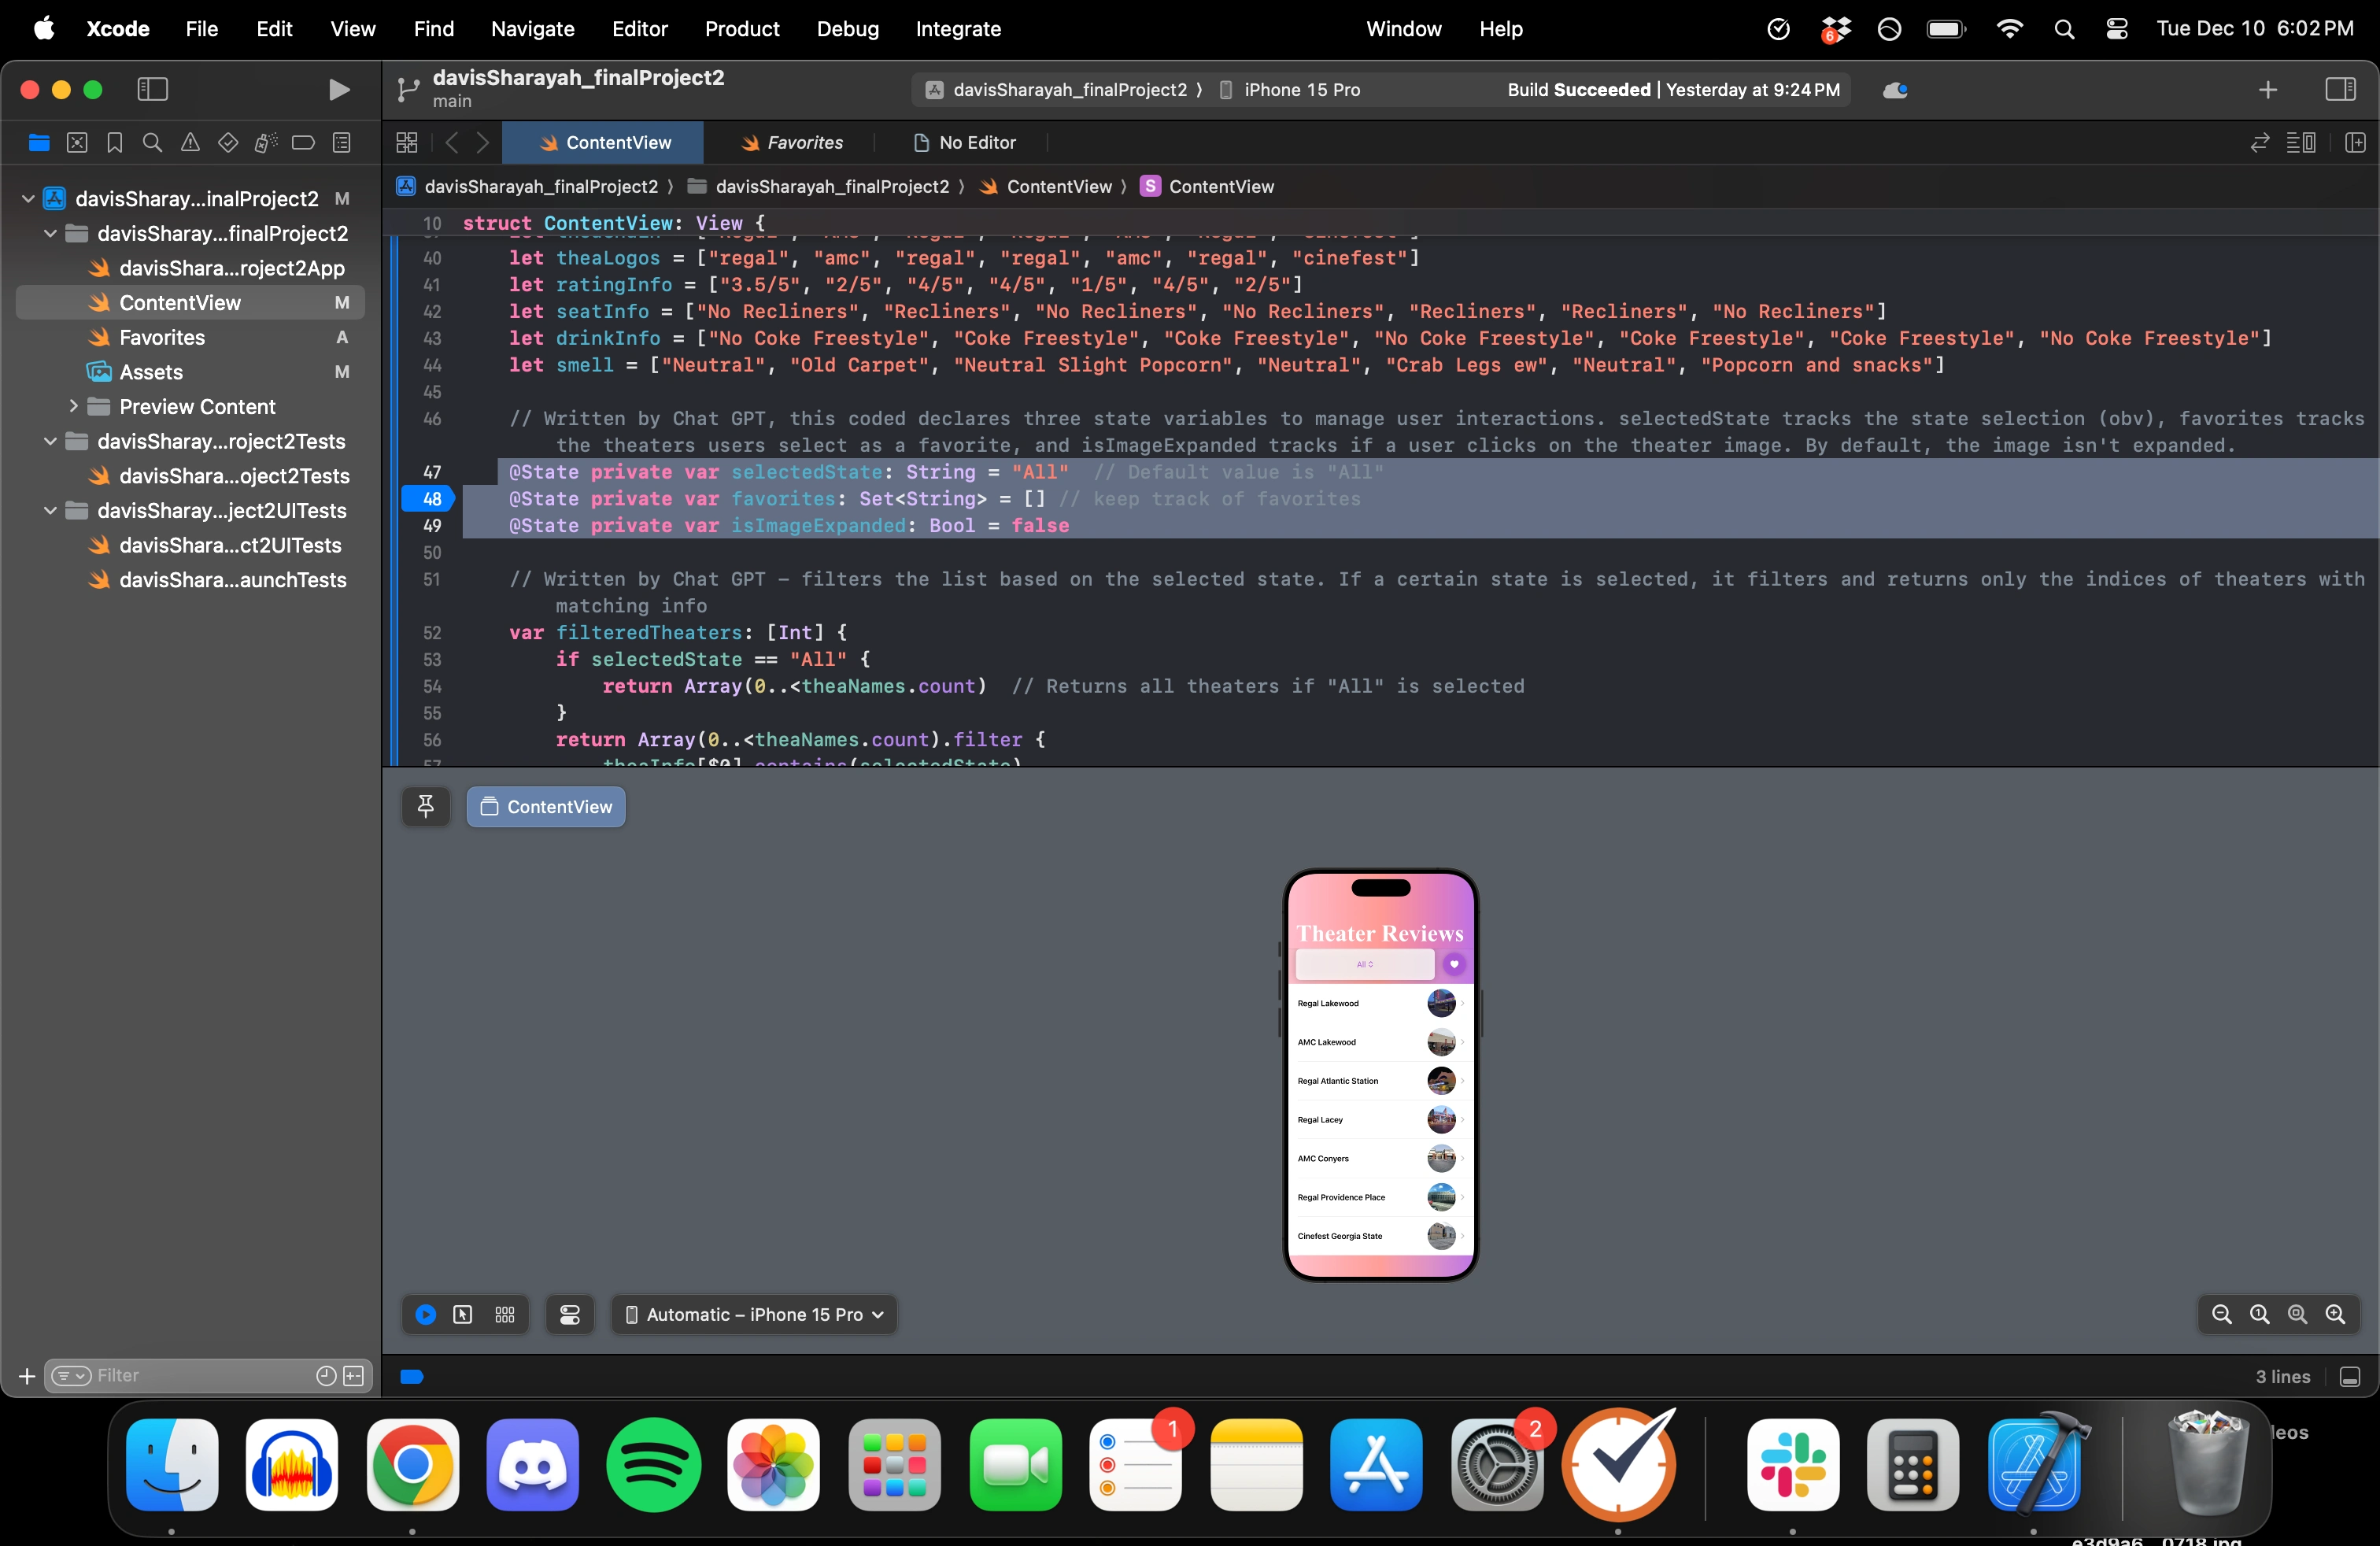
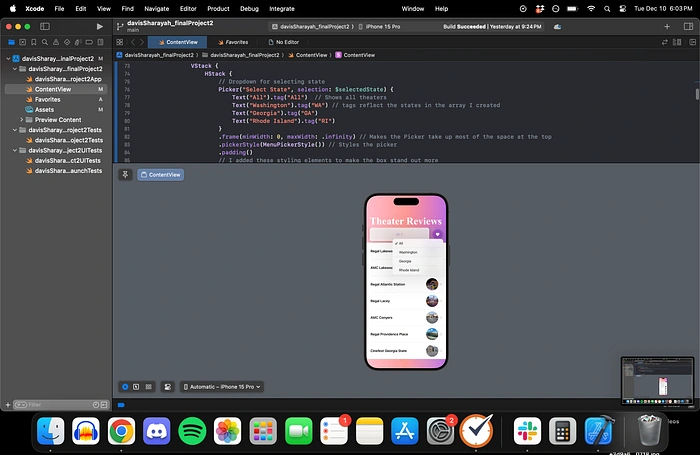
Then I went about creating a Picker menu that would filter the list of theaters by the state they’re located in. I had to declare a selectedState State variable and a filteredtheaters variable that was that were applied as selection properties for the picker. This was something that I thought would be more straightforward, but it actually took some time to figure out, even while using AI.

Next, I decided to turn my numeric ratings for the theaters into stars. Chat GPT helped me set this up by taking my numeric rating (ie. 3/5), splitting the string, and using the first number to determine the amount of stars. Then, I just had to add in the actual star SF image and colors to style them.
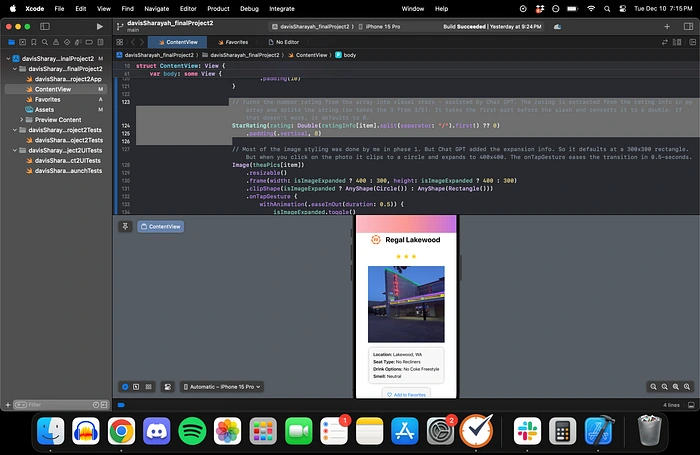
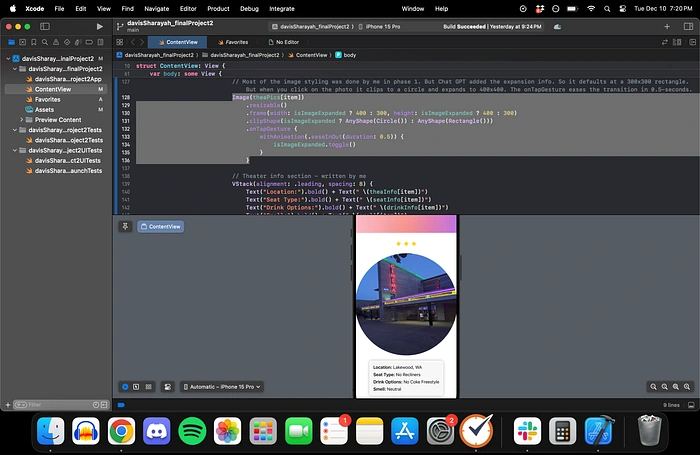
I also wanted to add some sort of animation aspect, but I didn’t want it to be too over-the-top. Chat GPT helped me create an “expanding” animation for the Theater Pictures in the detailed view. So, when you click on the picture, it clips into a circle and expands slightly. This doesn’t really have a function per se, but I thought it was a cool addition nonetheless.
I had to create a State variable at the top to make sure that the Image isn’t expanded by default. Then Chat GPT helped me add the transition to the image. We also took an Advanced Web Development class this semester, and I was really surprised to see how the image “transformation” process mirrored CSS animations.
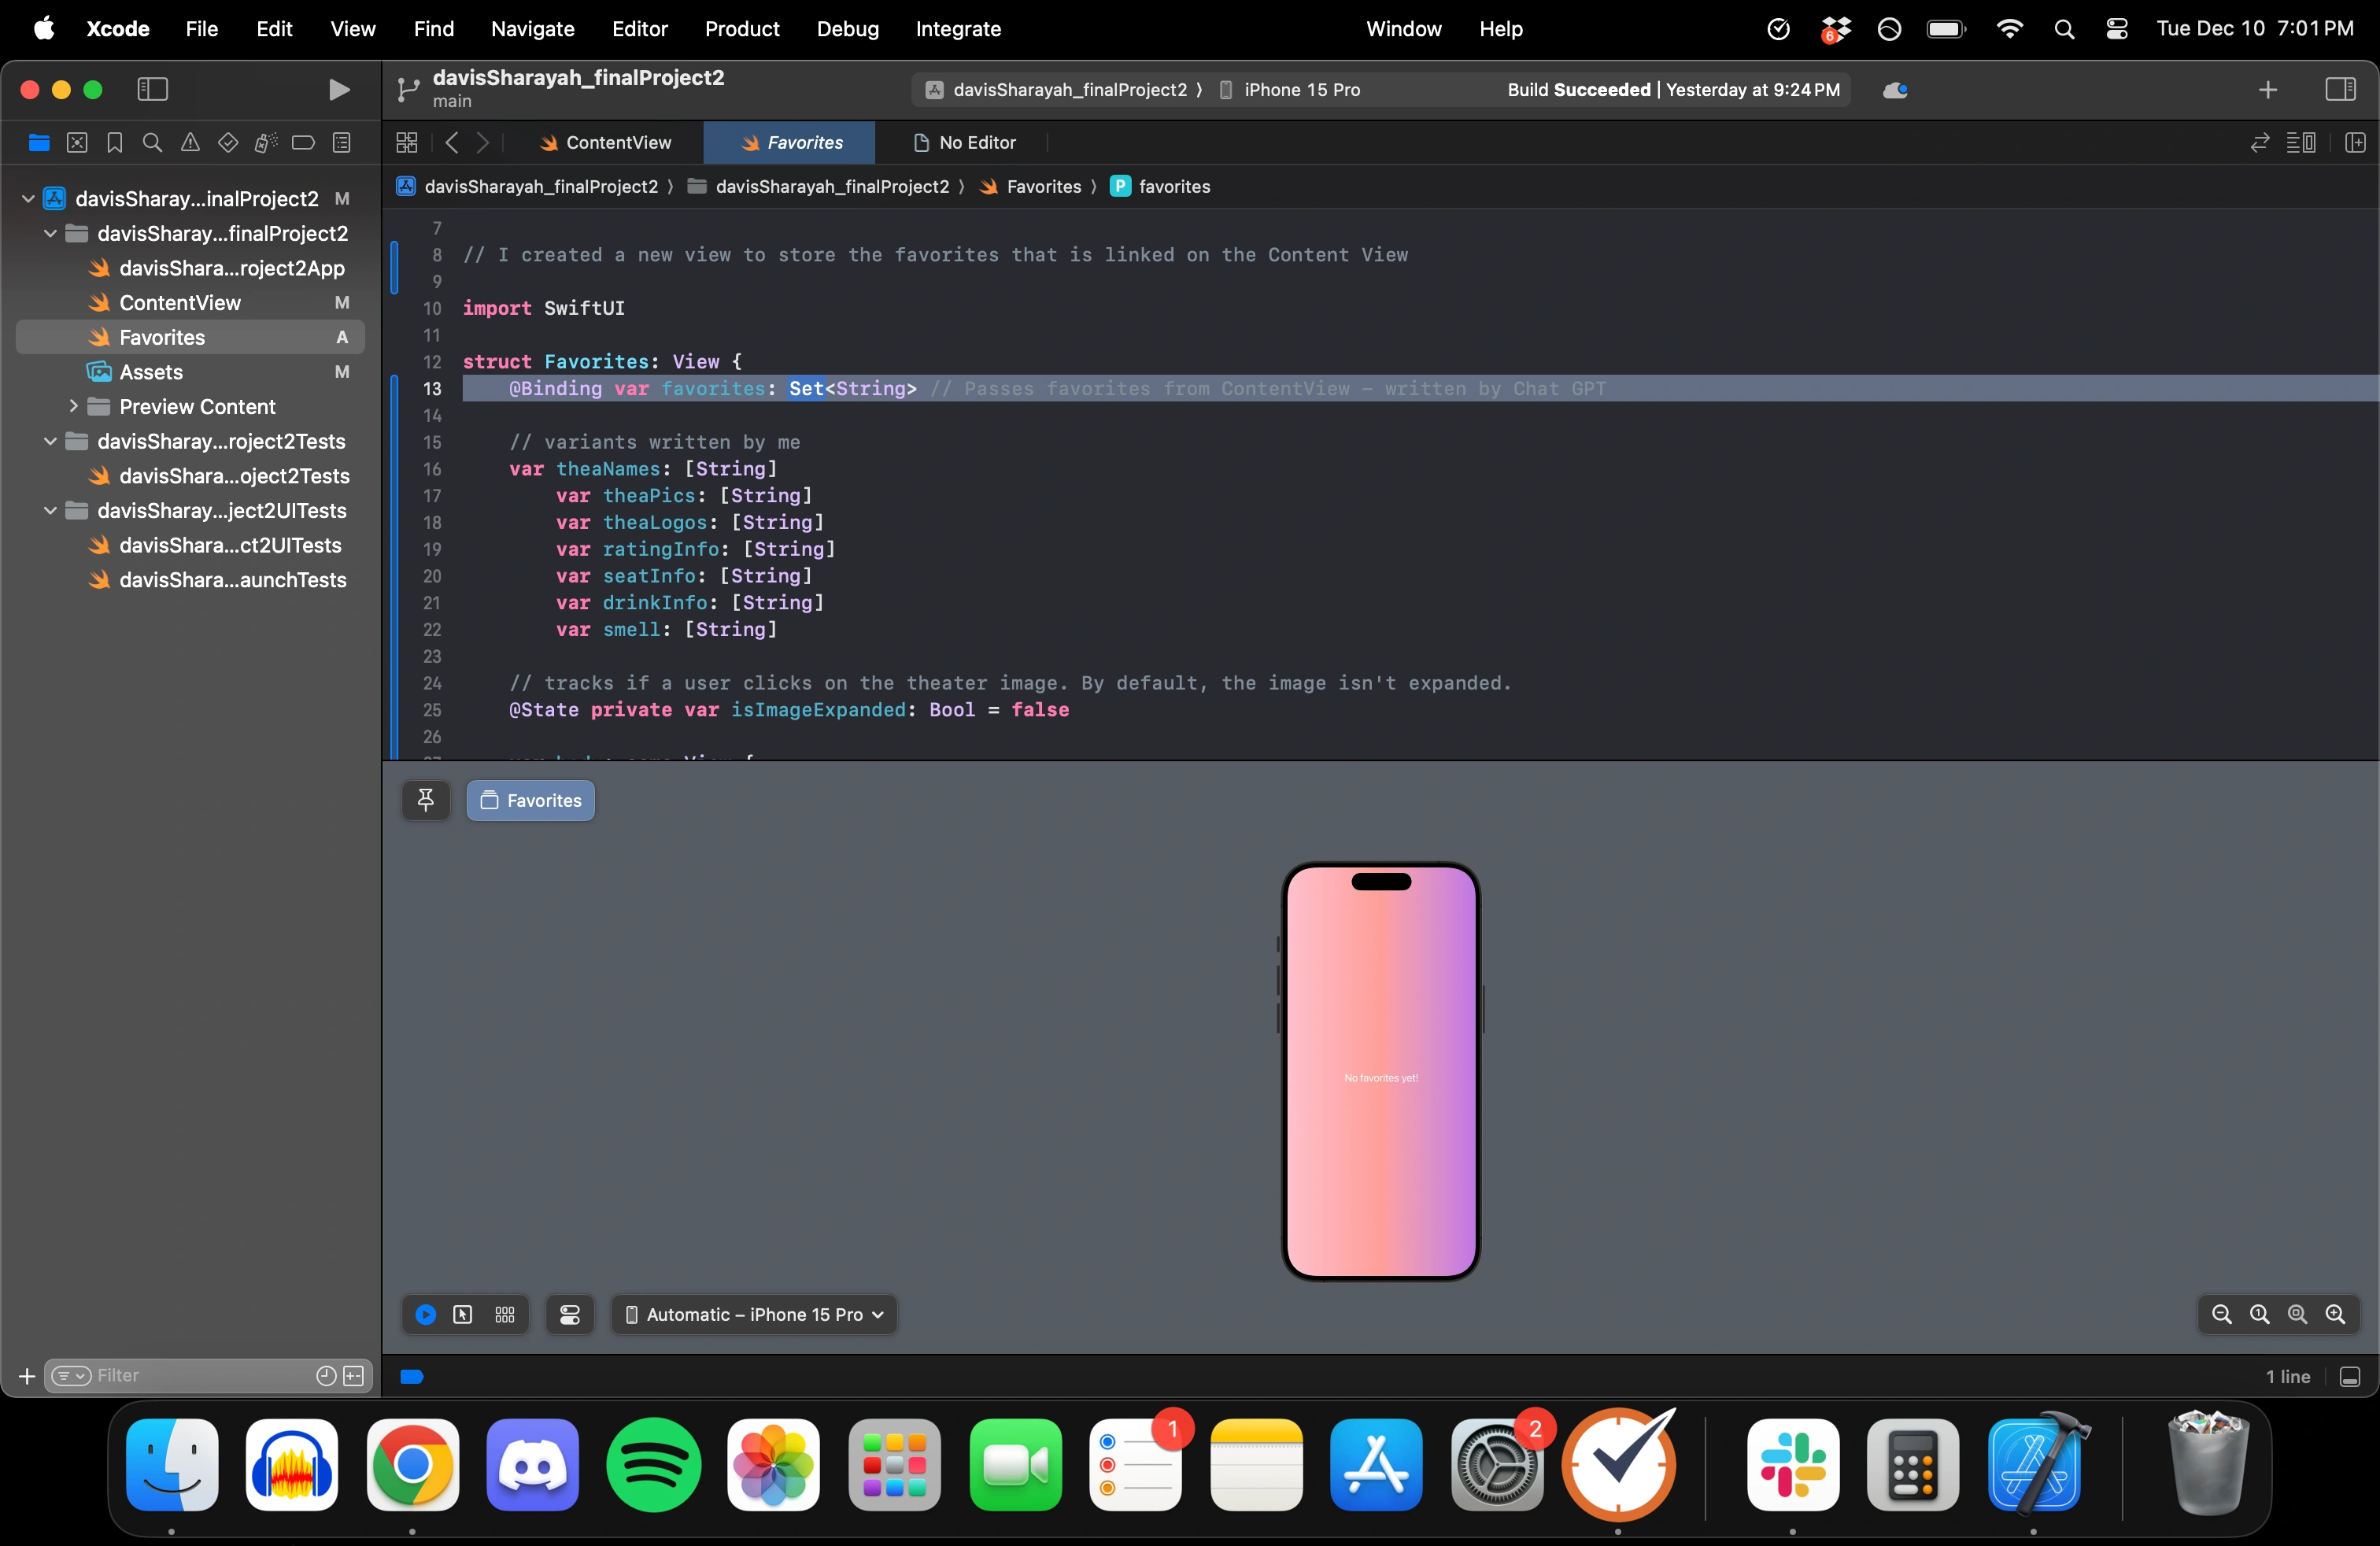
The biggest part of Phase Two was setting up the “favoriting” functionality.
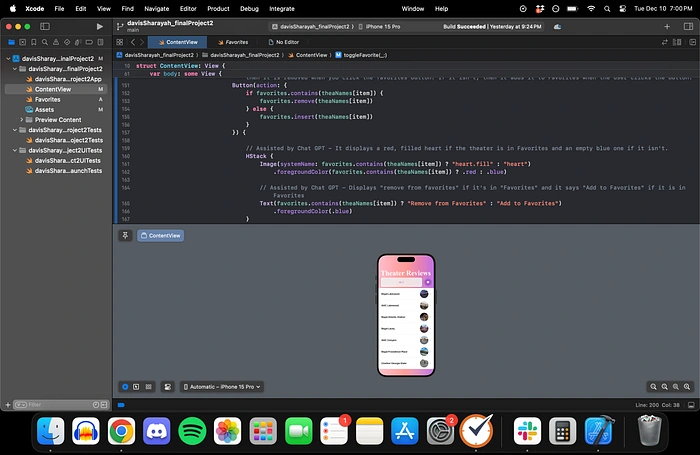
First, I had to create a new Swift UI file called “Favorites.” Then, I had to go back to the ContentView and declare a favorites State variable at the top. After that, I created the favorites button functionality at the bottom of every detailed theater view. I set up conditional formatting, so if a theater isn’t stored in Favorites, the heart turns red and adds it to that list. Meanwhile, if a theater is already stored in “favorites,” it turns back to an empty heart and removes it from that stored list.
In the Favorites view, I had to pass the State variable from the Content view in the form of a Binding view. Then, I set up an automatic message if no theaters are stored in the saved list. The rest of the info was pretty much copy and paste from the content view. But it was surprisingly difficult to transfer the detail view over to Favorites. I ran into a couple syntax errors that were only solved when I changed the name of the “StarRating” struct from ContentView to “TheaterRating” instead. Then, everything saved perfectly!

The last thing I had to do was set up a navigation link in the ContentView so the user could see their favorites. I decided to put the picker and the navigation link in an HStack, so they would look like a little menu at the top. I styled the favorites button to be a white heart in a purple circle to match the app’s overall color theme.
Results
This project was frustrating at times, but I had such a fun experience taking a topic I’m passionate about and turning it into an app. I think I pushed my skills significantly in Phase One. And through Phase Two, I learned more than I thought I would (ie. UI Kit tools, storing inputs from one view into another, etc).
I appreciated that AI use was encouraged for Phase Two as a tool to enhance our development skills rather than replace them—something I think is a vital lesson in the current age of tech.
Like this project
Posted Aug 6, 2025
Developed a movie theater review app on XCode with interactive features and enhanced UI.
Likes
0
Views
9