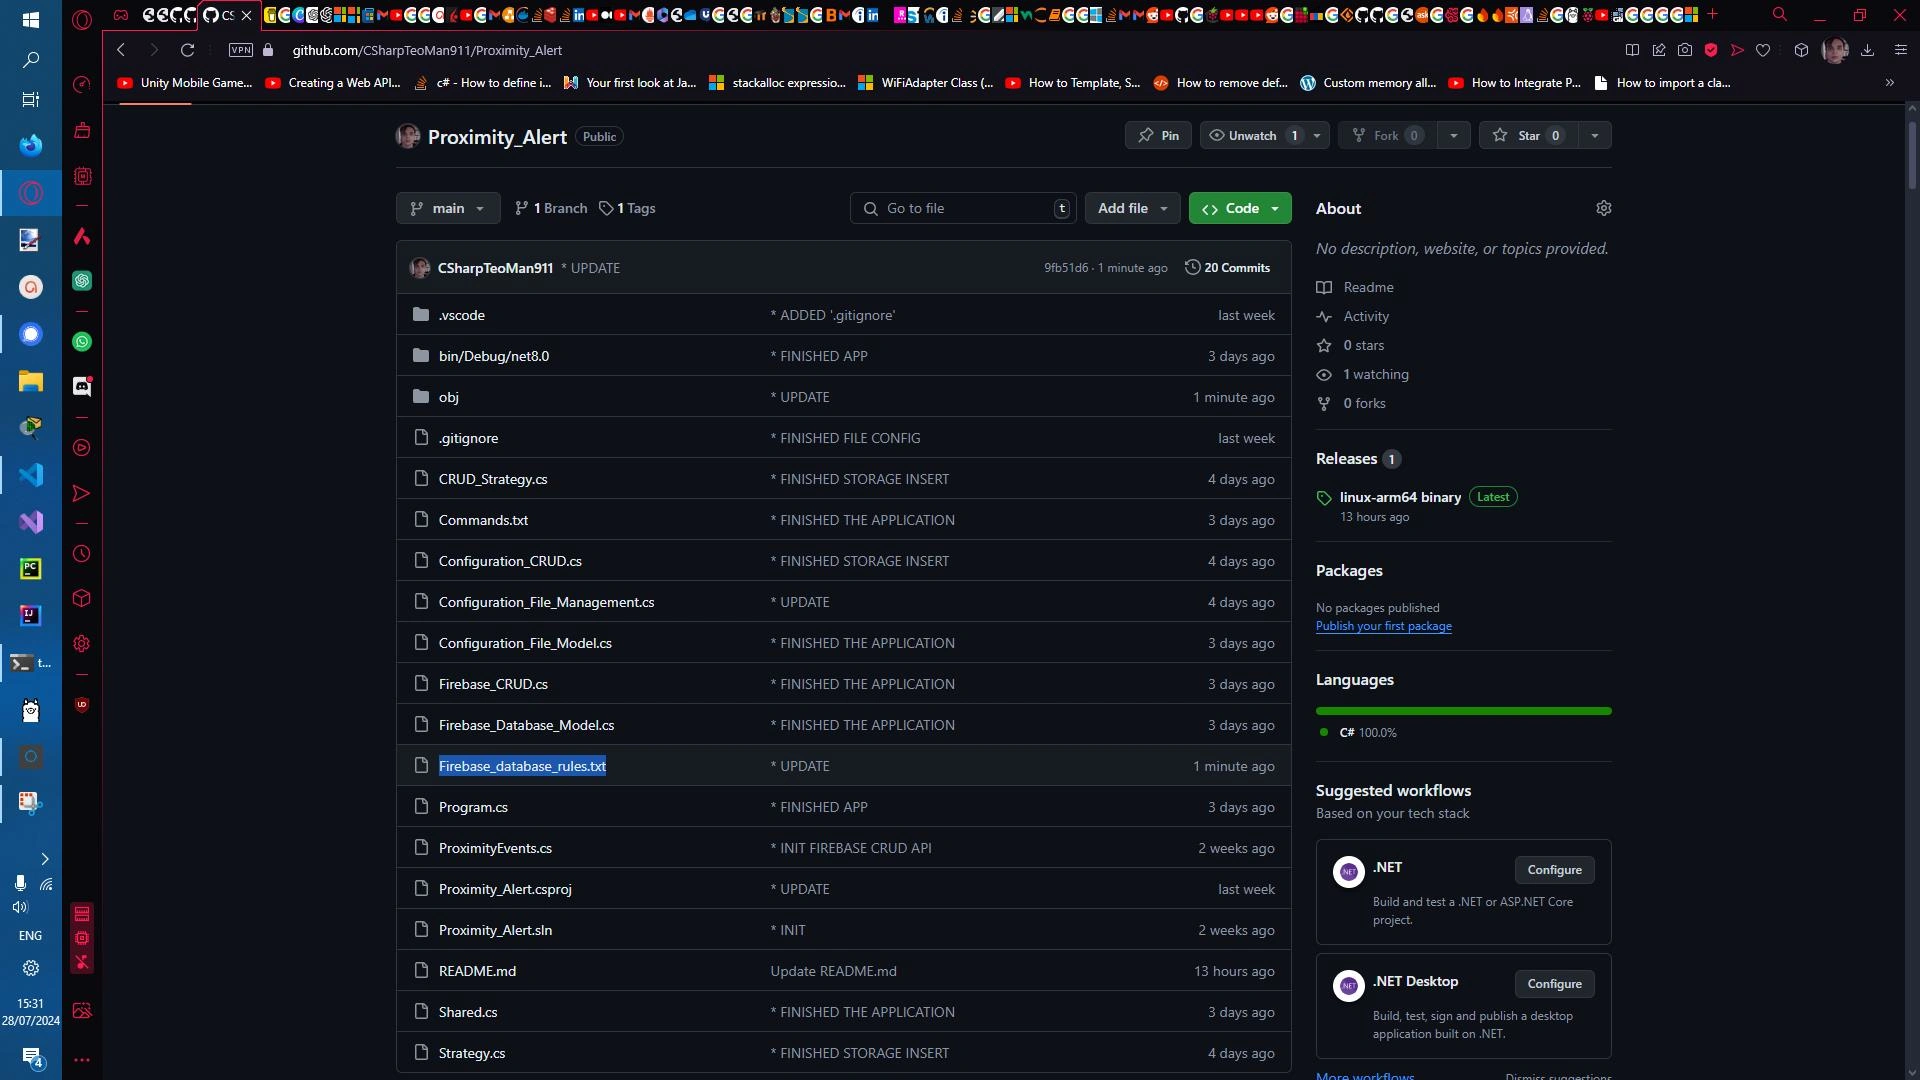
CSharpTeoMan911/Proximity_Alert


Raspberry PI 4 ( Ubuntu Server with proximity alert )
This is a Raspberry Pi 4 Microserver with a proximity alert service. This service has the purpose of monitoring physical activity near the server and create alerts when an object is near the server at a distance of 30 cm or less. The server has the Ubuntu Server 24.04 LTS as its operatiing system and Ubuntu Gnome Desktop as its desktop environment. The desktop environment service is disabled by default, thus allowing the server to operate with a minimum resource consuption. When the user/sys admin desires to use the desktop environment, it can be activated by starting the Gnome Desktop service (GDM) through the systemctl OS level service manager.
Sever setup
Download Raspberry PI imager and use an SD card (32 GB size is the preffered size) to burn an Linux OS image on it.
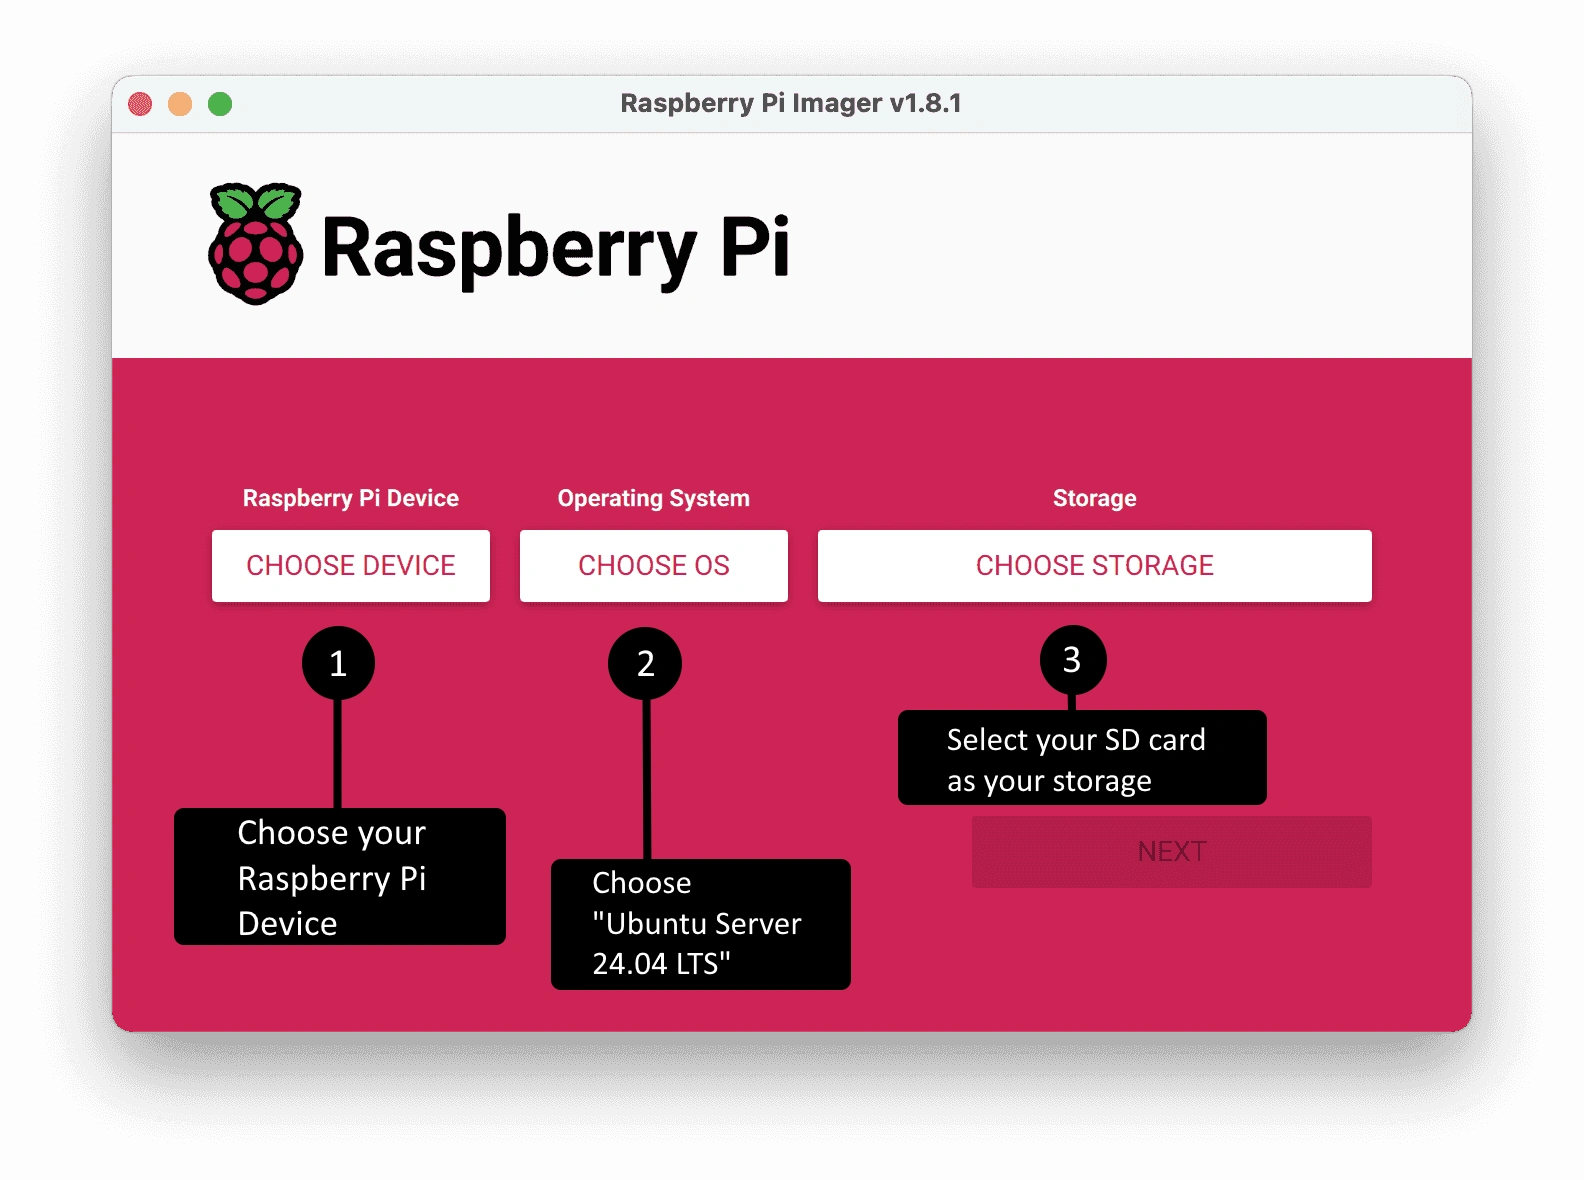
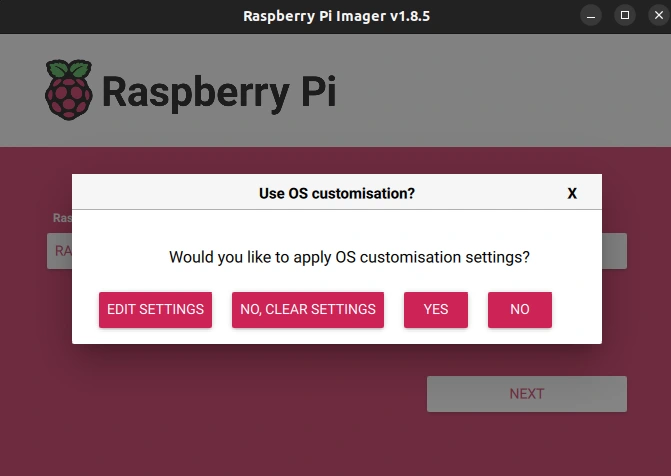
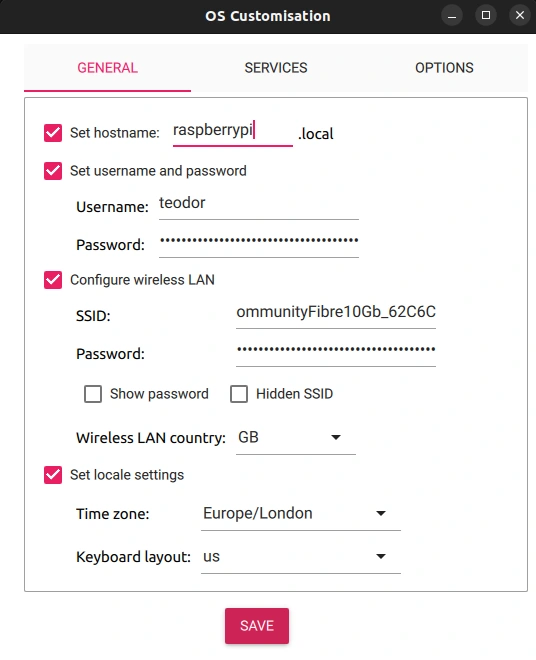
Press next, then edit the customisation settings. Add your Wi-Fi network and password, afterwards go to the Services tab.
In the Services tab, enable SSH with password authentication to be able to operate the Raspberry PI microserver remotely, via SSH.
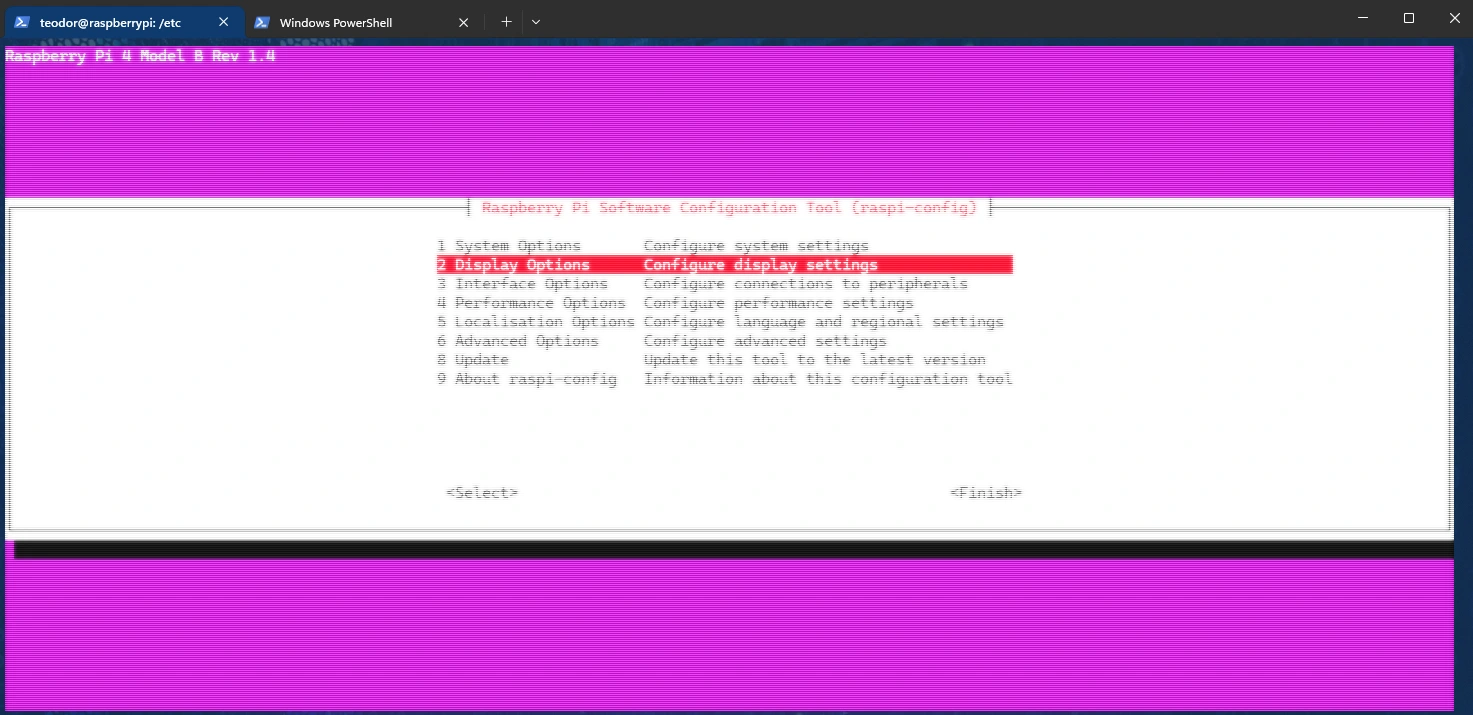
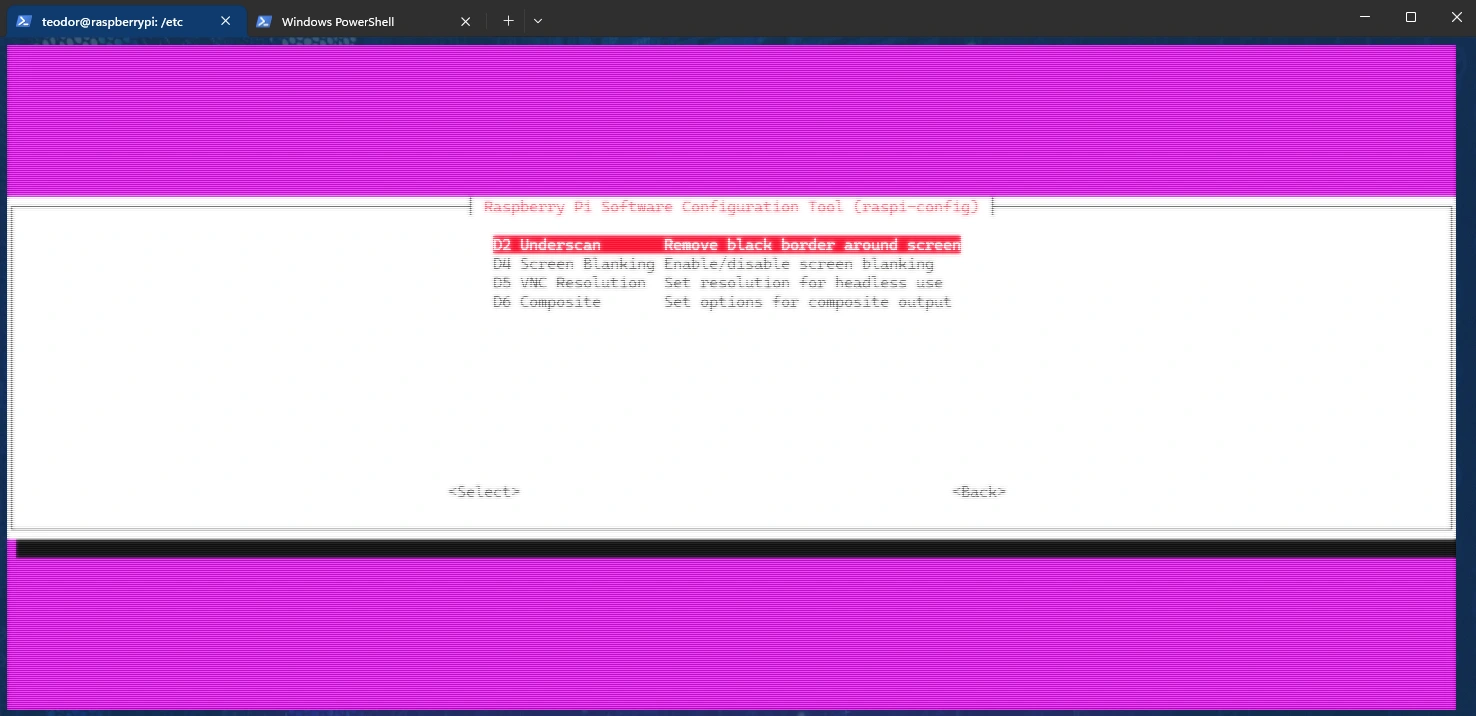
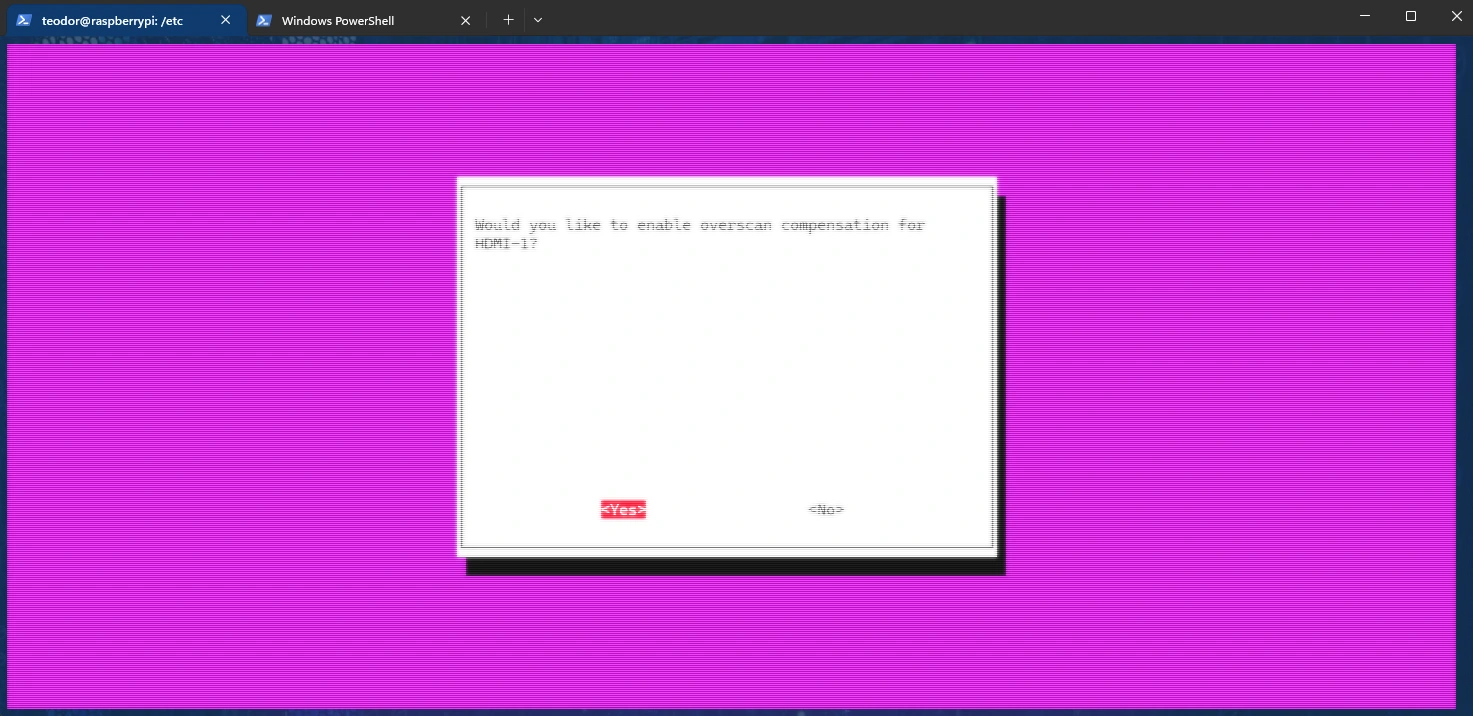
After the OS image was mounted on the SD card, put the card in the Raspberry PI, plug in the Raspberry PI into a monitor / TV, and plug in the Raspberry PI into a power supply to turn it on. After the Raspberry PI booted the OS, log in and update your OS and upgrade your packages using the command sudo apt update -y && sudo apt upgrade -y. After the OS level update was completed download the package raspi-config using the command sudo apt install raspi-config. After the raspi-config was installed start the utility by using the command sudo raspi-config. Go to Display options -> Underscan and select yes. This must be done so that the display output won't have a mismatched resolution.
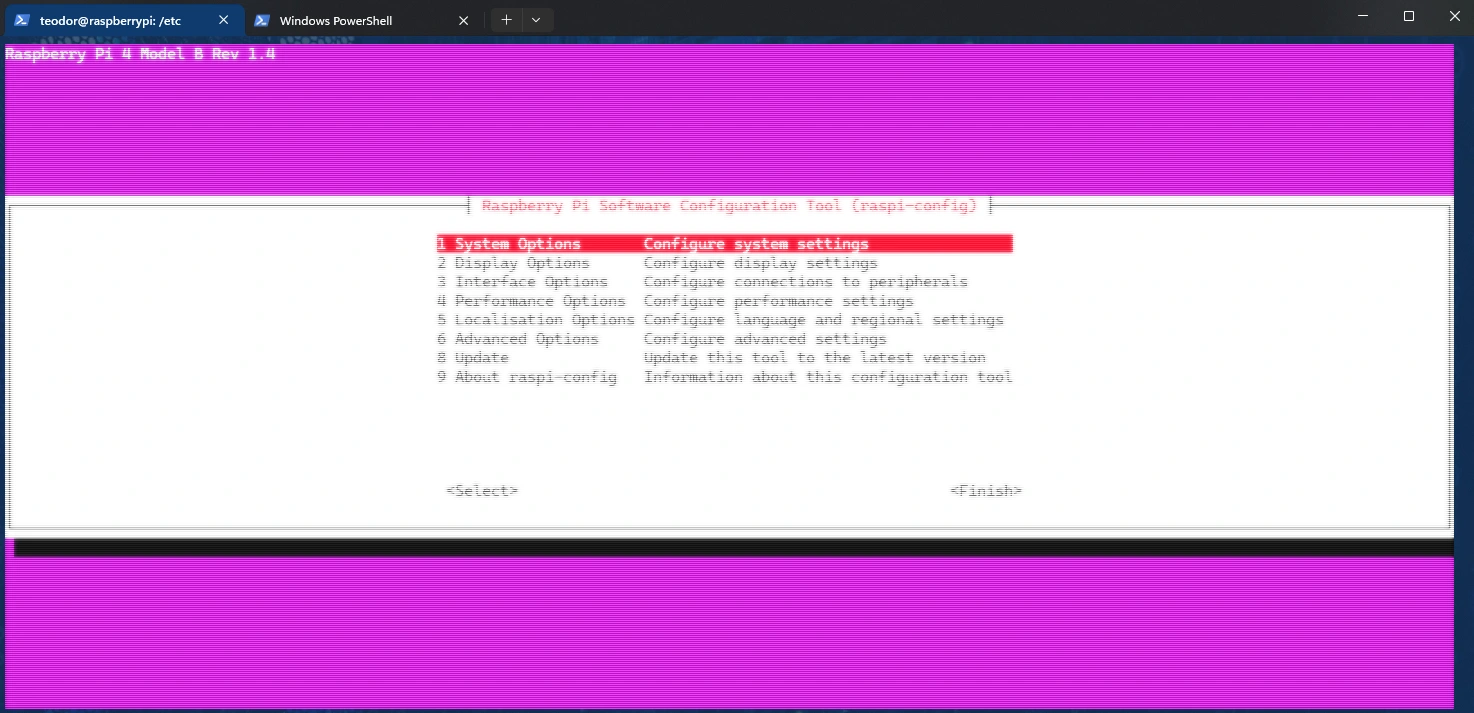
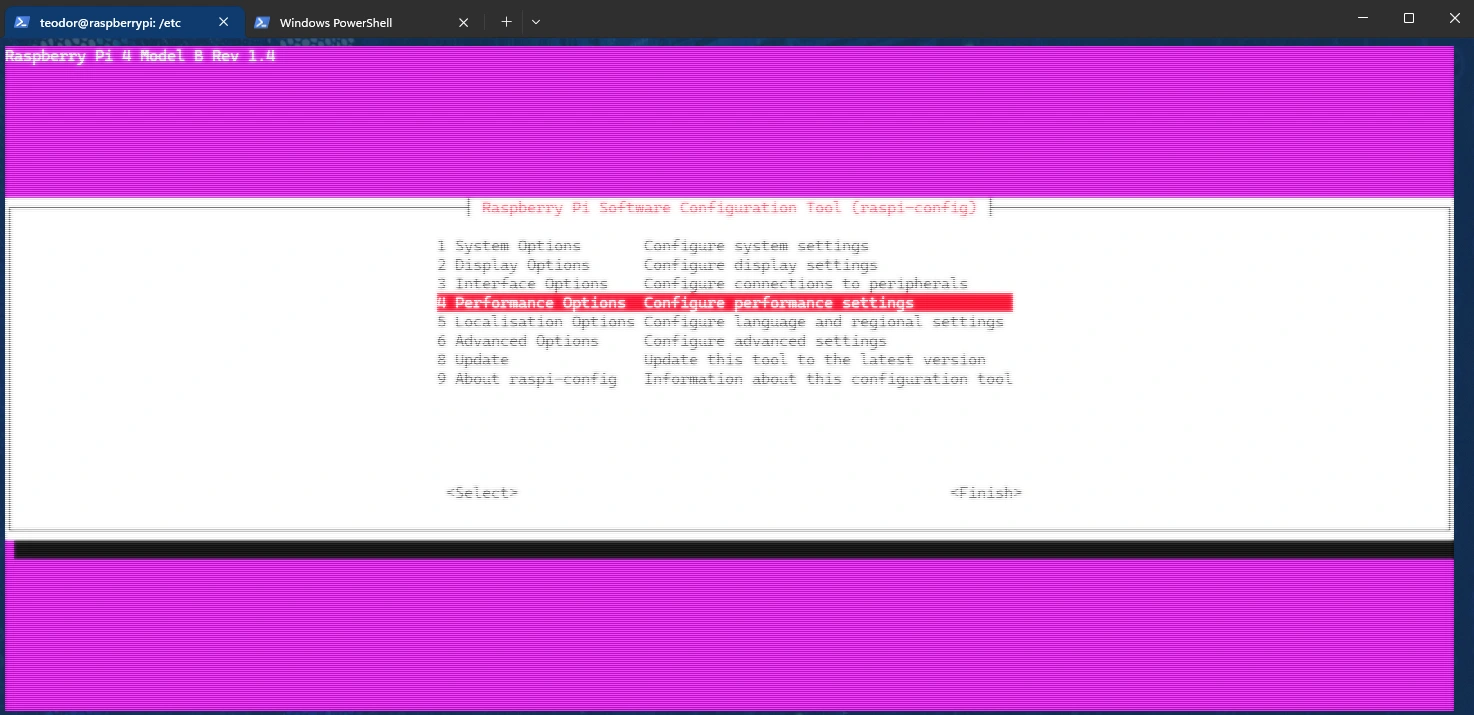
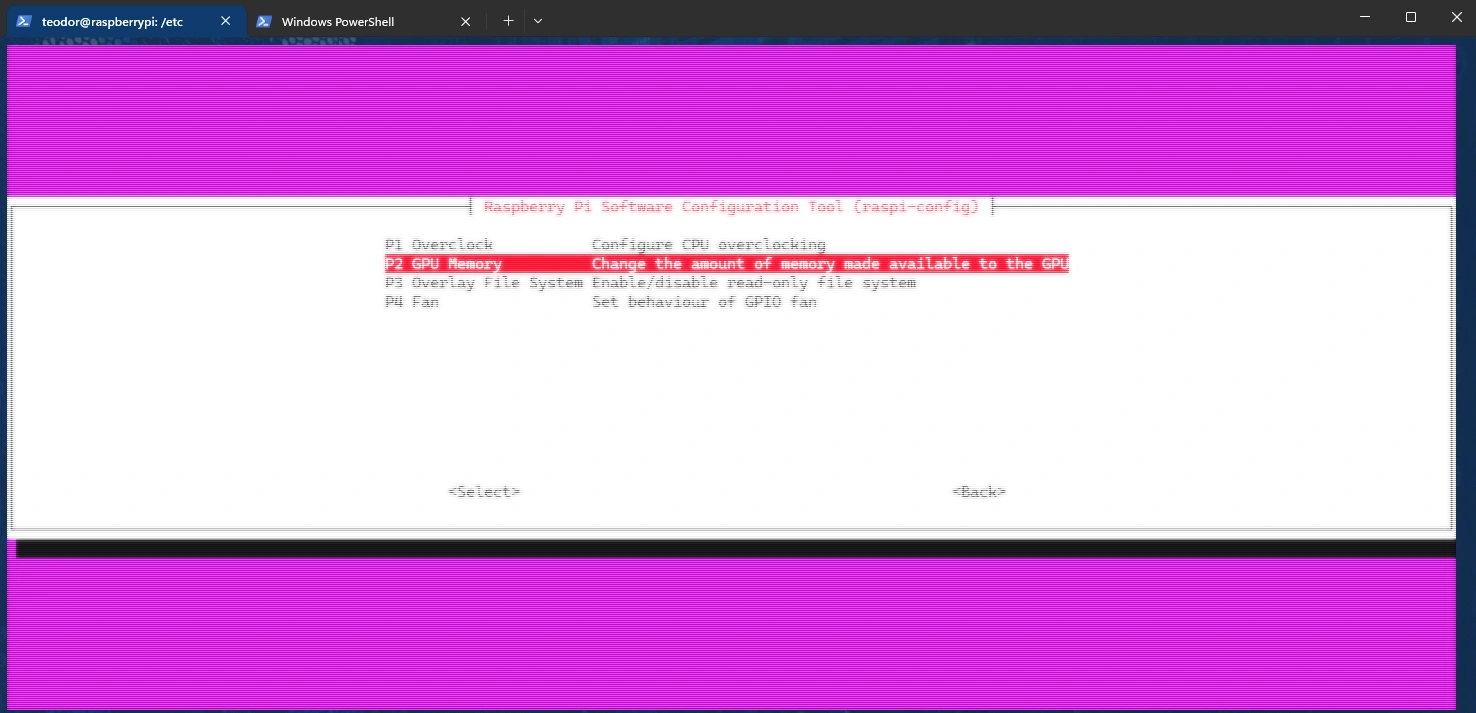
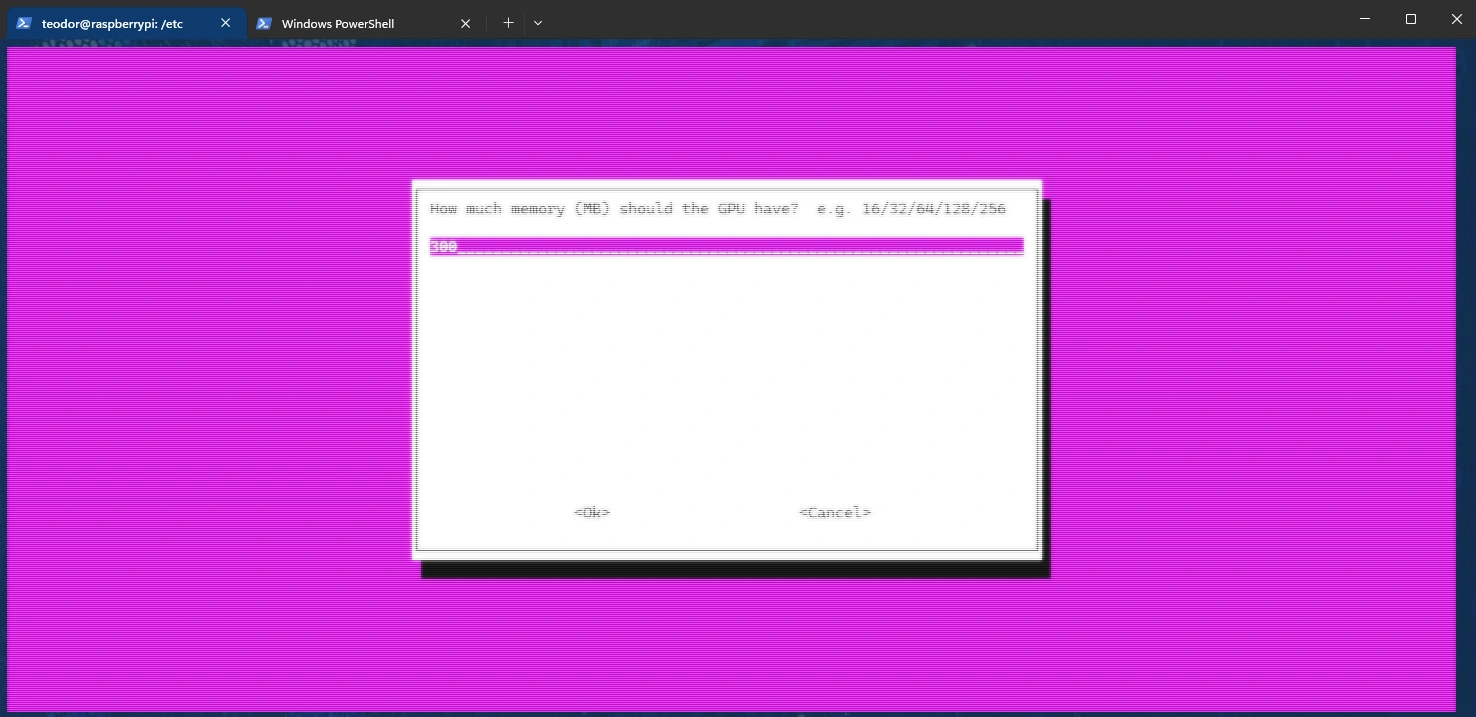
Afterwards, go to Performance options -> GPU Memory and type 300. This make the Raspberry PI reserve 300 MB from the RAM memory to be used as its GPU VRAM.
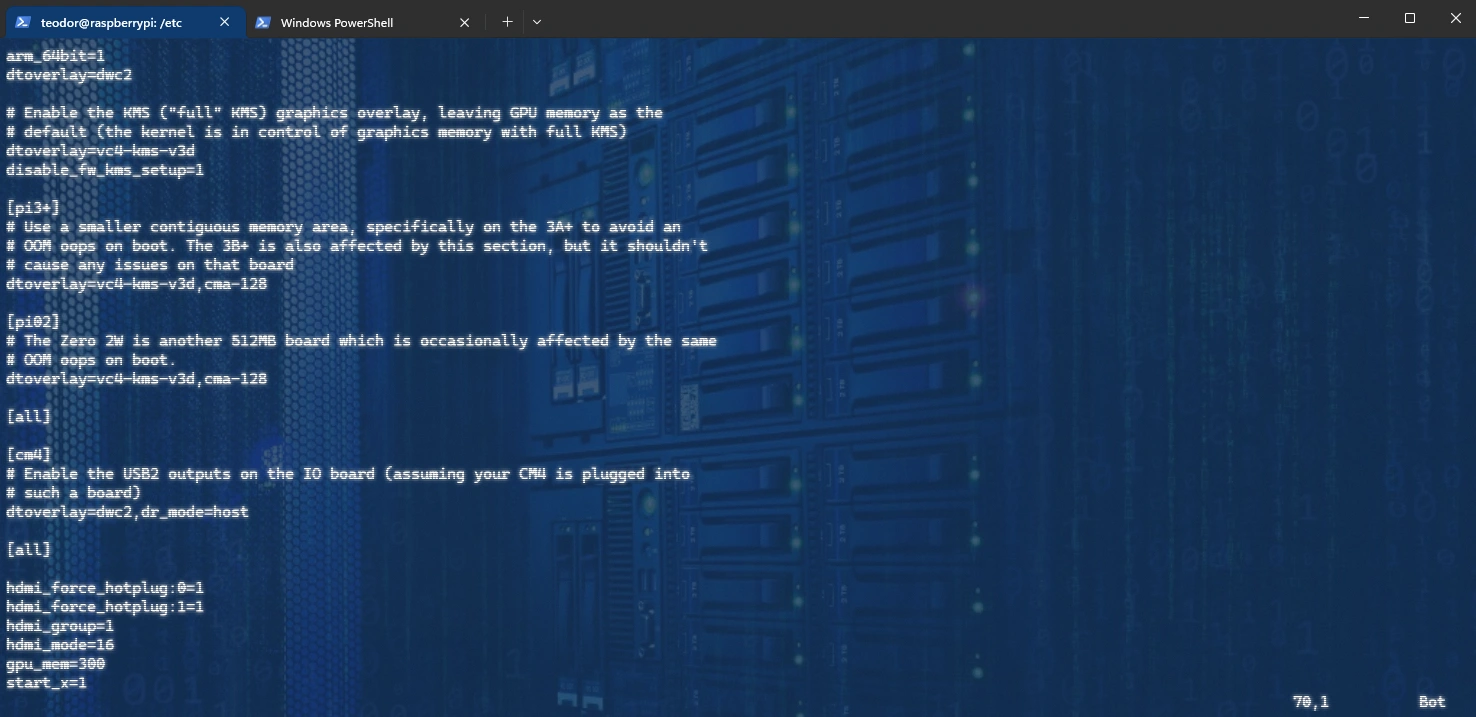
Afterwards edit the config.txt file within the path /boot/firmware by using the command sudo vim /boot/firmware/config.txt. Add the following lines at the end of the configuration file:
# Make the first HDMI port of Raspberry PI plug and play
hdmi_force_hotplug:0=1
# Make the second HDMI port of Raspberry PI plug and play
hdmi_force_hotplug:1=1
# Make the HDMI ports use the CEA formats which consists of resolutions in pixels (480p, 576p, 720p, 1080p, etc.)
hdmi_group=1
# Make the HDMI ports render the video output at a resolution of 1080p and a referesh rate of 60 Hz
hdmi_mode=16
Afterwards install the Gnome Desktop Environment by using the command sudo apt install ubuntu-gnome-desktop -y. After the installation is completed run the command sudo systemctl disable gdm to disable the GUI from running after boot in order for the server to have the same low resource consumption. When the user/sys admin needs to use the GUI, the command sudo systemctl start gdm must be used. After all of these configurations the system must be rebooted using the command reboot.
Proximity alert service managemnt
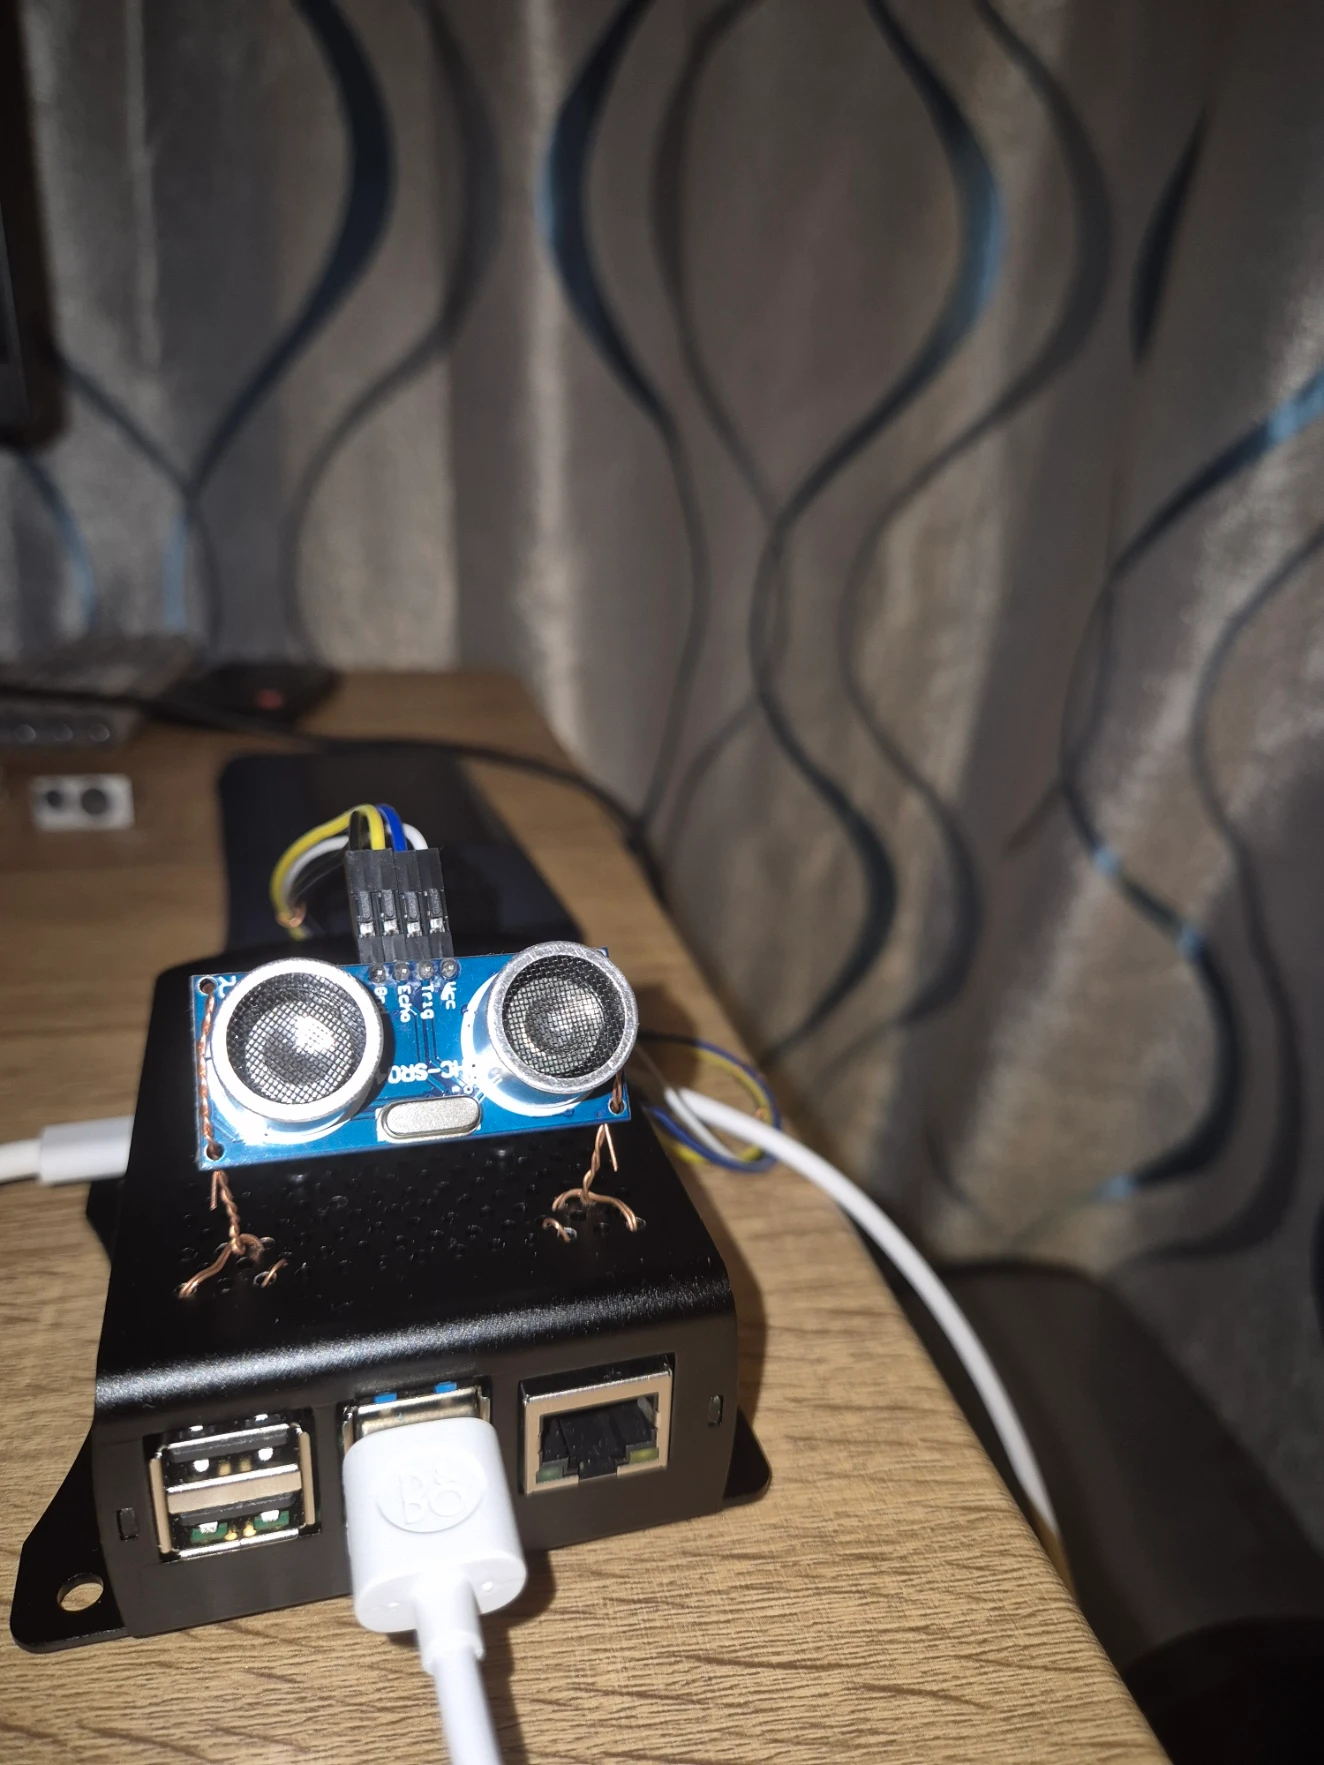
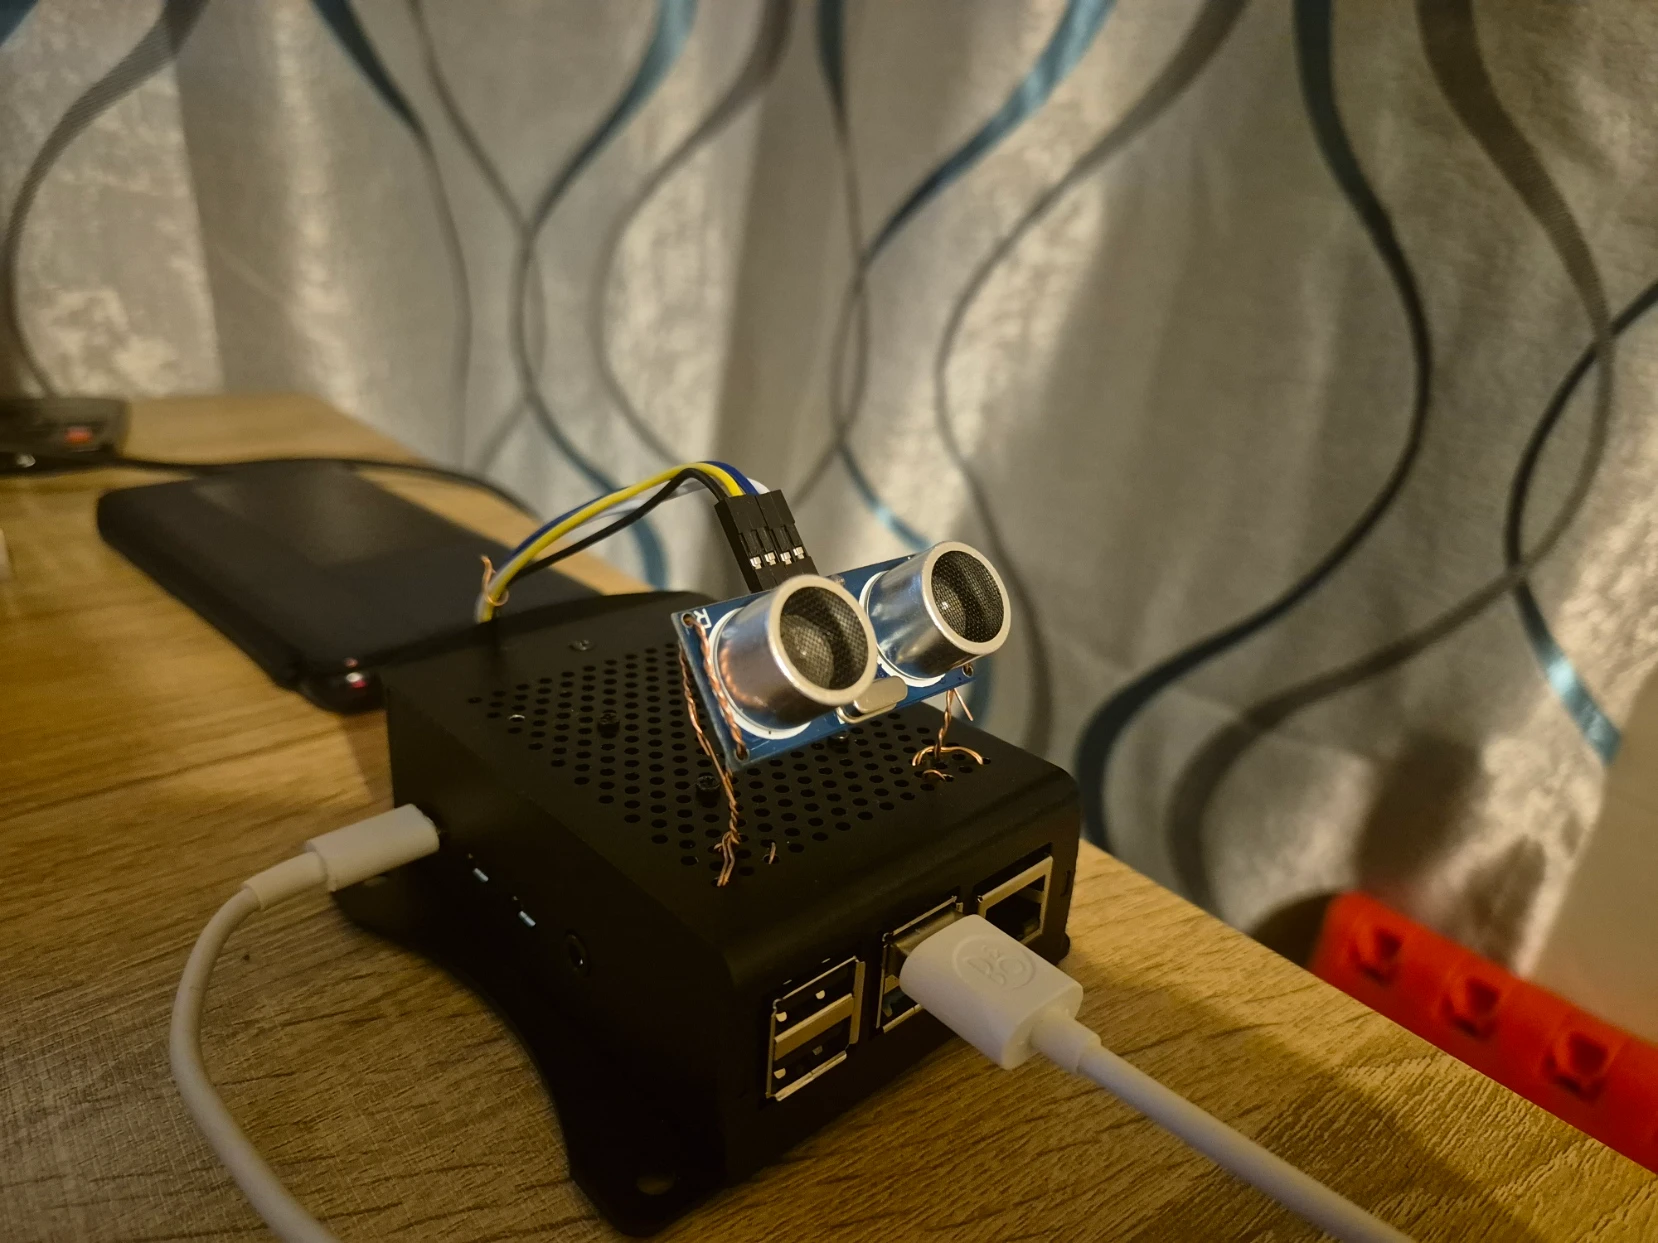
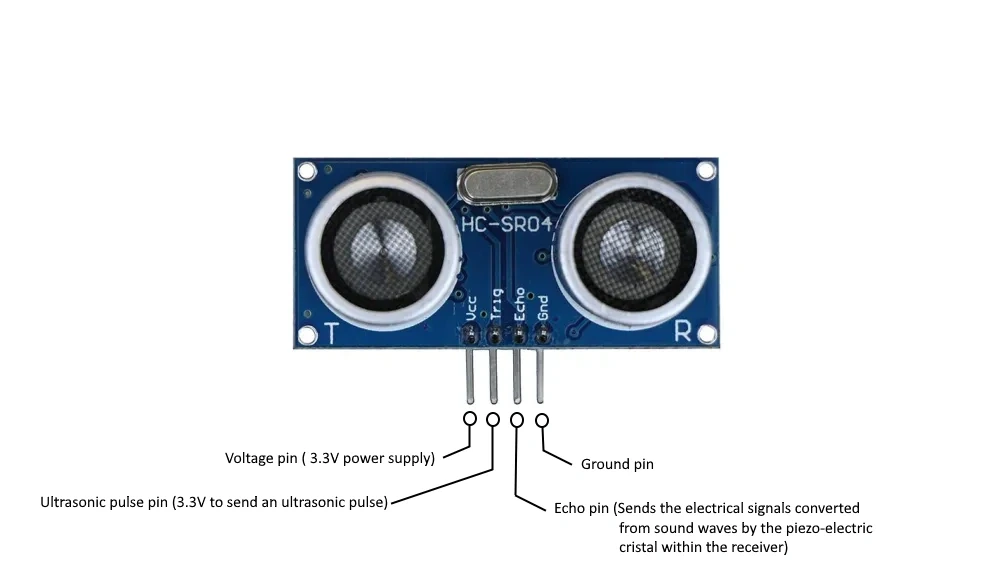
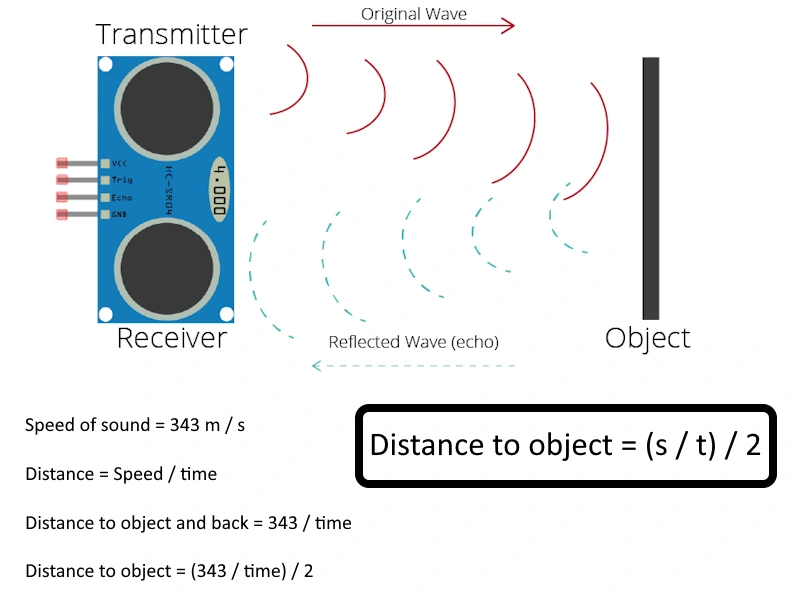
For the server to be able to detect objects within its proximity it needs an ultrasonic sensor. The ultrasonic sensor is sending ultrasonic sensors from an emitter and receives the ultrasonic pulses at a receiver, which is converting them to electrical pulses using a piezo-electric cristal.
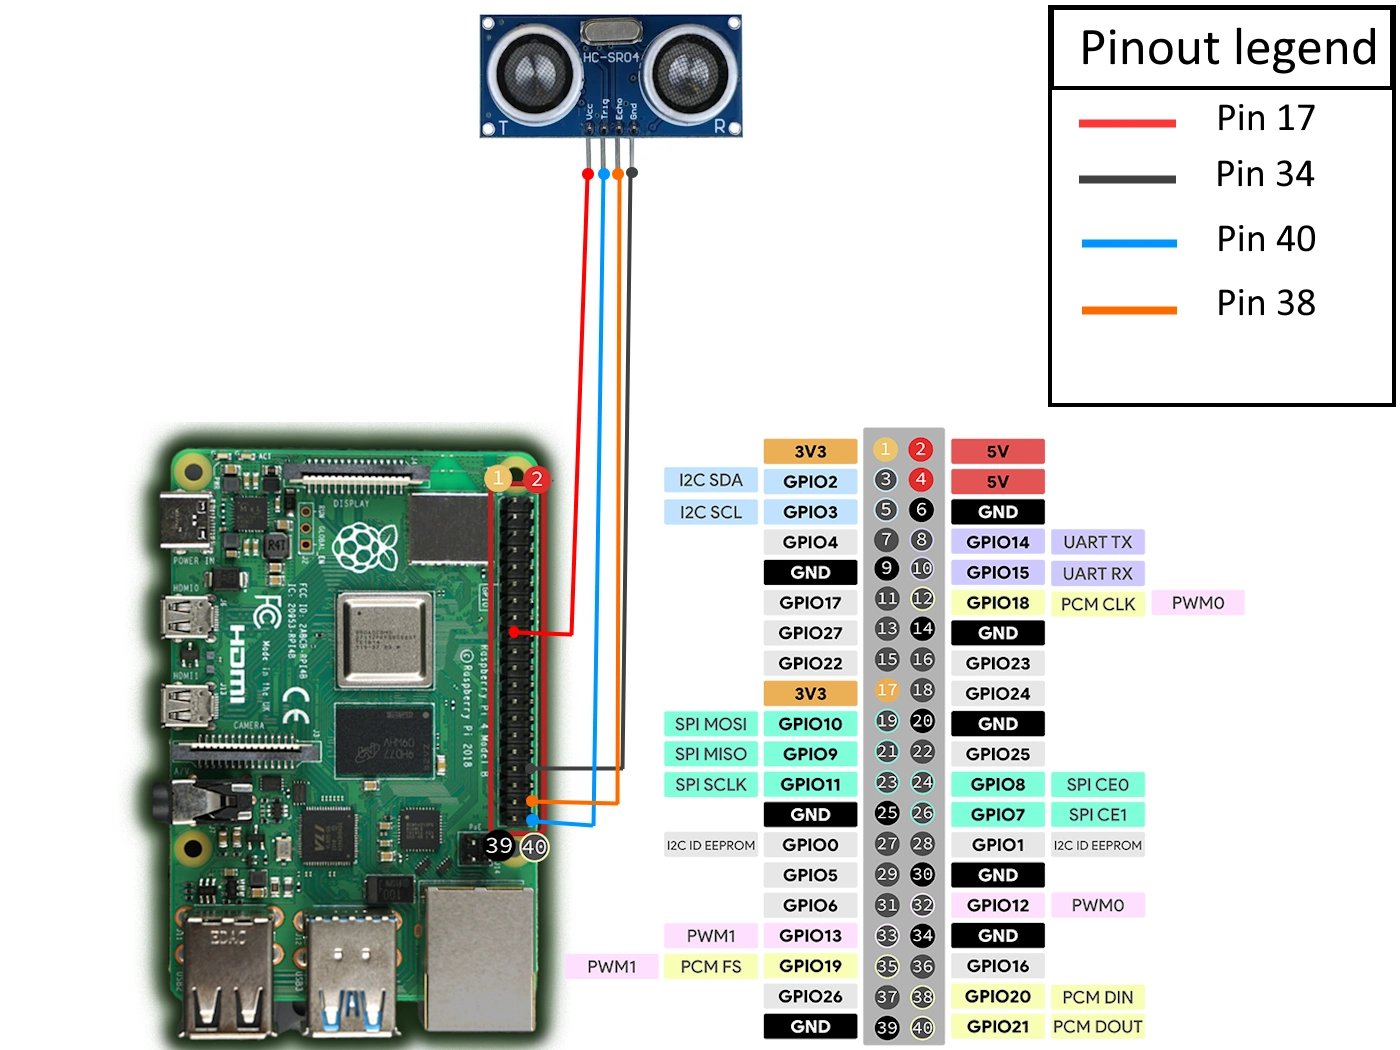
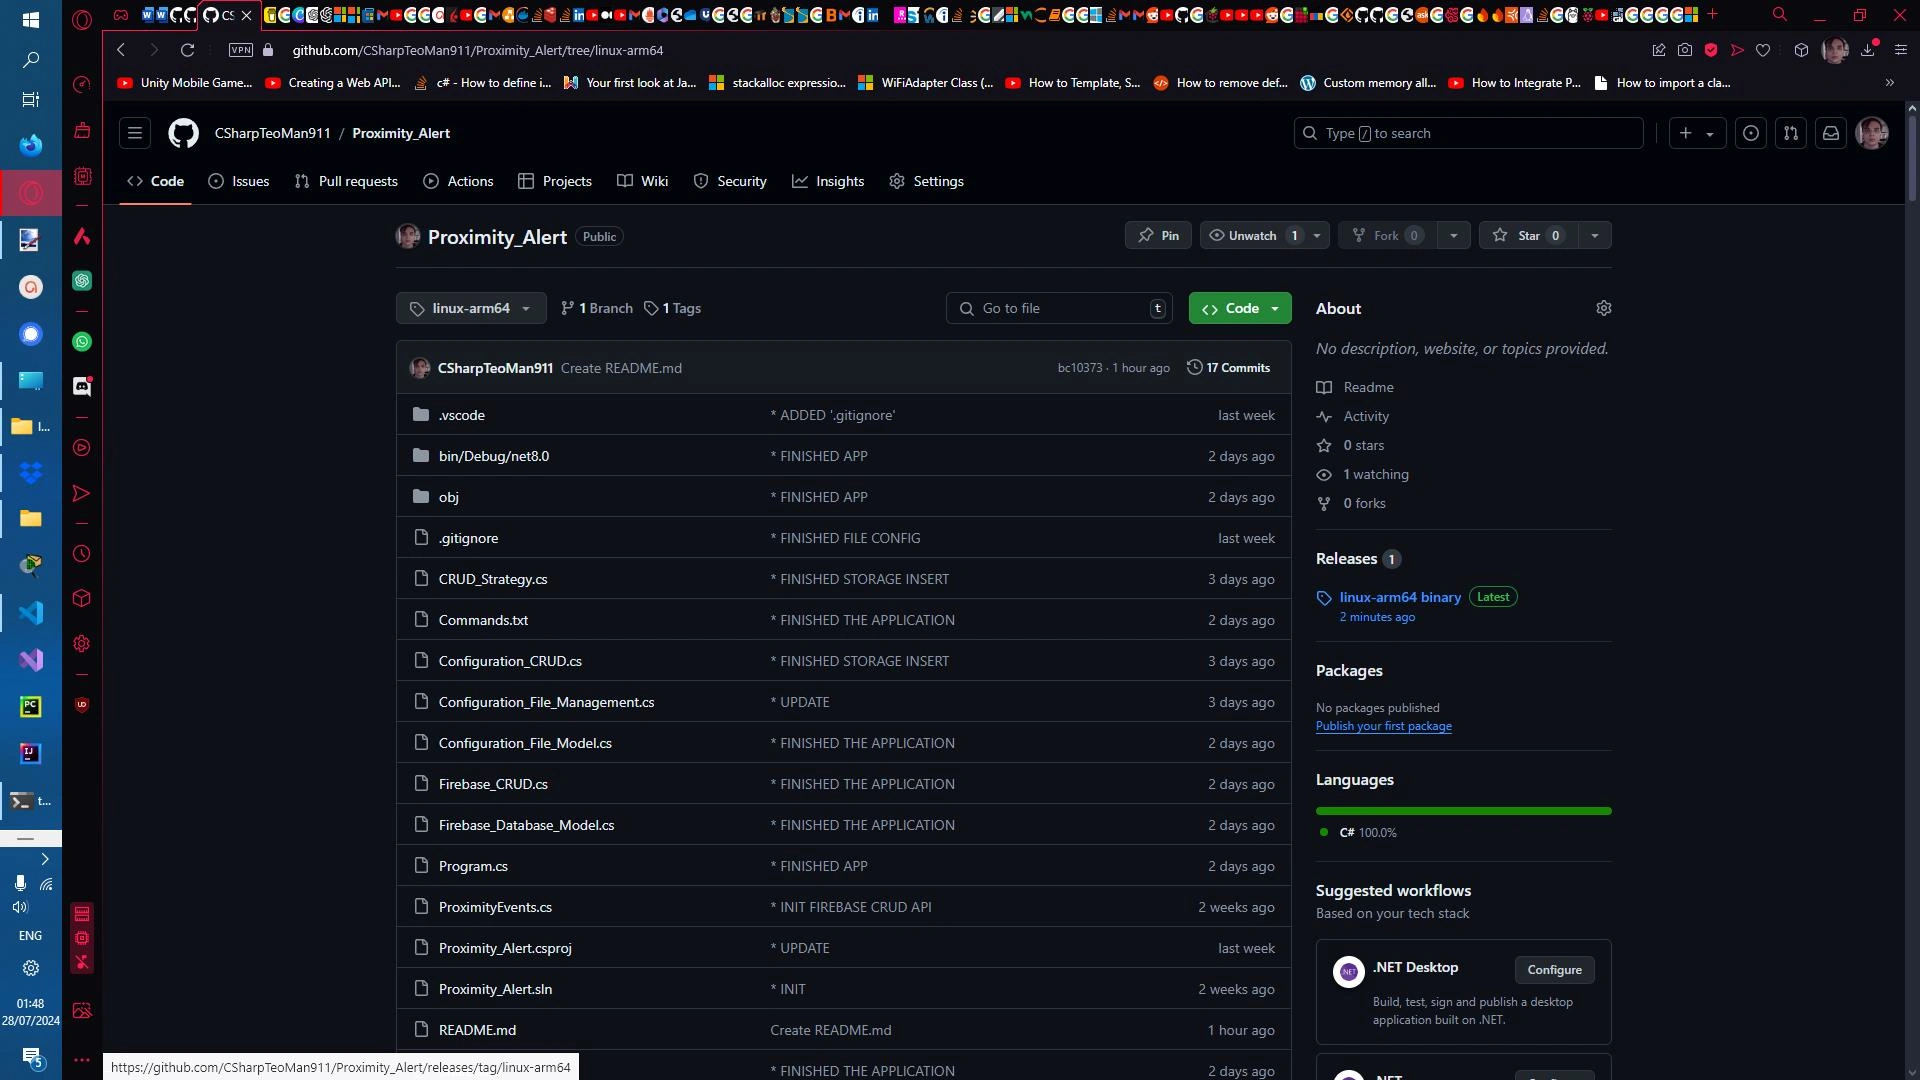
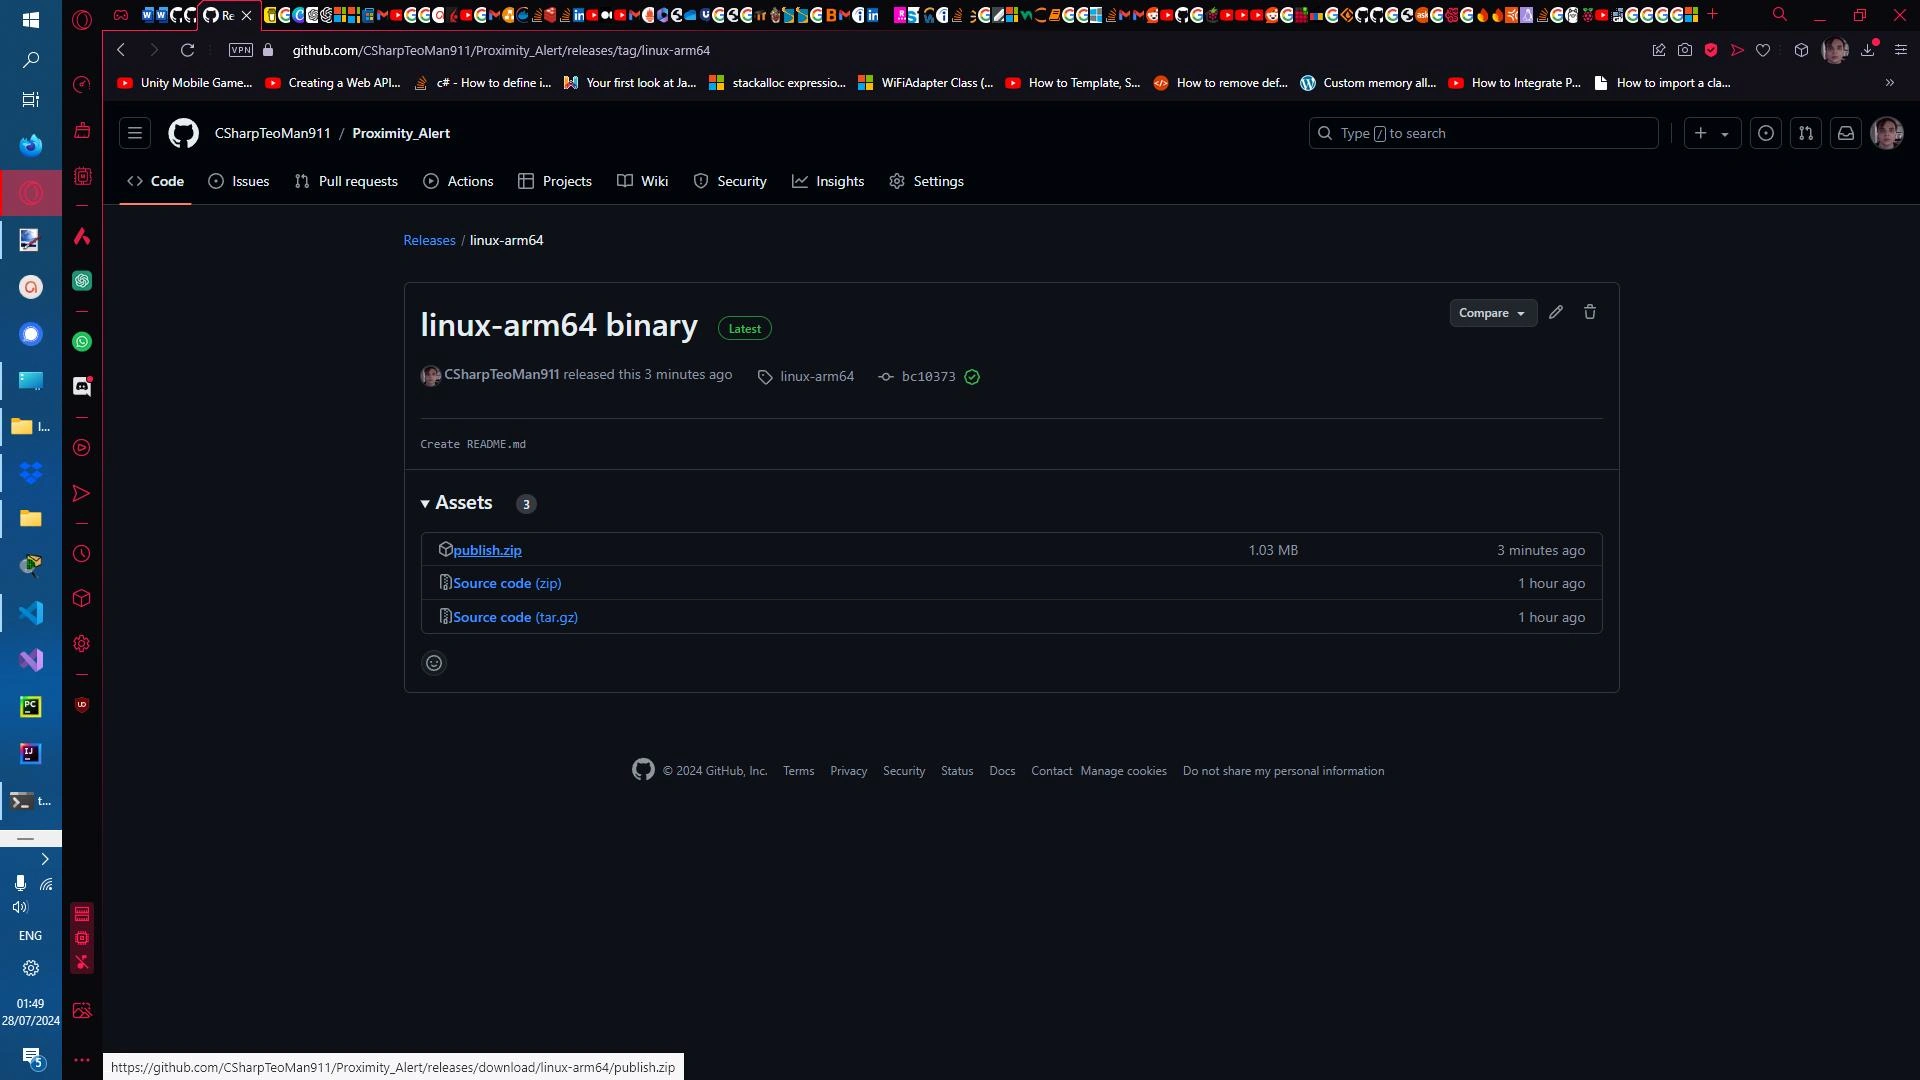
After the ultrasonic sensor was attached, go to the release page of this repository and download and unzip the executable binary.
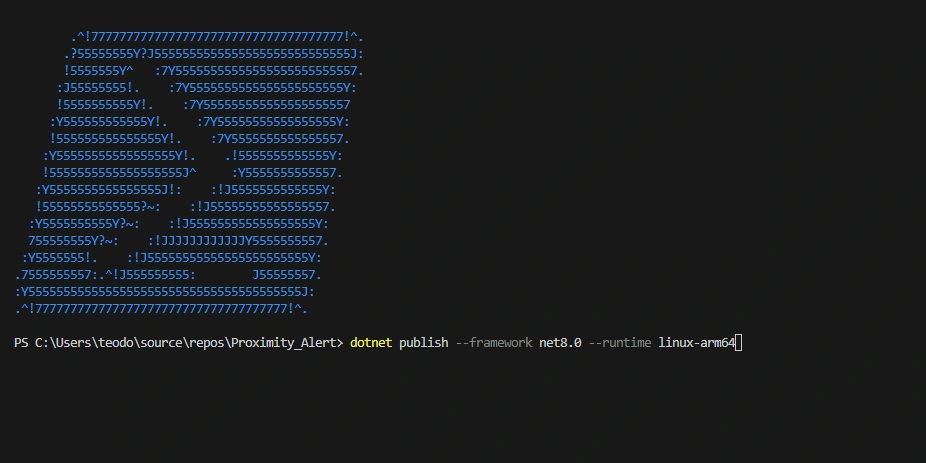
Alternatively, you can clone the GitHub repository and build the app by using the command dotnet publish --framework net8.0 --runtime linux-arm64
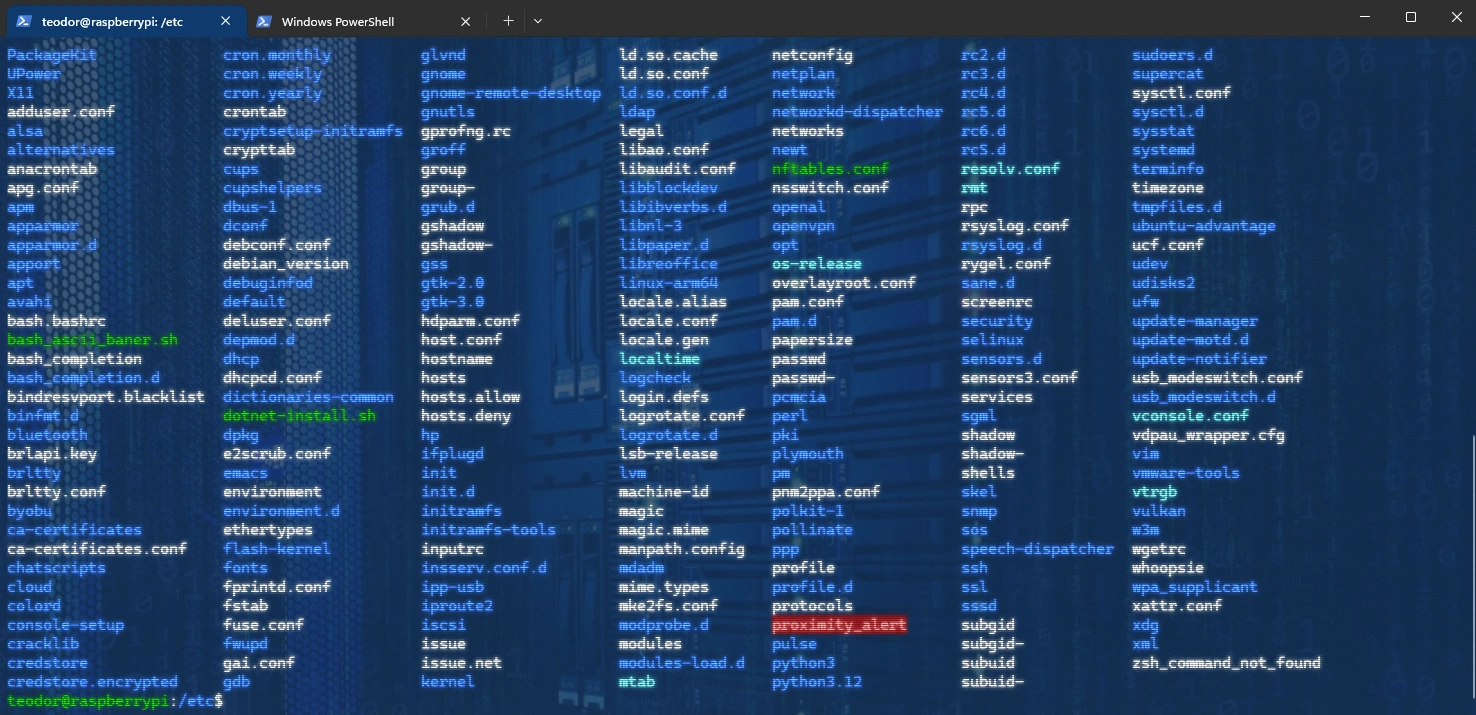
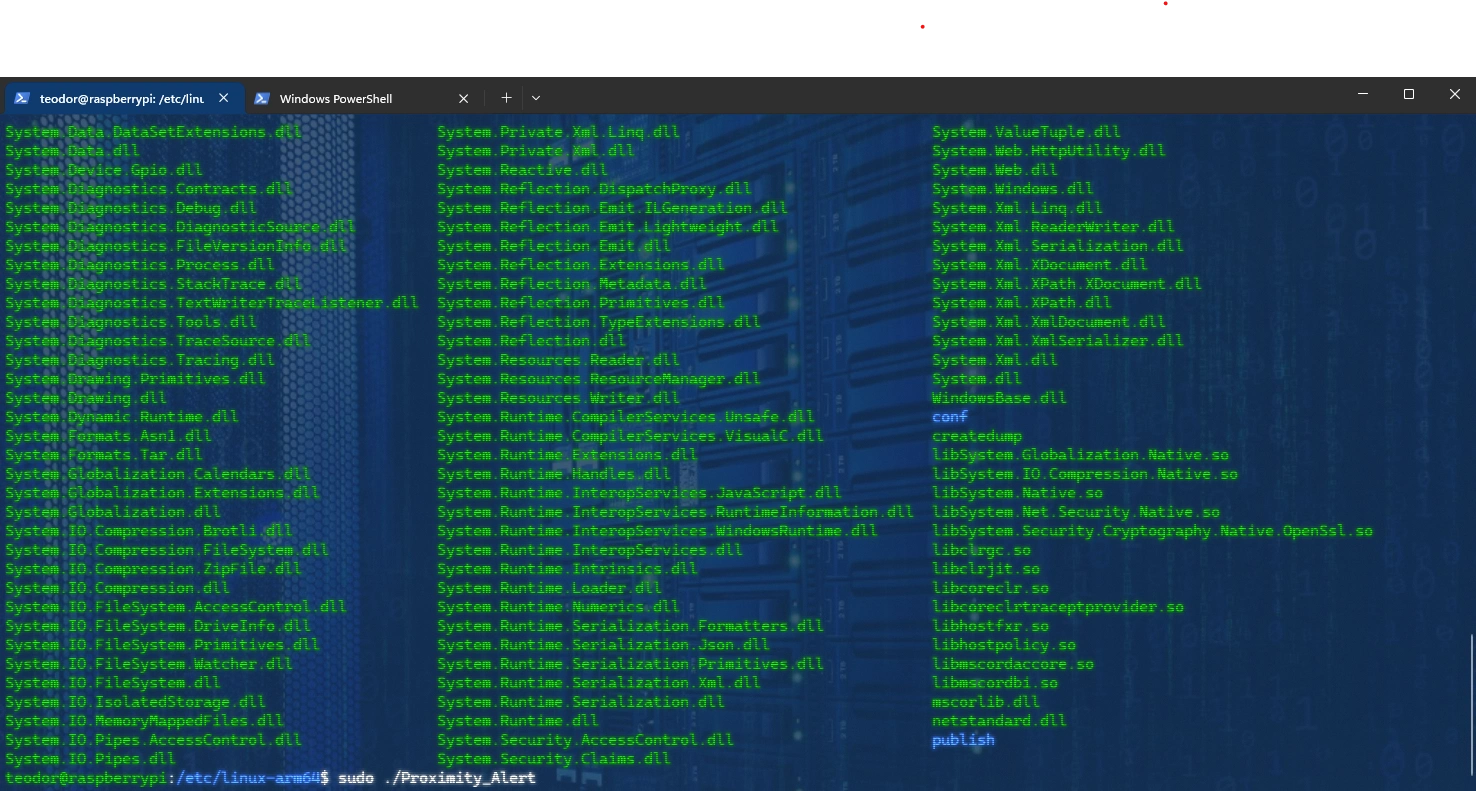
Afterwards, navigate the folder into the /etc directory, then navigate into the directory (cd app_dir_name) and start the application using the command sudo ./Proximity_Alert
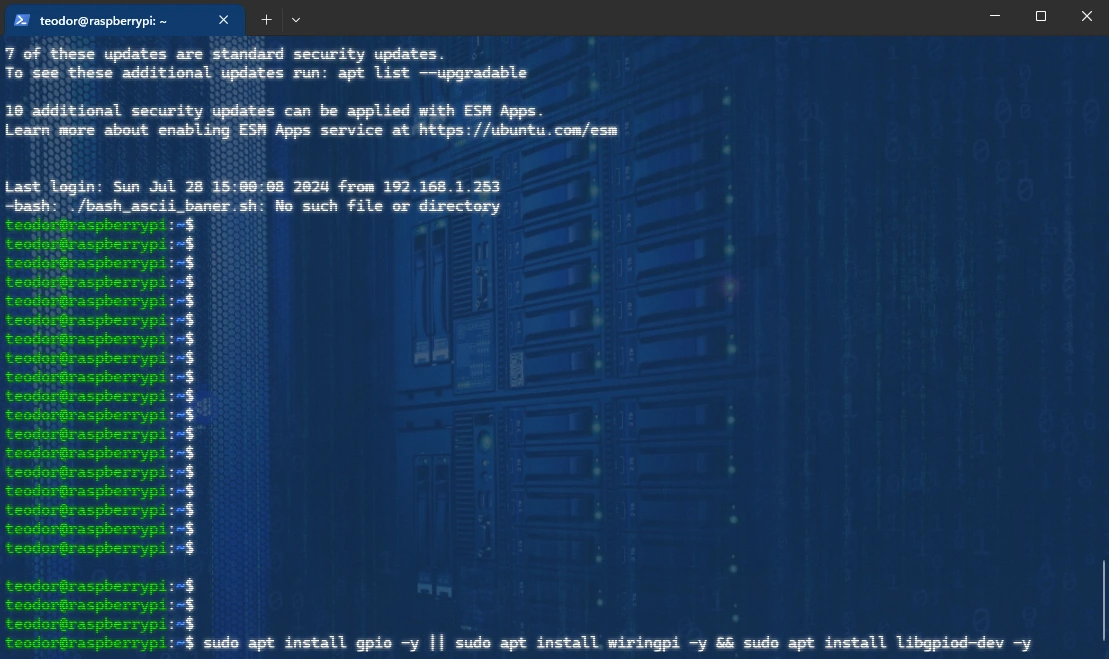
Then enter the command to ensure that the GPIO drivers are installed within the system:
# Ensure the GPIO drivers are installed
sudo apt install gpio -y || sudo apt install wiringpi -y && sudo apt install libgpiod-dev -y
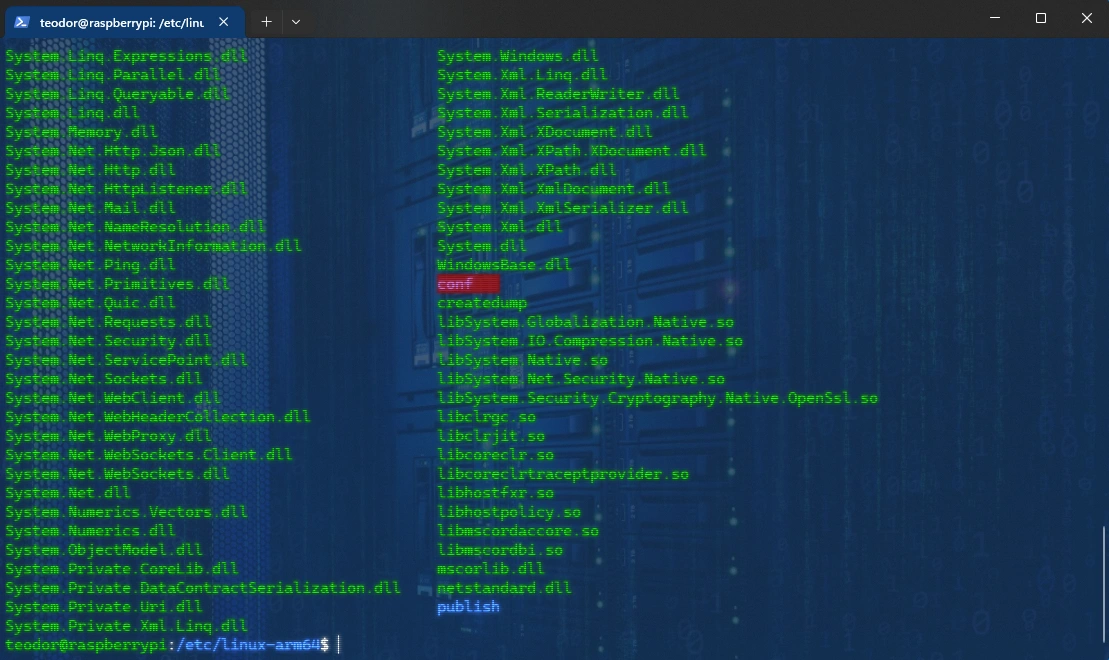
The app will throw an error and create a config file within a directory named config. This is happening because the app cannot use the required Firebase Database credentials because the config file did not exist.
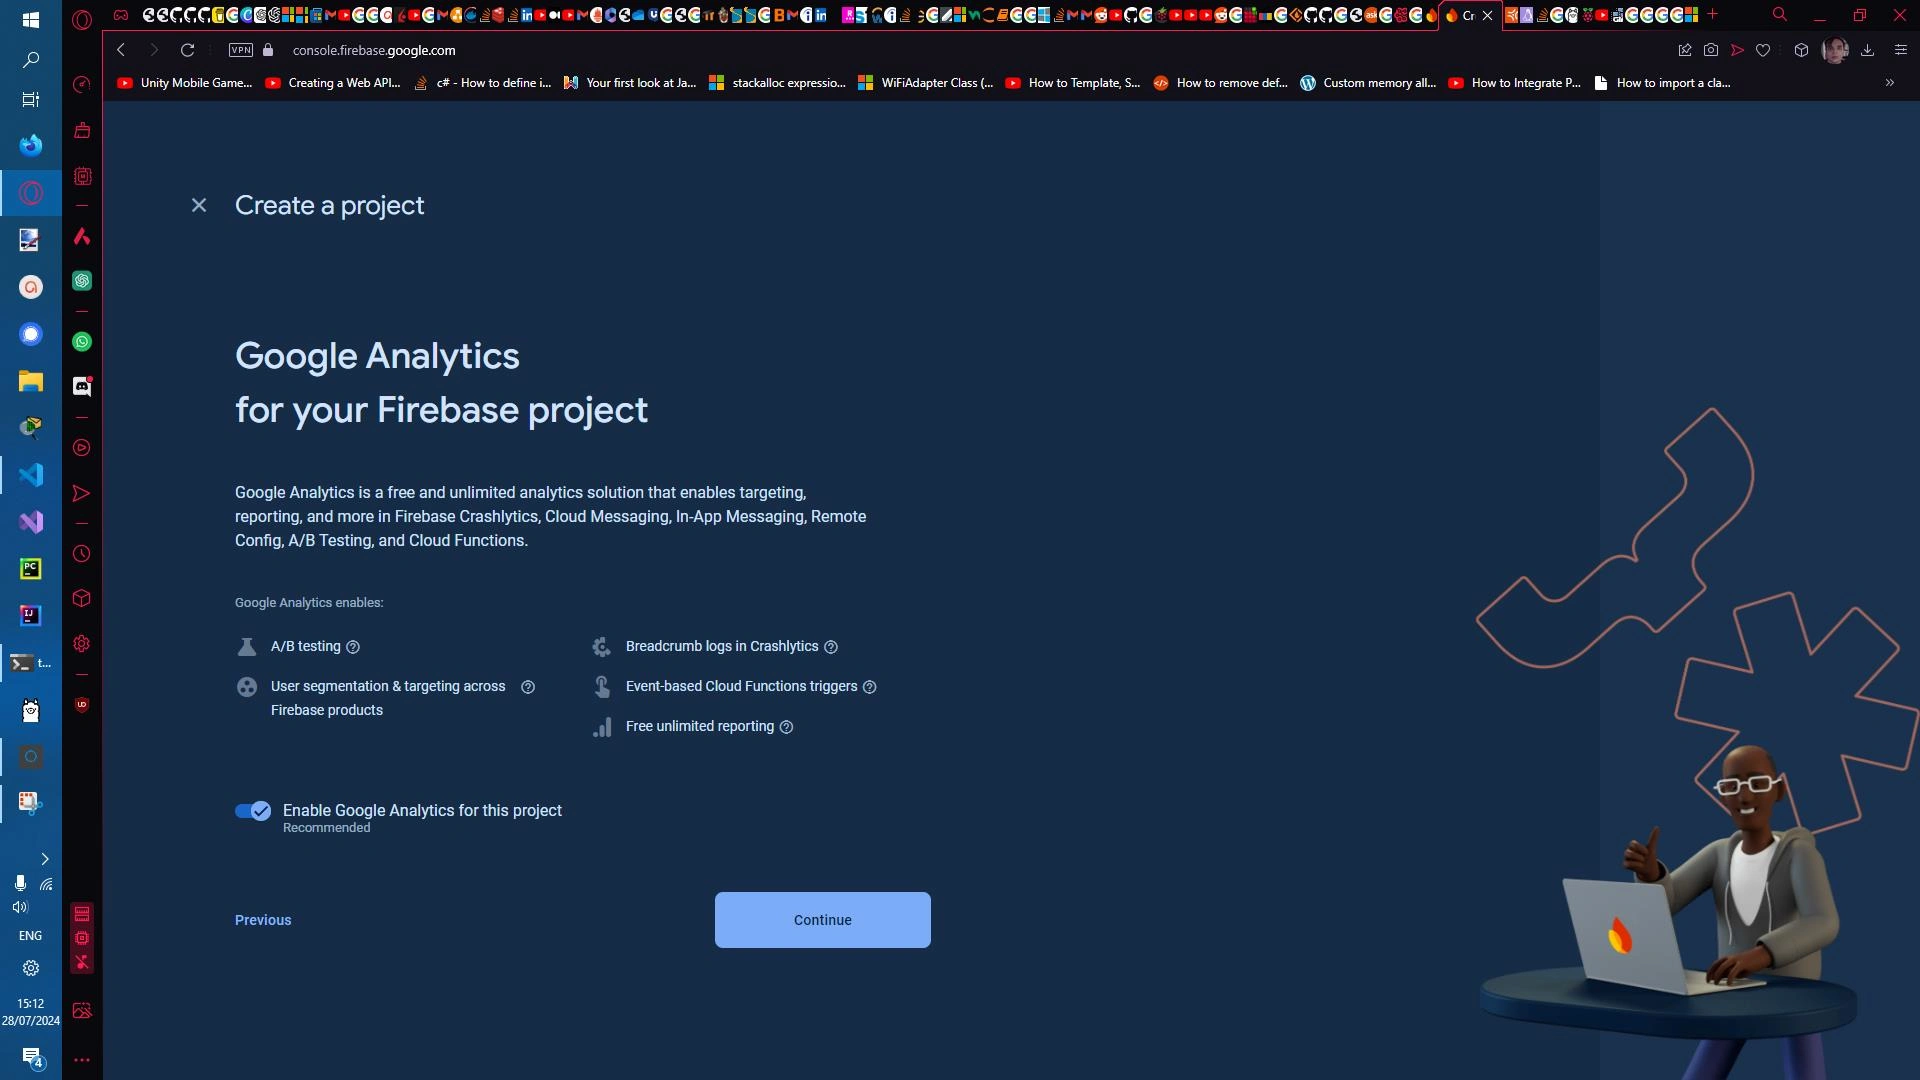
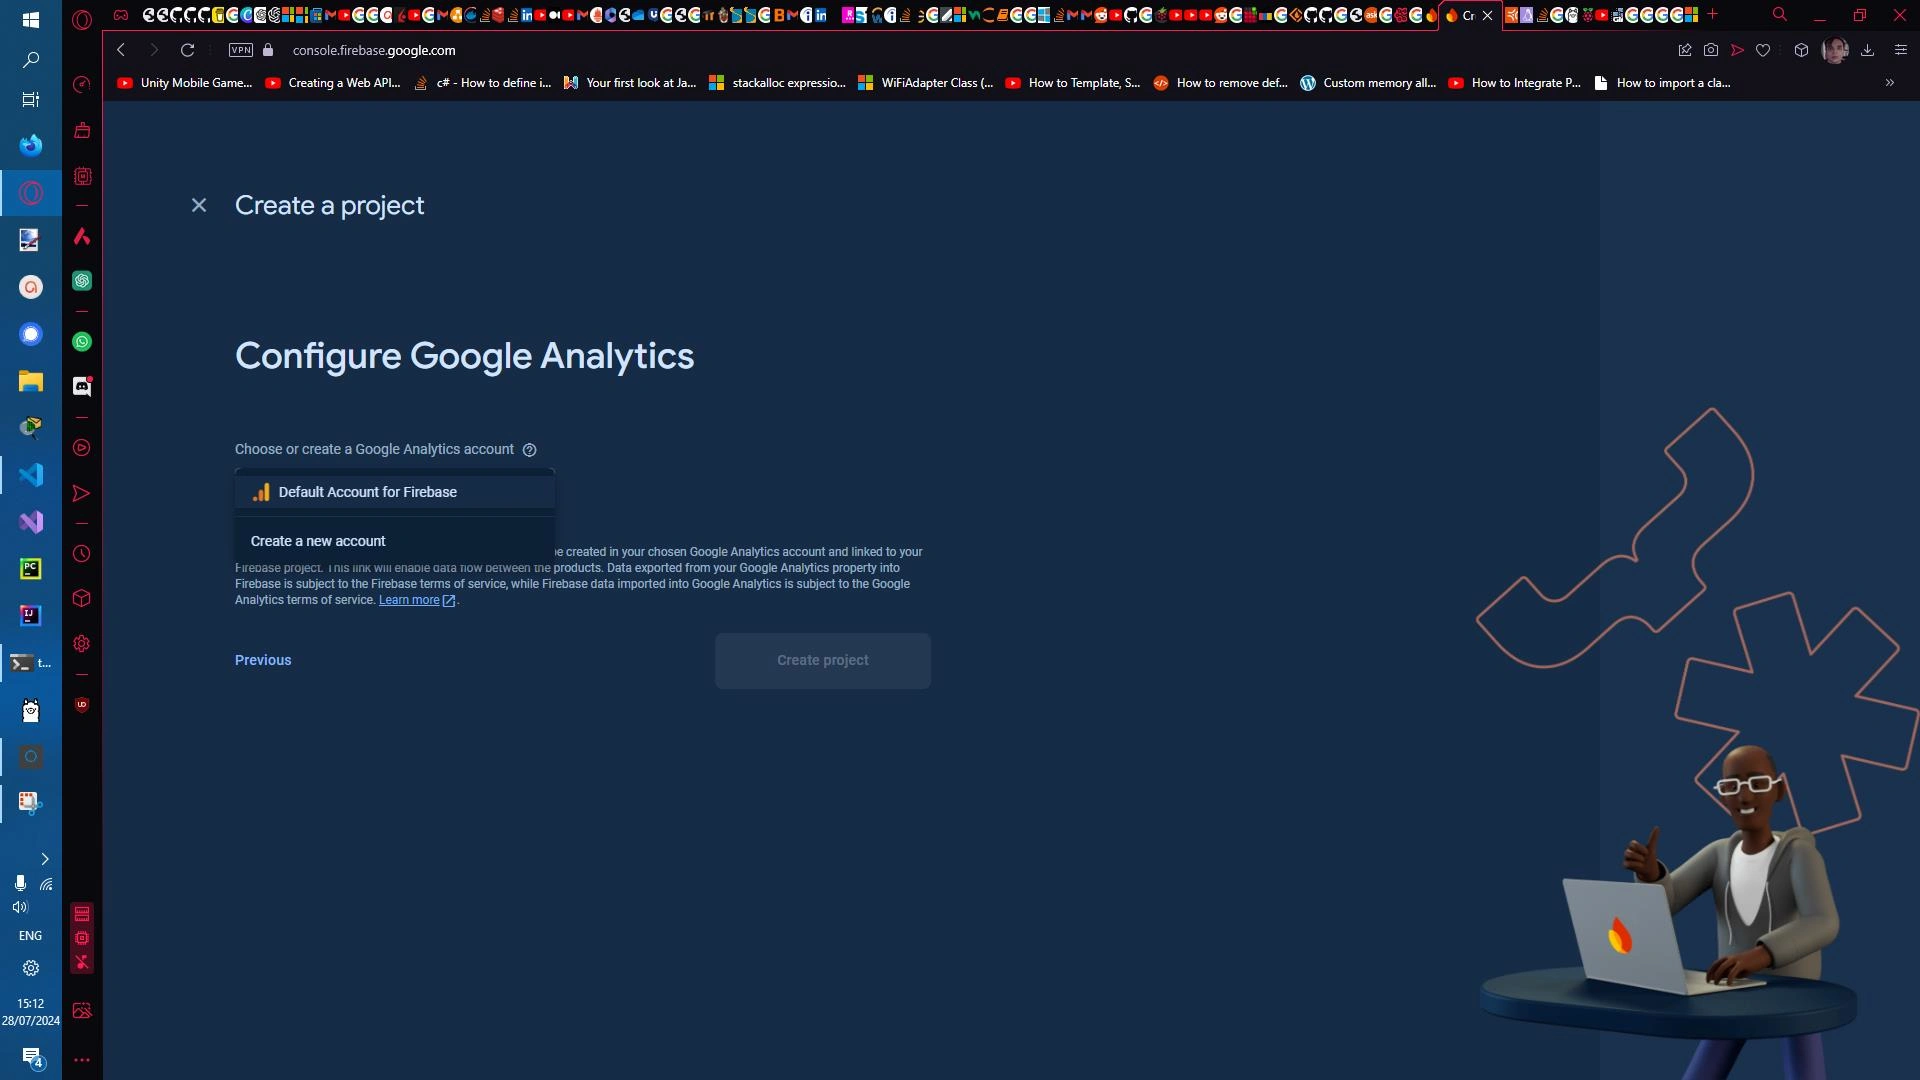
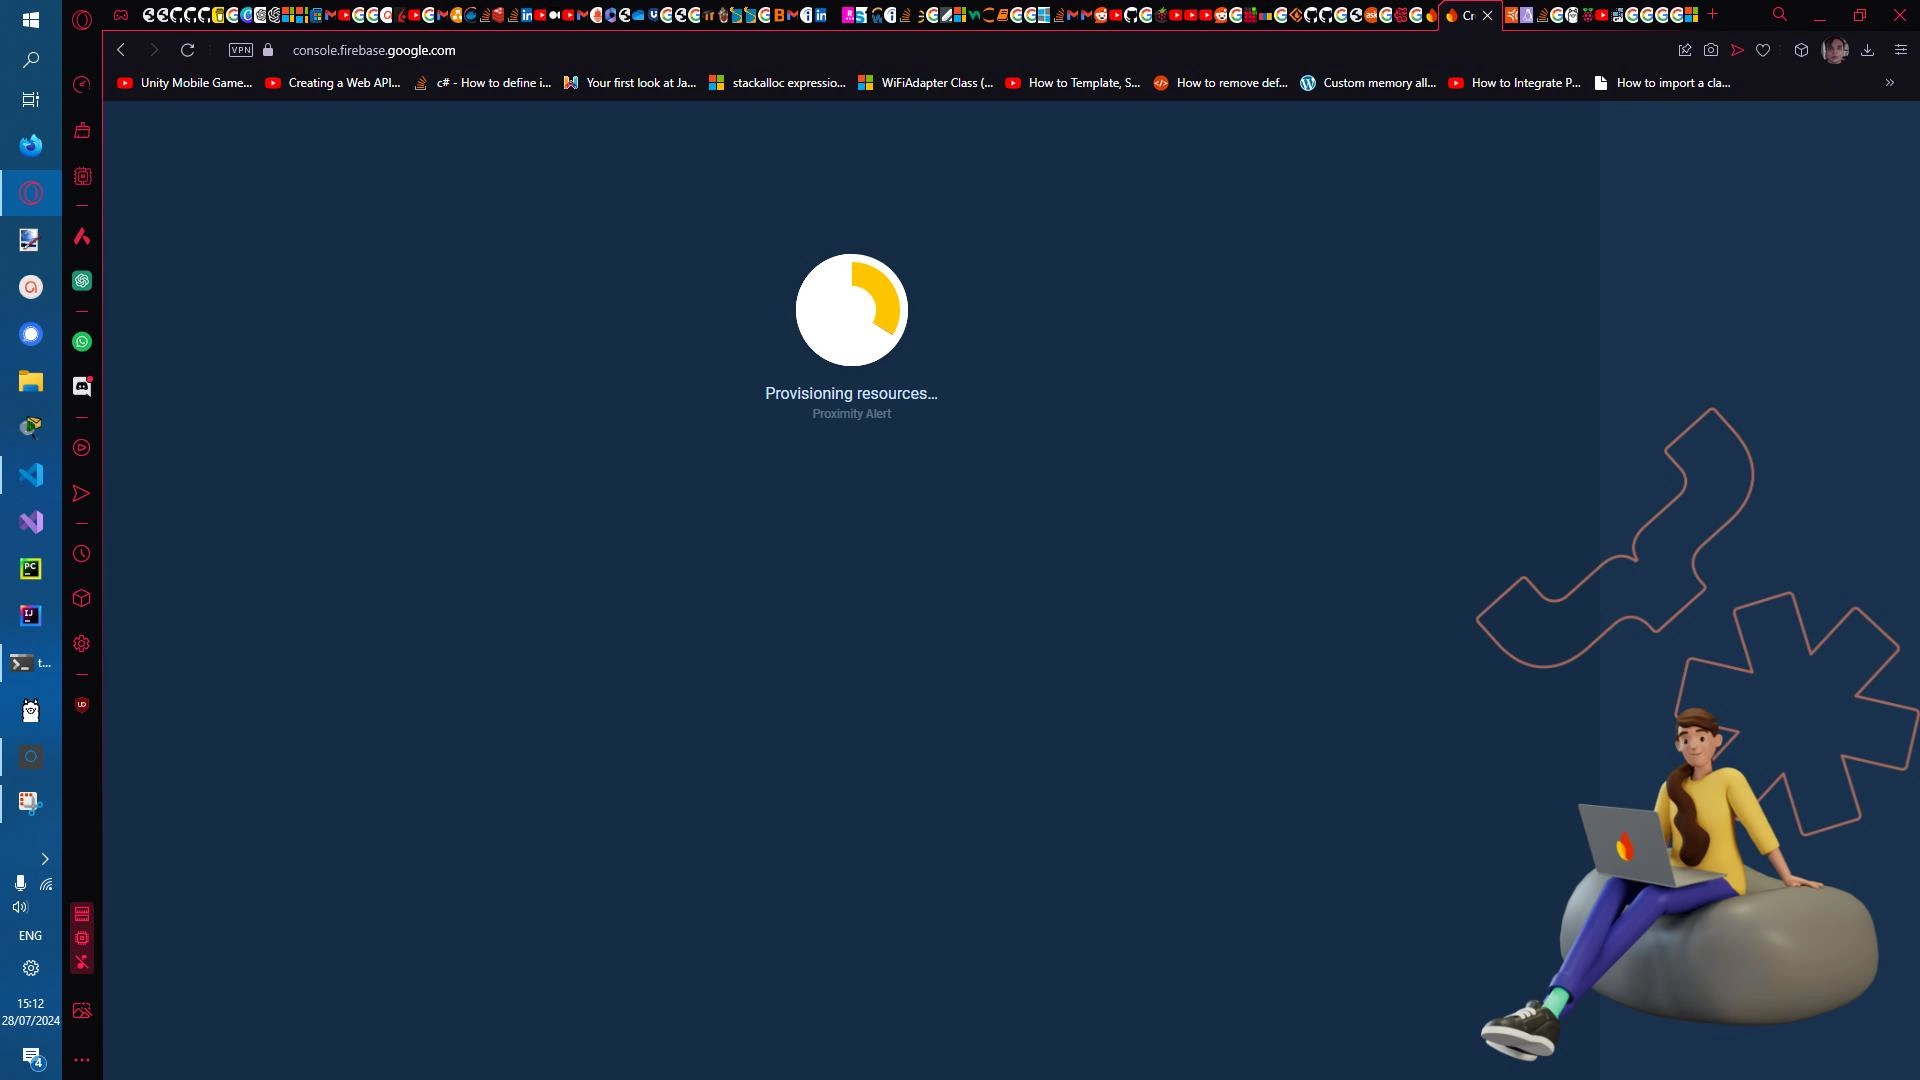
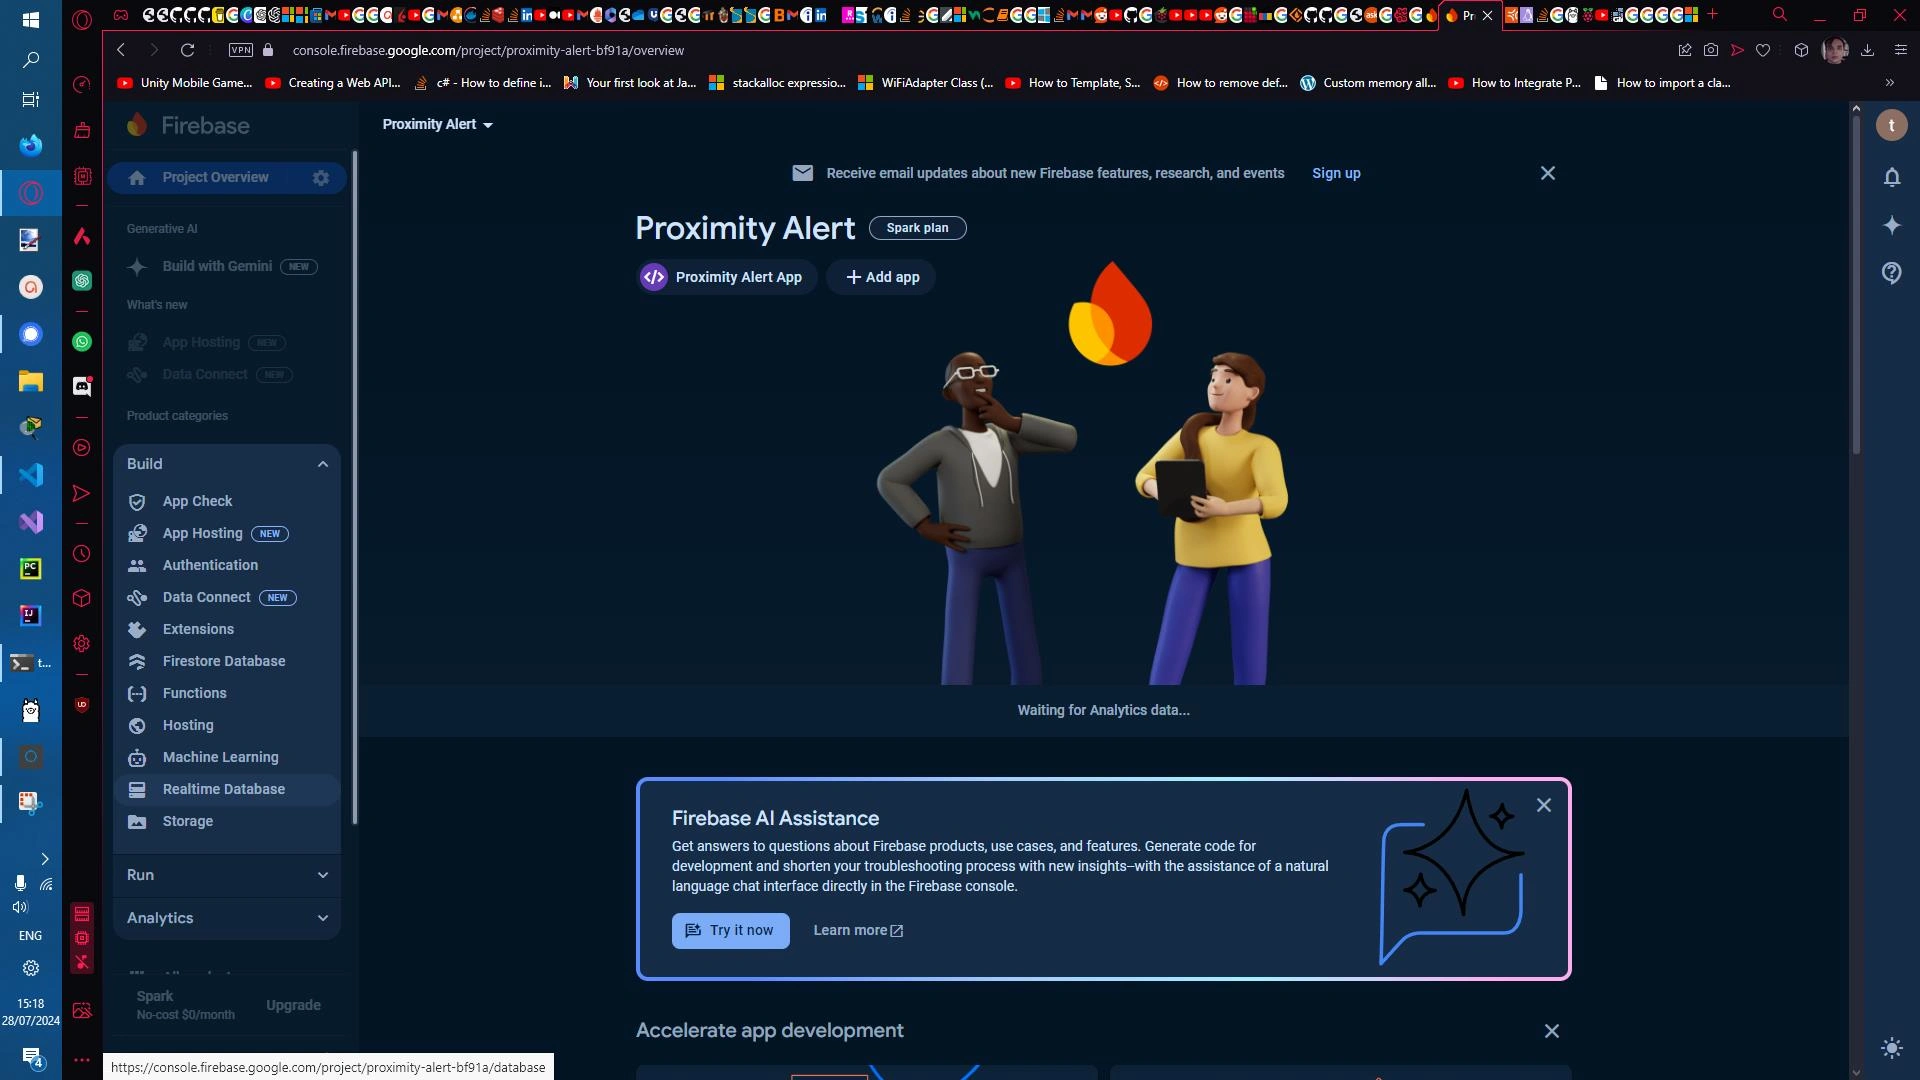
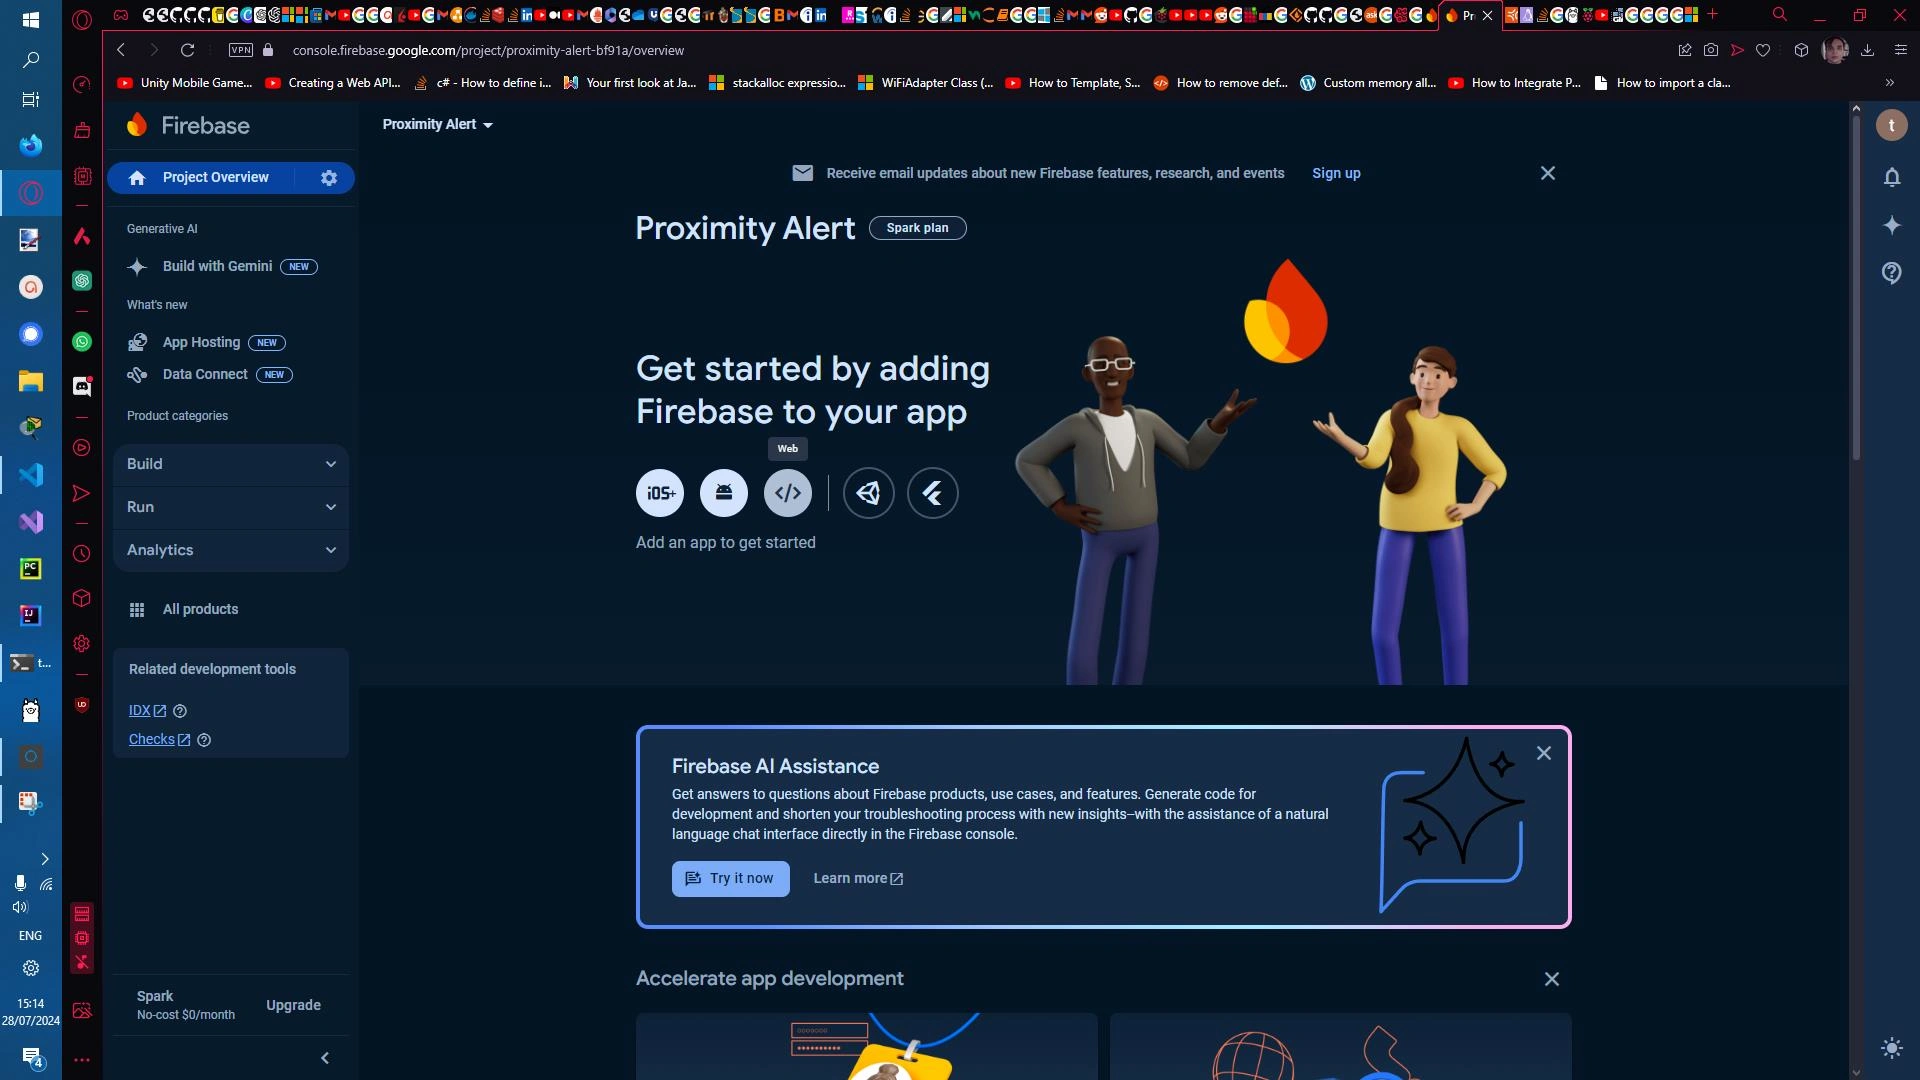
After the config file is created, go to Firebase and create a project

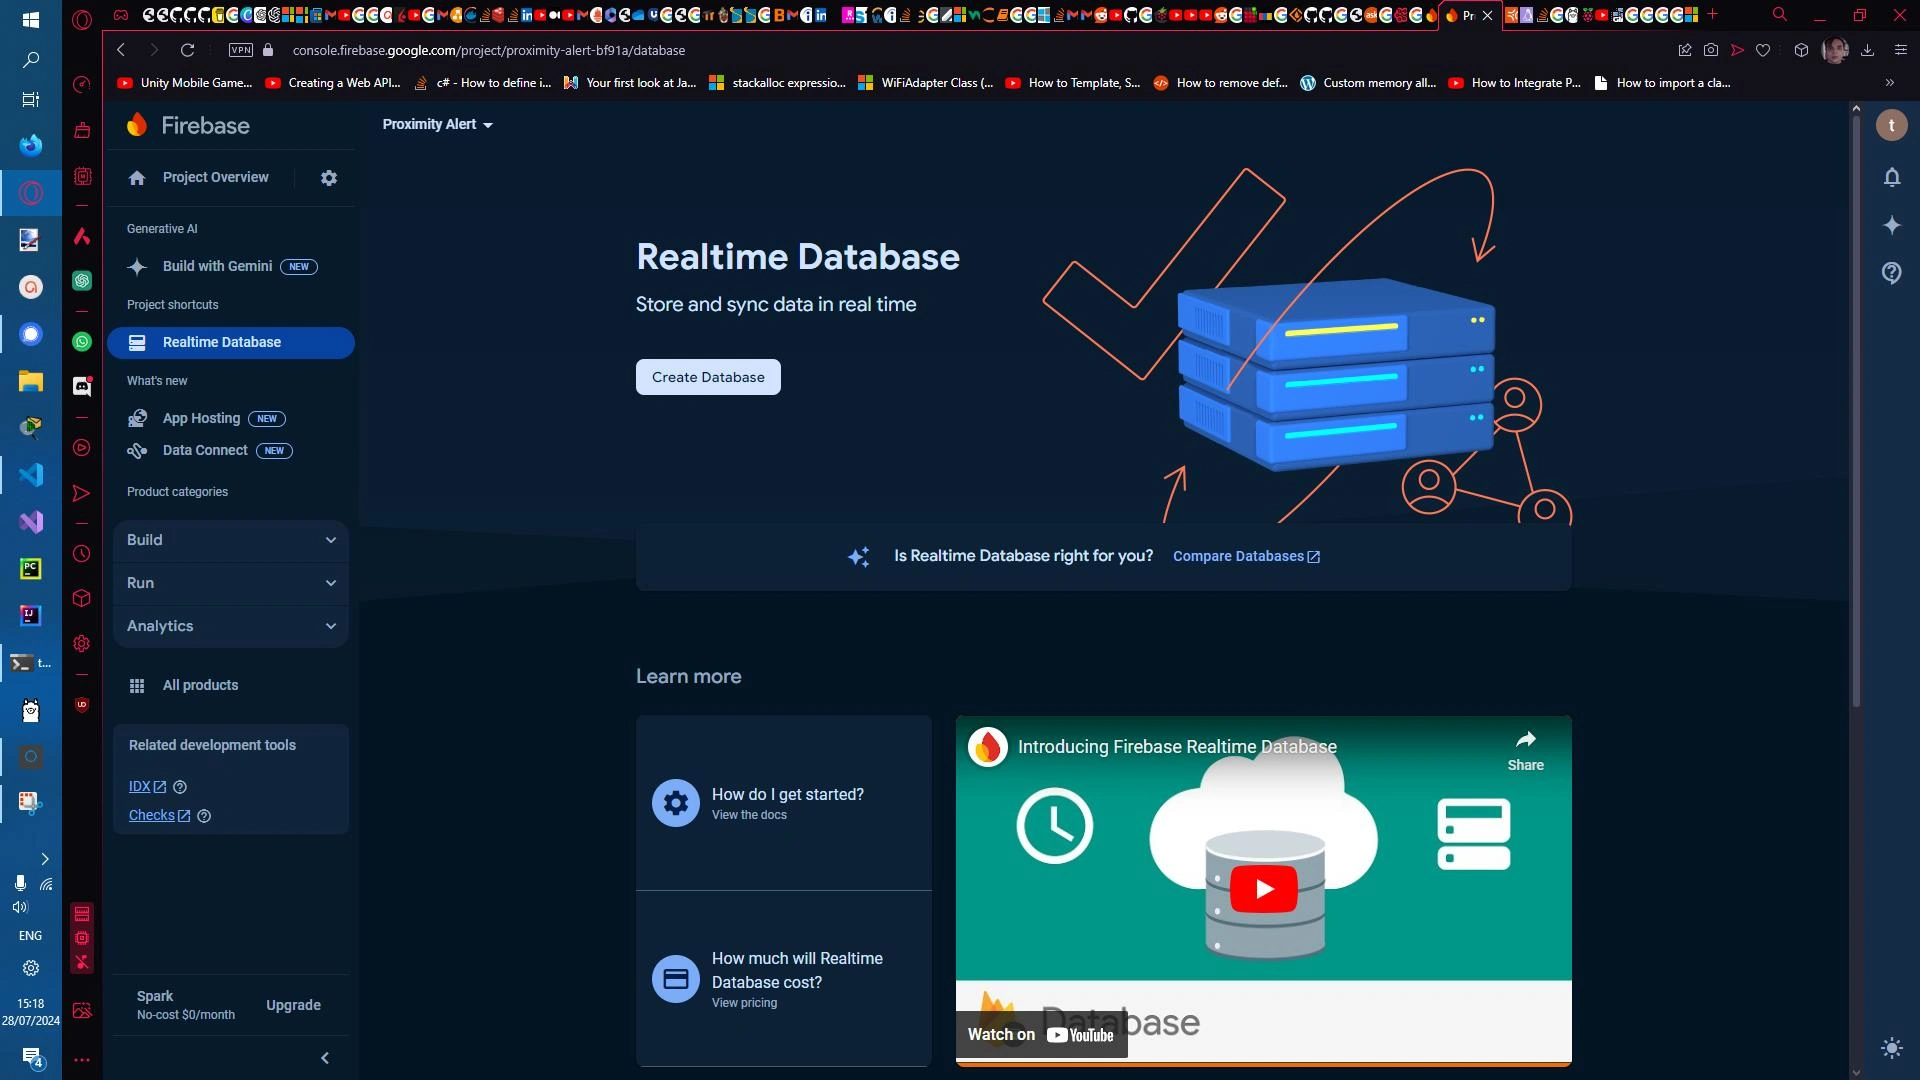
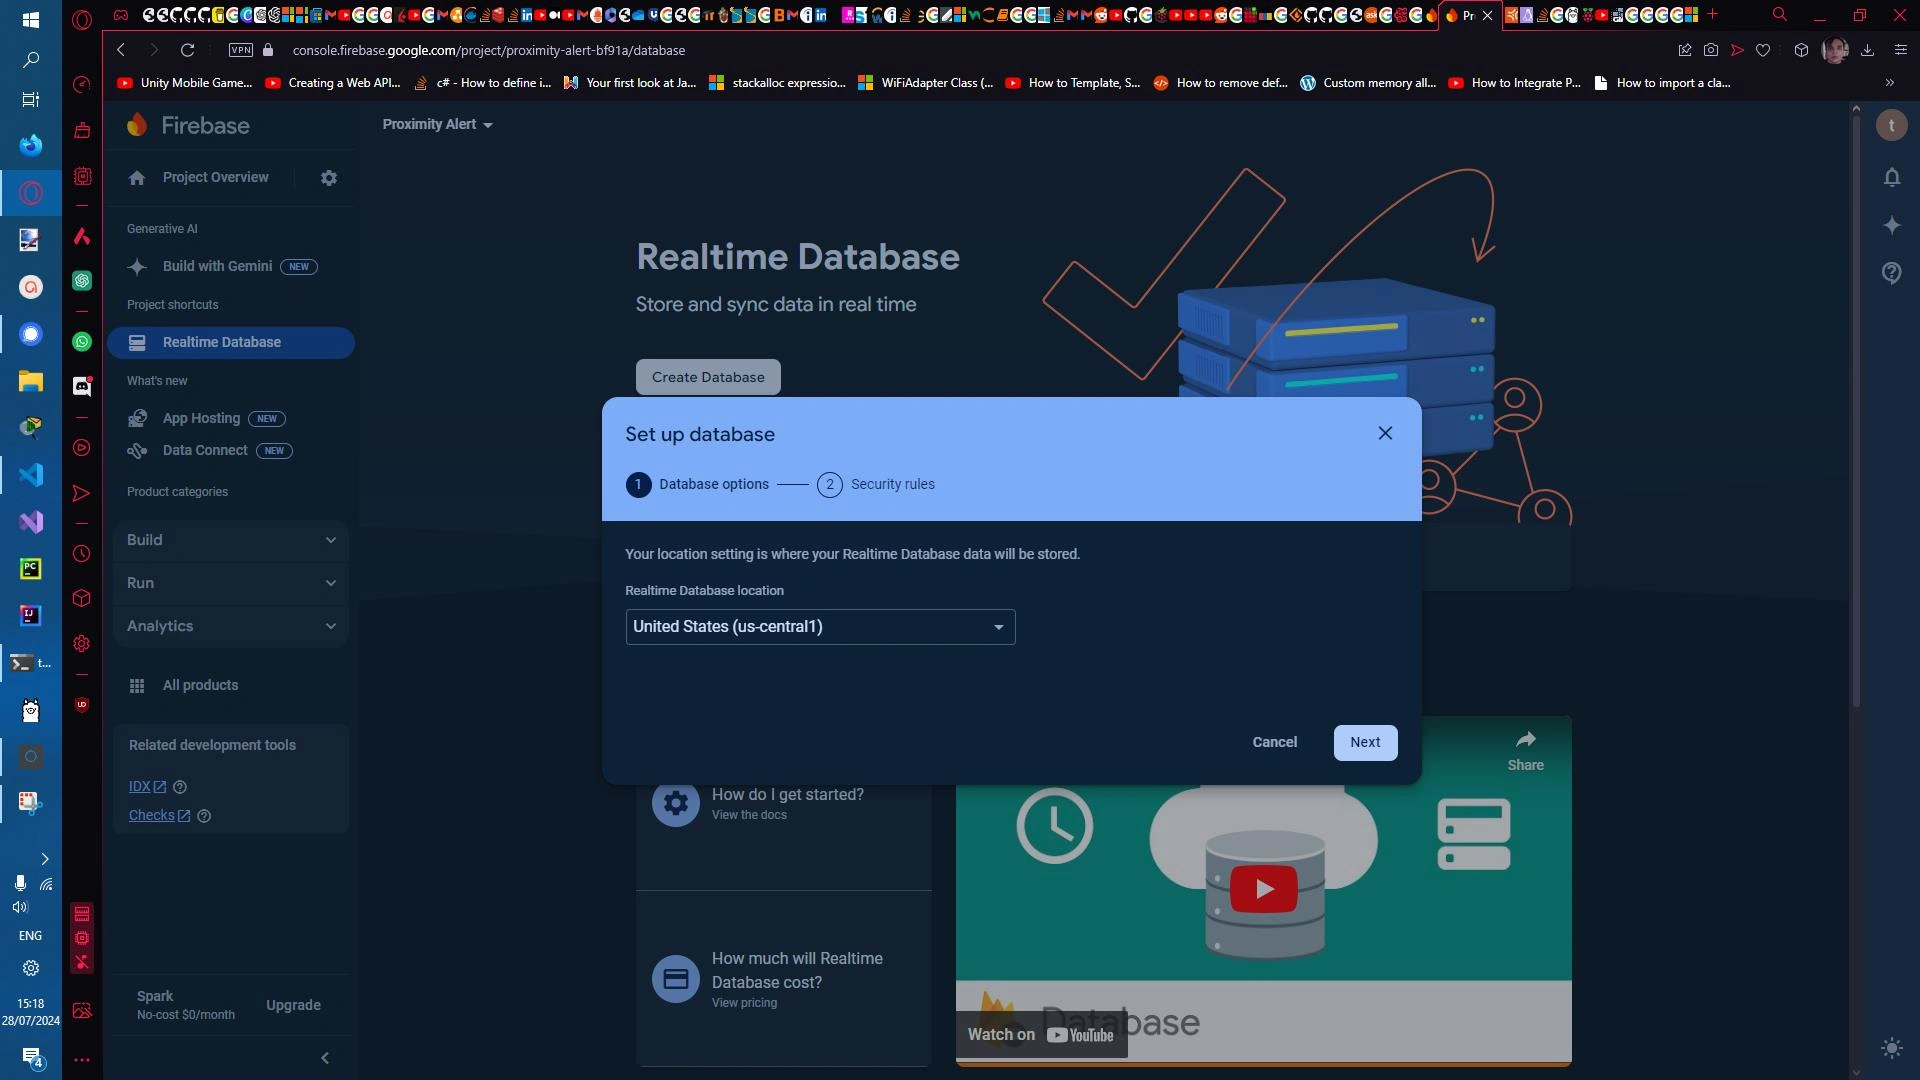
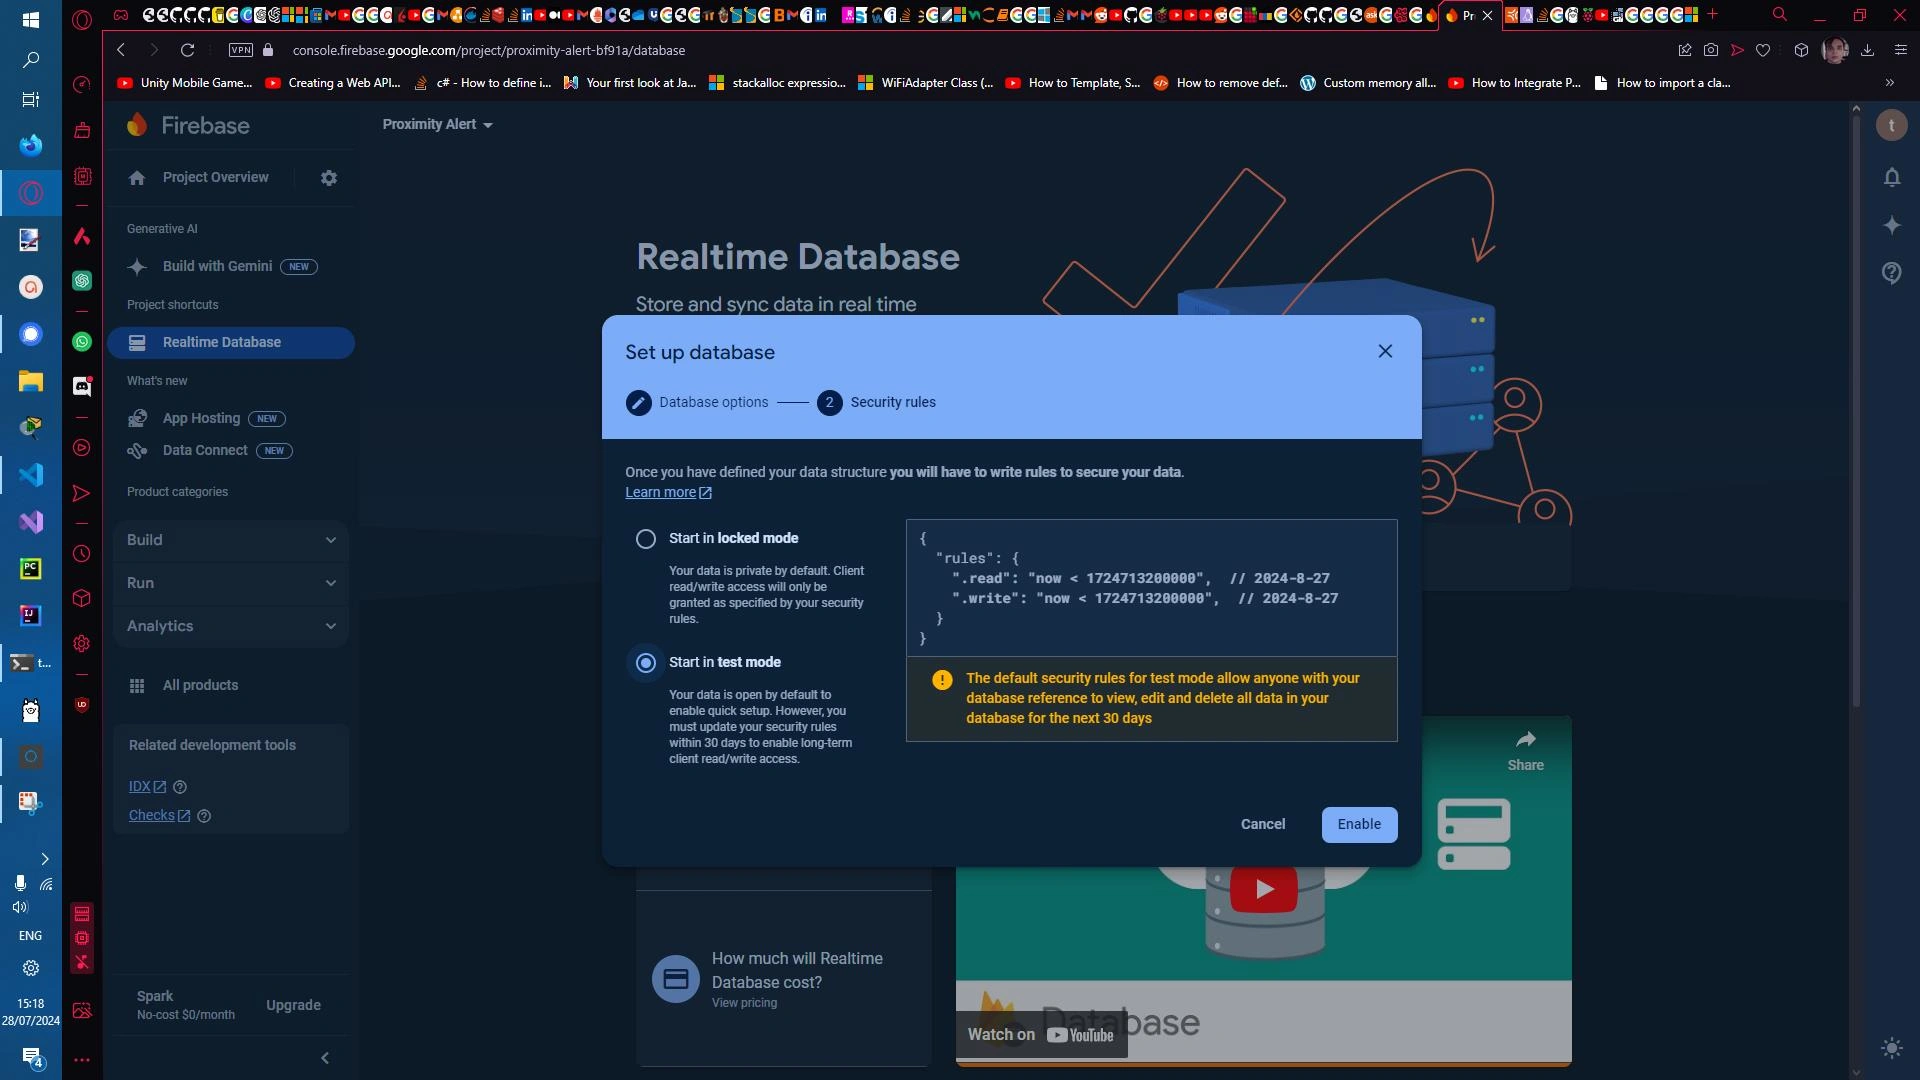
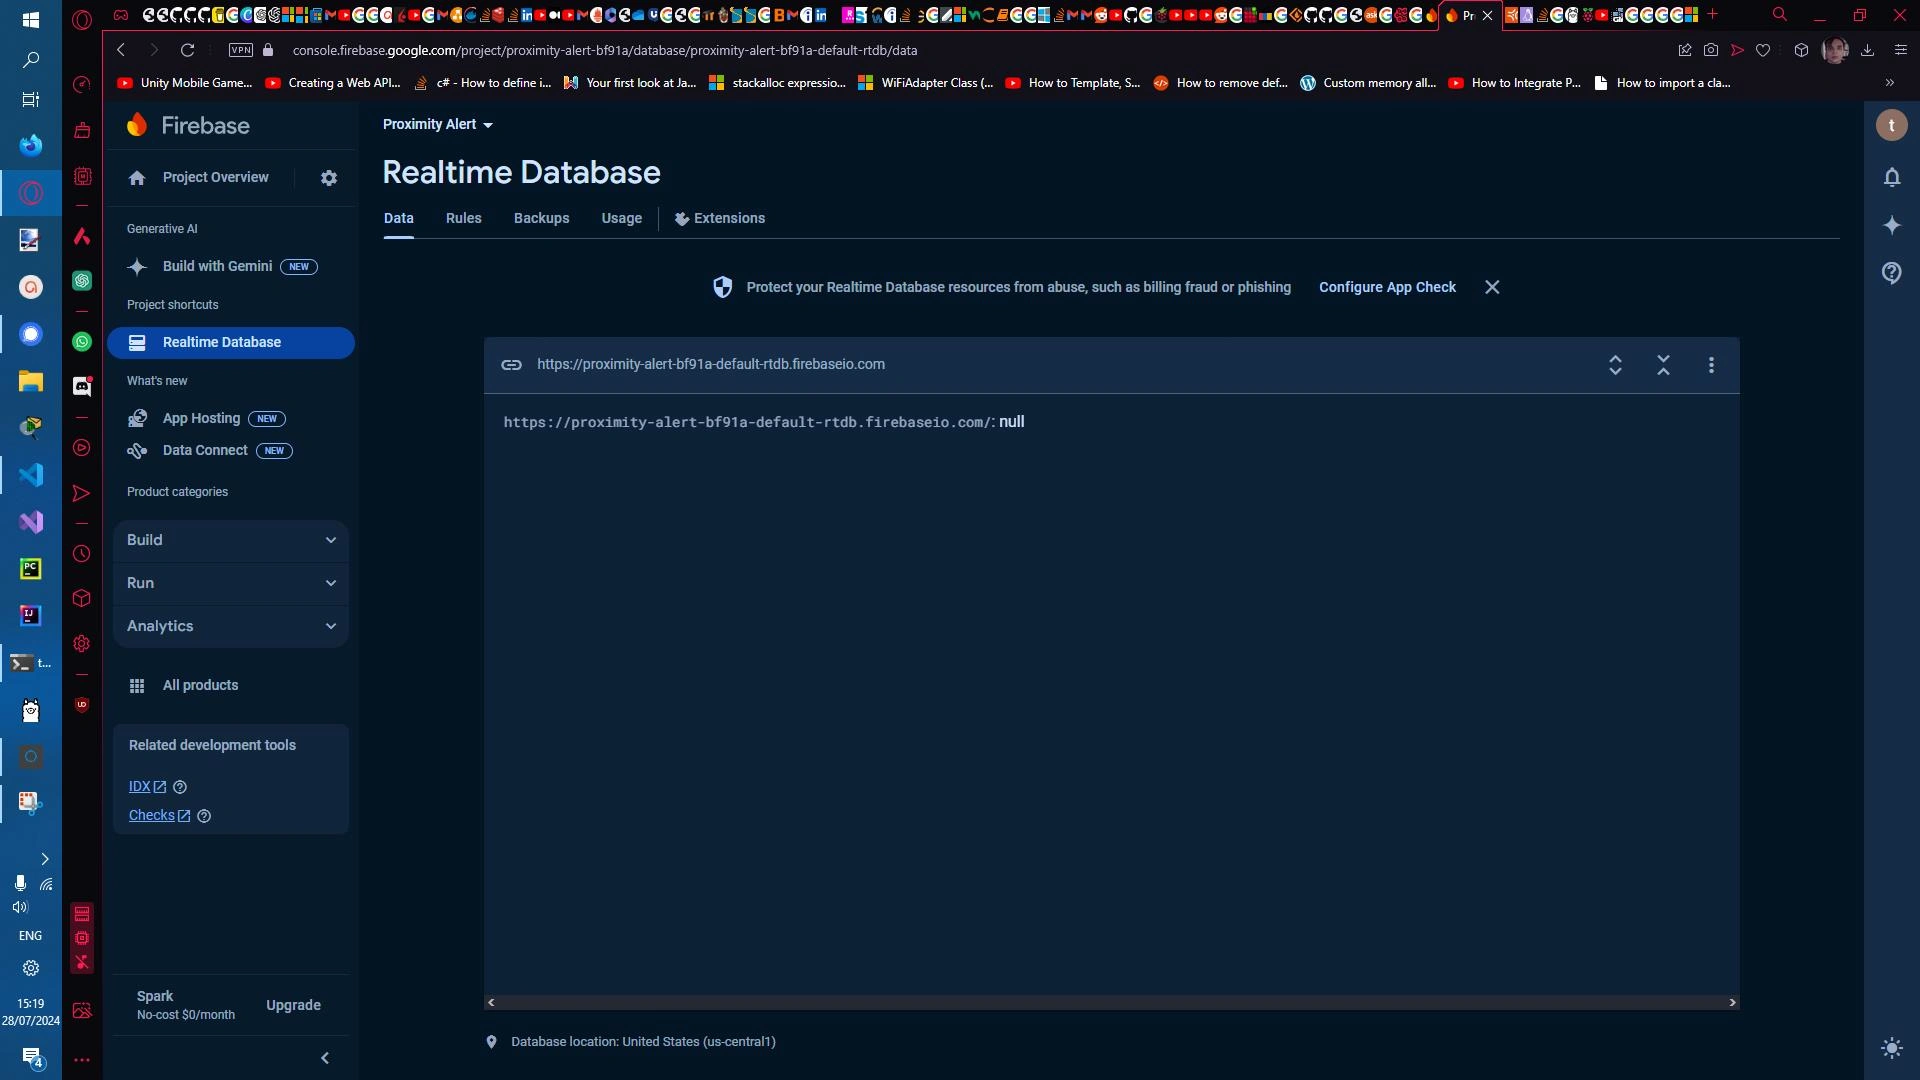
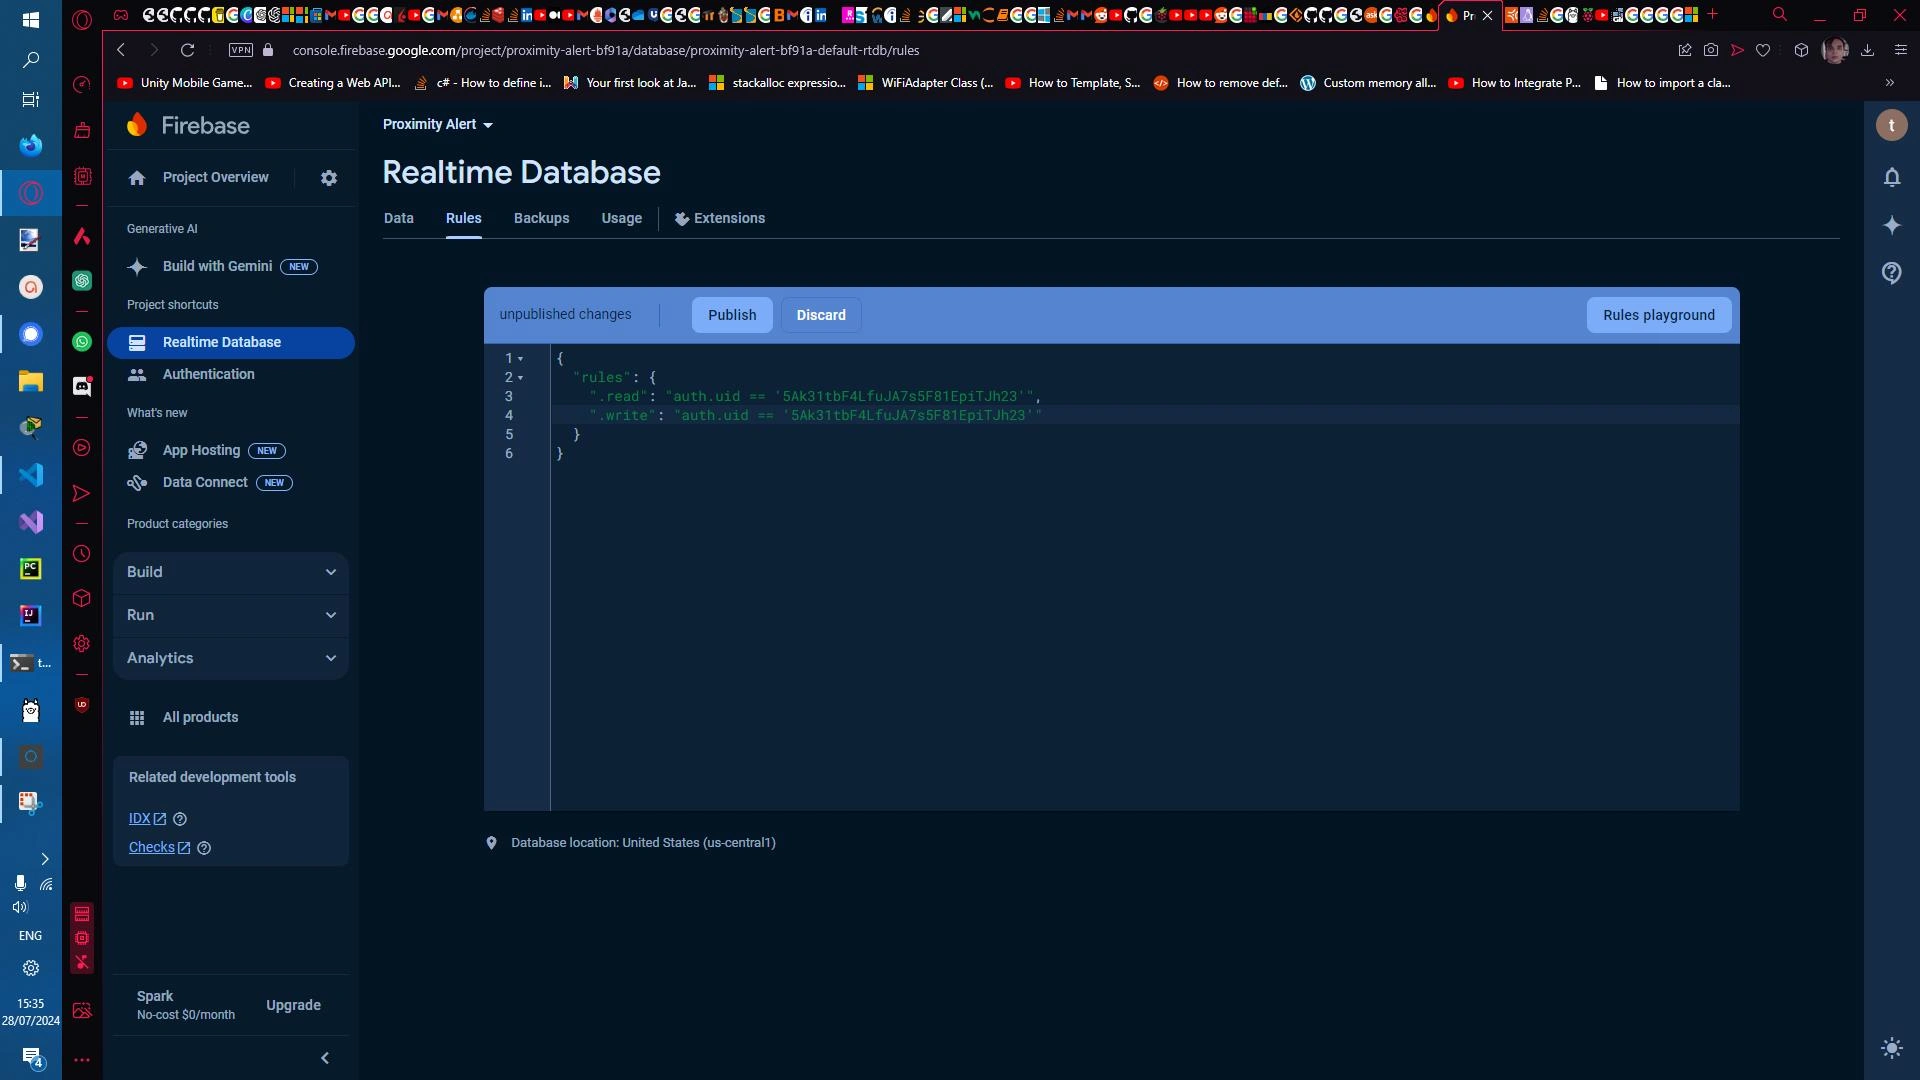
Afterwards, initialise the Realtime Database for this project within the Firebase app.
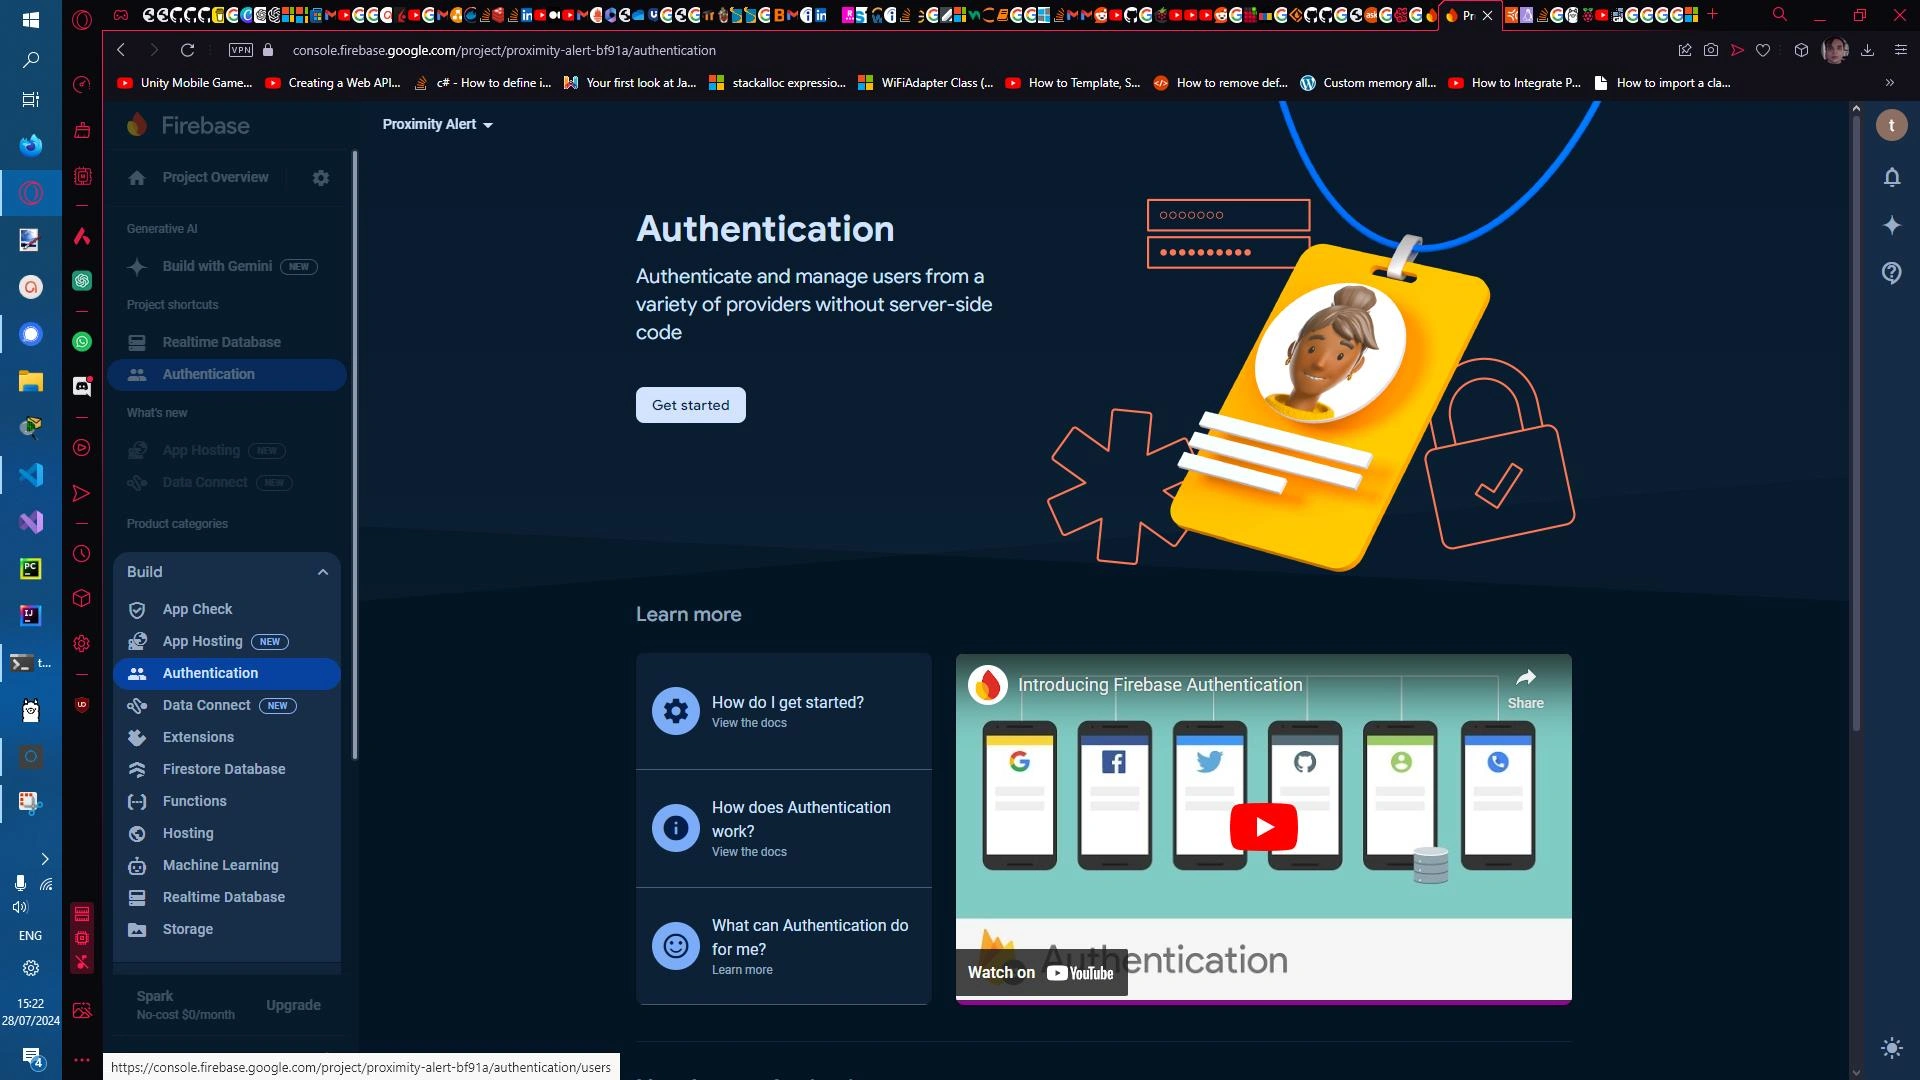
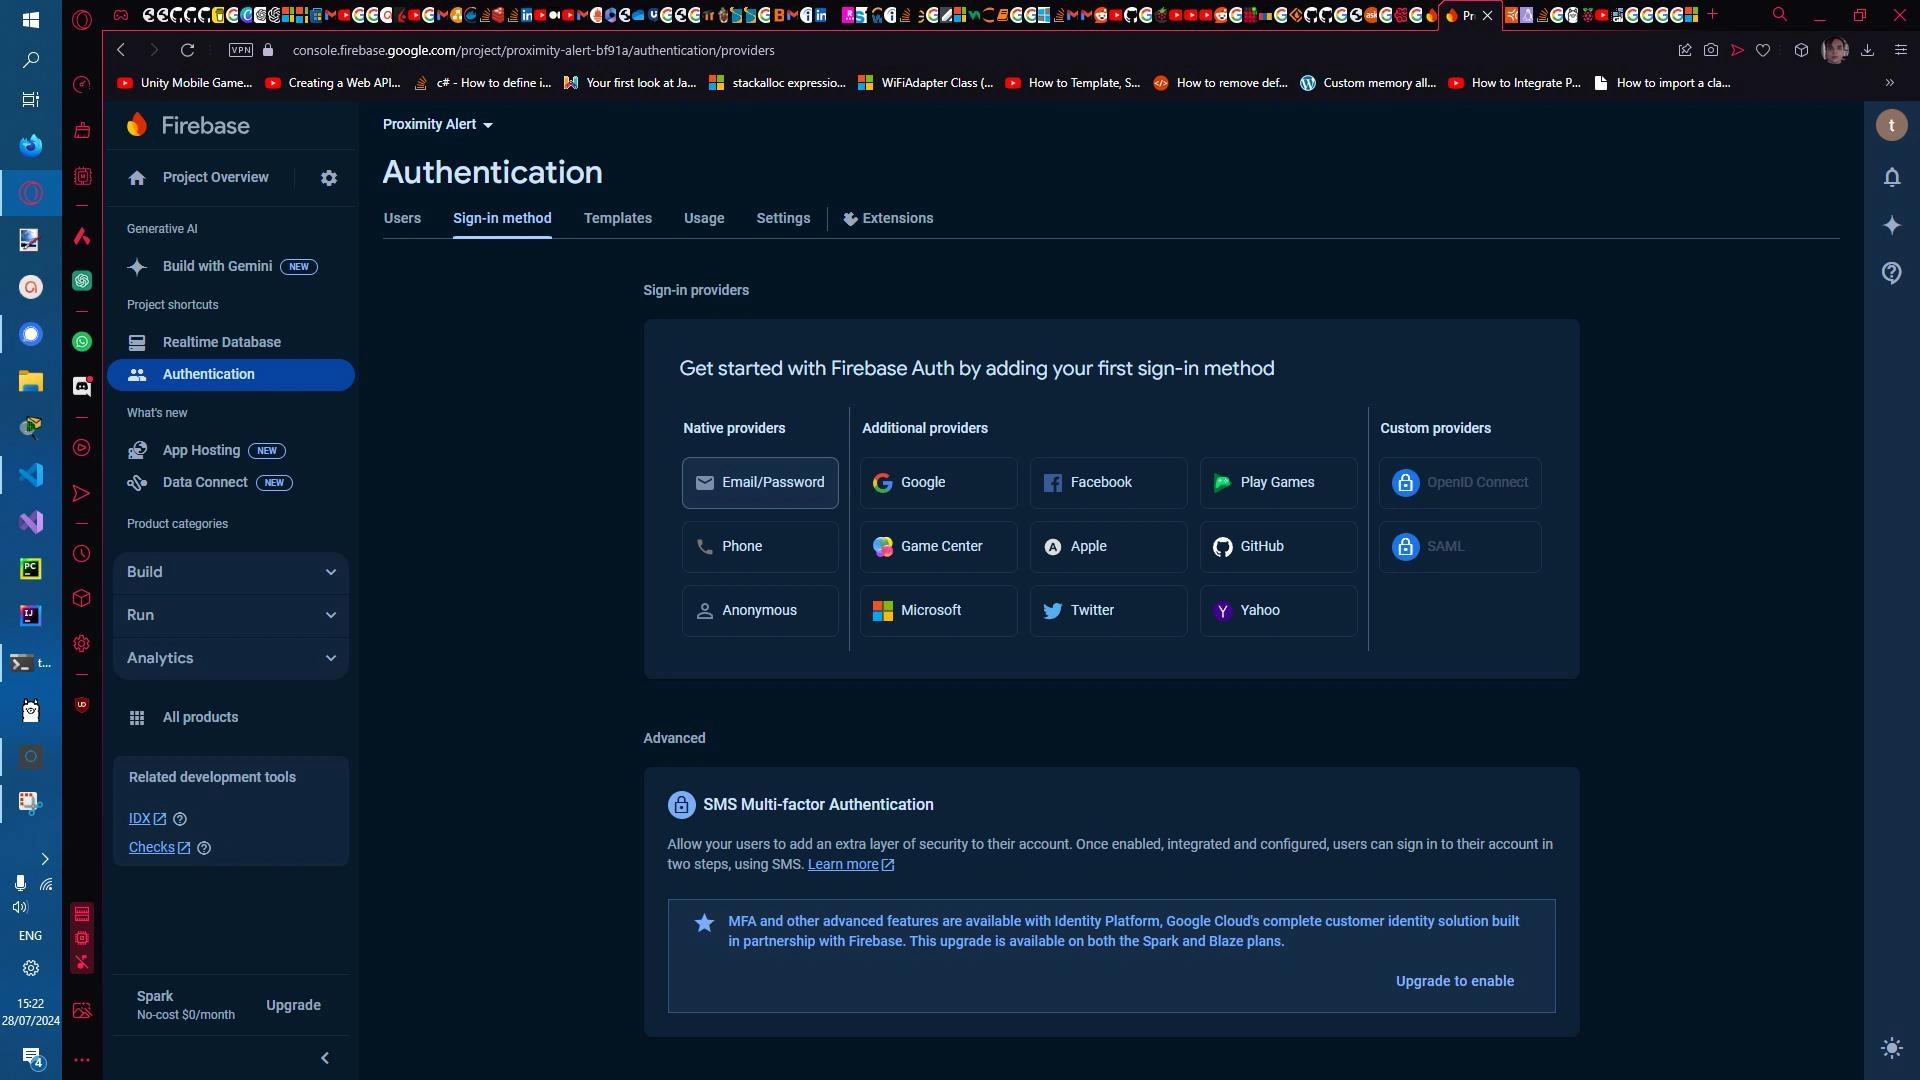
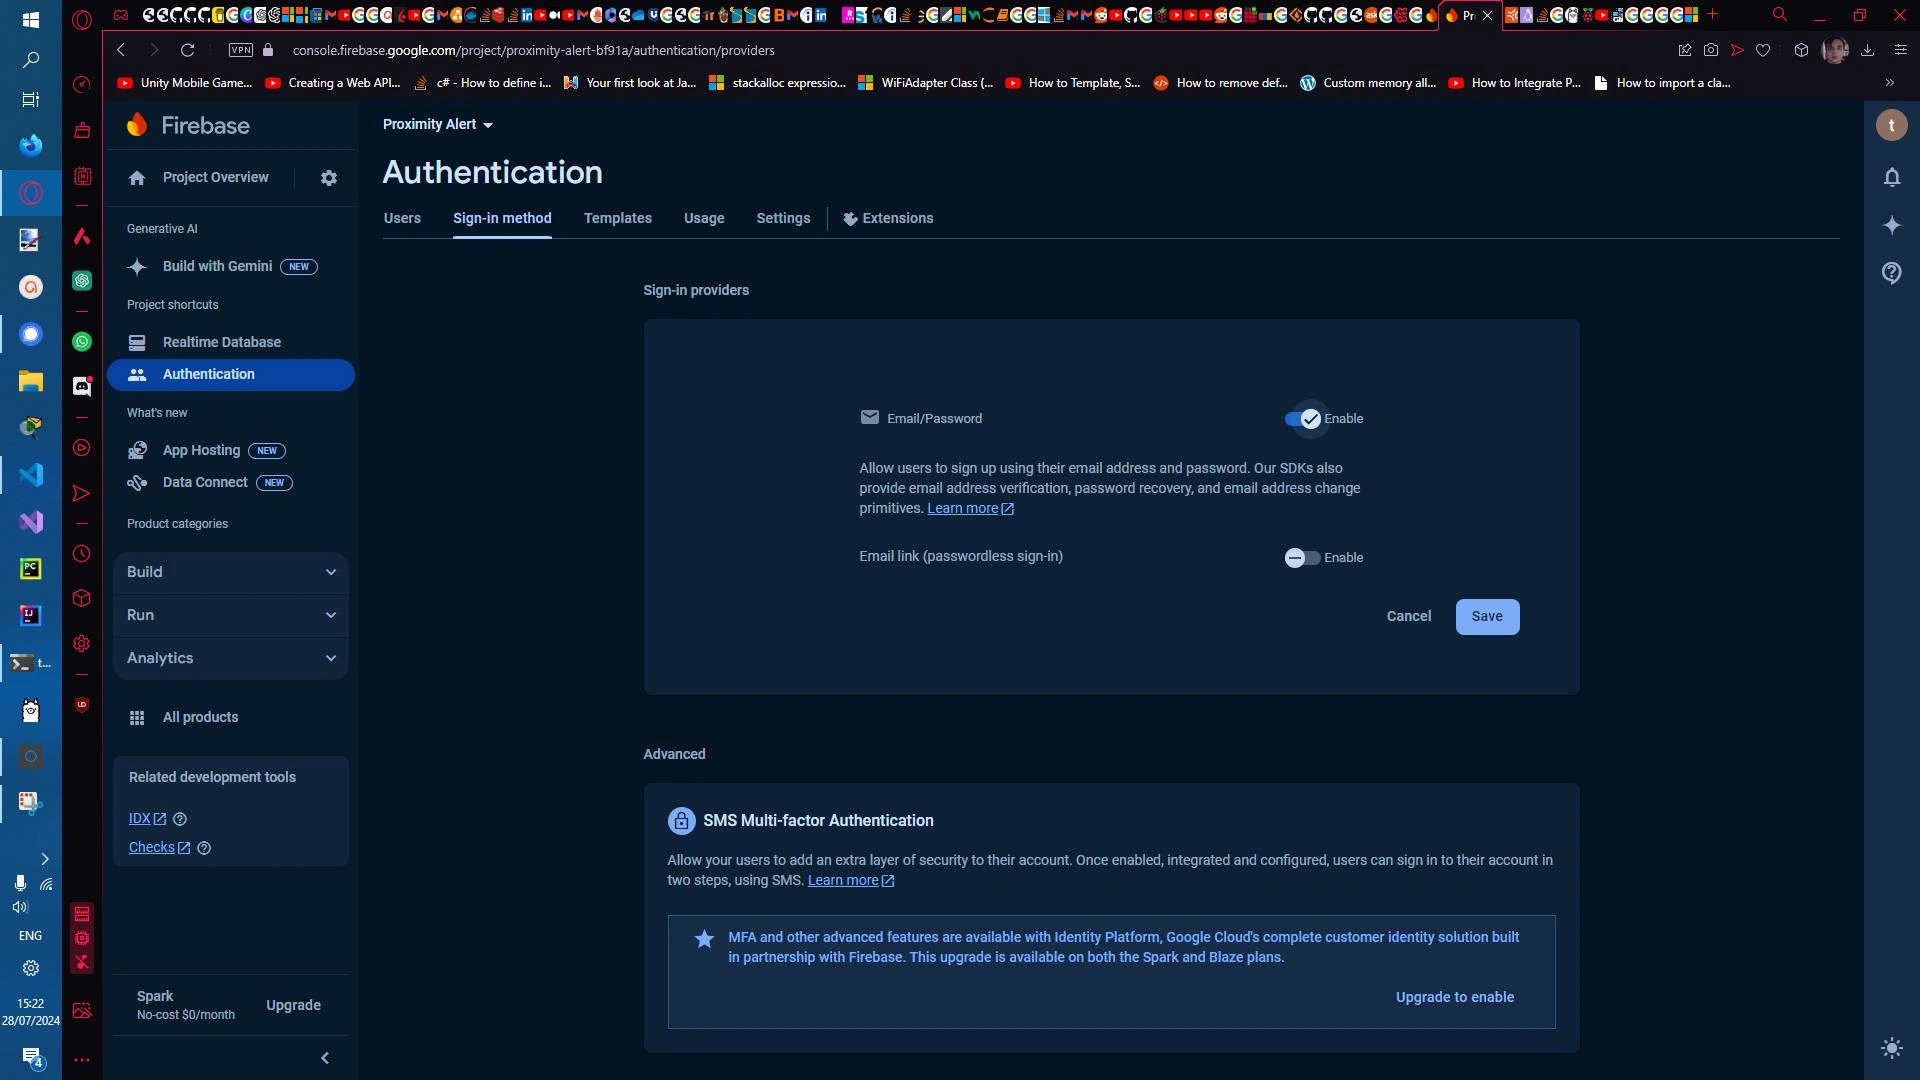
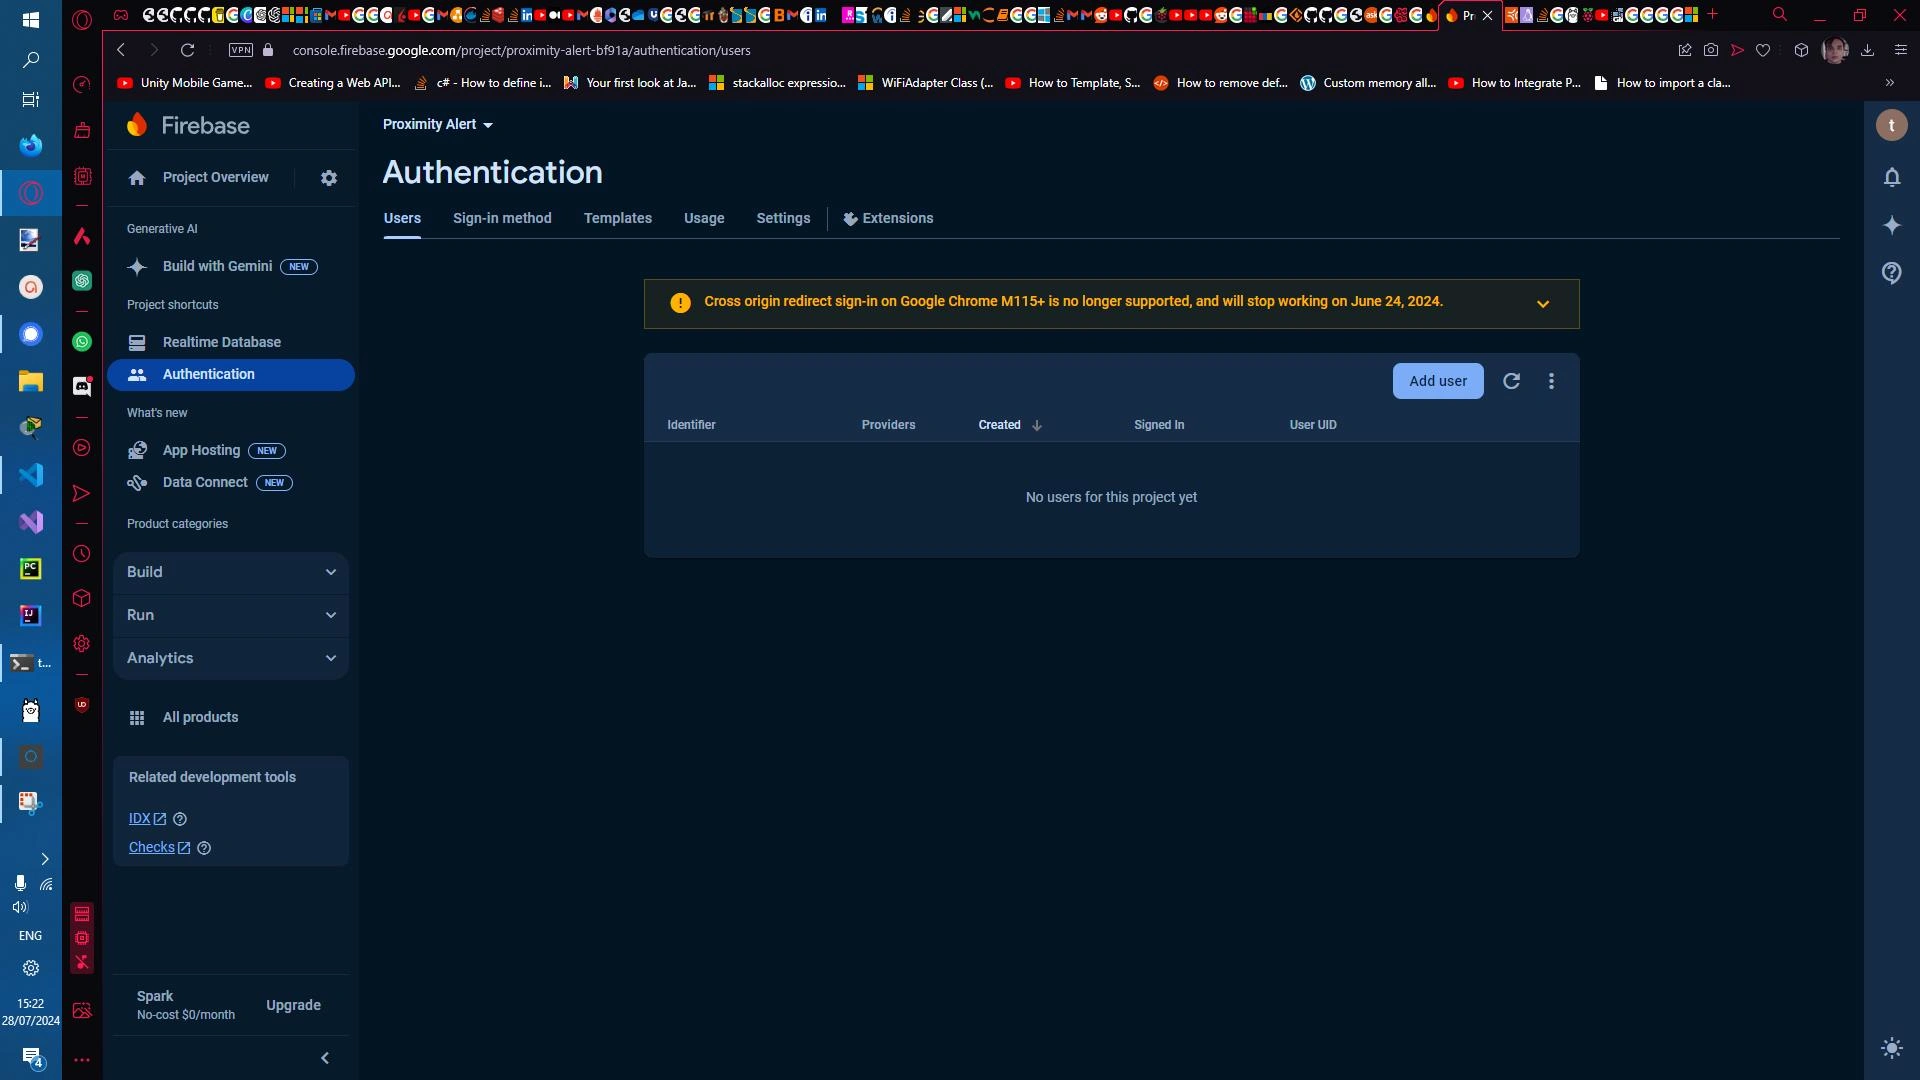
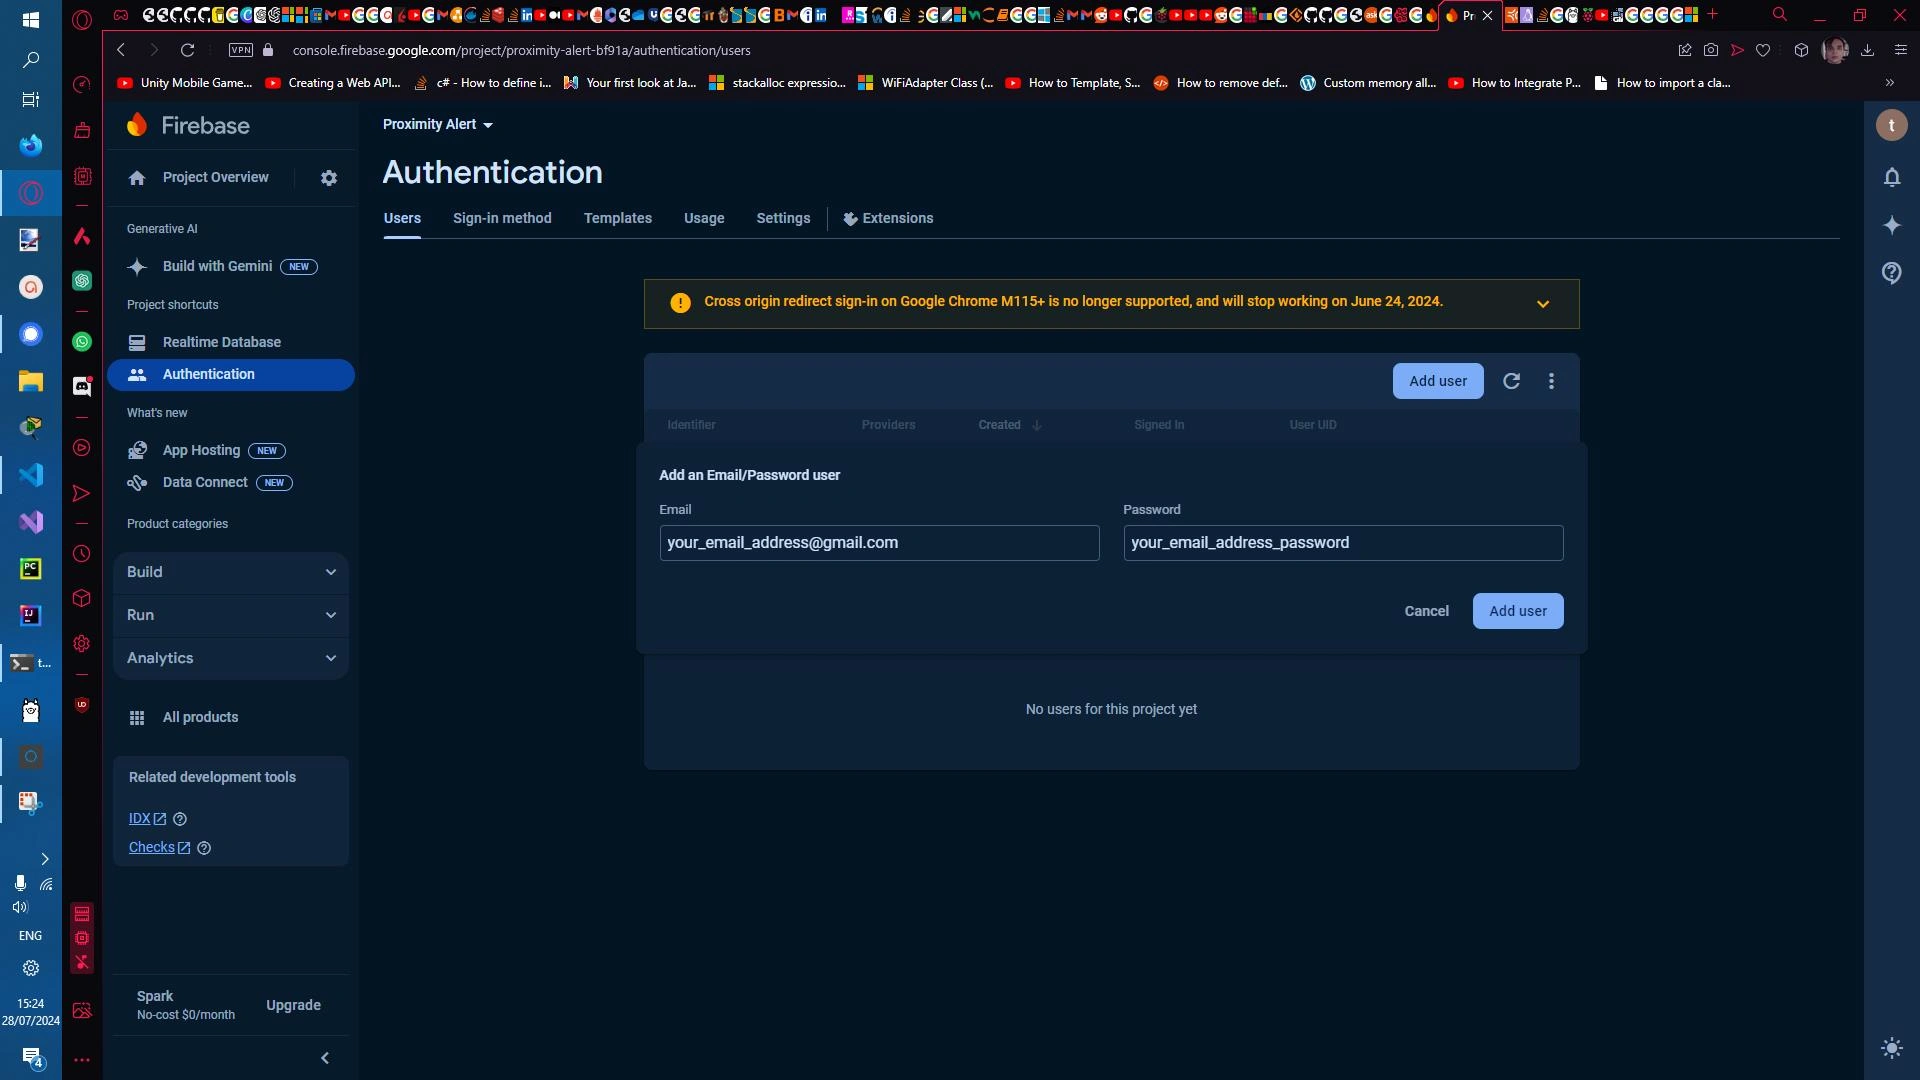
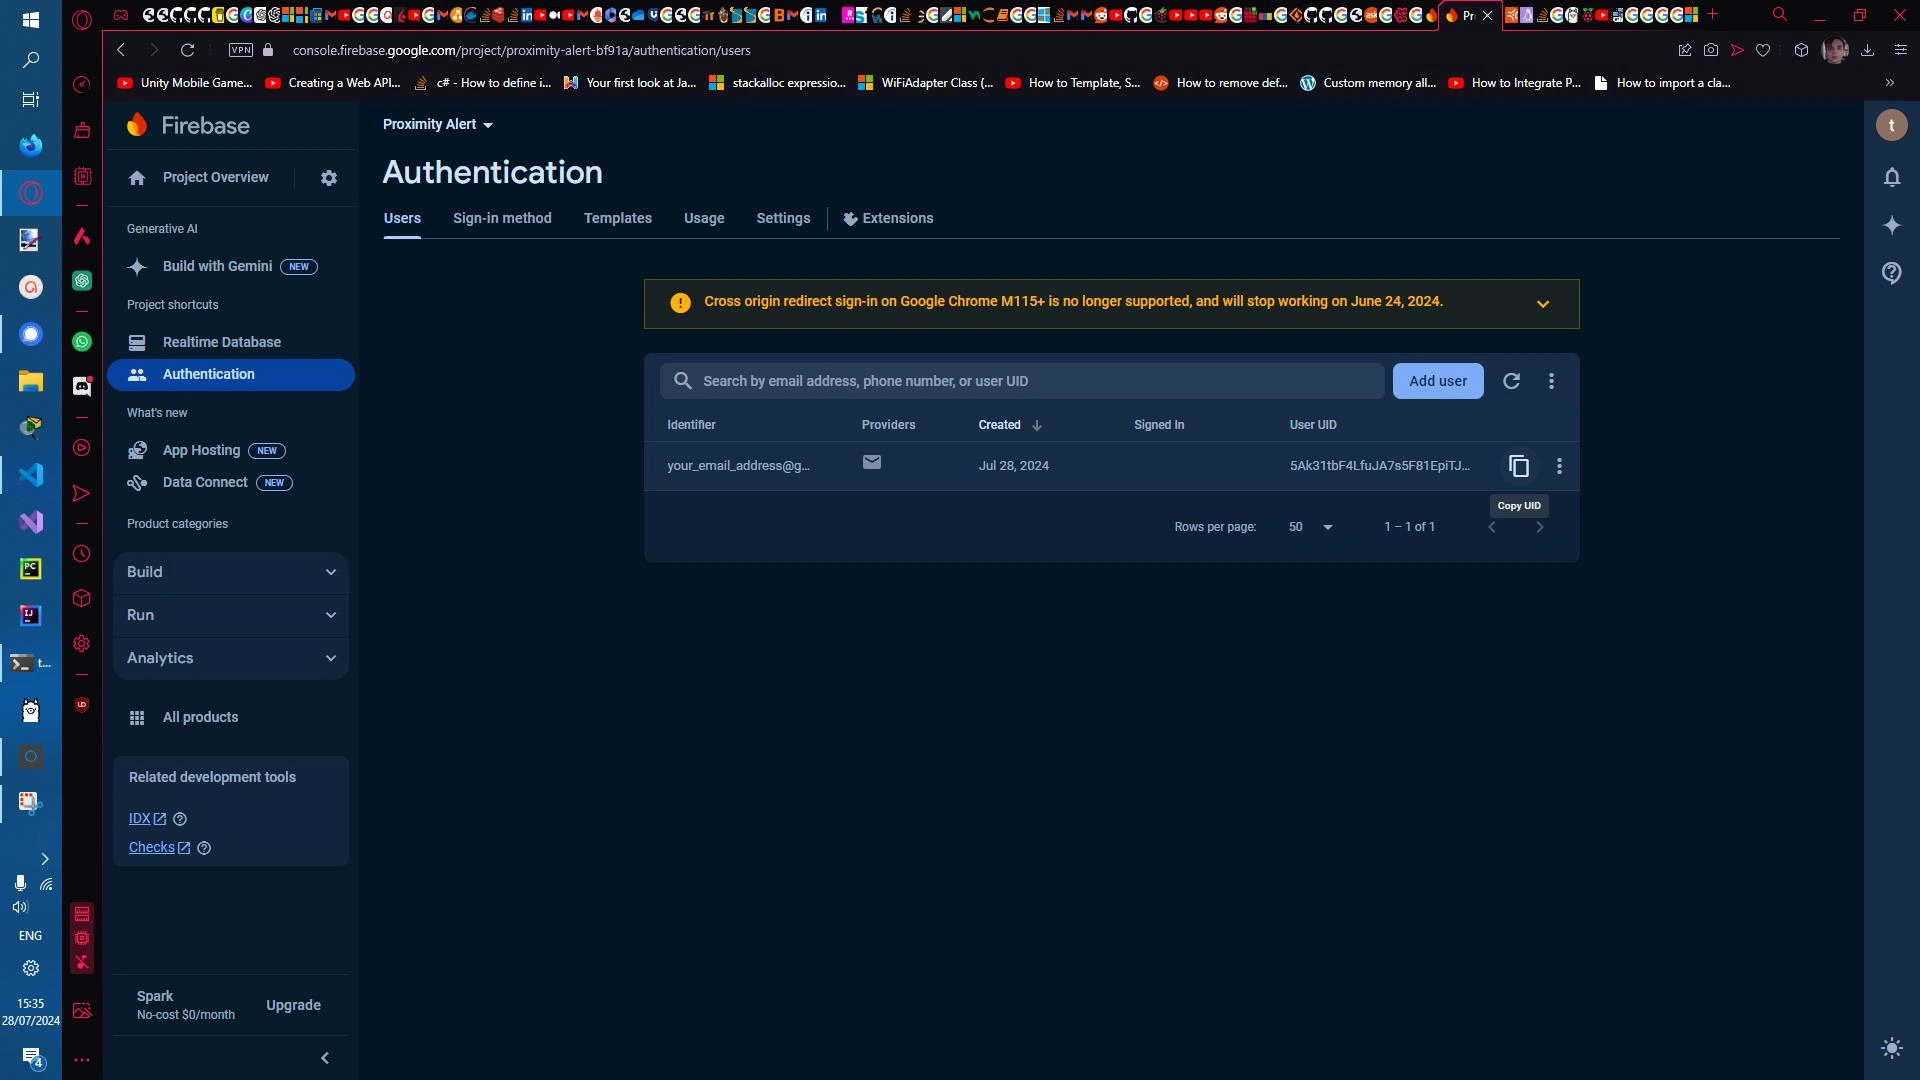
Afterwards, initialise the Authentication service for this project within the Firebase app, enable Email and Password authentication, and add a user with your desired email and password.
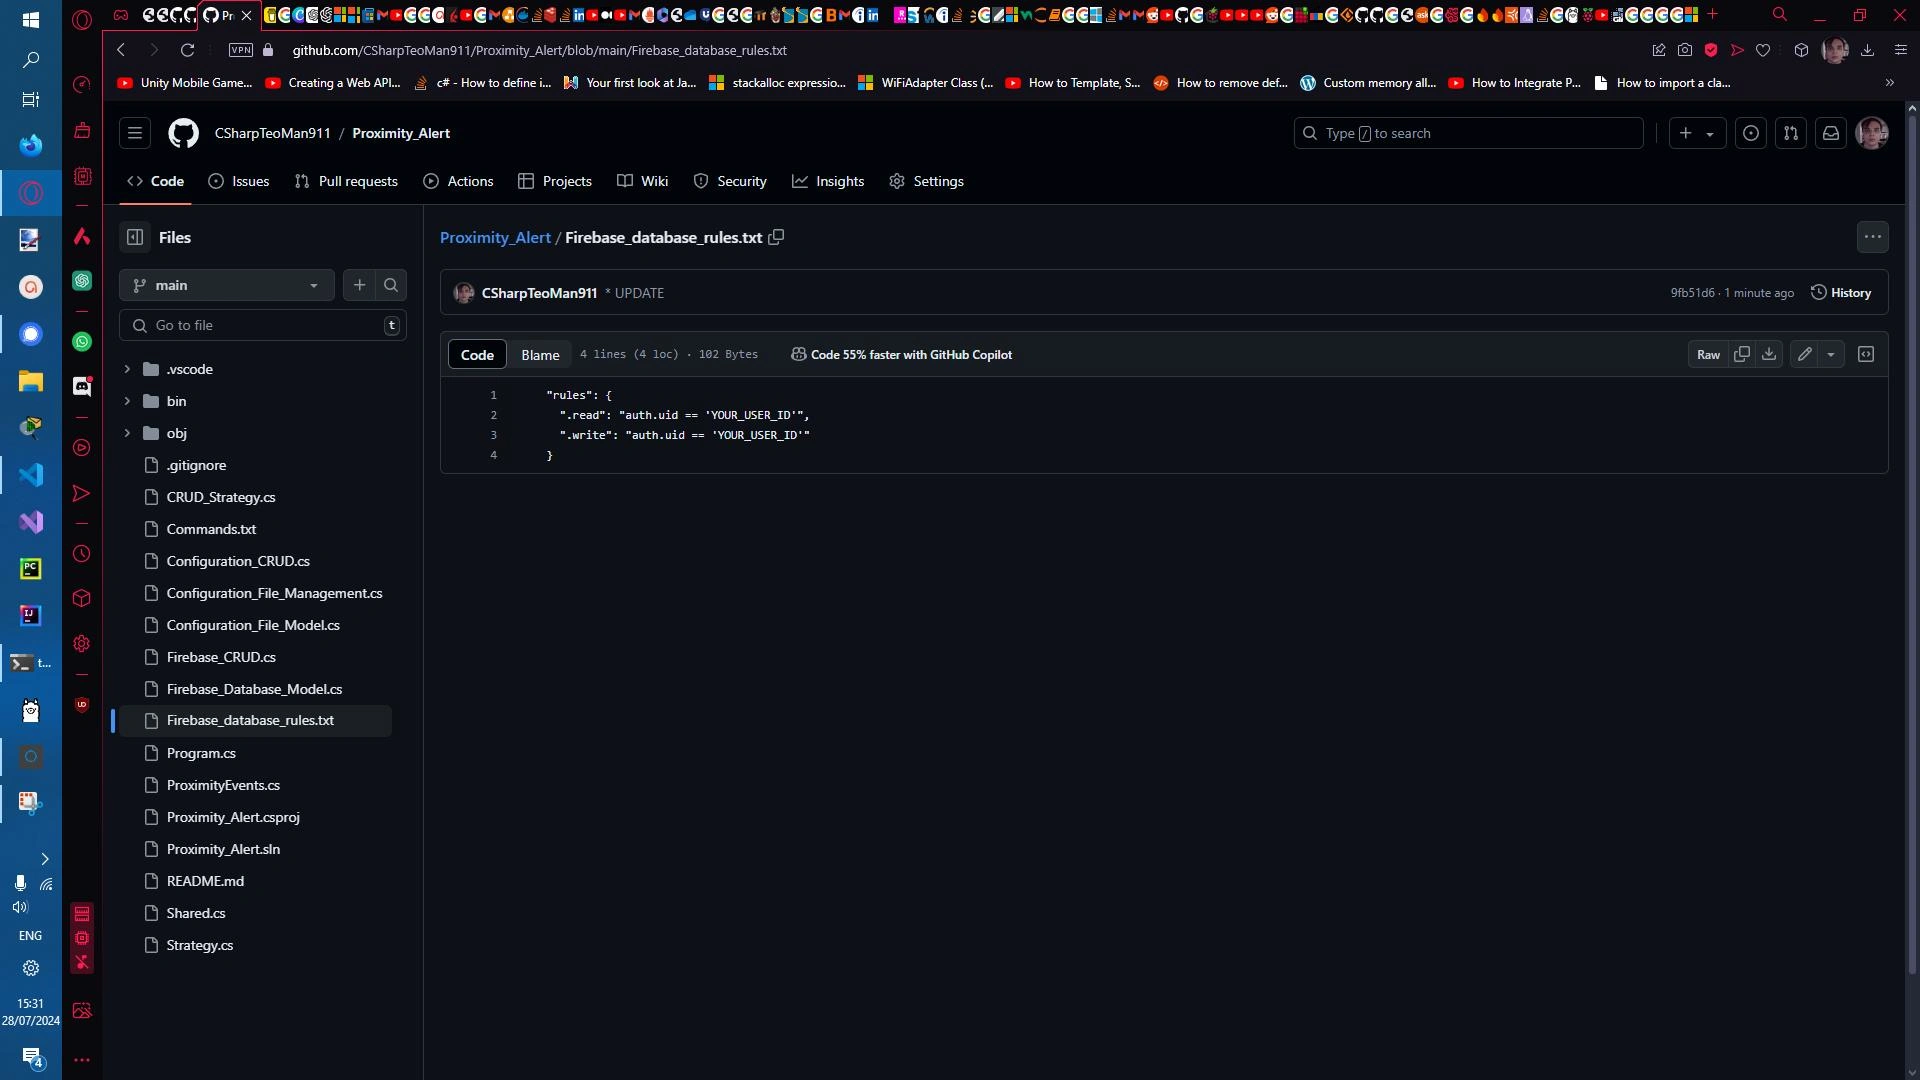
Afterwards, copy the Firebase database rules file within the app's repository within the Database rules of the Firebase app's Realtime Database.

Afterwards, copy the UID of the user created in the Authentication service and replace the YOUR_USER_ID sections within your database rules with it.
Afterwards go to the project settings and create a web app.
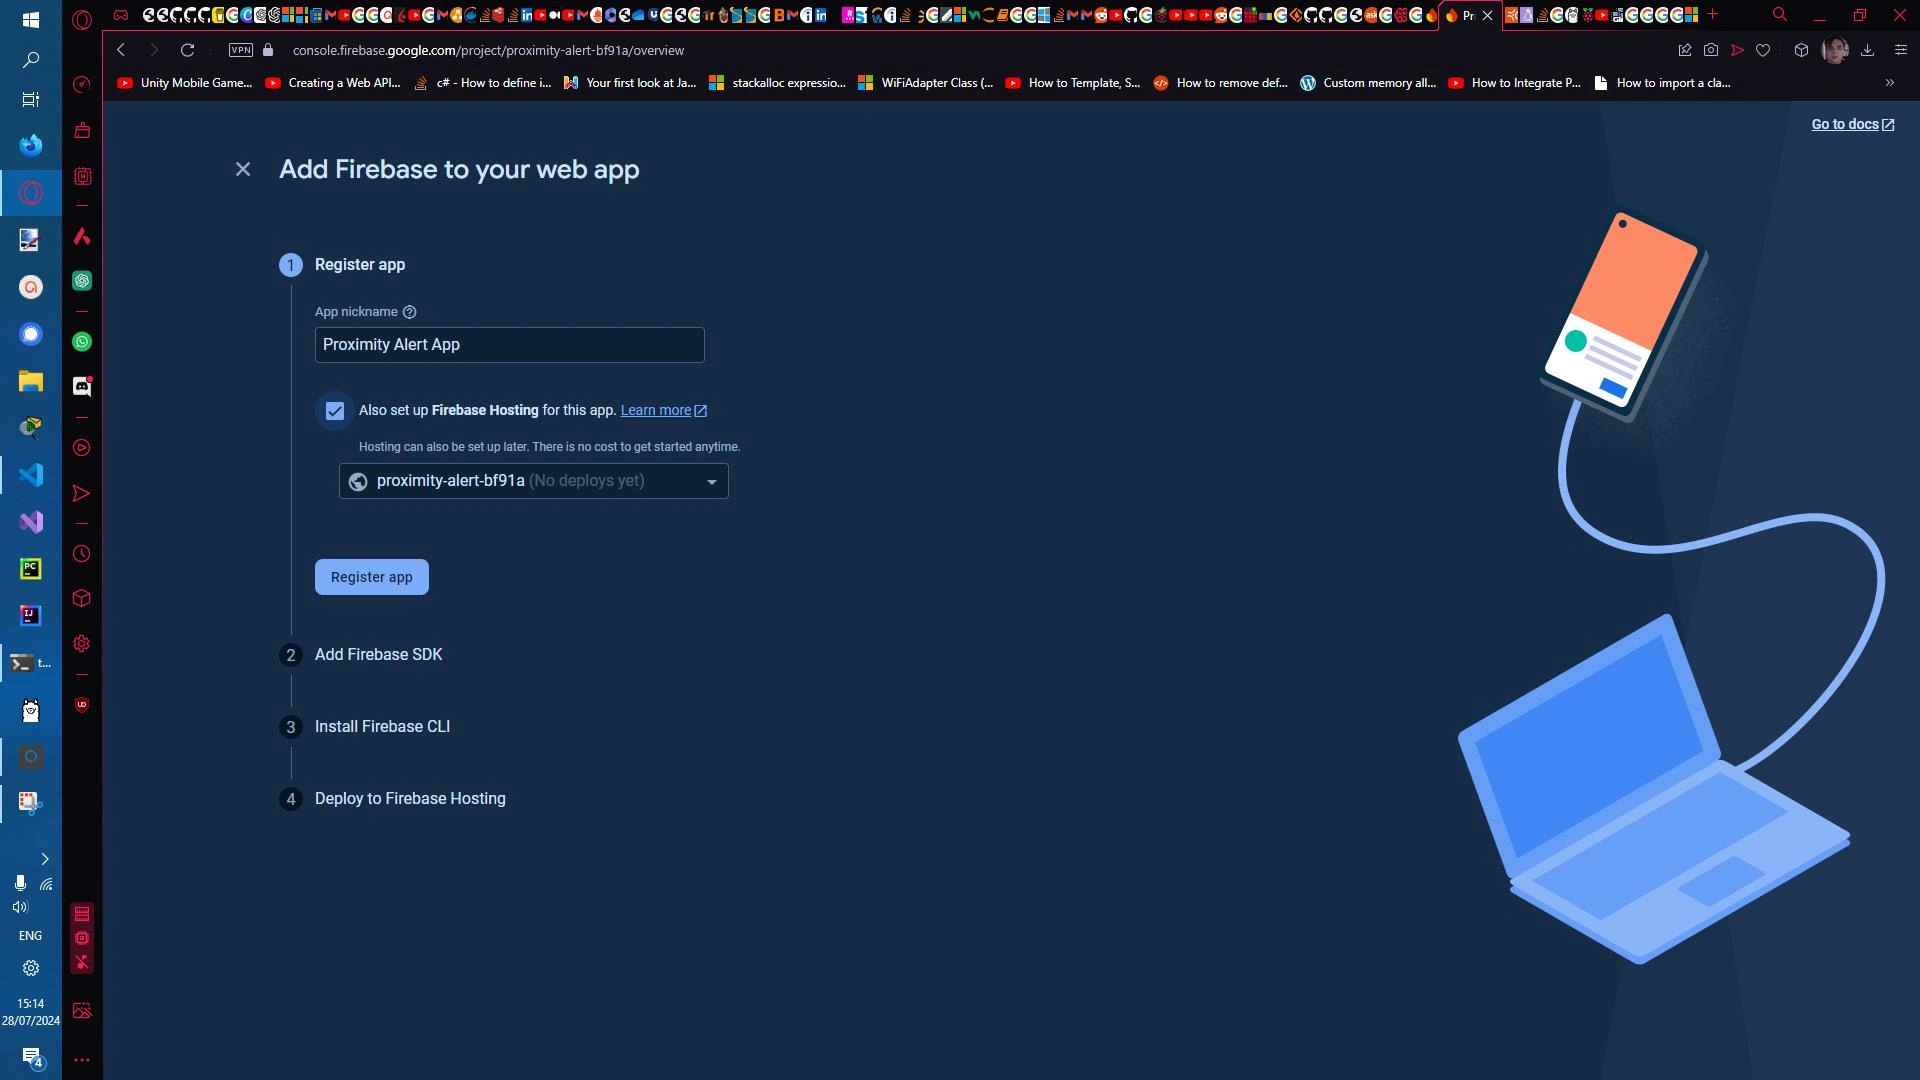
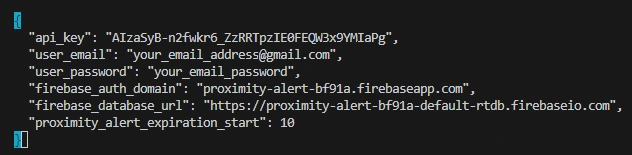
Afterwards, go to the project's, before mentioned, config file, and replace the values within the config file with the values within the Firebase project settings app page config (apiKey, authDomain, and databaseURL). Also, replace the fields within the config file that contain the email and password with the Firebase generated user's email and password.


Then, create a Linux service within the OS. Firsly, create a Linux service file by typing the command sudo vim /etc/systemd/system/proximity-alert.service, copy the the text bellow and replace the YOUR_PATH_TO_THE_APP to the path to the application executable:
[Unit]
Description=Service sends proximity alerts when objects are at a proximity of 30cm or less
[Service]
ExecStart=/etc/YOUR_PATH_TO_THE_APP/Proximity_Alert
[Install]
WantedBy=multi-user.target
Then, start the service and enable the service in order to be ran at system bootup by using the following commands:
systemctl start proximity-alert.service
systemctl enable proximity-alert.service
Now the Proximity Alert Service is up and operational. Every time someone or something is 30 cm or closer to the server it will create an alert within the Firebase database. The app will do this every 10 minutes after the previous alert or instantly if no alert was created at all.
Like this project
0
Posted Jan 18, 2025
Contribute to CSharpTeoMan911/Proximity_Alert development by creating an account on GitHub.
Likes
0
Views
1


GitHub - CSharpTeoMan911/ThetaFTP

CSharpTeoMan911/WeatherPrediction

Y2F

Proximity_Alert