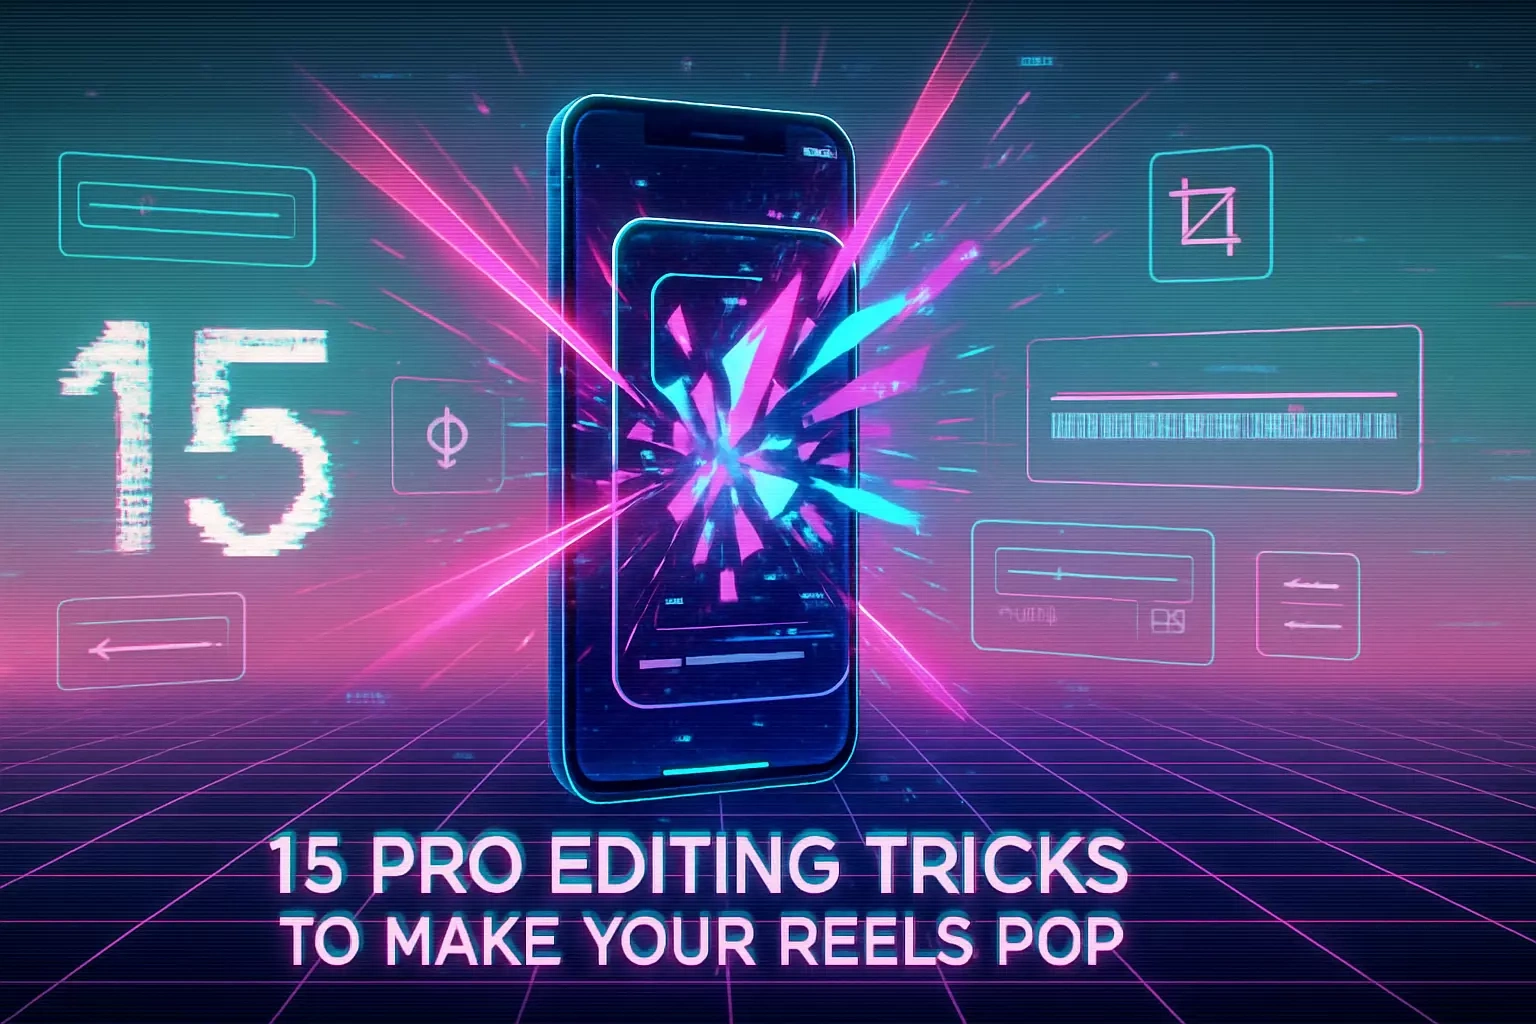
15 Pro Editing Tricks to Make Your Reels Pop (Using Only Your Phone)
Irene Allen
15 Pro Editing Tricks to Make Your Reels Pop (Using Only Your Phone)The Essential Mobile Videographer's ToolkitCapCut: The All-in-One PowerhouseInShot: For Speed and SimplicityMeta's 'Edits' App: The New Contender5 Tricks for Seamless TransitionsThe Whip PanThe Masking/RevealThe Jump Cut on ActionThe Match CutUsing In-App Transition Effects5 Tricks for Dynamic Text & GraphicsAutomated CaptionsKinetic TypographyText-Behind-Object EffectUsing On-Screen Text as a HookBranded Fonts and Colors5 Tricks for Cinematic QualityManual Color GradingThe 'Slow Shutter' EffectSubtle Zoom and Push-in EffectsSpeed RampingHigh-Quality Sound DesignReferences
15 Pro Editing Tricks to Make Your Reels Pop (Using Only Your Phone)
Creating professional, eye-catching Instagram Reels doesn't require a Hollywood budget or a high-end editing suite. Your smartphone is a powerful production tool, capable of producing stunning short-form videos that can captivate audiences. By mastering a few key editing tricks, you can make your content pop and stand out in a crowded feed. It's crucial to understand both the latest viral trends and how to balance them with your unique style. This guide will provide 15 actionable editing tricks you can execute today, using just your phone, to elevate your Reels game. Whether you're creating content yourself or looking to hire reels videographers, these techniques will help you understand what makes great content shine.
The Essential Mobile Videographer's Toolkit
Before diving into specific tricks, it's important to have the right apps. While Instagram's native editor is improving, dedicated apps offer more control and advanced features. Apps like CapCut, InShot, and VN Video Editor are popular choices for their robust, user-friendly interfaces.
Think of these apps as your digital Swiss Army knife. Each one brings something unique to the table, and knowing which tool to use for which job can make all the difference. The best part? Most of these apps are free or have affordable premium versions that unlock even more features.
CapCut: The All-in-One Powerhouse
CapCut is a favorite among Reels creators for its vast library of effects, transitions, and text animations. Its auto-caption feature and easy-to-use timeline make it incredibly efficient for creating dynamic content.
What sets CapCut apart is its intuitive interface. You don't need a film degree to figure it out. The app walks you through each feature with helpful tutorials, and the drag-and-drop functionality makes editing feel like playing with digital Legos. Plus, the regular updates mean you're always getting fresh effects and tools to play with.
InShot: For Speed and Simplicity
InShot is great for quick edits, offering intuitive tools for trimming, splitting clips, and adjusting speed. It also has a good selection of filters and effects perfect for mobile-first video.
When you're on the go and need to post something fast, InShot is your best friend. I've used it to edit entire Reels while waiting in line for coffee. The app's strength lies in its simplicity – you won't get overwhelmed by options, but you'll have everything you need to create polished content.
Meta's 'Edits' App: The New Contender
Instagram's own standalone app, Edits, is designed to compete directly with CapCut. It offers seamless integration with your Instagram account, allowing you to easily use saved audio and ideas. Its features include green screen, automatic captions, and various sound effects.
The biggest advantage of Edits is how it syncs with your Instagram ecosystem. Your saved audio, drafts, and even analytics are all in one place. It's like having a direct pipeline from creation to publication, which can seriously speed up your workflow.
5 Tricks for Seamless Transitions
Smooth transitions are the hallmark of a professional-looking Reel. They keep the viewer engaged and create a seamless flow from one clip to the next. Here are five techniques to master.
Transitions are where the magic happens. They're the difference between a video that feels choppy and amateur versus one that flows like butter. The key is practicing these until they become second nature.
The Whip Pan
Create a fast pan with your camera at the end of one clip and begin the next clip with a pan in the same direction. When edited together, it creates a seamless, high-energy transition.
Here's the secret: speed and consistency matter. Practice the motion several times before recording. Your pan should be quick but controlled. Start your second clip with the exact same speed and direction. When you line them up in your editor, the effect is pure magic – it looks like one continuous shot across different locations or outfits.
The Masking/Reveal
Use an object (like a hand, a wall, or a piece of clothing) to cover the lens at the end of a shot. Start the next shot by revealing the lens from behind a similar object or in a new location.
This trick never gets old because it's so versatile. You can use literally anything – your hand, a door, even a coffee cup. The key is matching the speed and angle of the reveal. Pro tip: film a few extra seconds on each end of your clips to give yourself room to fine-tune the timing in post.
The Jump Cut on Action
Cut from one clip to another during a moment of action (e.g., a jump, a spin, or a clap). This continuity of motion makes the cut less jarring and more visually interesting.
Timing is everything here. You want to cut right in the middle of the action – not at the beginning or end. If you're jumping, cut when you're at the peak. If you're spinning, cut halfway through. This creates an almost supernatural effect that keeps viewers hooked.
The Match Cut
Transition between two clips by matching the composition or the shape of an object. For example, a shot of a spinning basketball could cut to a shot of the spinning earth.
Match cuts are where you can get really creative. Look for similar shapes, colors, or movements in your environment. A circular mirror could match cut to a pizza. A closing door could match cut to opening a book. The more unexpected the connection, the more memorable your Reel becomes.
Using In-App Transition Effects
Editing apps offer a wide variety of pre-built transitions. While they should be used judiciously, effects like 'glitch,' 'fade,' or 'zoom' can add a polished touch when used appropriately.
The golden rule with pre-built transitions? Less is more. Pick one or two that match your video's vibe and stick with them. Throwing in every transition effect is like using every font in a PowerPoint – it screams amateur. Choose effects that enhance your story, not distract from it.
5 Tricks for Dynamic Text & Graphics
Text overlays are crucial for engagement, especially since many users watch Reels without sound. Dynamic text can hook viewers, provide context, and emphasize key points.
Remember, your text isn't just information – it's part of the visual experience. The way your text moves, appears, and interacts with your video can be just as important as what it says.
Automated Captions
Use the auto-caption feature in apps like CapCut or Edits to quickly generate subtitles for your dialogue. This makes your content more accessible and helps retain viewers who watch with the sound off.
Auto-captions have come a long way. Modern apps can transcribe with surprising accuracy, but always double-check. Nothing kills credibility faster than captions that don't match what you're saying. Customize the font and style to match your brand – this small touch makes a big difference in how professional your content looks.
Kinetic Typography
Animate your text to appear word-by-word or in sync with the audio. This technique keeps the viewer's eye moving and adds a layer of energy to your video.
Think of kinetic typography as choreography for words. Each word should have purpose and rhythm. Start simple – have words pop in on the beat. As you get comfortable, experiment with different animations. Words can slide, bounce, or even explode onto screen. The goal is to make reading feel dynamic, not static.
Text-Behind-Object Effect
Create a sense of depth by making text appear behind a person or object in your video. This can be achieved using masking tools available in more advanced mobile editors like CapCut.
This effect makes your video feel three-dimensional. It's especially powerful for product showcases or fashion content. The trick is patience – you'll need to mask frame by frame for moving objects. But the payoff is huge. Viewers often rewatch just to figure out how you did it.
Using On-Screen Text as a Hook
Start your Reel with a bold, intriguing text statement that hooks the viewer in the first three seconds. Phrases like 'You won't believe this...' or 'The #1 mistake people make is...' can dramatically increase watch time.
Your opening text is like a movie trailer – it needs to promise something worth watching. Make it specific and intriguing. Instead of "Morning routine," try "The 5-minute morning hack that changed my life." The more specific and benefit-driven your hook, the more likely viewers are to stick around.
Branded Fonts and Colors
Use a consistent set of fonts and colors for your text overlays to build brand recognition. This creates a cohesive look across all your Reels and makes your content instantly identifiable.
Consistency builds trust and recognition. Pick two fonts maximum – one for headers, one for body text. Choose colors that complement your content style. Save these as presets in your editing app. Over time, viewers will recognize your content before they even see your username.
5 Tricks for Cinematic Quality
Elevate your Reels from simple phone videos to cinematic-quality productions with these advanced techniques.
Cinematic doesn't mean complicated. It means thoughtful. Every choice – from color to movement to sound – should serve your story. These techniques help you make those choices deliberately.
Manual Color Grading
Instead of relying on standard filters, manually adjust the brightness, contrast, saturation, and temperature of your clips. This gives you precise control over the mood and tone of your video.
Color grading is like seasoning food – it brings out the flavors already there. Start by correcting any obvious issues (too dark, too bright). Then think about mood. Warmer tones feel inviting and nostalgic. Cooler tones feel modern and clean. Slight adjustments make a huge difference. Push saturation up 10-15% for that Instagram pop, but don't overdo it.
The 'Slow Shutter' Effect
Create a dreamy, motion-blur effect by using specific apps or techniques that mimic a slow shutter speed on a traditional camera. This is great for artistic or atmospheric shots.
This effect adds instant production value. It works especially well for transitions or establishing shots. Some apps have this built in, but you can also achieve it by slightly speeding up footage shot at a high frame rate. The result? That smooth, dreamy quality you see in music videos and commercials.
Subtle Zoom and Push-in Effects
Add a slow, subtle zoom or push-in on a static shot to create a sense of movement and dynamism. This can be done using keyframes in apps like Premiere Rush or LumaFusion.
Static shots can feel dead in short-form video. A gentle 5-10% zoom over the course of a clip adds life without being distracting. Start the zoom after a beat or two – this creates a subtle emphasis that draws viewers in. It's particularly effective for product shots or talking head segments.
Speed Ramping
Dynamically change the speed of a clip, slowing it down for dramatic moments and speeding it up for high-energy sequences. This adds rhythm and pacing to your edit.
Speed ramping is your secret weapon for controlling energy. Slow down the moment before a reveal. Speed up repetitive actions. The contrast creates drama. Most apps now offer curve-based speed controls, letting you smooth out these transitions. Practice on simple clips first – walking, pouring coffee, turning around. Once you nail the basics, you can apply it to anything.
High-Quality Sound Design
Go beyond just adding music. Incorporate sound effects like whooshes, clicks, and ambient noises to make your video more immersive. Good sound design can dramatically enhance the viewing experience.
Sound is half your video, even in silent autoplay. Layer your audio like you layer your visuals. Start with your base (music or ambient sound). Add punctuation (swooshes for transitions, clicks for text). Fill gaps with texture (room tone, nature sounds). The goal isn't to make it loud – it's to make it rich. Even viewers watching on mute will feel the difference when they unmute.
Remember, mastering these 15 tricks takes practice. Start with one or two techniques and gradually add more to your repertoire. The key is consistency and experimentation. Your unique style will emerge as you discover which tricks resonate with your content and audience.
The beauty of mobile editing is its accessibility. You don't need expensive equipment or years of training. You just need your phone, some creativity, and the willingness to try new things. Every pro editor started as a beginner, making mistakes and learning from them.
So grab your phone, pick a trick that excites you, and start creating. Your next viral Reel might be just one edit away. The tools are in your hands – literally. Now it's time to make something amazing.
References
Like this project
Posted Jun 30, 2025
Level up your Reels with these 15 easy-to-learn editing tricks. From seamless transitions to cinematic color grading, all you need is your smartphone.