Define Your App Vision: 5 Essential Steps Before Hiring an iOS Developer

Carl Bailey

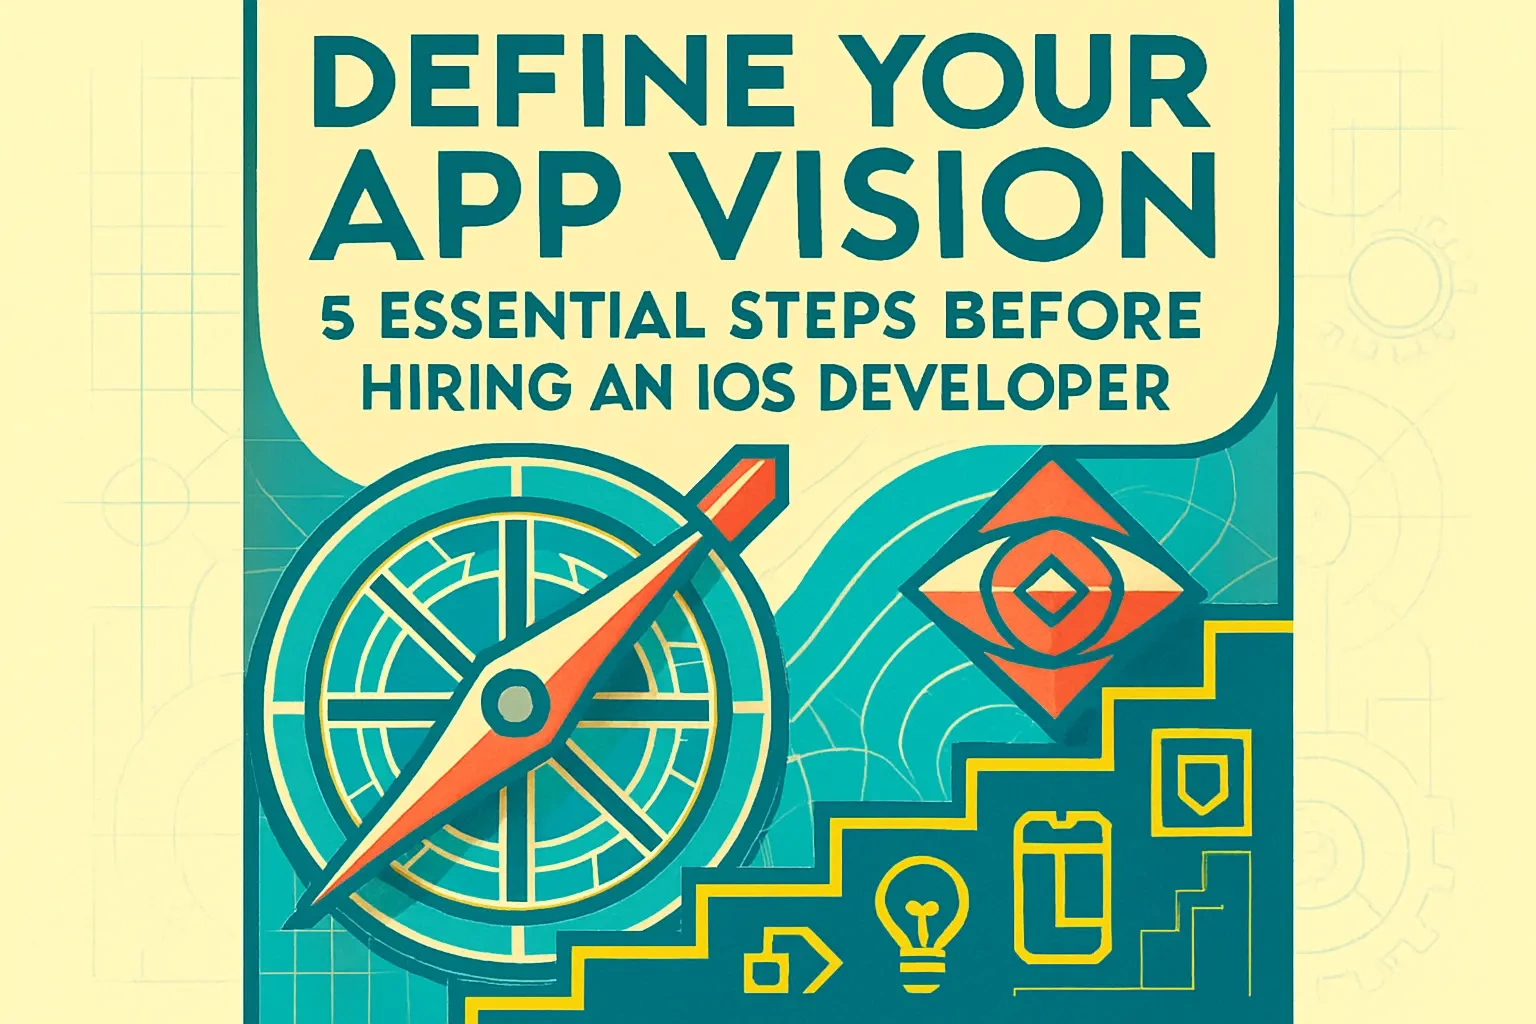
Define Your App Vision: 5 Essential Steps Before Hiring an iOS Developer

Embarking on an app development journey without a clear vision is like setting sail without a map. You need to know where you're going before you hire the crew. This initial planning phase doesn't just solidify your idea—it helps you make critical decisions later, like choosing the right hiring model for your needs. A well-defined plan is your first step to finding and instructing the perfect developer for your project.
Before you hire top iOS developers, you need more than just a vague idea. You need a concrete vision that guides every decision. This article walks you through five essential steps to crystallize your app concept before bringing a developer on board.

Step 1: Identify the Core Problem and Your Unique Solution

Every successful app starts by addressing a specific problem for its users. Think about the apps you use daily. Each one solves a particular pain point. Uber solved the hassle of hailing taxis. Instagram made photo sharing instant and social. Your app needs that same clarity of purpose.
Start by clearly articulating the pain point you're solving. Is it a gap in the market? An everyday inconvenience? An unmet need in a specific industry? Once you've defined the problem, detail how your app provides a unique and compelling solution. This core purpose becomes the guiding star for your entire project.

Brainstorming and Idea Generation

Don't settle on your first idea. Explore a wide range of concepts to identify those most likely to meet your business goals. Set aside dedicated brainstorming time. Write down every idea, no matter how wild. Sometimes the best solutions come from unexpected combinations.
During this process, ask yourself tough questions. What frustrates you in your daily life? What do your friends complain about? What inefficiencies do you see in your industry? The answers often point to real problems worth solving.
This brainstorming process helps refine your vision. It ensures your app idea aligns with your broader business strategy. You might discover your initial concept needs tweaking—or that an entirely different approach would work better.

Defining Your Value Proposition

What makes your app different from any potential competitors? This isn't just about features. It's about the unique benefits users get from choosing your app over others.
Your value proposition should be clear and compelling. Can you explain it in one sentence? If not, keep refining. For example, "We help busy parents track their kids' activities without the hassle of paper calendars" is much clearer than "We make a scheduling app."
Research your competition thoroughly. Download similar apps. Use them for a week. Note what they do well and where they fall short. Your unique selling proposition (USP) often lies in addressing these shortcomings or approaching the problem from a fresh angle.

Step 2: Define Your Target Audience and User Personas

You can't build an app for everyone. The most successful apps serve specific groups exceptionally well. Understanding your target audience's demographics, needs, and pain points is key to designing an app they'll love and actually use.
Start broad, then narrow down. Are you targeting businesses or consumers? What age range? What income level? What technical expertise do they have? Each answer shapes your app's design, features, and marketing approach.

Conducting Market Research

Market research sounds intimidating, but it doesn't have to be. Start by analyzing the market to understand its size and potential. How many people face the problem you're solving? What are they currently doing about it?
Look at successful apps in your niche. Check their download numbers, user reviews, and update history. What features do users love? What complaints appear repeatedly? This information is gold for shaping your own app.
Don't just rely on app stores. Join online communities where your target users hang out. Reddit, Facebook groups, and industry forums offer unfiltered insights into what people really want and need.

Creating Detailed User Personas

User personas bring your target audience to life. These fictional characters represent your ideal users, complete with names, jobs, goals, and frustrations related to the problem your app solves.
Let's say you're building a fitness app for busy professionals. One persona might be "Marketing Manager Mike," a 35-year-old who wants to stay fit but struggles to find time between meetings. He needs quick workouts he can do in his office clothes.
Create 3-5 personas representing different segments of your audience. Give each one specific characteristics. What's their typical day like? What technology do they use? What motivates them? These personas help you make user-centric design and feature decisions throughout development.

Step 3: Map Out Core Features and Prioritize for an MVP

Now comes the fun part—imagining everything your app could do. List every feature you can think of. Dream big. Include everything from basic functionality to advanced features you'd love to implement someday.
Once you have your wish list, reality sets in. You need to ruthlessly prioritize. To get to market faster and gather real-world feedback, launch a Minimum Viable Product (MVP) that includes only the most essential features.

The 'Must-Have' vs. 'Nice-to-Have' List

Categorizing features sounds simple, but it requires honest assessment. Must-have features directly address your core problem. Without them, your app doesn't fulfill its basic purpose. Nice-to-have features enhance the experience but aren't essential for launch.
For a food delivery app, must-haves include browsing restaurants, placing orders, and payment processing. Nice-to-haves might include loyalty programs, social sharing, or AI-powered recommendations. These can wait for version 2.0.
Be brutal in your categorization. Each feature adds development time and cost. Ask yourself: "If this feature was missing, would users still find value in my app?" If yes, it's probably a nice-to-have.

Defining the MVP Scope

Your MVP's goal is solving the core problem effectively for your target audience. Nothing more, nothing less. A well-defined MVP scope prevents feature bloat and allows for a quicker, more focused development cycle.
Think of your MVP as a learning tool. It tests your core assumptions with real users. Did you correctly identify the problem? Does your solution work? What features do users actually want next? These answers guide your app's evolution.
Document your MVP scope clearly. List each included feature with a brief description of its functionality. This becomes your development roadmap and helps prevent scope creep during the build phase.

Step 4: Sketch Wireframes and Map User Flows

You don't need to be a designer to visualize your app. Simple sketches (wireframes) of each screen help communicate your vision. Combine these with user flow maps showing how people navigate through your app, and you have a powerful blueprint for development.
Visual planning catches problems early. That feature that seemed simple? Drawing it out might reveal it needs three screens, not one. The user journey you imagined? Mapping it might show unnecessary steps you can eliminate.

Low-Fidelity Wireframing

Start with pen and paper or simple digital tools. Draw basic layouts of your app's screens. Rectangles for images, lines for text, circles for buttons. Don't worry about colors, fonts, or pixel-perfect alignment. Focus on structure and content placement.
Each screen should have a clear purpose. What information does it show? What actions can users take? How do they navigate to other screens? Keep your sketches simple but informative.
Popular tools like Balsamiq or even PowerPoint work great for digital wireframes. But honestly? A notebook and pencil often work fastest for initial concepts. The goal is rapid iteration, not polished designs.

Visualizing the User Journey

Map out the step-by-step path users take to complete key tasks. Start from opening your app for the first time. Where do they land? What do they see? How do they achieve their primary goal?
Create flowcharts showing decision points and possible paths. If a user wants to order food, what screens do they see? Where might they get confused? What happens if they change their mind mid-order?
This exercise reveals the true complexity of your app. It helps ensure an intuitive and logical user experience. Often, you'll find ways to simplify flows or combine screens for a smoother journey.

Step 5: Document Your Vision and Project Requirements

All your planning means nothing if you can't communicate it clearly. Consolidate everything into a comprehensive project brief. This document becomes your north star and your developer's roadmap.
A thorough brief serves multiple purposes. It helps you get accurate quotes from developers. It ensures everyone shares the same vision. It becomes a reference point when questions arise during development. Most importantly, it keeps your project on track.

Creating a Project Brief

Your project brief should tell a complete story. Start with the problem you're solving and why it matters. Describe your target users and what they need. List your MVP features with clear descriptions. Include your wireframes and user flows.
Don't forget the technical details. Which iOS versions will you support? Do you need iPad compatibility? Will the app work offline? These decisions impact development time and cost.
Include any brand guidelines or design preferences. Share examples of apps whose style you admire. The more context you provide, the better developers can estimate effort and approach.

Setting SMART Goals

Define what success looks like with Specific, Measurable, Achievable, Relevant, and Time-bound (SMART) goals. These help you measure your app's performance and ROI post-launch.
Instead of "get lots of downloads," try "achieve 10,000 downloads in the first three months." Rather than "make users happy," aim for "maintain a 4.5+ star rating with at least 100 reviews."
Include both business and user experience goals. Business goals might cover revenue, user acquisition, or market share. User experience goals could include task completion rates, session duration, or feature adoption. These metrics guide your decisions long after launch.

Conclusion

Taking time to define your app vision isn't just preparation—it's an investment in your project's success. These five steps transform a vague idea into a concrete plan that developers can execute. You'll save time, money, and frustration by thinking through these details before writing a single line of code.
Remember, this planning phase is iterative. As you work through each step, you might revisit and refine earlier decisions. That's perfectly normal and actually beneficial. Each iteration sharpens your vision and strengthens your app concept.
With your vision documented and requirements clear, you're ready for the next phase: finding the right iOS developer to bring your app to life. Your preparation ensures you can evaluate candidates effectively, communicate your needs clearly, and collaborate successfully throughout the development process.

References

Like this project

Posted Jul 6, 2025

Planning to build an iOS app? Don't hire a developer just yet. Follow these 5 crucial steps to define your app's vision and set your project up for success.
The Ultimate iOS Coding Challenge (That Real Pros Can Ace)
Beyond Code: How to Assess Soft Skills for a Perfect iOS Developer Hire
Freelancer, Agency, or Full-Time? How to Hire iOS Developers for Your Needs
Portfolio Deep Dive: Picking Out the Genius in GitHub Repos

Join 50k+ companies and 1M+ independents

Contra Logo

© 2025 Contra.Work Inc