Waiting room
Isabella De la hoz
1. Initial Consultation and Concept Development
The first step is to understand your vision. I discuss your goals, preferences, and the intended purpose of the project. Whether it's a residential space, a commercial setting, or a custom design, I gather as much detail as possible to ensure the 3D model reflects your exact requirements. During this phase, I may also review sketches, blueprints, or reference materials to better understand the desired aesthetic and functionality.
2. Research and Reference Gathering
Once I have a clear understanding of your project, I conduct any necessary research to make sure the design is grounded in practical knowledge. This could include studying architectural trends, material specifications, or local building codes. For more complex projects, I gather references for textures, lighting, and specific features to accurately represent the final result.
3. Creating the 3D Model
Next, I begin the 3D modeling process, using advanced software like Blender, 3ds Max, or Revit to build an accurate and detailed model of the space. This involves constructing walls, floors, ceilings, furniture, fixtures, and any other relevant objects. I pay attention to scale, proportions, and the spatial relationships within the design to ensure everything fits perfectly.
4. Texturing and Materials
Once the basic 3D structure is in place, I apply realistic textures and materials to the model. Whether it’s wood, metal, glass, or fabric, I choose materials that reflect your design intentions. I focus on how these materials interact with light and shadow to make the rendering look lifelike and to convey the atmosphere you want to create.
5. Lighting Setup
Lighting is key to bringing a 3D project to life. I experiment with different lighting setups—natural, ambient, and artificial lighting—to ensure the model looks realistic and visually appealing. I take into account the direction of light, its intensity, and how it interacts with the materials in the scene, ensuring a consistent look that enhances the design.
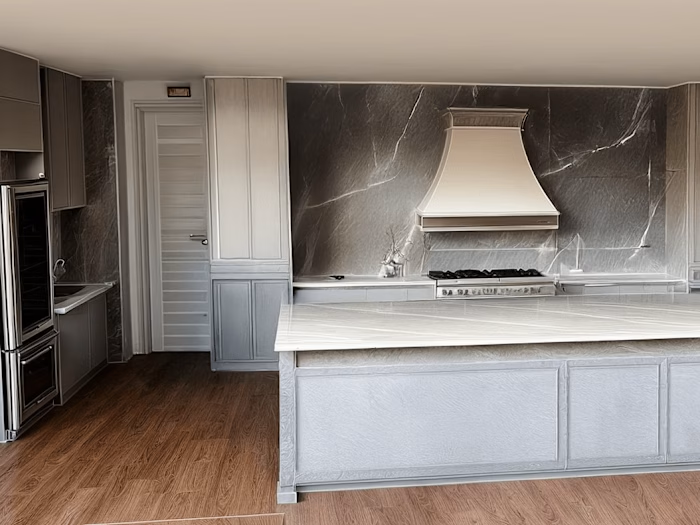
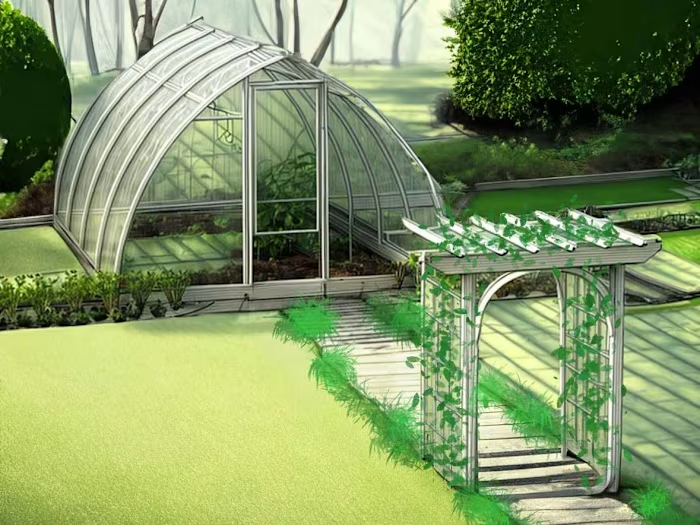
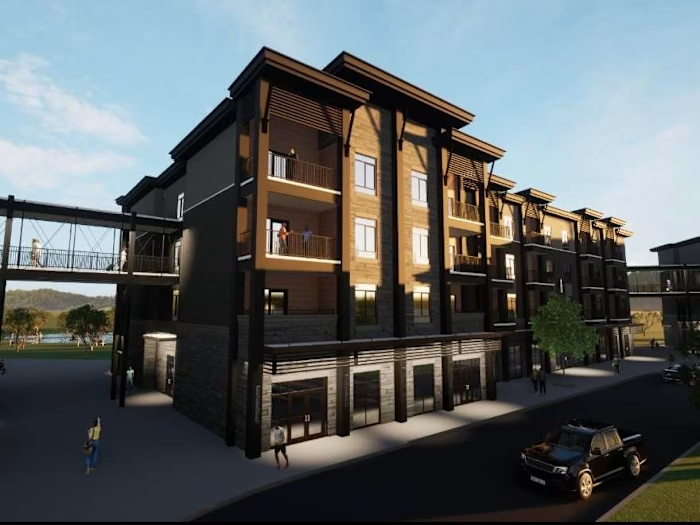
6. Rendering and Refinement
With the model complete and lighting in place, I proceed to the rendering phase. This is where the magic happens—high-resolution images or animations are generated, showcasing the design from multiple angles. I make adjustments to improve the image quality, including refining shadows, reflections, and color balance.
7. Client Review and Feedback
Once I’ve produced the first set of renderings, I present them to you for feedback. This is an interactive phase where you can review the design, suggest changes, and provide input. I encourage collaboration, making sure your vision is fully realized.
8. Revisions and Finalization
Based on your feedback, I make any necessary revisions—whether it’s altering the layout, tweaking textures, or adjusting lighting. I ensure every detail is perfect, making refinements until you’re completely satisfied with the final look.
9. Final Deliverables
Once the design is approved, I deliver the final 3D renderings, floor plans, or animations in the appropriate formats for your use. Whether you need them for marketing, presentations, or construction, I ensure the files are ready for your next steps.
10. Post-Delivery Support
Even after delivering the final project, I offer ongoing support, whether it’s for additional revisions, questions, or helping you integrate the 3D files into other parts of your workflow.
By carefully following these steps and paying attention to every detail, I ensure that each 3D project is executed to the highest standard, meeting your expectations and helping bring your ideas to life with precision and professionalism.
Like this project
Posted Jan 11, 2025
I had the privilege of collaborating with Wright Group, a renowned architecture firm, on a series of high-quality renderings for their waiting room spaces.