Real-Time Object Detection | YOLOv8
Like this project
Posted Jul 28, 2024
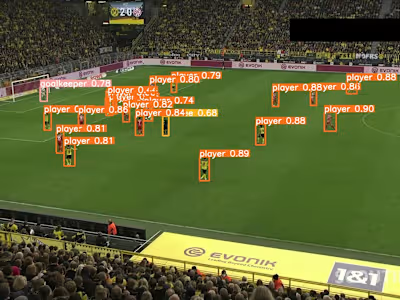
A Real-Time Object Detection Model Uses YOLOv8 and SuperVision for tracking CCTV footage.
Likes
0
Views
31
Hello
You can check the code and the 𝗳𝘂𝗹𝗹 𝗺𝗼𝗱𝗲𝗹 information on my 𝗚𝗶𝘁𝗛𝘂𝗯 account. Have fun :)
Code Explanation
First, we start by importing the necessary libraries and setting up our environment. We get the current working directory and print it for confirmation. Next, we download a video file from Google Drive using gdown and install the required libraries, ultralytics and supervision, which will help us with object detection and annotation.
Now, we import more libraries including cv2 for image processing, YOLO from ultralytics for our object detection model, supervision for annotations, and numpy for numerical operations. We load the YOLOv8 model and retrieve the class names that the model can detect. For this example, we are particularly interested in class 0, which usually represents 'person' in YOLO models. We also set up a colour palette for annotations.
Next, we create a frame generator to read frames from the video. We also set up an annotator that will draw boxes around detected objects with specified thicknesses and colours. Here, we're specifying the frame index (600) that we want to process.
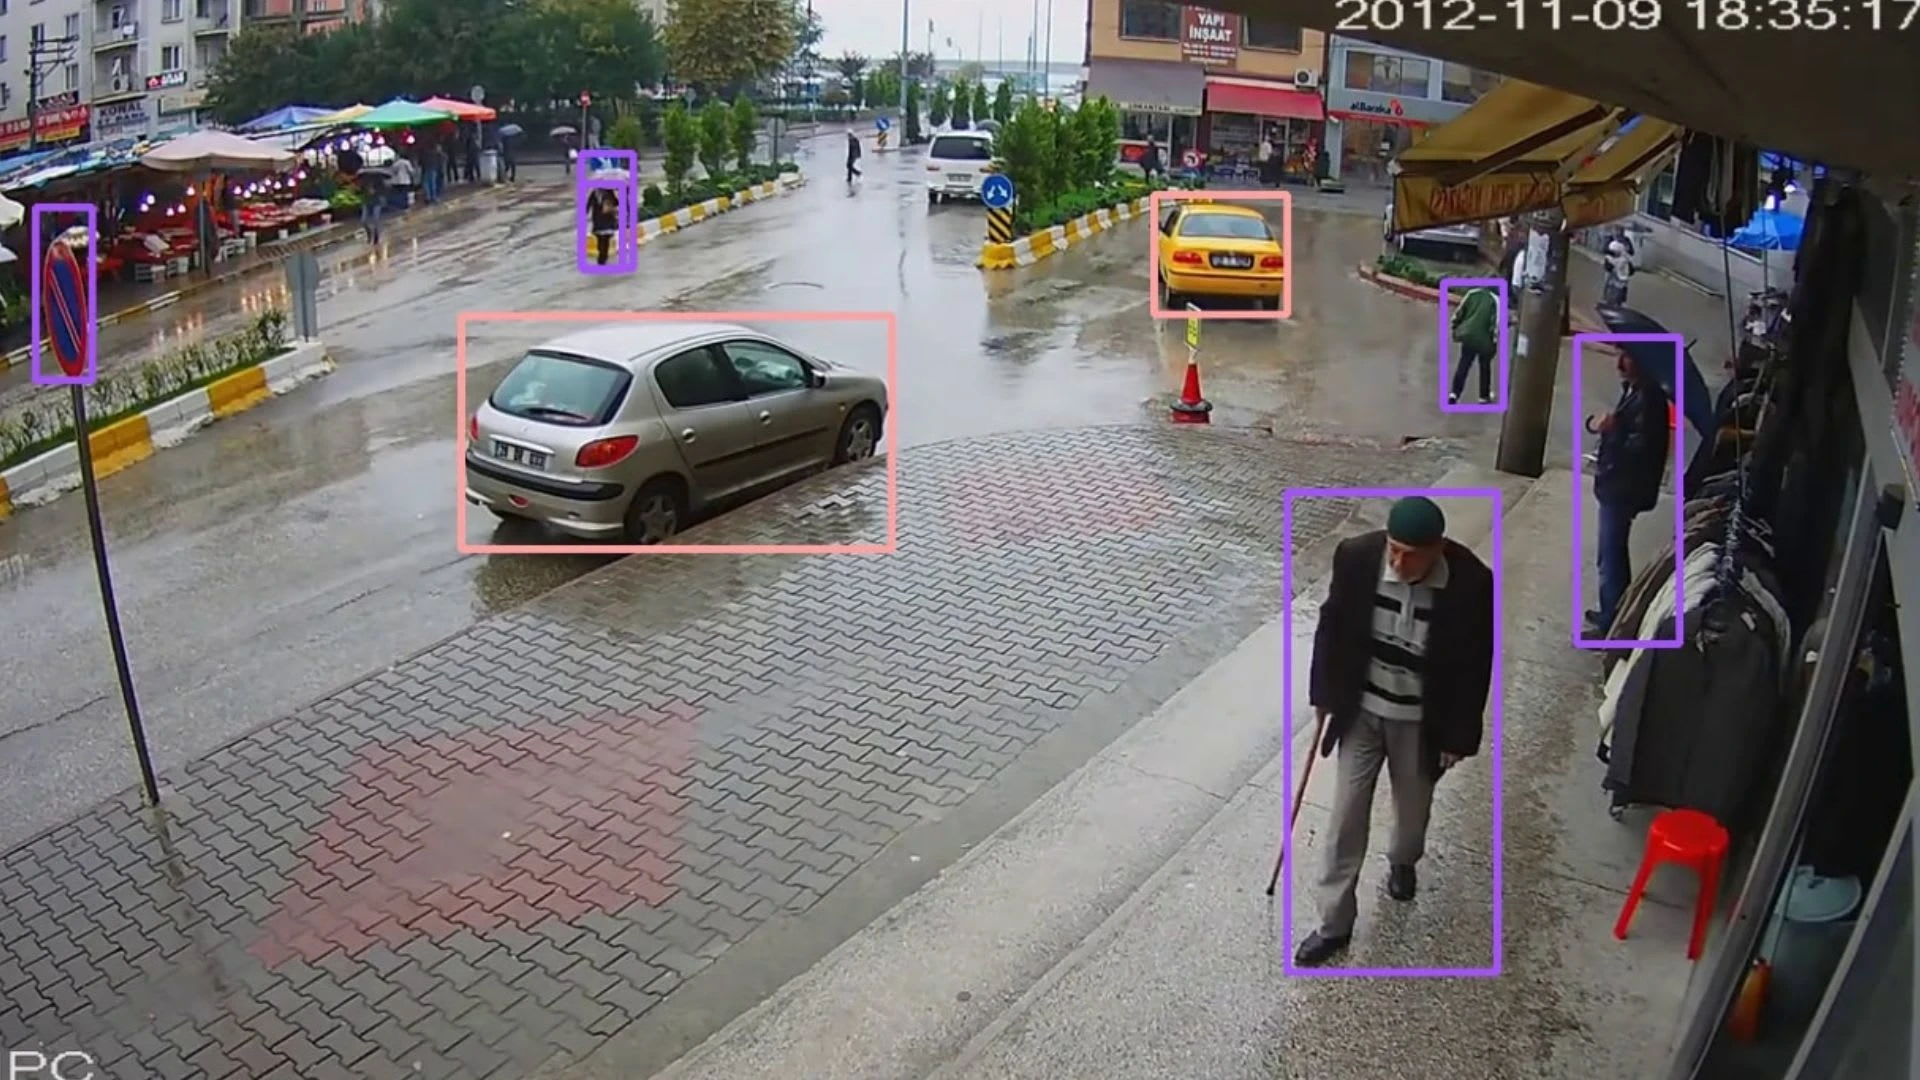
We use the model to make predictions on the selected frame. The results are converted into a format suitable for supervision detections. We filter the detections to only include our selected class (people). Then, we create labels for each detected object, annotate the frame with these labels, and display the annotated frame.
We then set up for processing the entire video. This involves defining a callback function that will be called for each frame. Inside this function, we run the model to get detections, filter them for the selected classes, and update the tracker with these detections. We annotate each frame with detection results and then return the annotated frame. Finally, we process the entire video, apply the callback to each frame, and save the output.


