Here Is What You Should Do For Digital Minimalism On Mac
Nima Sakhtemani

Photo by cottonbro from Pexels
As a Software Engineer who loves minimalism specially in creating a better experience in my life, I say with certainty that the presence of any file on your desktop hinders the experience you get out of your Mac. Your desktop should breathe.
I have written this article to help you find more breathing room in your day-to-day experience.
In this article, I will explain how to accomplish an experience in which you enjoy using your Mac. It consists of five parts:
Part I: Finder & Dock
Part II: Applications
Part III: Inbox Zero
Part IV: Photos & Videos
Part V: Tweaks & Settings
Preparation
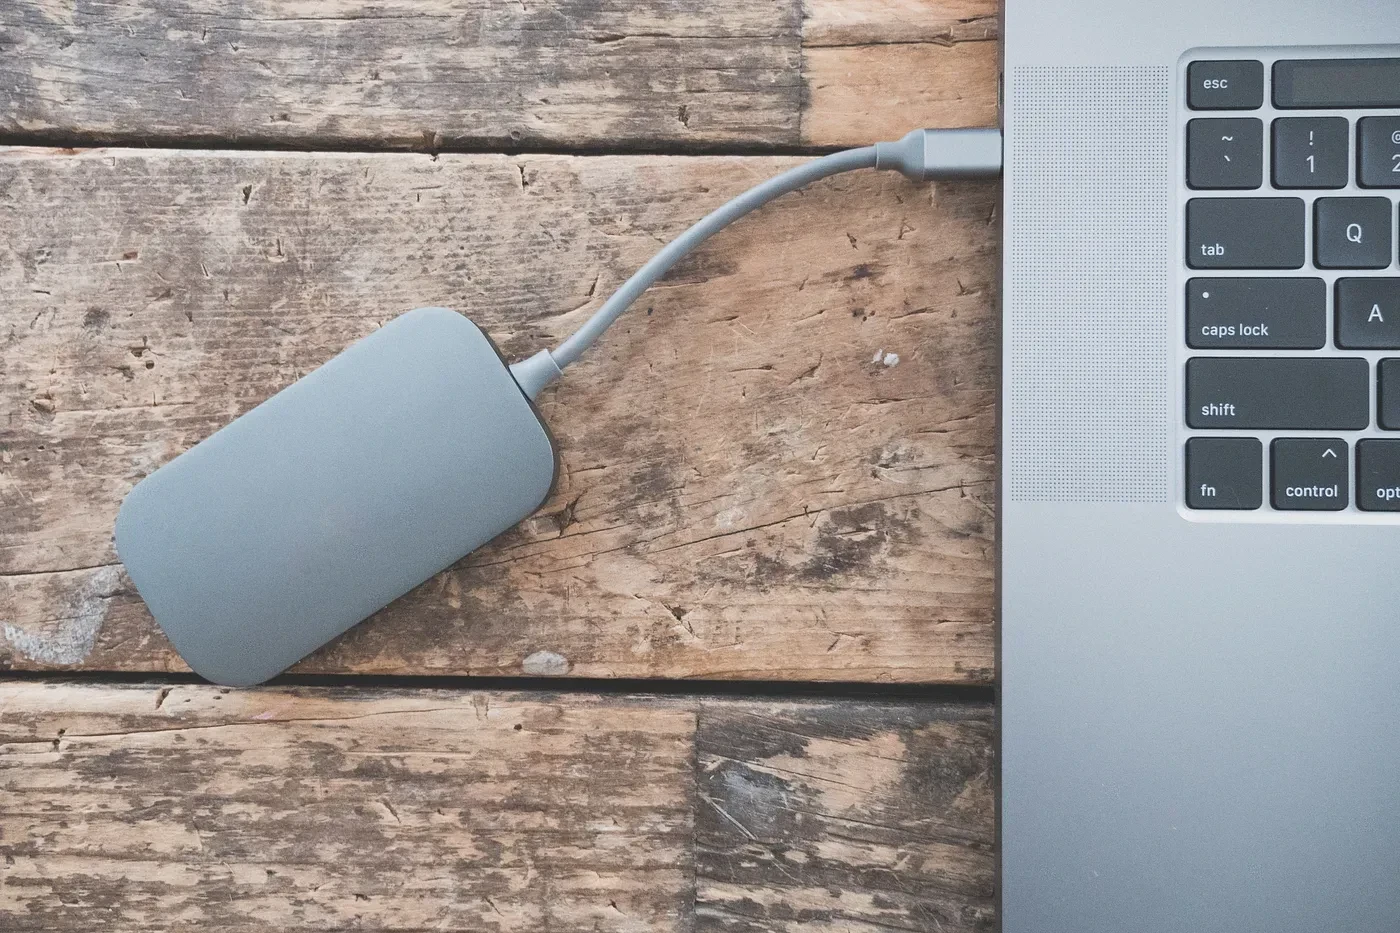
Photo by Jessica Lewis
Before you start the process, It is essential to take a moment and do a couple of things.
1. Specify a use case for your Mac
As a researcher who works on user experience research and design, I transformed my Mac from developing applications to a machine that is capable of handling graphical assets, tons of documents and being able to use many online services.
To understand the purpose of your Mac, ask the following questions:
To what extent does this Mac add value to my life?
What do I really use this for? (It helps if you look at the most opened apps and browser tabs)
I know what I usually do on my Mac, can I do it on another device at my disposal? (Devices such as iPads, iPhones, etc)
Do I enjoy working on my Mac as much as I do while using it as an entertainment device?
When you have answered these questions, take some time and try to connect some dots between the highlights of your answers. Here is an example:
Using my Mac feels really snappy, I don’t have to install many apps on it and the native unique apps like Sketch reduce my workload and save me time. I can probably use Figma on my iPad to design my projects, but the experience is not ready yet. If I want to watch a movie, I use my iPad as the portability is preferable for my small house. When I open my laptop, nothing distracts me, it is ready for me to start my work on.
In my case, I am happy with my Mac because of its performance on design apps which help save time.
Hence, I discovered the use case. Now let’s go to the next step.
2. Backup everything
Once we are done with our process, your computer will feel new. You might not be used to it, and you might have made some mistakes along the way; therefore, it is important to have a plan B in case things go wrong.
There are a couple of steps you need to do to have most things backed up. Here are some:
Take screenshots from almost everywhere. That means the Launchpad, folders’ structure, desktop, preferences, etc… (to make your job easier, use the shortcut key of
CMD + Shift + 3)Get two external hard drives. I say two because one will be used for Time Machine backups and the other for regular file backups. (if you own a Mac with 256 GB of storage, two 1-TB hard drives will suffice)
If you have a fast internet connection with no data cap and high upload speed, then I suggest purchasing an iCloud storage plan. For a Mac with 256 GB of storage, you’ll need a 2 TB plan which will cost $9.99 per month.
Check each app on your Mac and find a backup or export option, some apps work offline and don’t use the cloud to backup themselves.
3. Be comfortable with change
This one doesn’t require any work on your Mac, instead, you have to find the desire deep within to let go. Once we are truly ready to let go, we can finally be free.
These are some tips for getting comfortable with change:
We don’t control change, it happens regularly in our lives. Most times, we just don’t notice it.
Try to understand your everyday tasks. Most of them are in control. Once you realize you are in control of them, you feel more capable of accepting change.
Accept the possibility of changing for the better; this mindset helps you get away from the uncomfortable feeling when trying to alter your behavior.
Part I: Finder and Dock
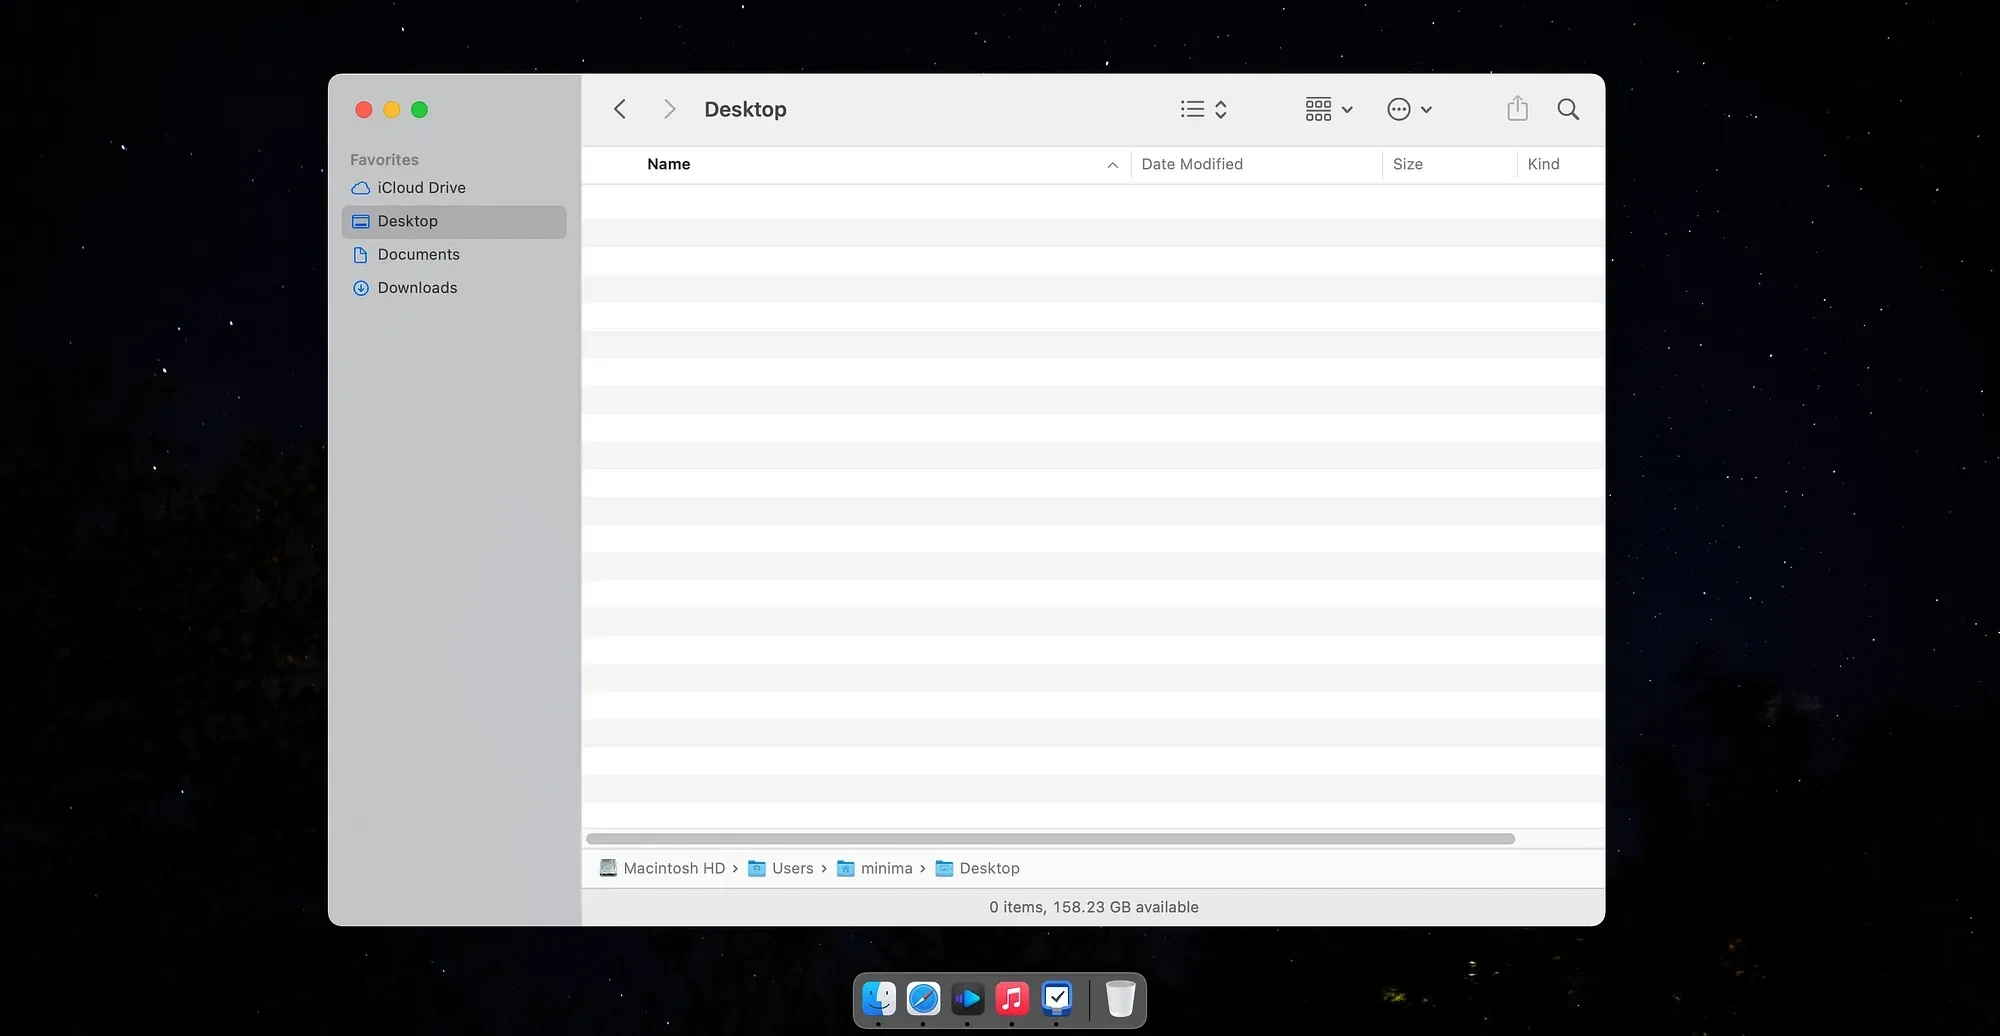
Image of the Finder and Dock on the MacOS
A lot of what you’ll see in this section depend on your preferences for the Dock and the Finder window. These tips will get you a clean polished look as well as maximizing its utilities.
Tip 1. Show Items as Lists
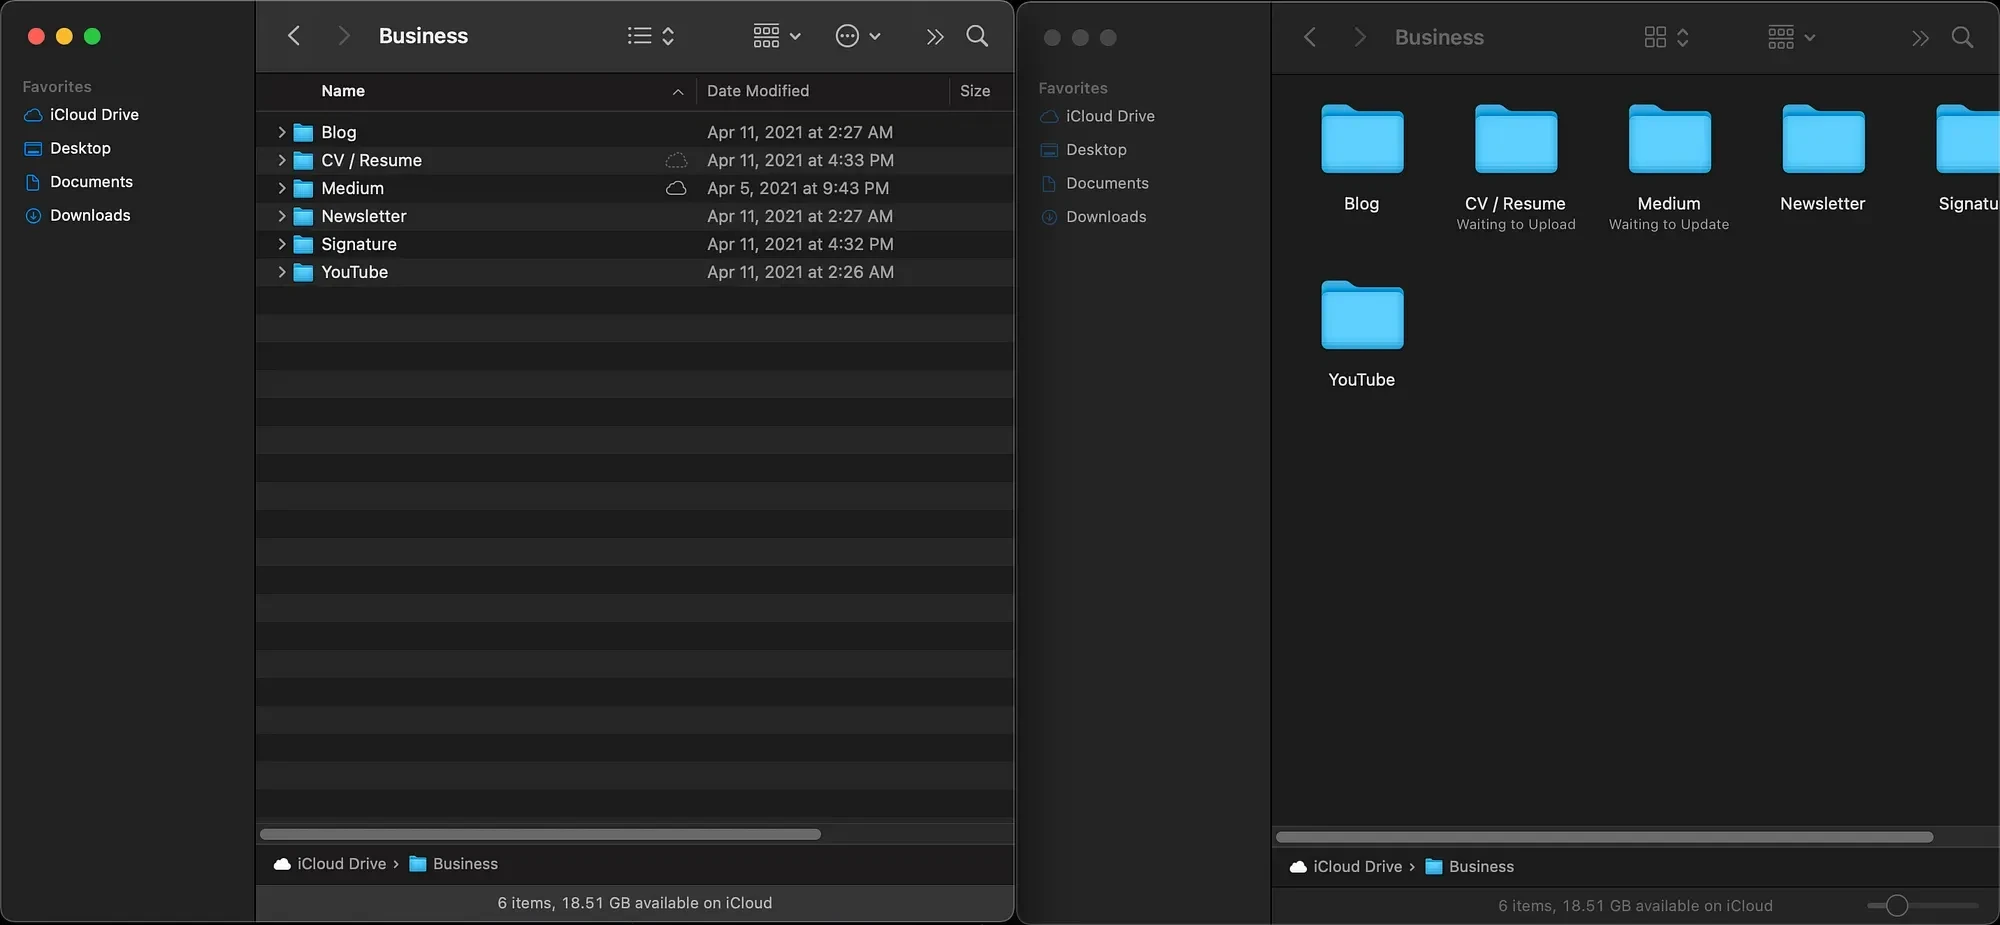
List view vs Icon view
When your files and documents show as lists, you will get a clear view on every file as well as understanding on how much file you are dealing with at a time.
There are other advantages to using lists, some are:
Being able to quickly navigate between directories
Get extra information like dates, sizes, etc…
Have less cursor movement to select a file or a document
To accomplish this change:
Tip 2. Remove all useless icons from the Toolbar

Image of Finder toolbar
The Toolbar should be one of the most important places in which every icon brings specific value to the way you use the finder. It is easy to customize it, and don’t worry about making mistakes. If the outcome is not desirable, you can simply return the default look by dragging and dropping the standard toolbar.
Tip 3. Remove useless items from your Sidebar
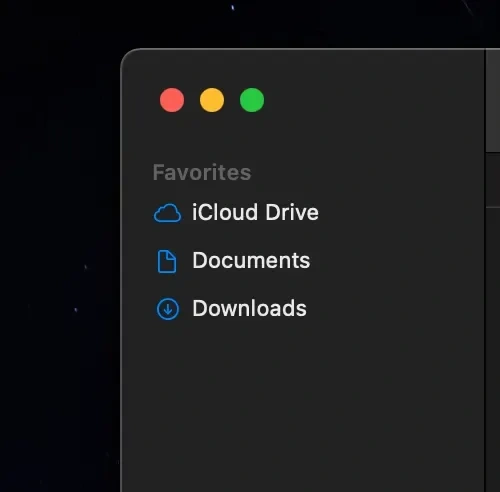
Image of Finder Sidebar
The Sidebar is often overlooked. It is one of those places where you think the more items available, the better your productivity will be, but after using multiple Macs for over 4 years, I can confidently say the Sidebar is essential to provide focus while working on your Mac.
Open the finder window, head over to the Finder menu and select Preferences. Then click on the Sidebar tab. Once you are there, uncheck the places you don’t normally visit. Places like Applications, AirDrop, Recents.
Customizing the Sidebar really depends on your use case with the Mac, you need to start noticing your interactions with the Finder window. If you navigate to the Downloads folder because you spend a lot of time on the internet downloading files, then it makes sense to have it available in the Sidebar.
Based on Hick’s law, the number of options increases the time it takes to make a choice. If you want to quickly navigate to a directory, then reduce the number of items in your Sidebar and dedicate a special place for them.
On my Mac, I know I can easily access the desktop with the shortcut
FN + F11 therefore when I’m not using it for a certain task, I see no reason to keep the desktop as a shortcut in the Sidebar.Tip 4. Reduce apps on your Dock to five or less
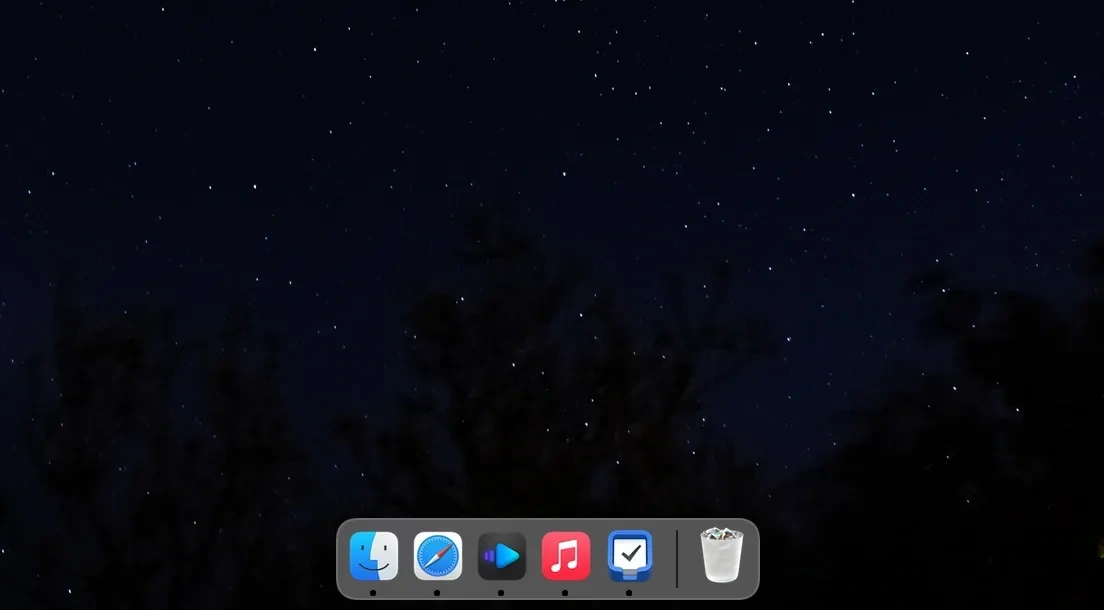
Image of MacOS Dock
When I turn on my computer, I am greeted by three apps on the Dock. They are: Finder, Safari, and Things-3. I immediately open Things 3, and based on my tasks, I try figuring out what to do.
To achieve a simple clean Dock: Drag the app icon and move it somewhere on the desktop then drop it. You’ll see a small animation which confirms the app is removed from the dock.
The default Dock on the macOS comes with a folder preview near the Trash icon. I suggest you remove that too since the folder is easily accessible through the finder window.
Part II: Applications and Desktop
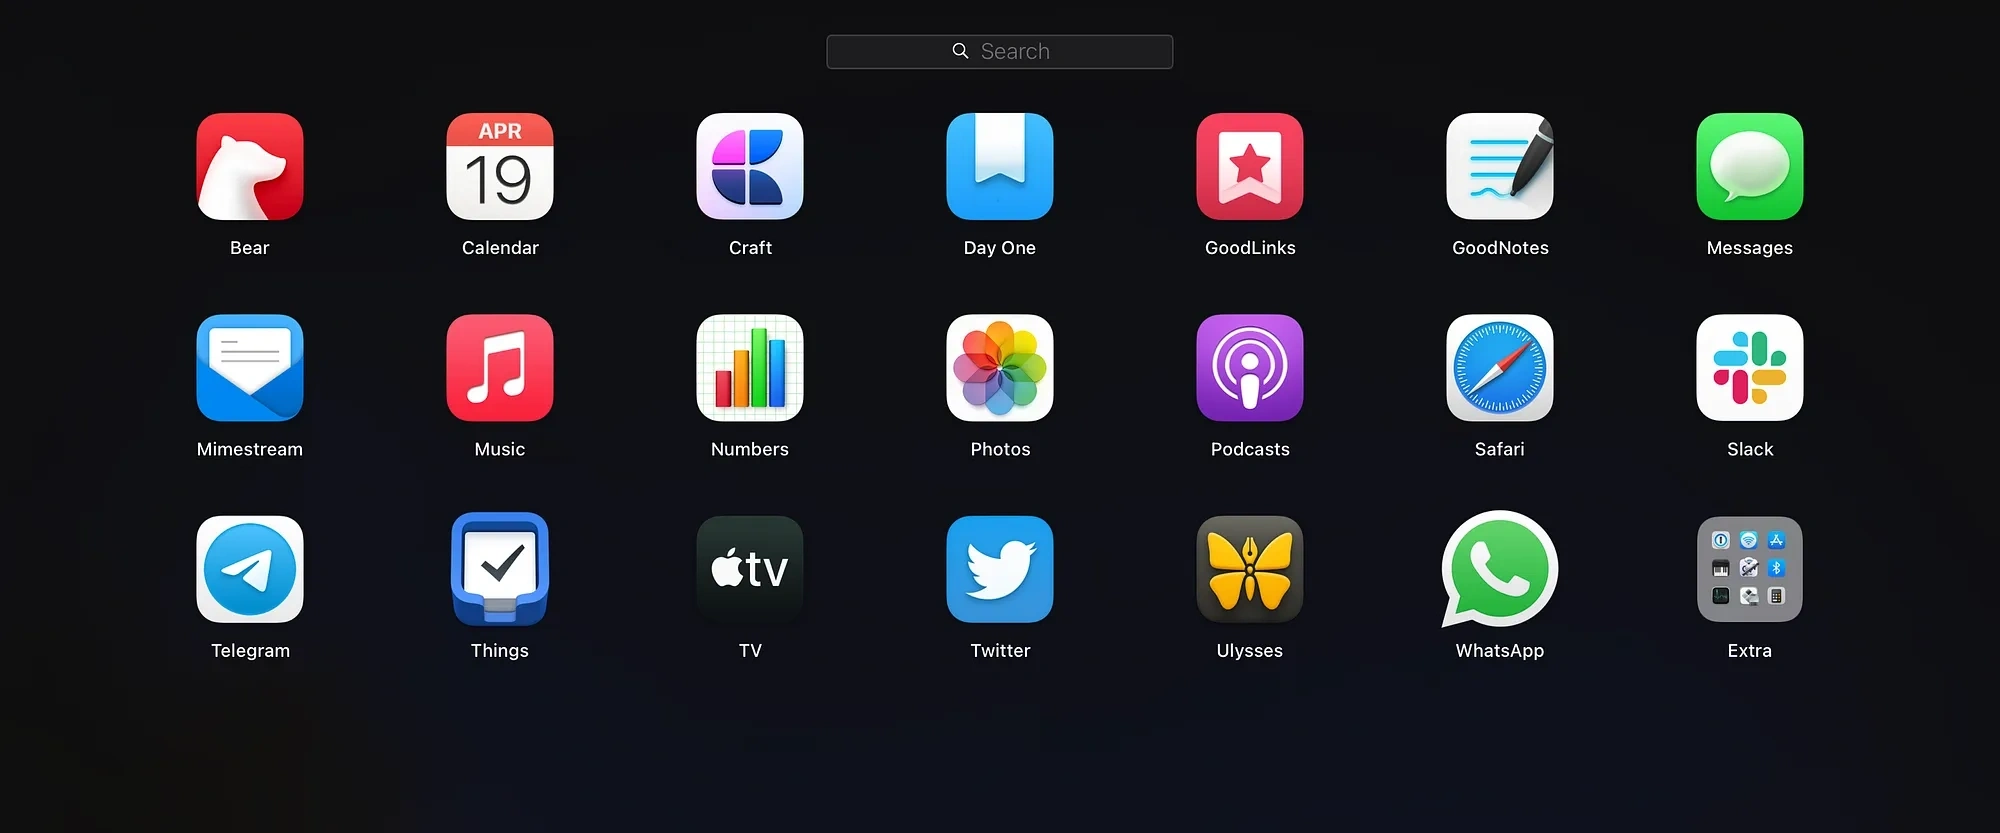
Image of MacOS Launchpad
The number of apps on your Mac affects the performance of your machine. It also increases the time you need to manage them. Having plenty of apps might feel good at first but as time goes on, you will soon realize the anarchy that exists on your system.
Tip 1. Ask essential questions

To have a clutter-free Mac, you will only need the essential apps on it. To understand whether an app is useful and needed, ask the following questions:
Does this app provide any value for me?
Have I used this app in the last 3 months?
Will I use it in the next 3 months?
Do I like using this app?
Here is an example from my use case: I’m considering removing the Visual Studio Code app. Based on the questions:
Does this app provide any value for me? Yes, I can easily write scripts without having to write tons of codes.
Have I used this app in the last 3 months? No.
Will I use it in the next 3 months? No, since what I use the scripts for are already running on my server and I have backups in case things go wrong.
Do I like using this app? I think the user experience is great, but I have privacy concerns about it. I also don’t like that it uses too much memory specially since my Mac comes with 8 GB of RAM.
As you can see, the app is useful but not used or will be used in the next three months. Because of that, I have decided to remove it from my Mac.
A great thing about removing apps is that I can simply download and install them again. I have decent internet connection at home and my workflow doesn’t create much hassle in having to reinstall apps.
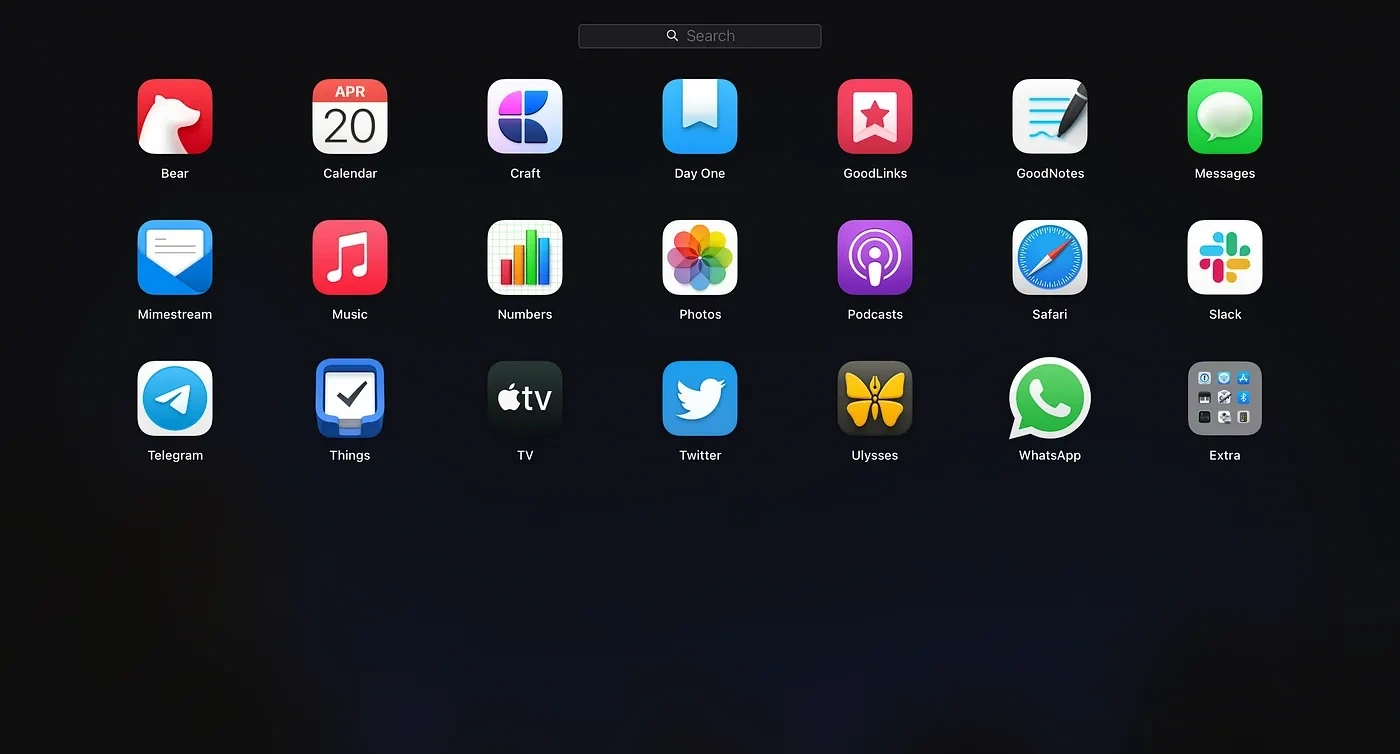
Tip 2. Replace as many apps with the default system apps

Searching for an application on MacOS Launchpad
Unless an app provides immense value for you, then I suggest skipping this step. I believe if you love an app because of the experience it provides, then it gets a chance to be on your system, otherwise, you won’t need it.
In my case, I replaced a third-party calendar app with the default calendar on the MacOS. Why? The default app supports some NLP (Natural Language Processing) feature. It is designed minimally and supports my Google Account. It also works natively with the OS meaning I won’t have much to worry when it comes to privacy.
There are cases when you really don’t want to use the stock apps. For example, I use an application called Bear. It is a wonderful, minimal note-taking app with support for Markdown language and the performance is top-notch. I use the app every day. This is how much I love the app, and in the near future, it will enhance the editor to support many wonderful features. So, an app with a promising software updates, an incredible performance, and a super minimal beautiful design makes me like using my Mac. That is why, I’ll be keeping it on my Mac.
Tip 3. Organize your apps alphabetically

There are many methods in organizing your apps, some say it is visually appealing when we organize them by color. Some say it is better to organize them by the category. There are many approaches to sorting the apps but what I found useful for the long run is to sort them alphabetically. I do that because most of the time, I know what I am looking for. If I’m not using the Spotlight Search, I hit the F4 key on the keyboard to open the app, and because I know the name of the app, the alphabetical system helps me easily find what I’m looking.
It is about those microseconds that accumulate and save your time, increase your productivity and give you a better user experience.
Tip 4. Put the important apps in Launchpad, and the rest of them in a folder named “extra”
This method keeps your Launchpad centered around the most important apps, and makes it look more organized and clean. Achieving this is not easy. As much as love Mac… I find it both irritating and hilarious how difficult it is to put an app in a folder. Either the folder starts dodging every time you try to put at app in it, or the cursor pushes you to another page. I guess it is one of those things that Apple doesn’t fix because they think the Launchpad might not be as important as other aspects of the Mac.
Tip 5. Use Spotlight
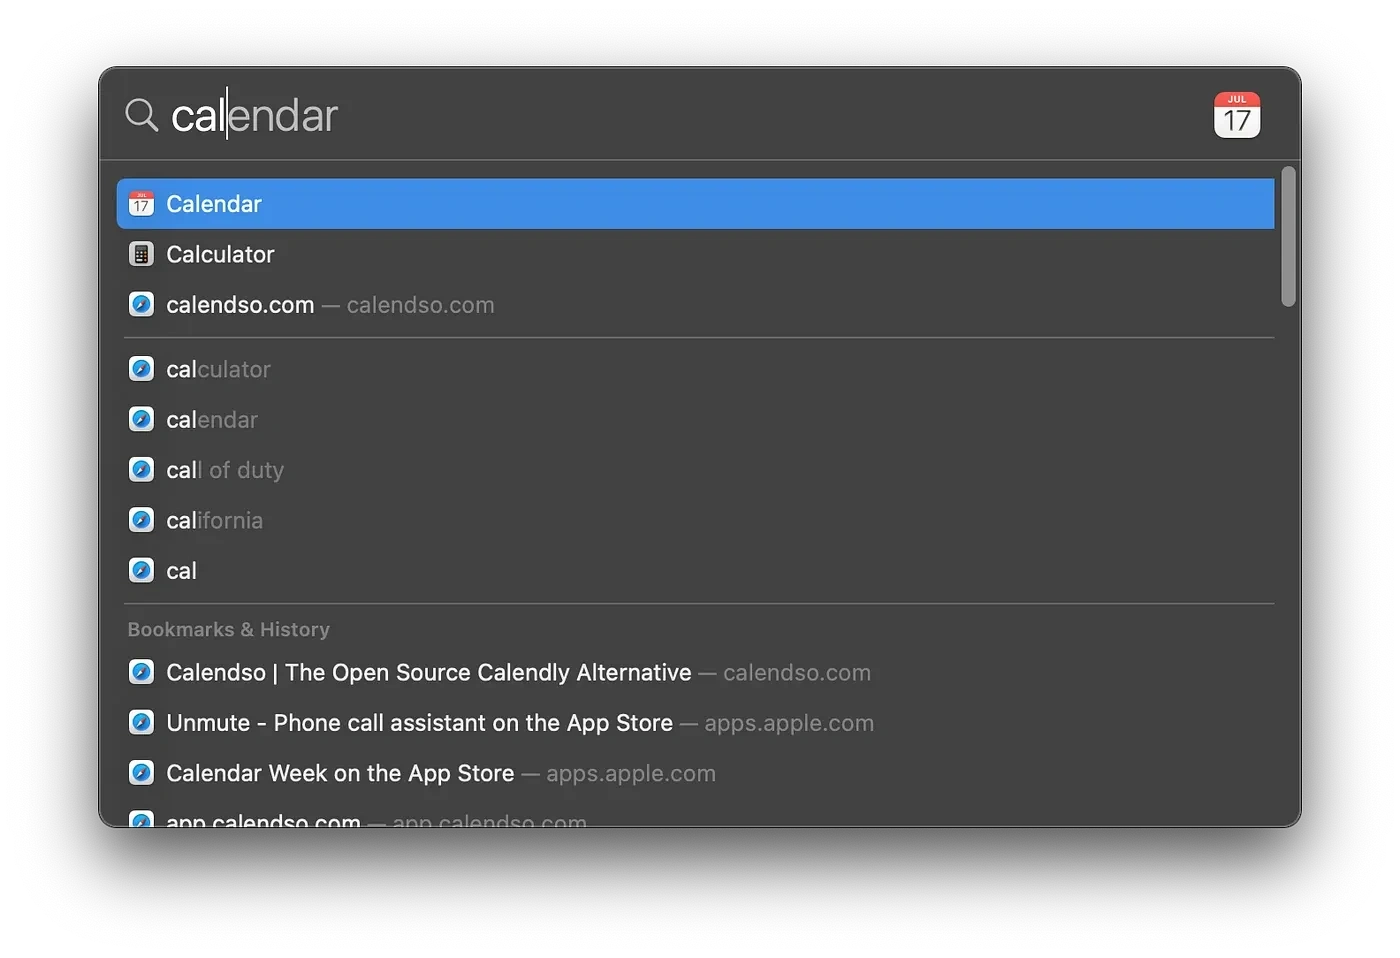
Image of the Spotlight feature on Mac
Spotlight is one of those underrate Mac features where you can improve the way you access information, open apps, and do simple calculations without opening any apps.
All you need to do is press
CMD + Space and the Spotlight will pop up. Once you learn this shortcut, and use it to open a few apps, you won’t leave it. It makes the experience of opening apps super-fast. The performance of the Spotlight is also great. Having said that, if you haven’t launched it in a while, then you will need to give it some time to rebuild its index which wouldn’t usually take more than one minute (Depending on the number of files and apps on your Mac it might take more time).I use spotlight to open my apps, and search on Google. I also use it to do simple calculations. It is a small mighty utility that many people are not aware of.
Tip 6. Set up a wallpaper with lots of empty space

Photo by Sarah Dorweiler
Your desktop should be spotless. There should be no apps or files on it. You can temporarily put stuff onto it but at the end of the day, I suggest cleaning them.
Your desktop wallpaper will set your mood, and it is important to choose one that has few colors and lots of negative space.
When you look at your desktop, you want it to breathe. It should welcome you and give you the impression of freedom. How you organize your physical space does affect your desktop settings, so I suggest putting as much time into the process as you do while organizing and cleaning your desk.
Some of the best resources to find free wallpapers are:
I also get inspired from the wallpaper collection of influencers like MKBHD and The Minimalists.
Part III: Inbox Zero
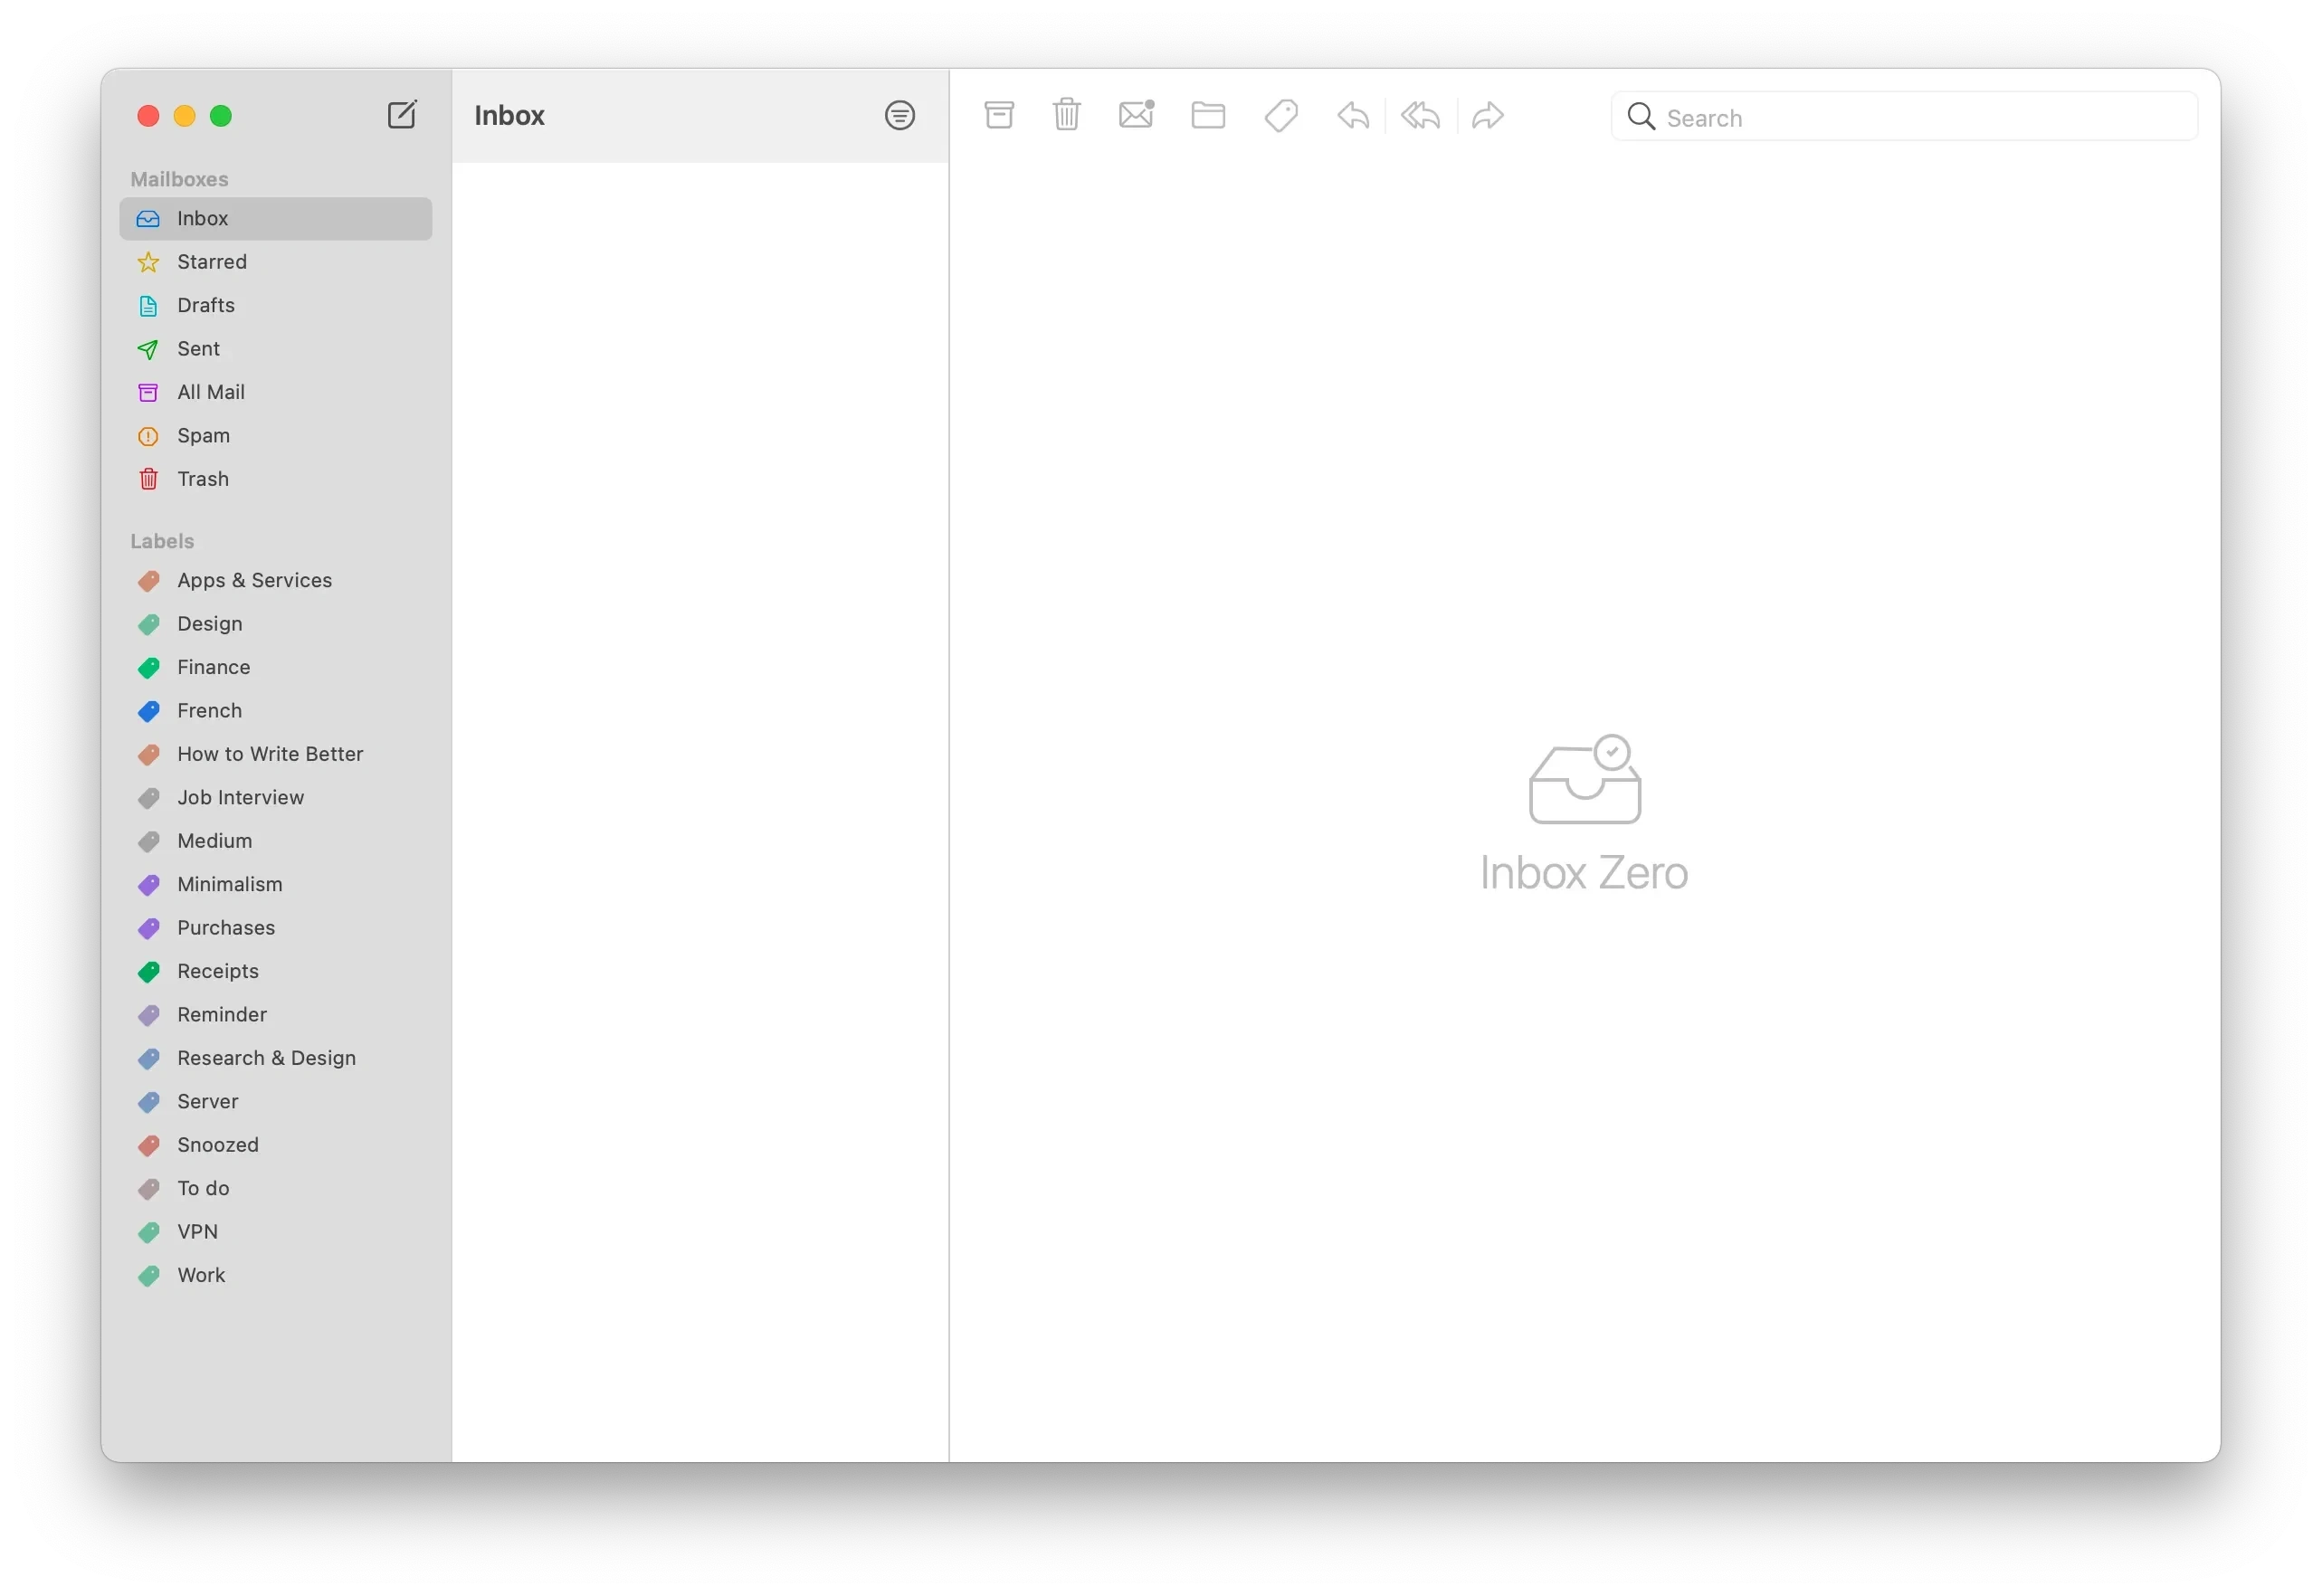
Mimestream app on MacOS
An inbox is a sacred place for serious work. In my opinion, the less clutter it has, the better chance you’ll get in organizing your daily tasks. The chance of breaking your workflow reduces when you are not confronted by an old email.
Tip 1. Unsubscribe
I once went on a trip around an area where getting a network connection was impossible. It took me a week before I came back from that trip. I arrived at home. Opened the Mail application and my inbox was full of emails. Emails I didn’t really care about. Apparently, the services you sign up for are smart in somehow getting your consent for sending marketing and product emails.
My inbox was full of junk mails. Taking a look at all the chaos, I am discontented with my organization, so I unsubscribed from 90% of the emails I received.
There are two ways to get rid of useless emails, one way is manual, the other one is automatic.
The manual approach is time-consuming but results in a cleaner inbox since you’ll be able to delete all the irrelevant emails. Here is how:
Open an email that spammed your inbox, click on unsubscribe which is usually at the bottom of the mail.
Copy the address of one of those emails
Filter your inbox based on the address on your clipboard
Select all the emails from the search query
Click on delete
The automatic approach requires little time. Here is how:
Sign up for an account with your email provider
Allow access to your inbox
Let the service analyze your inbox
Click on unsubscribe from any service you don’t like
Warning: There are privacy concerns with the automatic approach because you are basically allowing a third-party service the full access to your inbox. If you value your privacy, I suggest using the manual approach.
Tip 2. Make folders
Your inbox is basically a place to see the most important information at a glance. There are many emails you receive and don’t want to delete or archive. For those situations, What I suggest is to create folders (or labels since the naming are different based on your email provider) and move those emails into appropriate folders.
Some folders I have created for my inbox are:
Finance (To put the emails regarding my receipts, expenses, and stocks)
Job Interview (For when I receive emails from places I have applied to work for)
Medium (The place to review my analytics and important emails from Medium)
Reminder (An important place for emails which I will check later)
Server (Emails for my personal server)
Work (Any work-related email goes there)
You can use this approach to organize your inbox. Imagine a situation where finding a receipt in your inbox doesn’t require dedicating more than a minute of your precious time.
Tip 3. Customize swipes for delete and archive
This is one of the most useful tips I have for you, specially if you use a Mac with a trackpad. The swipe gestures make it super easy to get rid of emails you don’t want.

Image of customization for the Mimestream email client app on MacOS
The ability to quickly archive or delete emails is very beneficial if you want to decrease the time you spend to manage your inbox.
Tip 4. Install a minimal app
The apps you use plays an important role in your experience of connecting with a product or a service. I used to use the default Mail app on the Mac and for most of the time it worked fine, but one issue I found about it was the client’s inability to use the Gmail API. To efficiently and quickly use Google services, the Google API is essential for a better user experience.
Part IV: Photos & Videos
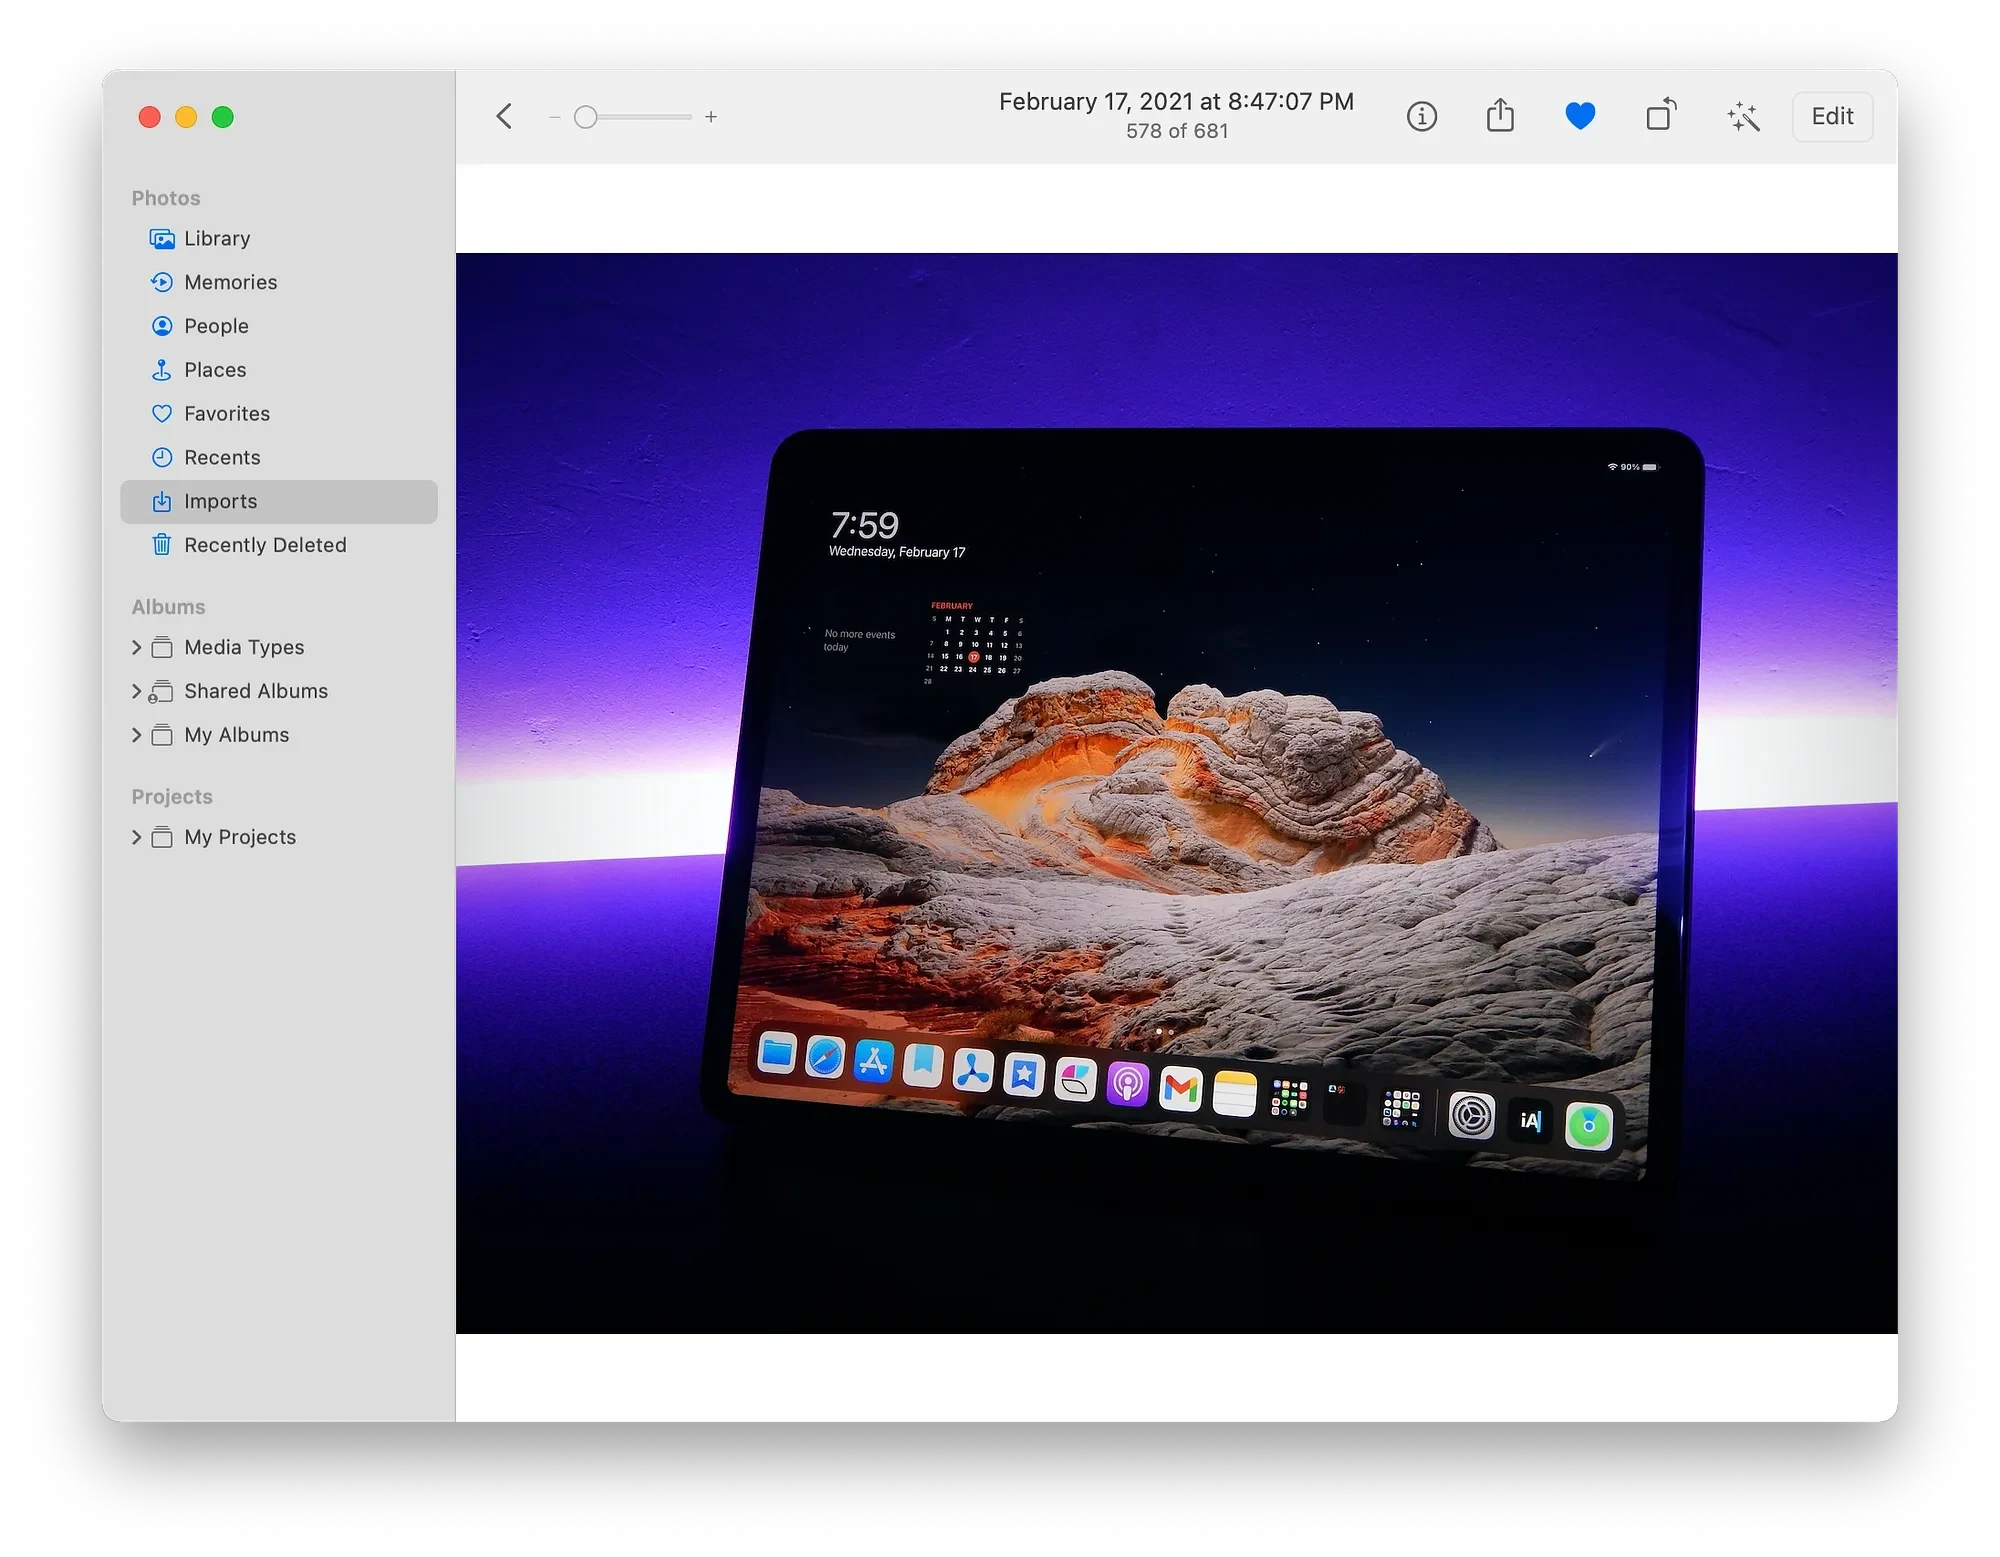
Image of the Photos app on MacOS
Tip 1. Remove duplicates
Duplicate photos are sneaky. Every so often they appear in different albums in different timelines. One of the best things you could is to use an App to find and clean them. An app that I recommend is Gemini Photos which not only cleans the duplicates but also help you keep the good photos.
Once you get rid of the duplicates, your photo library will look neat, and you’ll see lots of storage cleared.
Tip 2. Delete everything that doesn’t make you feel good

Photo by Gary Meulemans
Some photos don’t make us feel good. In fact, I remember being in a school photo with someone who bullied me — I hated that photo. Even though my good friend and teachers were in it, I still didn’t want to bring back those dark memories. So, I deleted those photos. Yes, I still have backups of those photos, but my main photo library doesn’t feature the ones I dislike.
Now I look at my memories and remember the good old days with some of my great teachers.
Tip 3. Fix date, location, metadata, and photo issues

Image of Metadata window on the Photos App
With the release of iPadOS 14, came a home screen widget which shows an image from your iCloud photo gallery. I had a weird situation with that widget because it showed photos from current year labeling them as photos from 1998! I soon realized that the metadata information for those particular photos were incorrect.
To address that issue, I used the Photos app. Here is how you can do the same:
Open the photos app
Choose the image or the series of images with incorrect dates
On the menu bar select the Image menu
Click on Adjust Date and Time
Change the Date and Time to your liking
Guide on how to change the date and time of a photo on Photos App
Tip 4. Use a cloud storage solution
If you have followed the preparation steps of this article, you already have an offline backup of all your files and photos. Having said that, it won’t be enough. You need to keep your Mac’s storage free of photos and videos which would take lots of space. To solve this problem, you will need to use a Cloud storage solution.
There are many services that will help you easily manage your photos and videos. Some are:
Google Photos
Apple iCloud
Amazon Photos
Dropbox
Microsoft One Drive
Many more…
I personally recommend iCloud Photo Library as it is privacy focused and native on all Apple devices. To use the basic plan of iCloud you will need to pay $0.99 per month for 50 GBs of storage. You can, of course, increase the storage by paying more, but for my needs, so far, I haven’t exceeded the basic plan.
Tip 5. Create albums

Image of Photos app
As a designer, I believe the software should be heavily inspired by its equivalent physical object in real life. If you have a place for your photos, it should also have albums. Just like in real life where you divide your photos in different albums organizing each one in its special place.
To make your experience more joyful, and more organized I suggest creating albums from your photos. That way you won’t have to scroll through hundreds of photos. They are in their dedicated album.
Tip 6. Share with others

Image of Photos app
This is the magic of technology. You won’t be able to use a physical album with your significant other on a long-distance relationship. But, thanks to the Photos app, you can create shared albums and register their iCloud email address then share it with them. Everything happens in the cloud. The benefit of having shared albums is the fact that the Photos app allows the members to add their photos and videos as well.
Part V: Tweaks & Settings
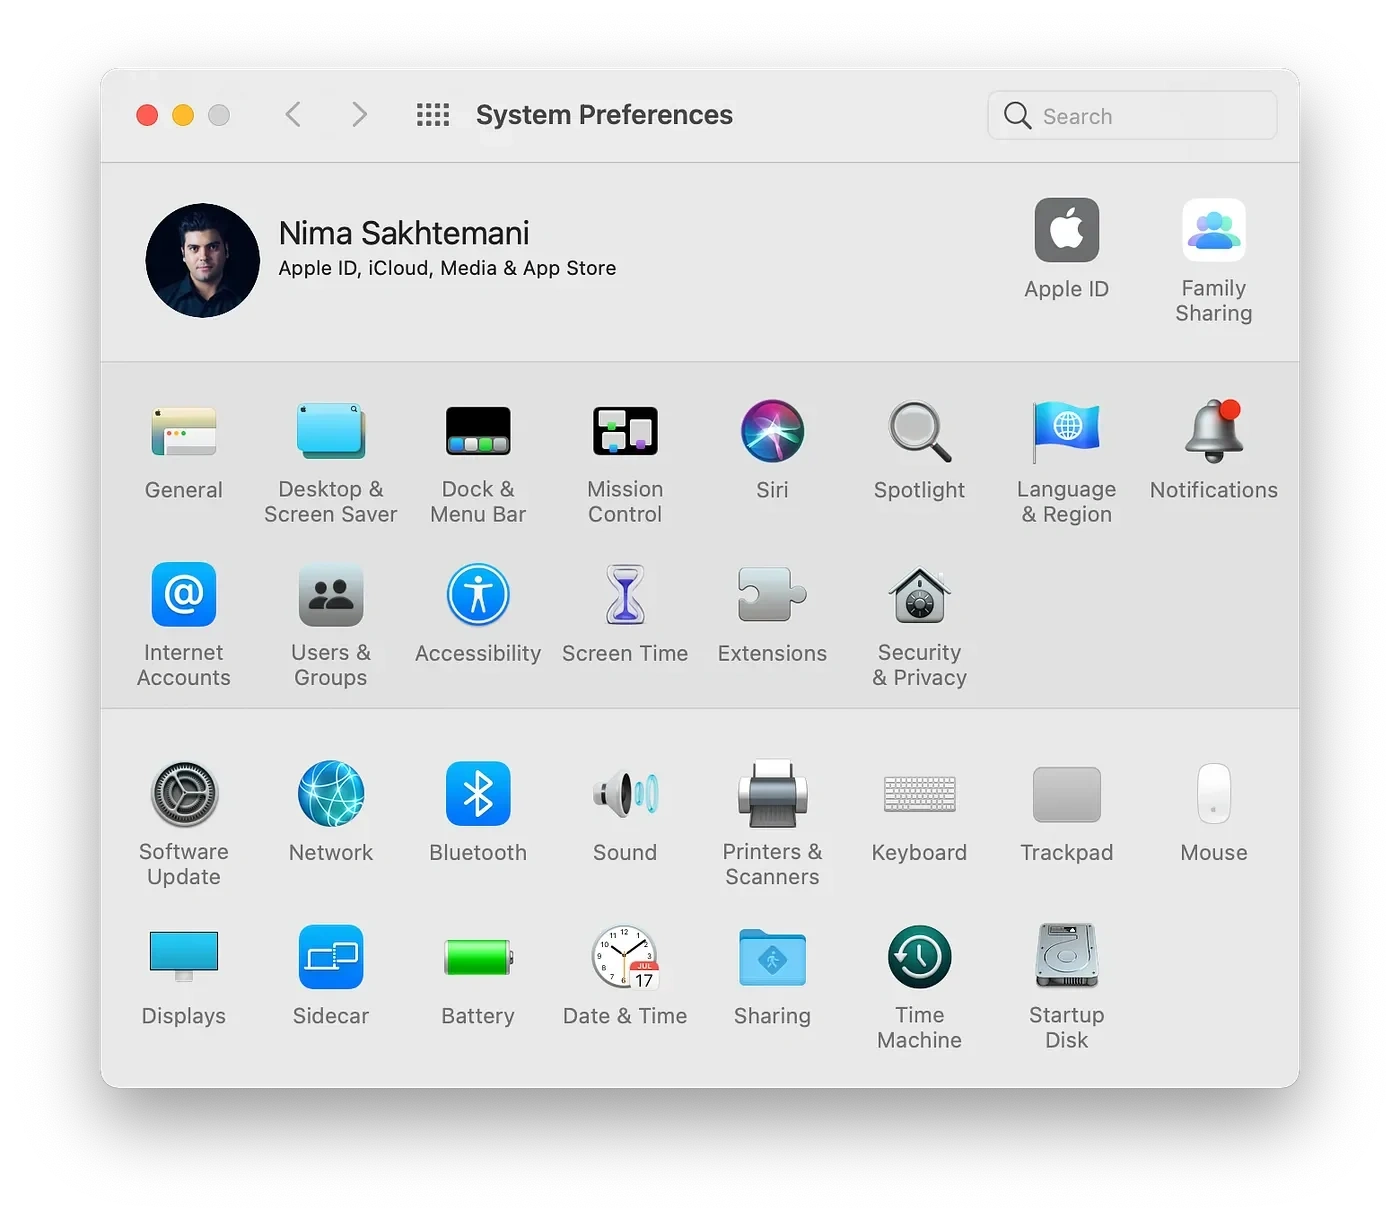
Image of system preferences on MacOS
Tweaking settings to your likings is important. It is what makes a Mac yours. In this last part I will share a few tips which will help you make your Mac feel faster and look more minimal.
Tip 1. Check for software update
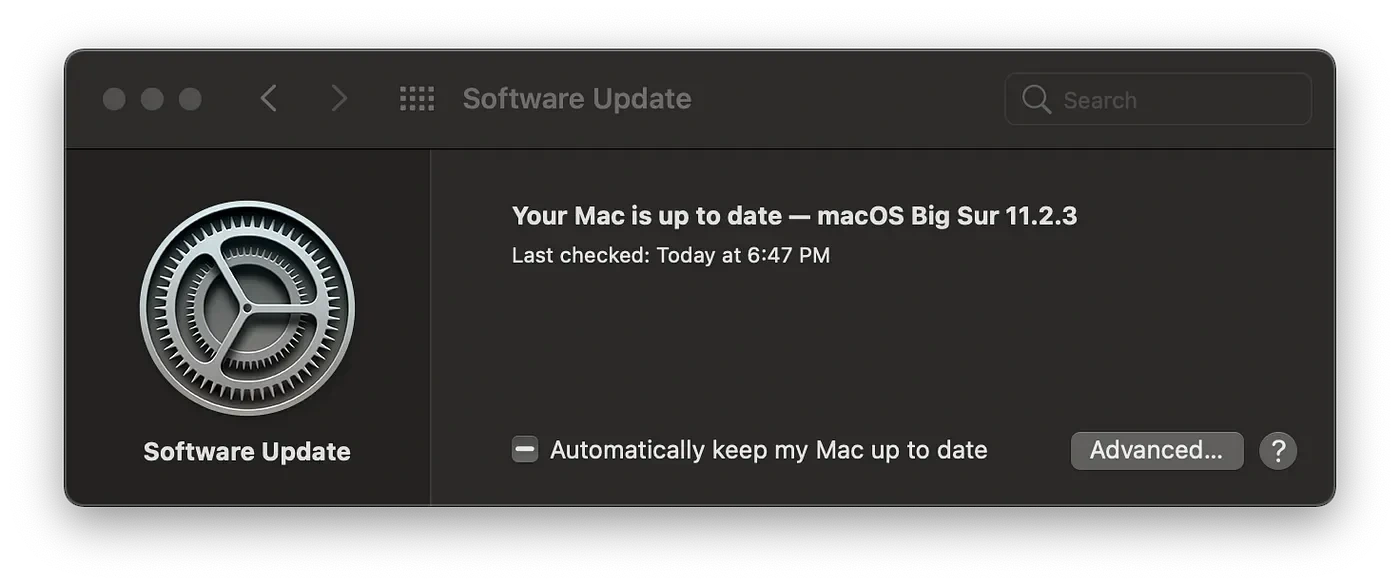
Software update preference window
This one is a no-brainer, but I was surprised to know how many people around me did not update their Mac to the newest operating system. Many people don’t realize that the point of a software update is not only for the newer features. These updates elevate the privacy and security of their Macs as well.
So if you haven’t updated your operating system, open the system preferences, click on Software Update and do yourself a favor. Privacy and Security is an essential factor for an OS update, and you really don’t want to miss it.
Tip 2. Turn off notification for almost all apps
Notifications panel for all apps on the system preferences app
The number of notifications you get adds to the amount of time you are distracted from your work. By default, the macOS enables sound, badge and all types of notification display for an app. That is very distracting specially when you are working on a serious project.
To help solve the notification problem:
Open Preferences
Click on Notifications
Click on app
Click on the toggle button that say “Allow Notifications” to turn it off
Repeat this process for any app you don’t need
Some apps are useful to receive notifications from, for them, I suggest restricting the options in which the app displays notifications.
Tip 3. Max out the Key Repeat and Delay Until Repeat
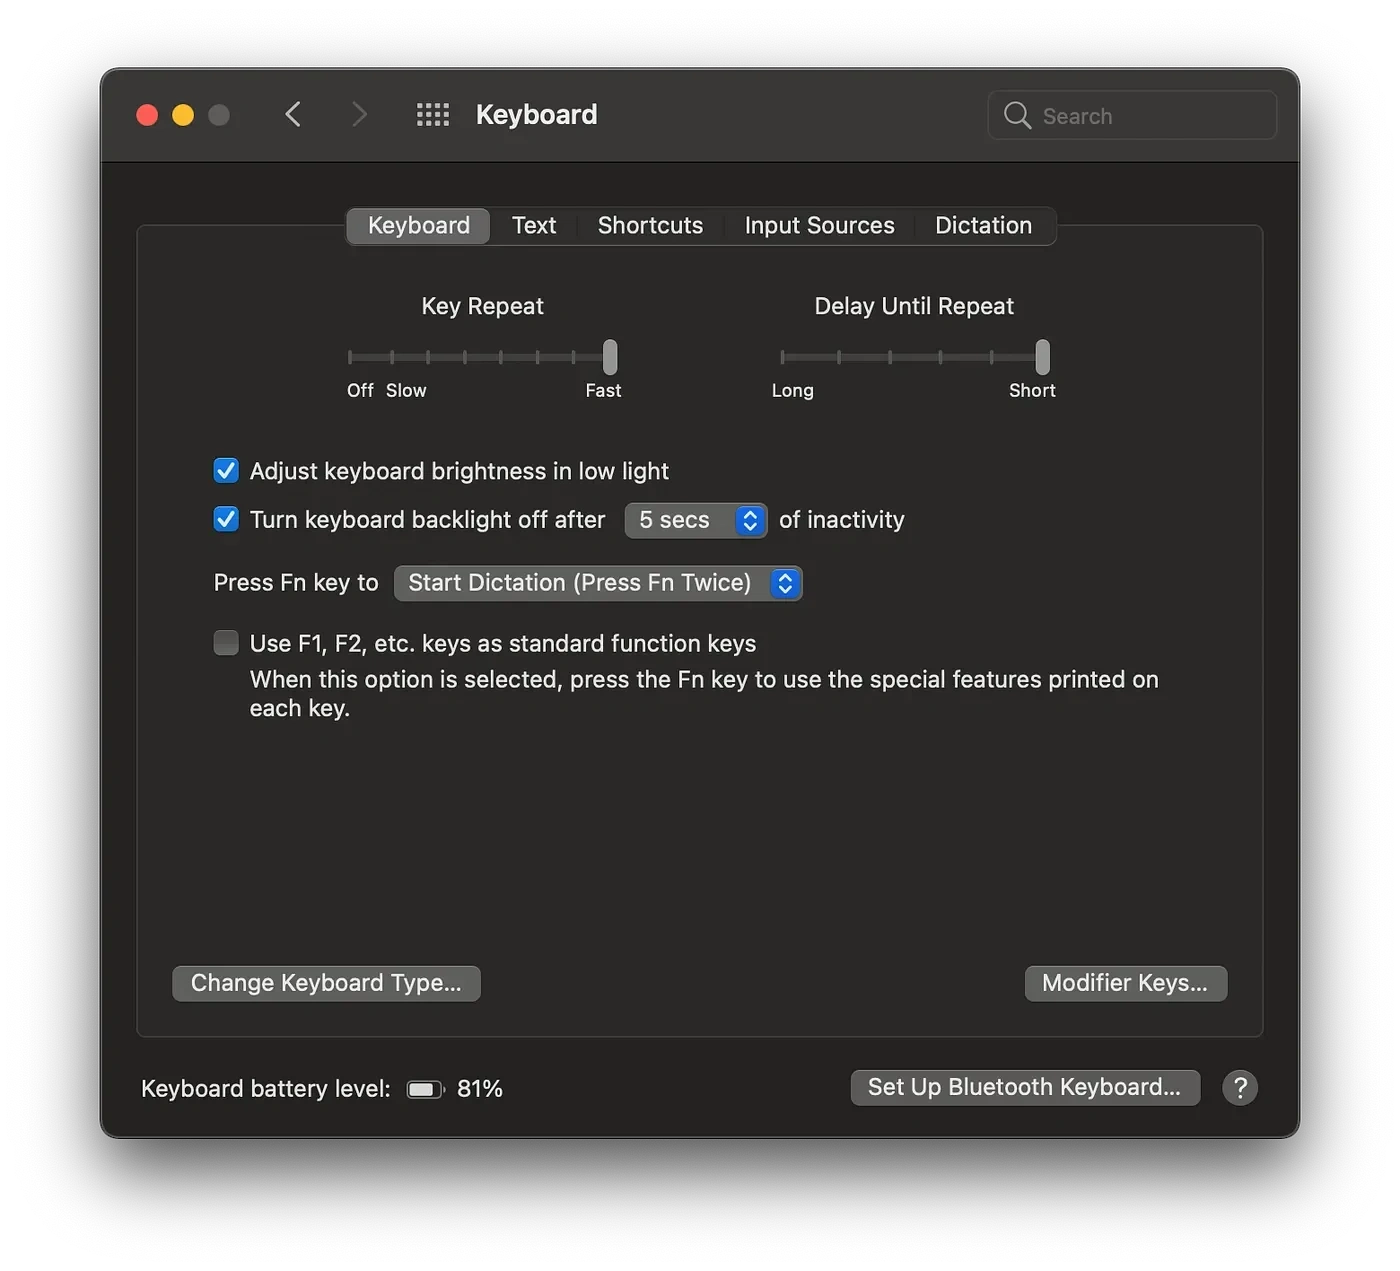
Keyboard settings window in the system preference on MacOS
Maximizing the two options of Key Repeat and Delay Until Repeat will accelerate the animations of your keyboard cursor and make your Mac feel faster.
If you write a lot, you might like applying these changes.
Tip 4. Remove as much menu bar items as possible

Image of the Menu bar on MacOS Big Sur
I have removed all menubar icons from my Mac. Why? The cleanliness and emptiness of the menu bar makes me feel I can breathe deeper. I won’t have to worry about the state of an App. I won’t have to find solutions which would help me hide some icons. All I really need out of the top-right side of my screen is the date, time, and the battery status.
To remove an app from the menu bar:
Hold
CMD on your keyboardLeft click and drag the app to the desktop
Release the mouse button
You’ll see an animation which shows the app is removed from the menu bar
In this article I wrote about:
Your Finder and Dock making them feel less cluttered and more purposeful
Get rid of useless applications and ask critical questions on whether an app is what you really need
Helped manage your inbox and reduce clutter to achieve some form of minimalism for your inbox
Find ways to tackle some common problems with your photos and videos
Change a couple of settings to make your Mac experience a little better
I hope this article helped you learn something. This is the first time I am writing about digital minimalism and I hope I could continue this path helping more with managing their Macs to achieve an enjoyable experience.
Like this project
Posted Nov 11, 2024
A minimalist approach enhances your Mac experience. This guide covers optimising Finder, Dock, apps, inbox, media, and settings for an enjoyable workflow.
Likes
0
Views
21