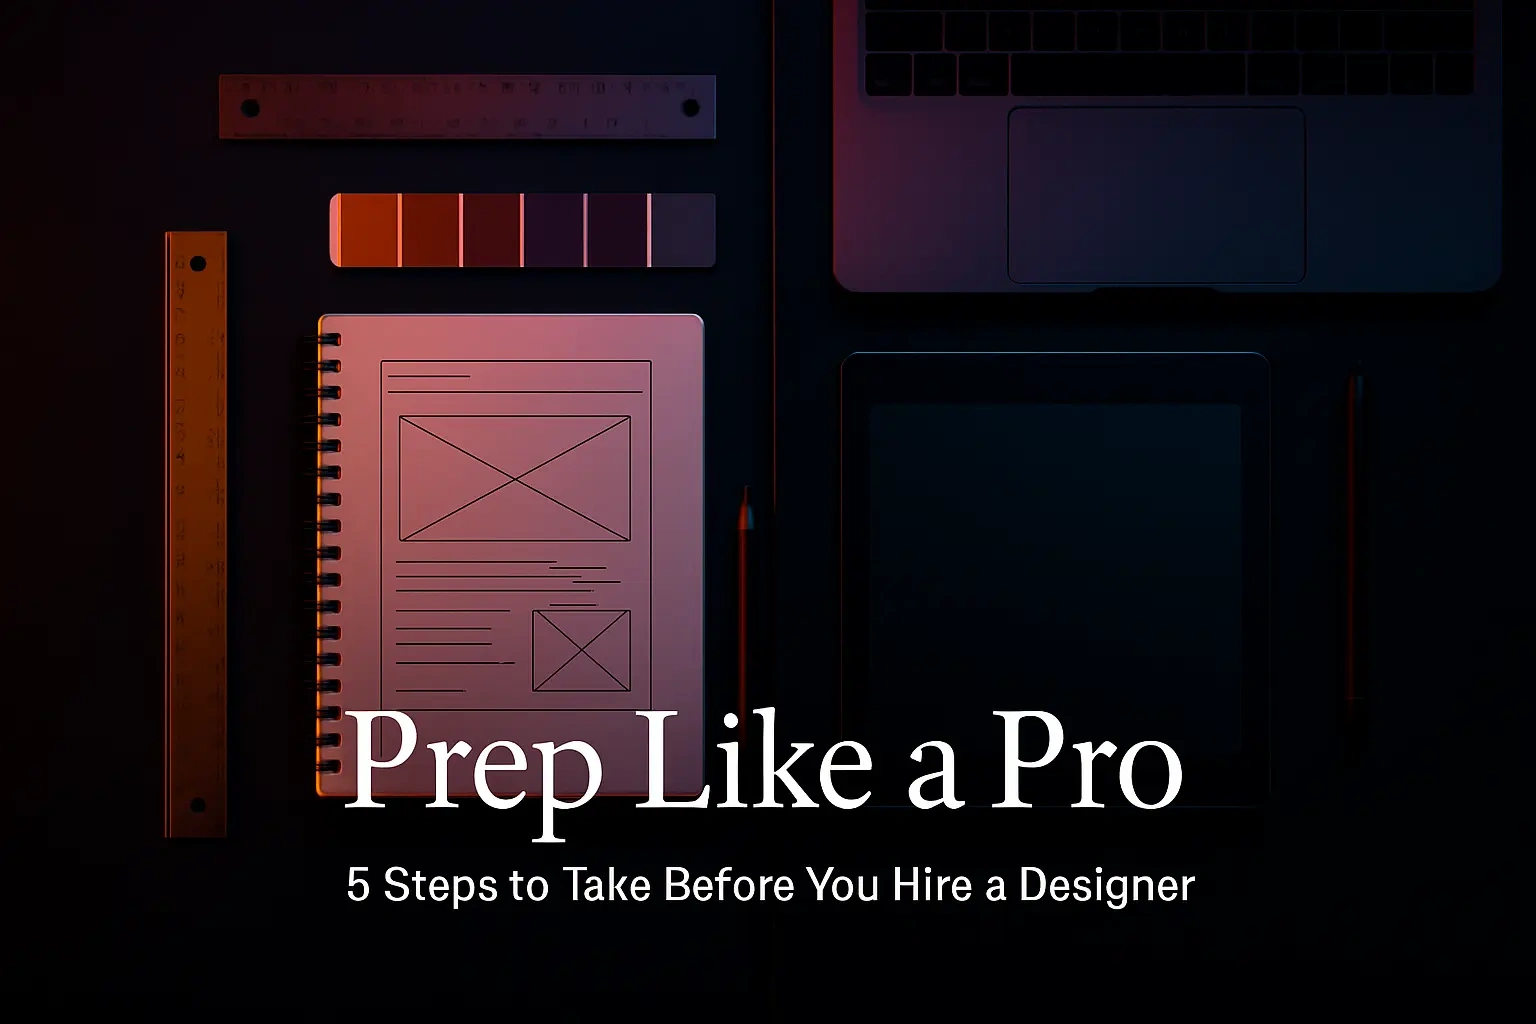
Prep Like a Pro: 5 Steps to Take Before You Hire a Designer
Randall Carter
Prep Like a Pro: 5 Steps to Take Before You Hire a DesignerWhy Preparation Prevents Poor PerformanceClarity Attracts the Right TalentSaving Time and MoneyThe 5-Step Pre-Hiring ChecklistStep 1: Define Your Project's 'Why' and 'What'Step 2: Set a Realistic Budget and TimelineStep 3: Gather Your Brand Assets and ContentStep 4: Conduct Competitor and Inspiration ResearchStep 5: Draft Your Design BriefReady to Hire: Finding Your Perfect MatchReferences
Prep Like a Pro: 5 Steps to Take Before You Hire a Designer
You've decided it's time to bring your vision to life with professional design work. That's exciting! But before you rush to hire a Figma designer, there's some groundwork that'll make all the difference. Think of it like planning a road trip – you wouldn't just hop in the car without knowing where you're going, right?
The truth is, the most successful design projects start long before the first pixel is placed. When you come prepared, you're not just making life easier for your designer. You're setting yourself up for better results, smoother communication, and a final product that actually hits the mark. Plus, you'll save time and money along the way. This guide walks you through five essential steps that'll transform you from a confused client into a design-savvy collaborator. And if you're new to the design world, don't worry – we'll keep things simple and practical. You might also want to check out our guides on writing a great design brief and Figma for First-Timers to round out your knowledge.
Why Preparation Prevents Poor Performance
Let's be real for a second. We've all been in situations where we jumped into something without proper planning. Remember that DIY furniture assembly that took three times longer than expected? Design projects can go the same way without preparation. But here's the good news: a little upfront effort pays huge dividends.
When you show up prepared, magic happens. You can explain exactly what you need instead of fumbling through vague ideas. You can look at designer portfolios and actually know if they're right for your project. And perhaps best of all, you'll get accurate quotes that won't surprise you later. It's like the difference between ordering "something with chicken" at a restaurant versus knowing you want the grilled chicken Caesar salad, hold the croutons.
Clarity Attracts the Right Talent
Here's something most people don't realize: the best designers are picky about their clients. They've been burned by disorganized projects before, and they can spot a potential headache from a mile away. When you present a clear, well-thought-out project, you're basically rolling out the red carpet for top talent.
Think about it from their perspective. Would you rather work with someone who says "I need a website, make it pop" or someone who says "I need a five-page portfolio site showcasing my photography work, with a modern, minimalist aesthetic that appeals to corporate clients"? The second client gets responses from designers who specialize in exactly what they need. The first one? They might get lucky, or they might end up with someone who's equally unclear about the project goals.
Clear communication is like a magnet for quality. When designers see that you've done your homework, they know you're serious. They can visualize the project, estimate accurately, and get excited about bringing your vision to life. You're not just another client – you're a potential partner in creating something great.
Saving Time and Money
Now let's talk dollars and sense. Every revision, every "actually, can we try something different?" moment costs time. And in the design world, time equals money. When you start a project without clear direction, you're basically signing up for a scenic route when you could take the highway.
Consider this scenario: Sarah needs a logo for her new bakery. She hires a designer without much preparation, saying she wants something "fun and fresh." The designer creates three concepts, but none feel right. After several rounds of revisions, Sarah realizes she actually wanted something elegant and sophisticated to match her upscale pastries. Those extra rounds? They just doubled her design costs.
Compare that to Tom, who spent a week preparing before hiring his designer. He knew his target audience, had examples of logos he liked, and could articulate why his tech startup needed a bold, geometric design. His designer nailed it on the second try. Tom saved money, the designer saved time, and everyone walked away happy.
The math is simple. Every hour you spend preparing can save you three to five hours during the actual project. That's not just about money – it's about getting to market faster, reducing stress, and building better relationships with creative professionals.
The 5-Step Pre-Hiring Checklist
Ready to set yourself up for success? These five steps will transform you from design newbie to prepared client. Don't worry if some of this feels new – that's exactly why we're walking through it together. By the end, you'll have everything you need to attract the right designer and get the results you're after.
Step 1: Define Your Project's 'Why' and 'What'
Before you think about colors or layouts, you need to nail down the fundamentals. What problem is your design solving? It sounds simple, but you'd be surprised how many people skip this step. They jump straight to "I need a website" without asking "Why do I need a website?"
Start with the why. Are you trying to attract more customers? Build credibility? Sell products online? Make information easier to find? Your answer shapes everything that follows. A site designed to generate leads looks very different from one designed to showcase artistic work.
Next, get specific about the what. Instead of "I need a new website," try "I need a 10-page website that showcases our consulting services, includes case studies, and makes it easy for potential clients to book discovery calls." See the difference? The second version gives your designer a roadmap.
Write down your answers to these questions:
What specific problem will this design solve?
Who is my target audience?
What action do I want people to take?
How will I measure success?
Don't overthink it. Even rough answers are better than none. You can refine them as you go, but having this foundation makes every other decision easier.
Step 2: Set a Realistic Budget and Timeline
Money talk might feel uncomfortable, but it's crucial. Here's the thing: design budgets aren't just about the designer's fee. You might need stock photos, premium fonts, or specialized plugins. Maybe you'll want professional copywriting or photography. These extras can add up fast if you're not prepared.
Start by researching typical rates for your type of project. A simple logo might run $500-2,000, while a complete website redesign could be $5,000-20,000 or more. These ranges are wide because every project is unique. Your preparation helps narrow them down.
When setting your budget, add a 20% buffer. Trust me on this one. Projects have a way of expanding, and you don't want to cut corners on the final stretch. If your absolute maximum is $5,000, plan for $4,000 and keep that last thousand as your safety net.
Timeline planning needs the same realistic approach. If you think your project will take four weeks, plan for six. Why? Because you'll need time to:
Review and provide feedback on designs
Gather any additional materials the designer requests
Test and refine the final product
Handle unexpected delays (they always pop up)
Remember, good design takes time. Rushing leads to mistakes, miscommunication, and mediocre results. Give your project room to breathe.
Step 3: Gather Your Brand Assets and Content
This step is where the rubber meets the road. You need to collect everything your designer might need in one organized place. Think of it as packing a suitcase for your design journey – you want everything easily accessible when you need it.
Create a dedicated folder on your computer or cloud storage. Inside, organize subfolders for:
Logos: Include every version you have (color, black and white, different file formats)
Brand Guidelines: Colors (with exact codes), fonts, tone of voice, any existing style rules
Content: All text for your project, organized by page or section
Images: High-resolution photos, illustrations, or graphics you want to use
Examples: Screenshots of designs you like (we'll cover this more in Step 4)
Don't have all of this? That's okay! Make a list of what's missing. Maybe you need to write website copy or take product photos. Knowing what you don't have is just as important as organizing what you do have.
Pro tip: If you're providing text content, run it through spell check first. Your designer isn't your editor, and clean copy helps them focus on making it look great rather than catching typos.
Step 4: Conduct Competitor and Inspiration Research
Time to put on your detective hat. This step is actually fun – you get to explore what's already out there and figure out what speaks to you. But we're not just browsing aimlessly. We're building a visual vocabulary to communicate with your designer.
Start with your competitors. Visit 5-10 competitor websites or look at their marketing materials. Take screenshots and make notes:
What do they do well?
What feels outdated or confusing?
How do they position themselves?
What makes them unique (or not)?
Next, cast a wider net. Look beyond your industry for inspiration. Maybe you love the clean lines of a architecture firm's website, or the playful colors of a children's app. Great design transcends industries, and fresh perspectives often come from unexpected places.
As you collect examples, be specific about what you like. Instead of "I like this website," try "I like how the navigation stays visible when scrolling" or "The way they use white space makes it feel premium." These specific observations become powerful communication tools.
Create a simple document with your findings:
3-5 competitor examples with notes on what to emulate or avoid
5-10 inspiration examples with specific elements you admire
Any strong dislikes (knowing what you don't want is valuable too)
This isn't about copying – it's about understanding the landscape and articulating your preferences. Your designer will use this to create something uniquely yours.
Step 5: Draft Your Design Brief
Here's where everything comes together. Your design brief is like a recipe that combines all your ingredients into one clear document. It doesn't need to be fancy – clarity beats creativity here.
Your brief should include:
Project Overview: A one-paragraph summary of what you need and why. Pull from your Step 1 work here.
Goals and Objectives: List 3-5 specific things this design should achieve. Be measurable where possible.
Target Audience: Describe who will interact with this design. Include demographics, preferences, and pain points.
Scope and Deliverables: Exactly what you need created. Be specific about quantities, sizes, and formats.
Timeline: Your ideal start date, major milestones, and final deadline.
Budget Range: You don't need an exact number, but a range helps designers know if they're a fit.
Brand Information: Summarize your brand personality, values, and any existing guidelines.
Content and Assets: List what you'll provide and what you need the designer to source.
Inspiration and References: Include key examples from your research with notes about what you like.
Success Metrics: How will you measure if the design works? More sales? Better engagement? Clearer communication?
Keep each section concise. Your designer will ask for more detail where needed. The goal is to give them enough information to understand the project and provide an accurate proposal.
Ready to Hire: Finding Your Perfect Match
Look at you now! You've gone from "I need design help" to having a clear vision, organized assets, and a professional brief. That's no small feat. You're now in the top 10% of clients who actually come prepared, and designers will notice.
With these five steps complete, you're ready to start reaching out to designers with confidence. You can evaluate portfolios more effectively because you know what you're looking for. You can have meaningful conversations because you understand your own needs. And you can make better hiring decisions because you're comparing apples to apples, not hoping for the best.
Remember, great design partnerships are built on clear communication and mutual respect. By doing this preparation, you're showing potential designers that you value their time and expertise. You're setting the stage for a smooth, successful project that delivers real results.
So what's next? Take your beautifully prepared materials and start connecting with designers who match your vision. Whether you're building a brand from scratch or refreshing an existing one, you're now equipped to make it happen. The hardest part – figuring out what you actually need – is already done.
Your design journey starts with preparation, but it certainly doesn't end there. Stay engaged, provide thoughtful feedback, and trust the process. With the foundation you've built, you're not just hiring a designer – you're investing in your business's future success.
References
Like this project
Posted Jul 6, 2025
Set your design project up for success. Follow these 5 essential steps before you hire a Figma designer to ensure a smooth process and outstanding results.