Payment link for businesses in Africa
Bayo Adegoke
'
Introduction
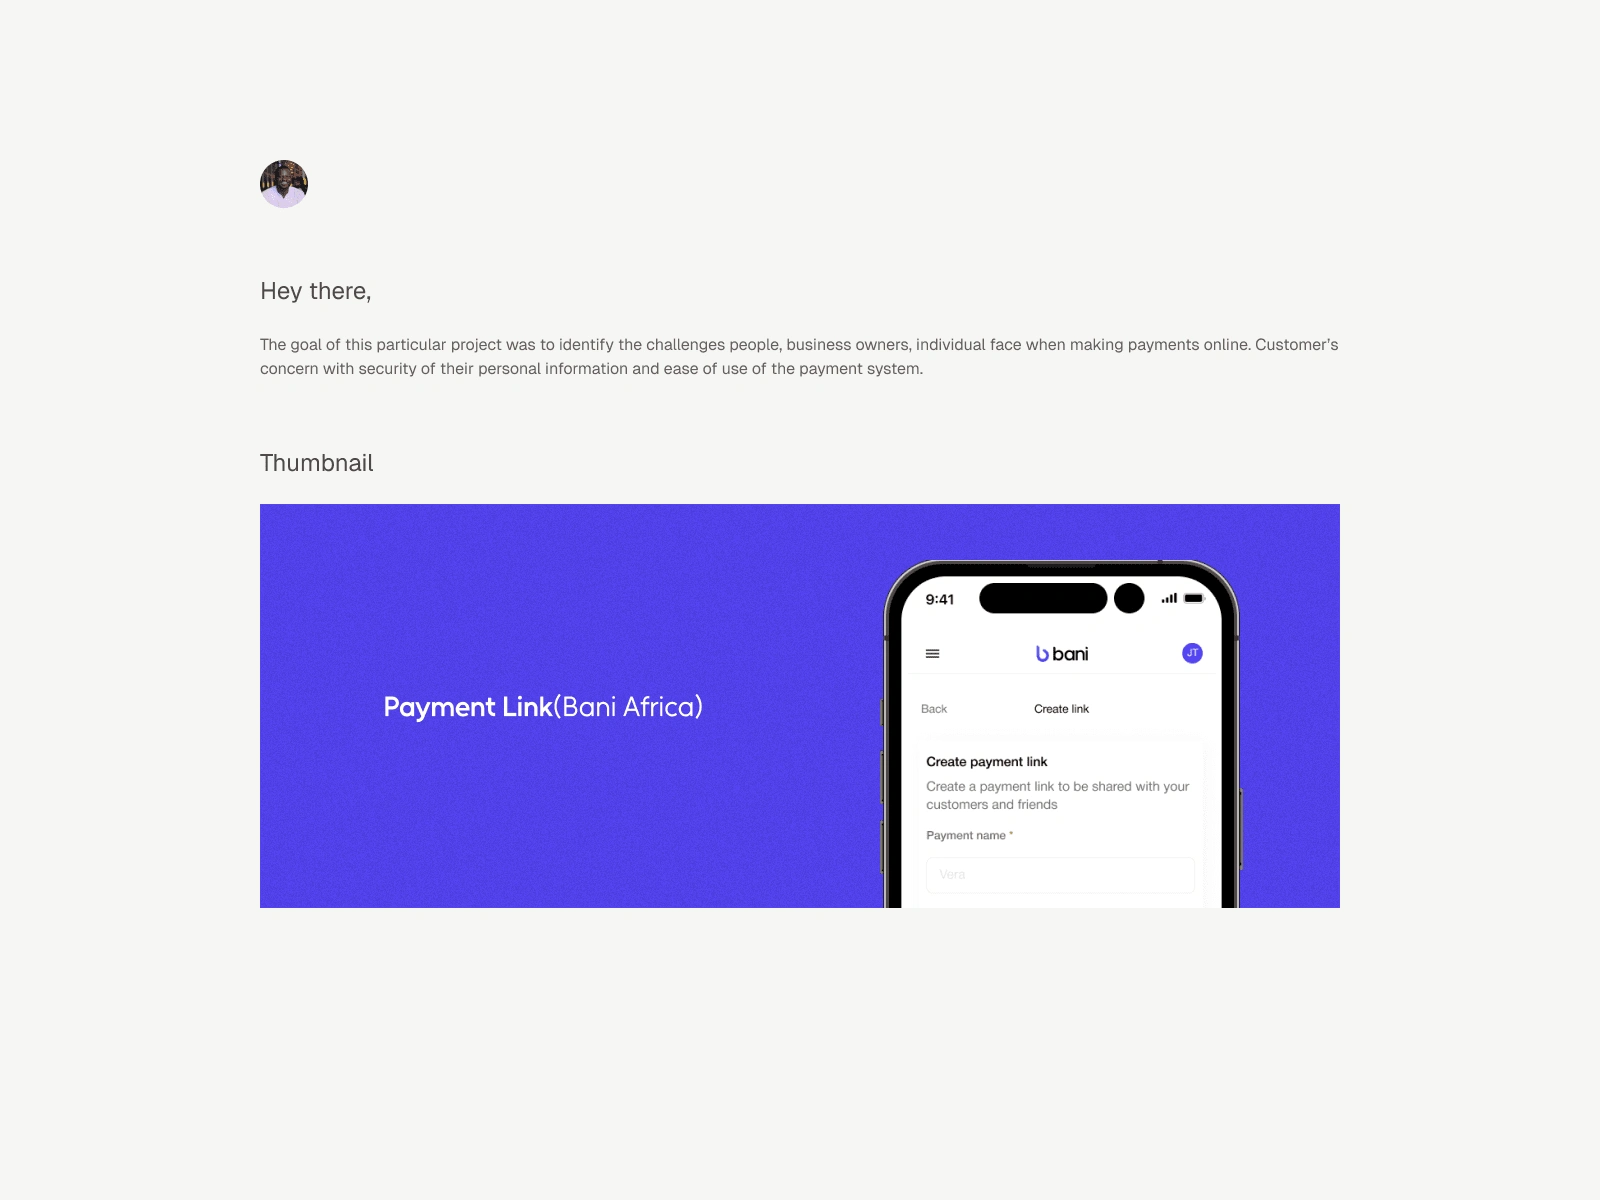
Payment link refers to a unique URL or web address that directs customers to a secure online payment page. This payment link can be used to receive payments from customers who are unable to pay directly through a company’s website. This type of payment system is particularly useful for businesses that sell products or services online but don’t have a secure payment gateway integrated into their website.
'
Background
Bani Africa is a Fintech company that provide payment services such as virtual accounts, payment link and more. They are building alternative payment infrastructure for the Global Economy. Which means they are building infrastructure that is super easy for any business to easily and seamlessly collect alternative payments from their customers.
'
Process
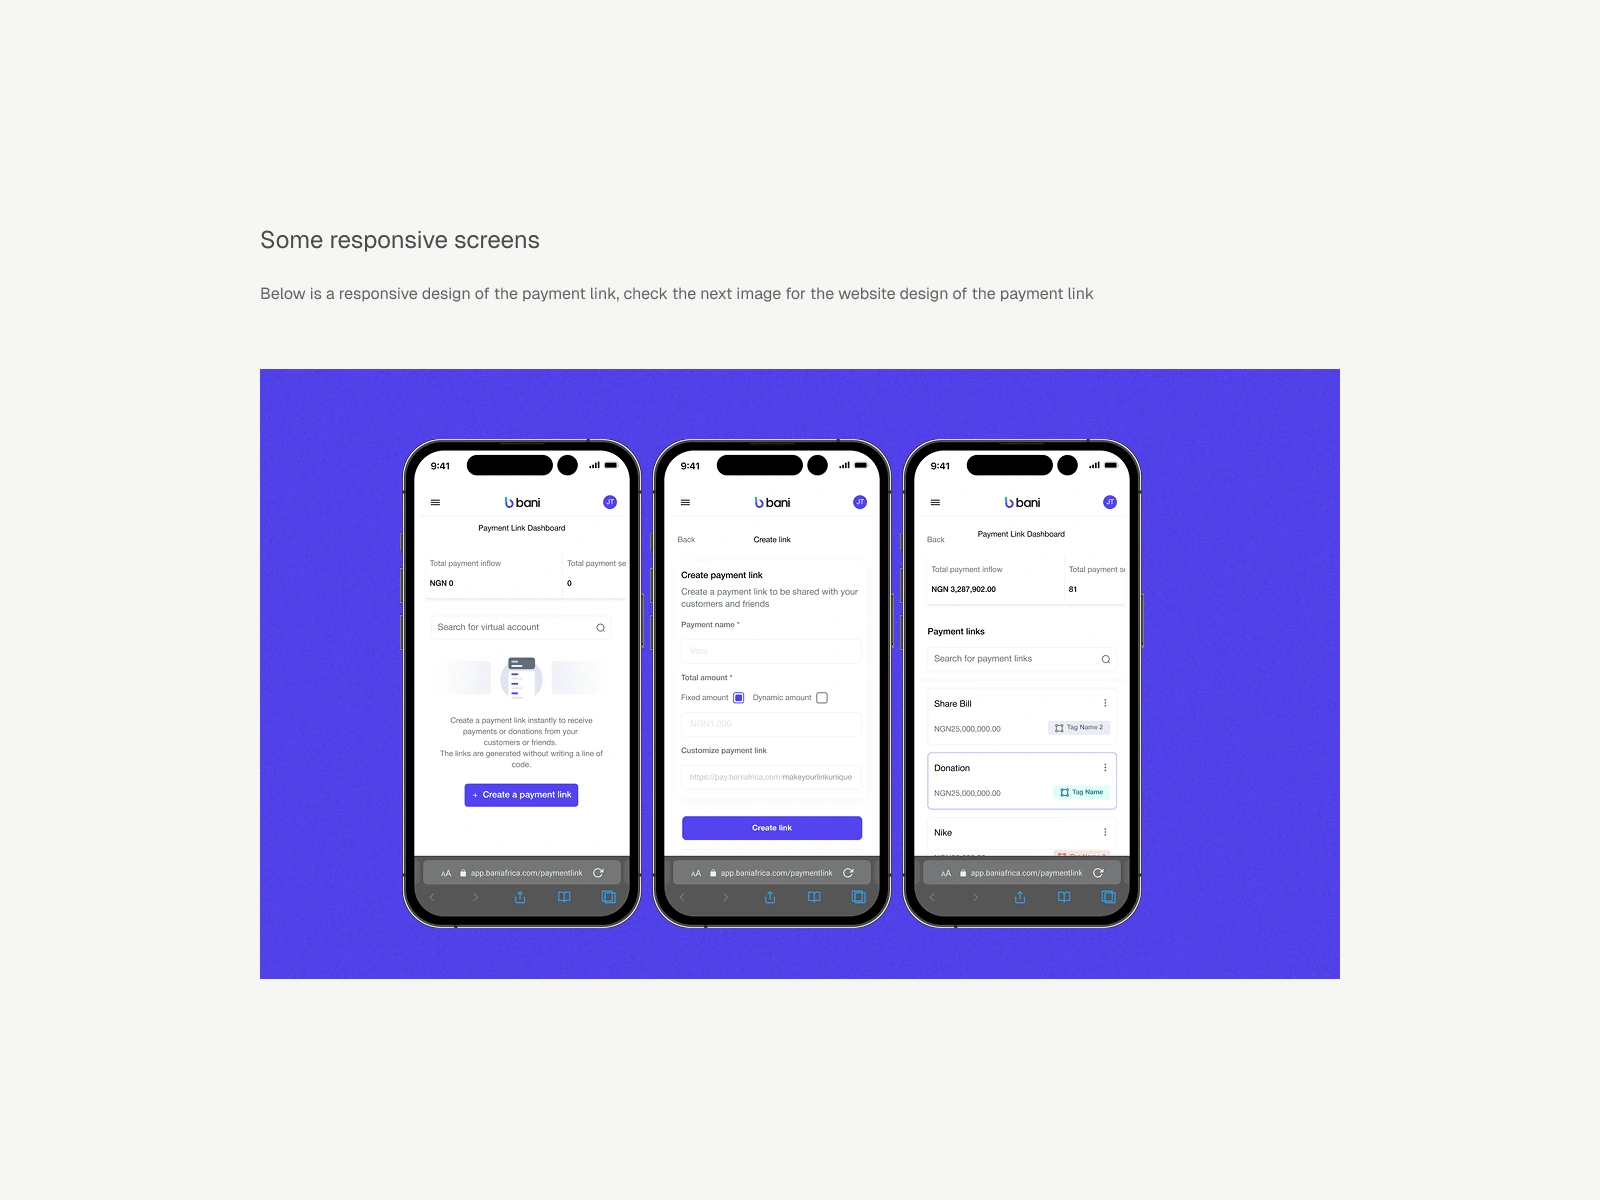
The design process involved several stages, including prototyping, testing, and iteration. In the initial stage, I created a low-fidelity wireframe of the payment link that would be integrated into the website. The wireframe included the main features of the payment link, such as the payment form, the payment options, and the confirmation page. I then created a high-fidelity prototype that was tested by several users. The prototype was designed to be user-friendly and intuitive, with clear instructions and easy-to-understand icons. The next step was to conduct user testing sessions to see how users interacted with the payment link. During the testing sessions, we observed how users navigated through the payment form and the confirmation page, and how they responded to various prompts and notifications. Based on the feedback received, I made several changes to the design, including adjusting the placement of certain elements and adding additional information to help users understand the payment process. Finally, I conducted a thorough quality assurance (QA) testing to ensure that the payment link was functioning correctly and that there were no bugs or errors. The QA testing was performed by a dedicated team of testers who conducted extensive testing on various devices and browsers.
'
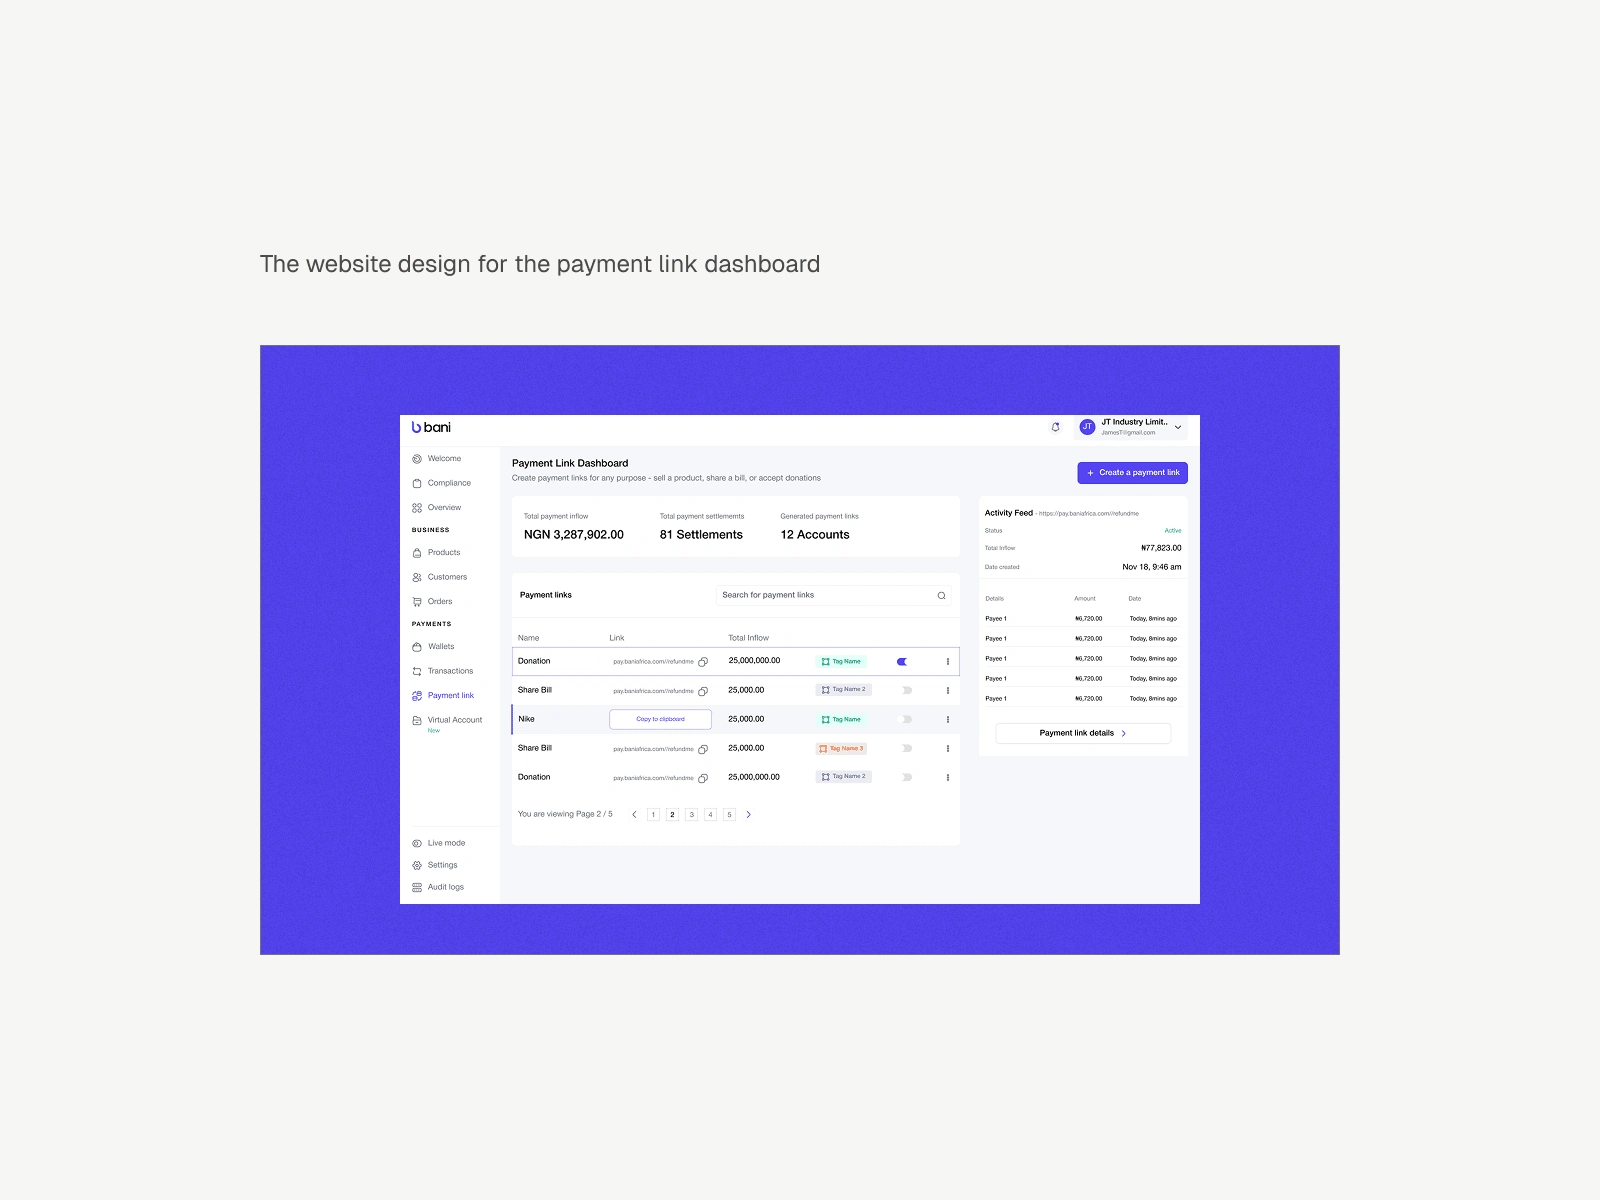
Outcome
The final product was a secure and user-friendly payment link that made it easy for customers to make payments for their purchases.
'
''
Due to non-disclosure agreements with Bani Africa, I have limitation to what I can share from the designs, as they contain sensitive information and architecture.
Conclusion
The payment link project was a success because we approached the design process with a customer-focused mindset. By conducting thorough research and user testing, we were able to create a payment link that was both secure and easy to use. The payment link helped streamline the checkout process and provided customers with a seamless and secure experience.
Like this project
Posted Mar 5, 2025
Designed to make the payment process as simple and convenient as possible.
Likes
0
Views
8
Timeline
Oct 10, 2022 - Dec 30, 2022
Clients
Bani