Logos & Marks © Volume 3
Dima Grey
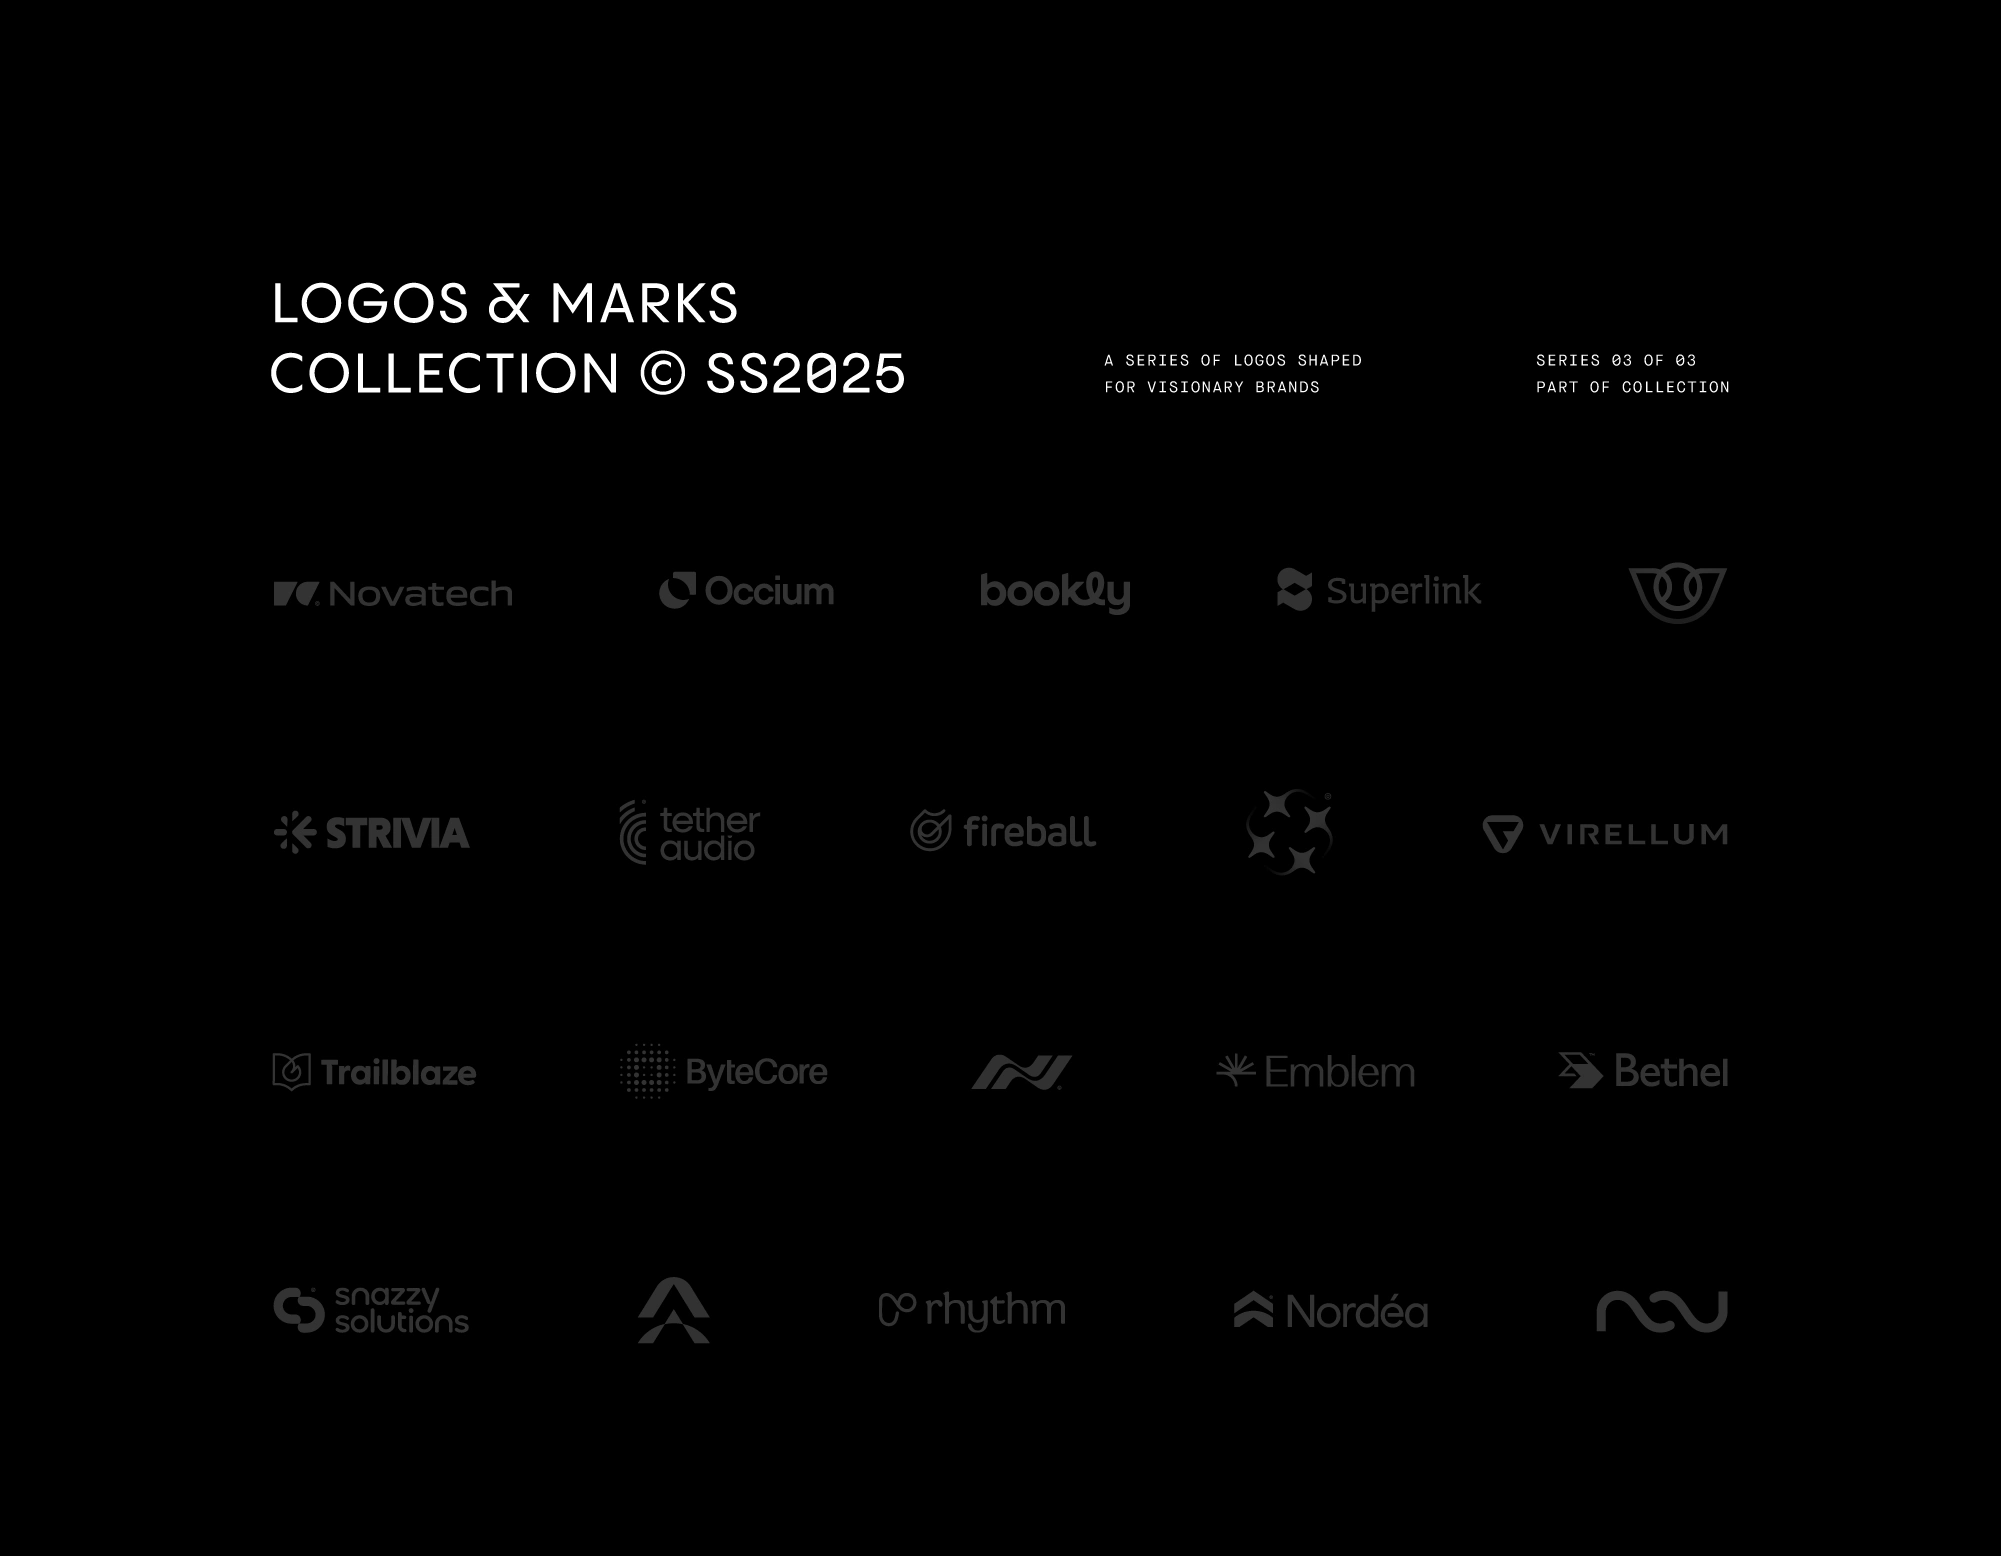
Logos & Marks 2025 © Volume 3
A featured collection of logos designed for visionary brands. Focused on clarity, balance, and timeless simplicity, each mark is built to scale, adapt, and lead.


Like this project
Posted Nov 18, 2025
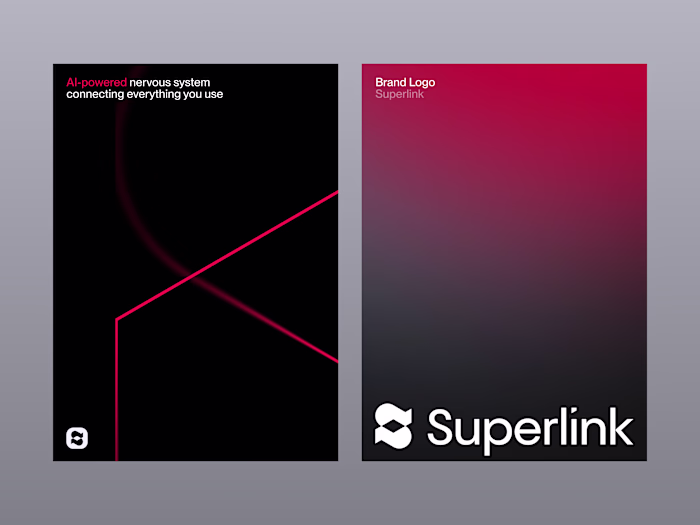
A series of logos and marks that balance bold minimalism with clarity, designed to speak only what truly matters.
Likes
2
Views
18