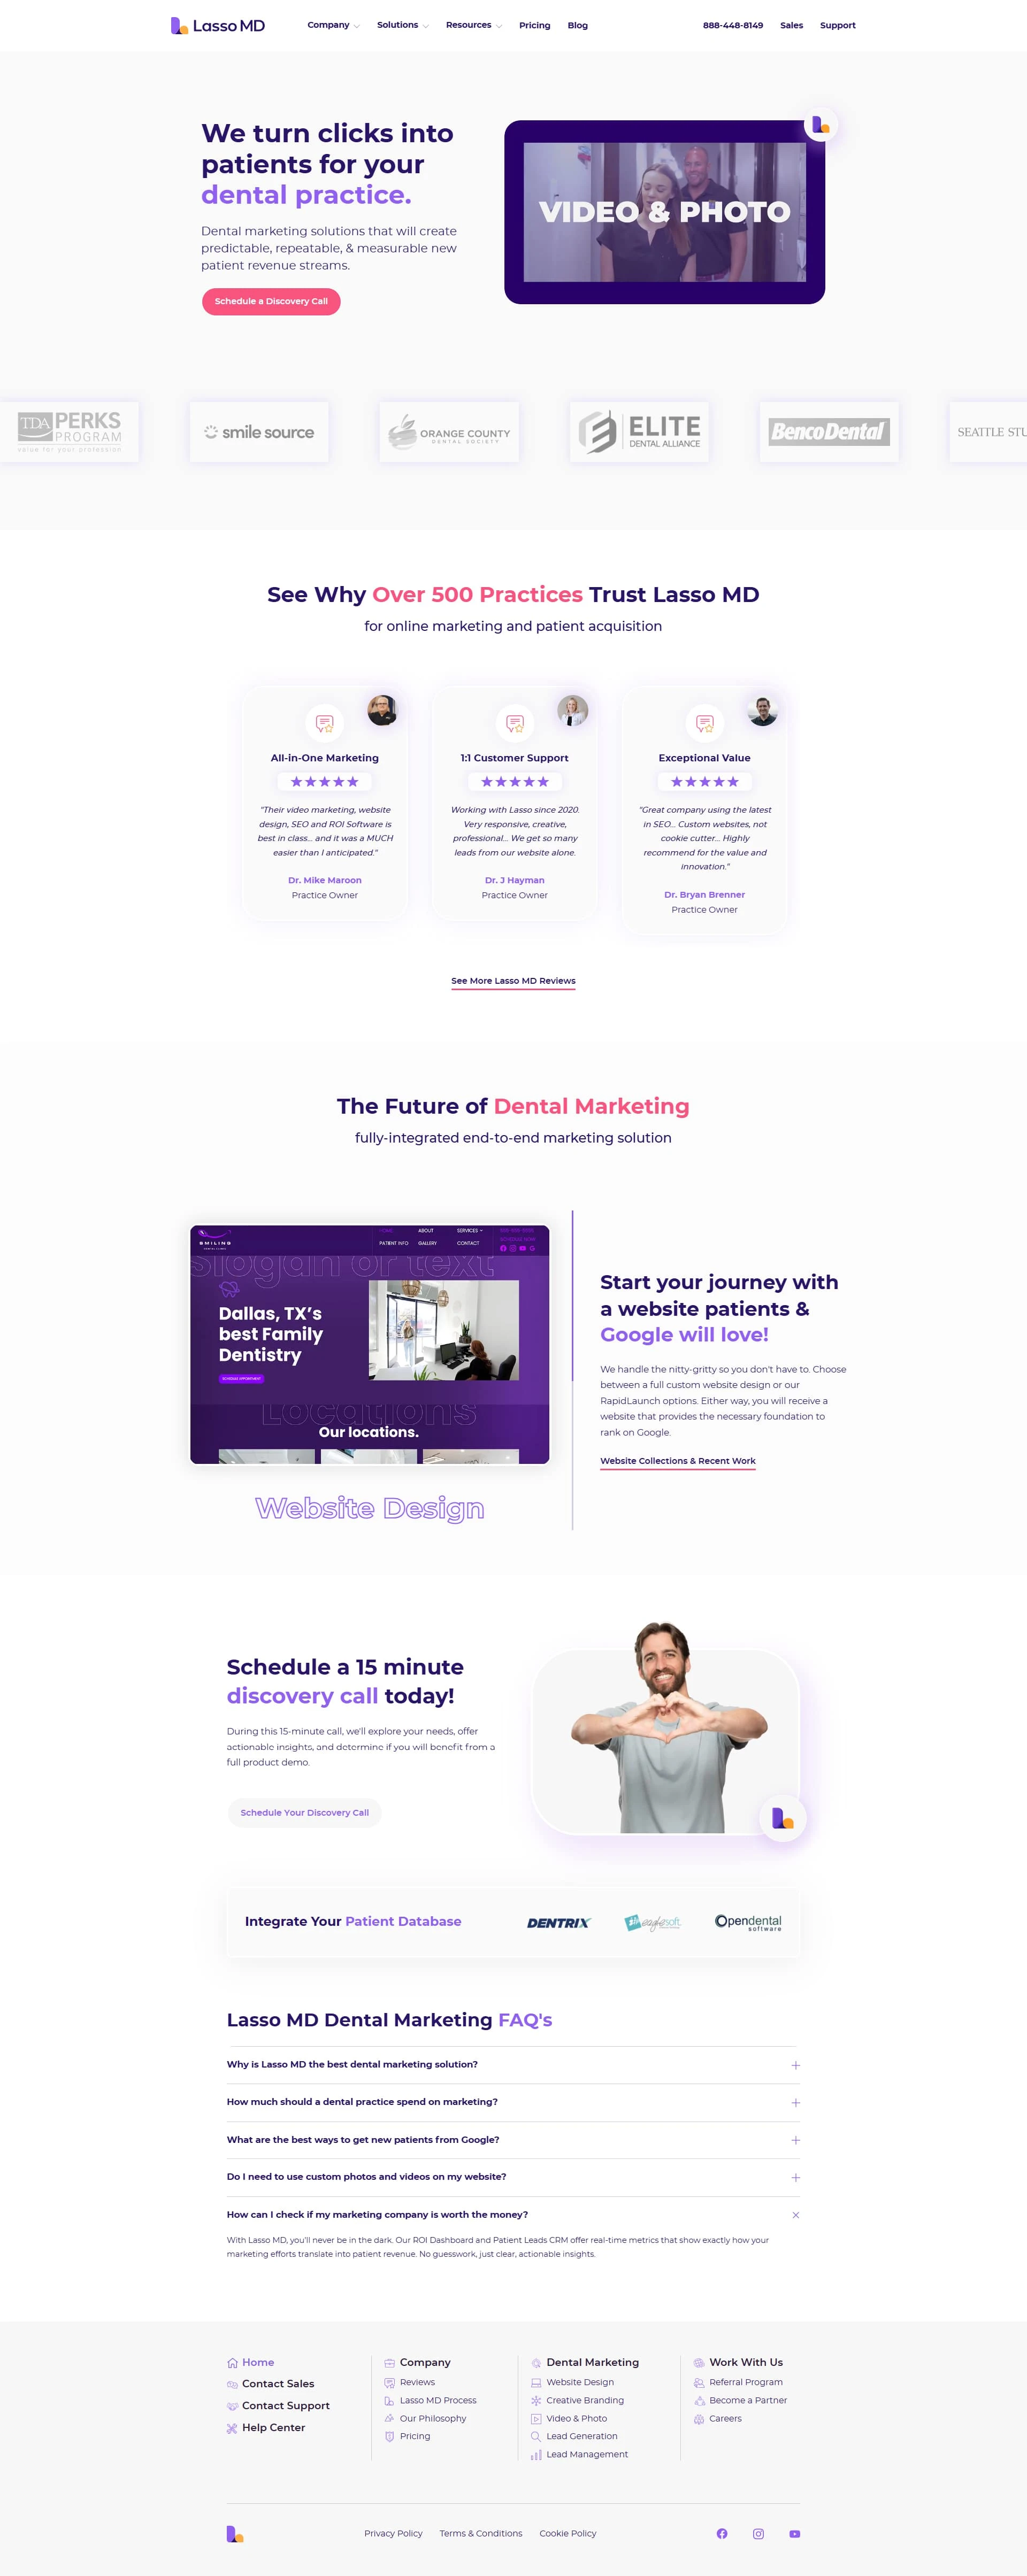
Webflow website for Dental Marketing & Software Solution
Building a website like LassoMD in Webflow involves a structured approach that ensures a responsive, visually appealing, and functional site. Here’s a step-by-step breakdown:
1. Project Planning & Research
📌 Understand Business Goals – Define the website’s purpose, target audience, and key features.
📌 Analyze LassoMD’s Design – Study its layout, UI/UX structure, typography, animations, and functionality.
📌 Gather Brand Assets – Logo, brand colors, fonts, images, and content.
2. Wireframing & UI Design
📝 Create Wireframes – Sketch out the page structure and user journey.
🎨 Design High-Fidelity Mockups – Using Figma or Adobe XD, design the homepage, product pages, and other sections to match the brand identity.

3. Webflow Development
⚡ Set Up Webflow Project – Configure site settings, SEO metadata, and global styles.
🖥 Develop Core Pages – Build Home, About, Services, Contact, and other key pages.
📌 Implement CMS for Dynamic Content – Blog posts, testimonials, or case studies.
🎬 Add Interactions & Animations – Smooth scrolling, hover effects, and page transitions.
4. Content Integration & Optimization
🖼 Upload & Optimize Images – Ensure fast loading and mobile compatibility.
📄 Insert SEO-Friendly Copy – Write engaging content with proper headings and keywords.
📊 Integrate Analytics & Forms – Google Analytics, contact forms, and lead capture.
5. Testing & Deployment
✅ Cross-Browser & Device Testing – Ensure seamless experience across all screen sizes.
🚀 Speed Optimization – Compress images, minify code, and enable caching.
🔍 Final SEO & Performance Checks – Run tests using Google PageSpeed & Webflow audits.
6. Launch & Post-Launch Maintenance
🚀 Go Live – Publish the site on Webflow’s hosting or custom domain.
🔄 Monitor Performance – Track analytics and optimize based on user behavior.
🛠 Ongoing Updates – Regularly update content, fix bugs, and enhance features.
Like this project
Posted Mar 25, 2025
I have designed and build this website on Webflow. Lasso MD’s marketing and software solutions cover everything from lead generation to patient scheduling.
Likes
0
Views
10


