How To: Create a Website on Webflow

Desiree Thomas
May 24, 2023
· 5 min read
Creating your own website can seem like an intimidating task, but thanks to platforms like Webflow, the process is made incredibly accessible for individuals at any level of technical knowledge. Webflow is a responsive website builder that empowers you to design, build, and launch your website without writing a single line of code. With an intuitive visual interface, customizable templates, and robust SEO tools, Webflow puts you in the driver's seat of your online presence.
In this guide, we'll walk you through a step-by-step process of building your first website on Webflow 👇
Creating an Account 💻
Signing up for Webflow, whether as a free user or as a paid client, is a straightforward process. You start by visiting the Webflow website and clicking on the "Get Started for Free" button. This will prompt you to enter your details such as your name, email, and password. If you wish to continue as a free user, you can do so, enjoying limited features of the platform.
However, to access the full suite of Webflow's features and resources, you would need to choose a plan that suits your needs and budget. This would typically involve selecting a plan, entering payment details, and agreeing to Webflow's terms of service. It's always recommended to review the details of each plan to make sure it aligns with your needs.
Source: webflow.com
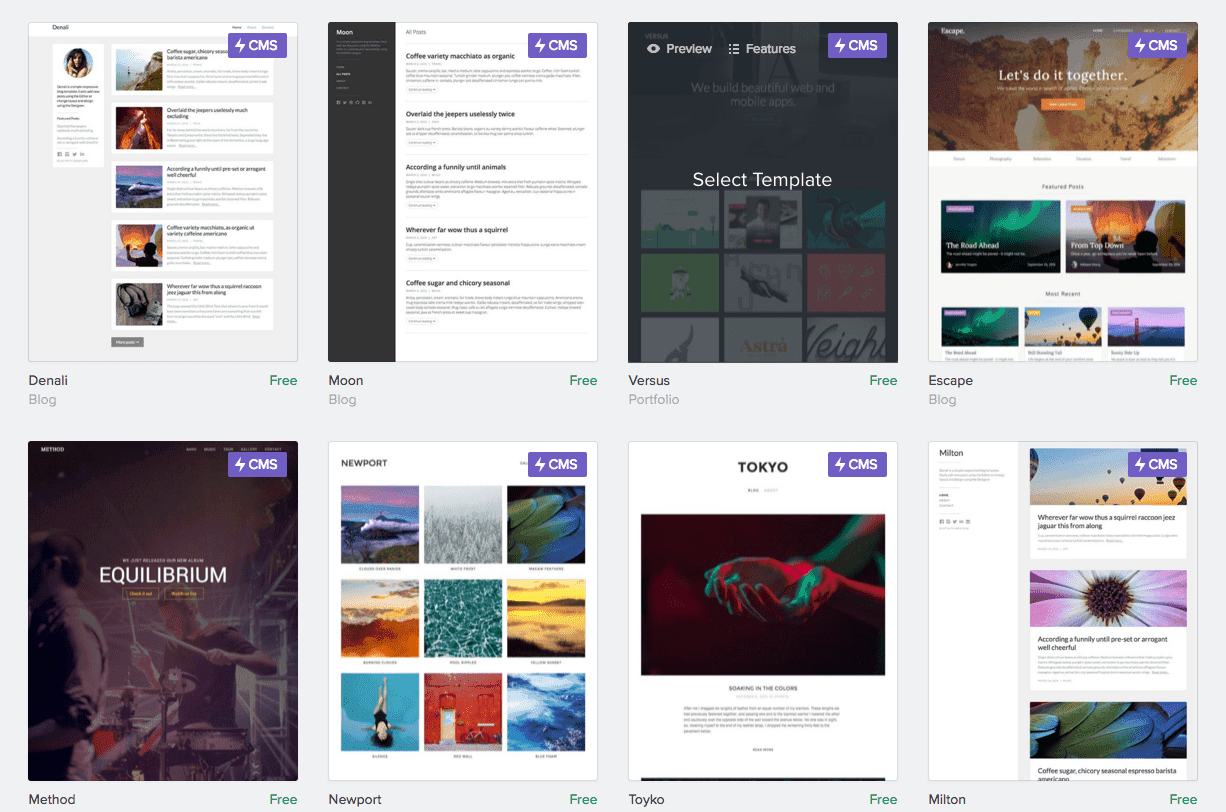
Choosing a Template or Starting from Scratch 💪
The first step in creating your website is deciding whether to start with a blank canvas or choose from one of Webflow's many customizable templates. If you have a clear vision for your website's layout and design, starting from scratch might be your best bet. However, if you need a bit of inspiration, Webflow offers a wide range of templates for various industries and purposes, from portfolios to e-commerce stores. Be sure to check out the free templates vs premium templates! 👀
Regardless of which option you choose, Webflow's intuitive interface allows you to easily drag and drop elements, resize blocks, and adjust fonts and colors to suit your unique aesthetic.
Designing and Customizing Your Website 🎨
Now that you have your base, it's time to start designing and customizing your website. Begin by adding elements like text boxes, images, and buttons from Webflow's design panel. For instance, if you're creating an online store, you might want to add a product gallery. Simply select the "Gallery" element from the design panel, then drag and drop it onto your page. To add products, select the gallery, then use the settings panel to add images and adjust captions.
Remember, Webflow's design environment allows you to customize every detail of your site, so be sure to explore all the options and design until it feels just right.
🔥 Pro Tip: Check out sites built by Webflow for inspiration!
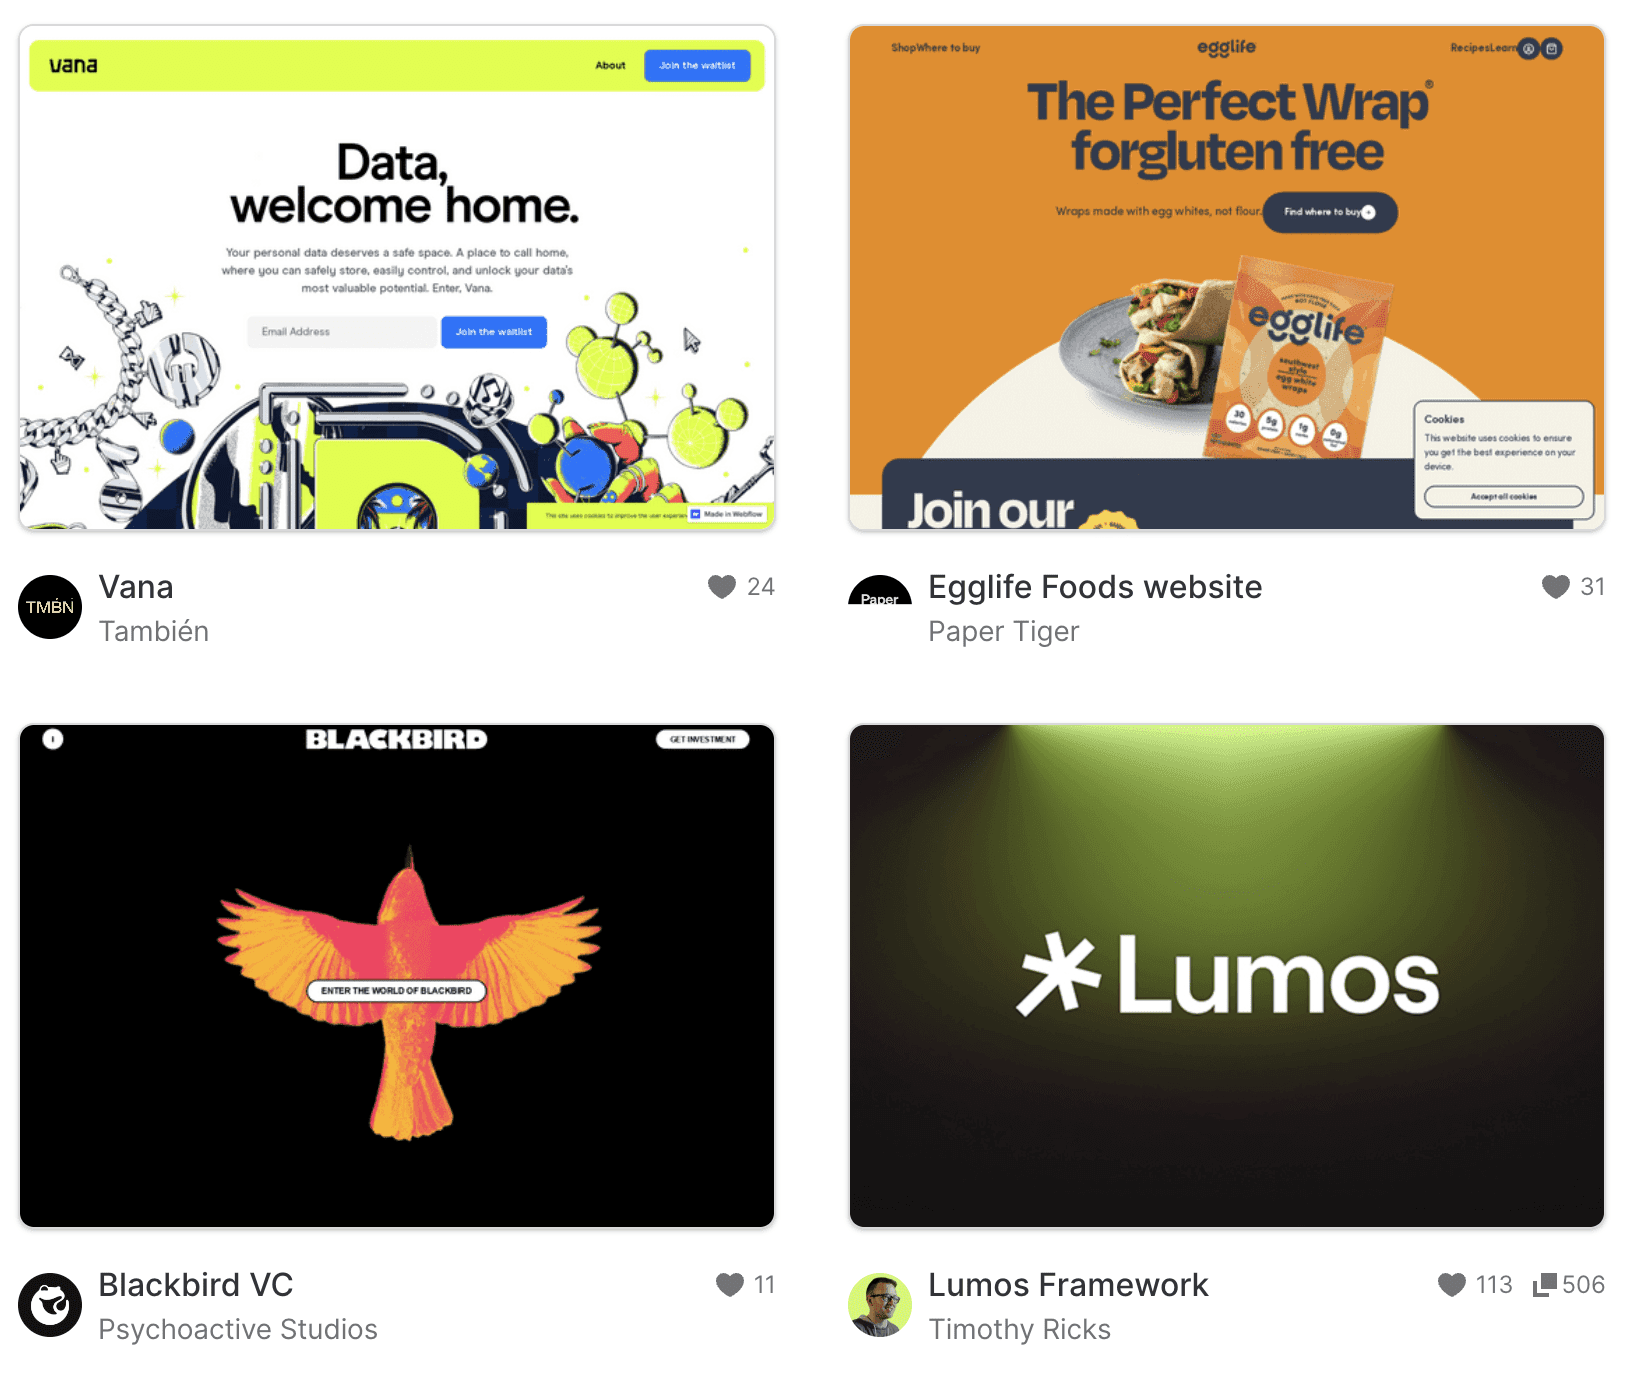
Source: webflow.com
Making new CMS entries
Making CMS entries in Webflow is an intuitive process that begins by navigating to your Webflow dashboard. From there, choose your project and click on the CMS tab located on the left side of your project's settings. Inside the CMS tab, click on the "Collections" section to see your existing collections or to create a new one. Click on the specific collection where you want to add an entry. After the collection opens, click on the "New Item" button which will open a form. This form corresponds to the structure of your collection and is where you can fill out the necessary fields such as name, description, images, etc., depending on the collection's structure. Once you've entered all the necessary information, you can save your entry by clicking on the "Create" button. This new item will now be a part of your collection, and it can be utilized dynamically on your website.
https://www.tiktok.com/@webflow/video/7197522011969703211
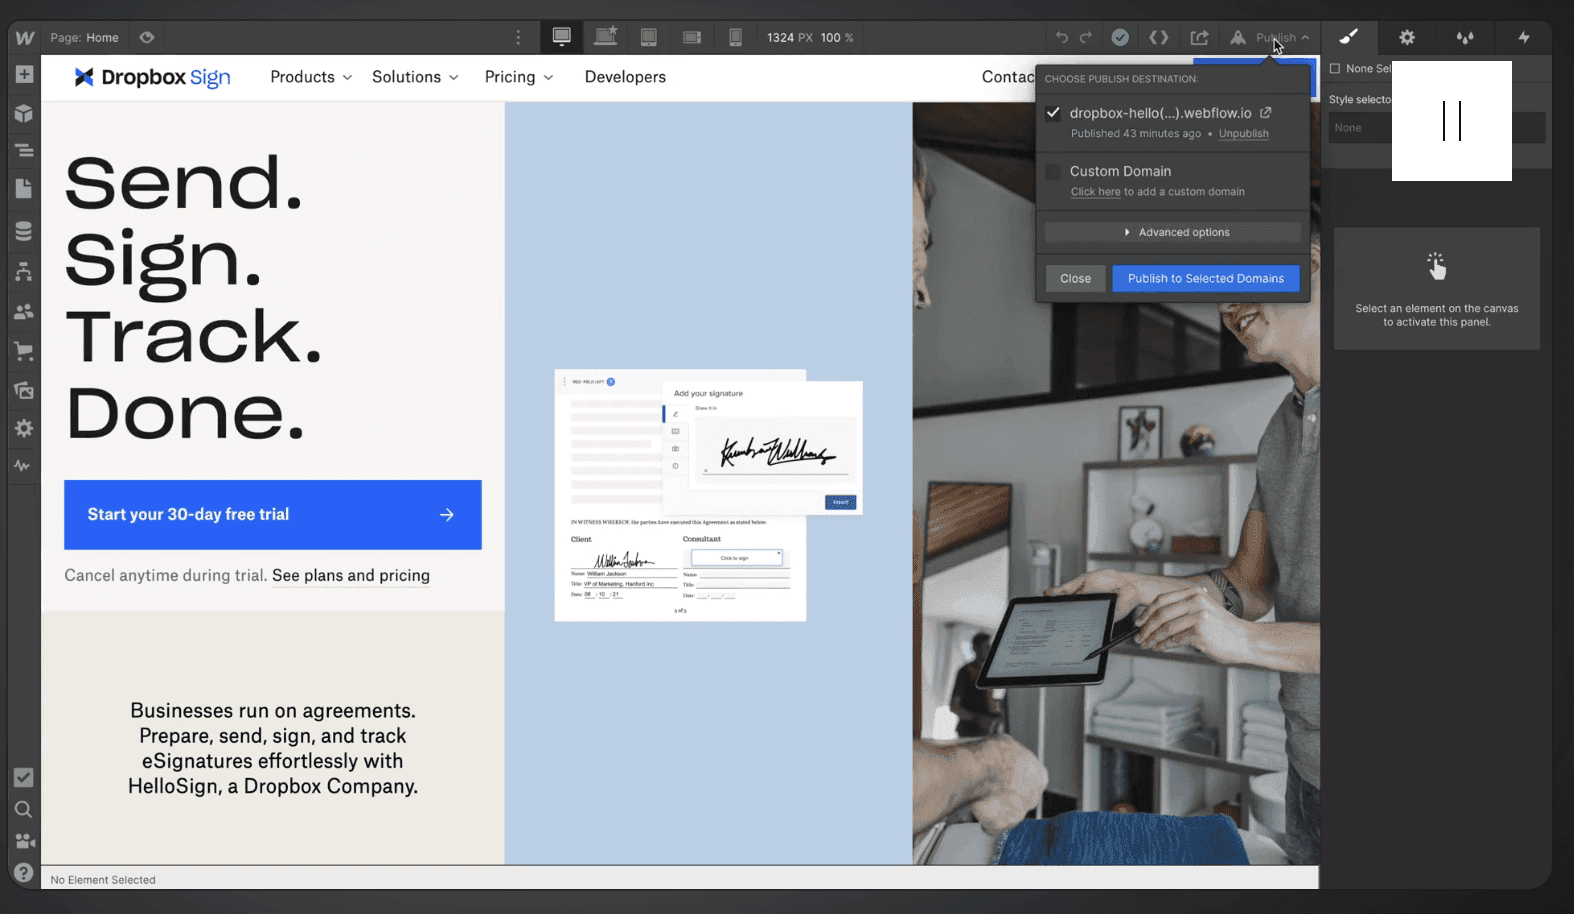
Setting Up Your Domain and Publishing Your Website 🛜
Once you're satisfied with your website's design, it's time to connect your domain and publish your site. Webflow makes this process straightforward by integrating with a variety of domain registrars. Go to your project settings, find the "Hosting" tab, and then enter your custom domain into the provided field.
After this, you'll need to update your DNS records in your domain registrar's site – this process may vary depending on the registrar, but detailed instructions are available from Webflow. When everything is set up correctly, you can press the "Publish" button and your website will be live.
Optimizing Your Website for Search Engines 🔎
With your website now live, it's important to ensure it can be easily discovered by your target audience. Webflow's built-in SEO tools make this easier than ever. Go back to your project settings and find the "SEO" tab.
Here, you can adjust your site's title and meta description, which are key factors that search engines use to understand your website. For instance, if you've built a bakery website, your title might be "Sweet Treats Bakery" and your meta description could be "Artisanal bakery in New York offering a wide variety of handcrafted pastries and cakes." By optimizing these aspects, you're improving your website's visibility and reach.
🔥 Pro Tip: Check out Webflow's "SEO and Webflow: the essential guide” for a full-breakdown!
Happy Webflow-ing! 🔥
And there you have it! With these steps, you can confidently create your own unique website using Webflow. Remember, the key to a great website is not just its design but also its content, so always strive to provide valuable and engaging content to your visitors. ✨
Need some help? Hire a freelance website designer on Contra today! 👇

Desiree Thomas
Social Media Manager at Contra
Dynamic and results-driven Social and Digital Marketing Manager with over 10 years of experience in crafting high- impact social media strategies for leading global brands.


