
Your Audio to Finished Podcast Episode by a Podcasting PioneerMatthew Selznick
Recording your podcast episode is the fun part... editing and producing that raw audio to create a great-sounding professional final product takes experience, expertise, and exacting, detail-oriented work that, let's face it, is not where you want to spend your time.
As one of the first podcasters (2004!) having edited and produced nearly 1,500 episodes for clients and myself, I'll direct my considerable expertise to taking your raw audio files and producing a ready-to-distribute MP3 audio file and, to take advantage of YouTube's new podcast features, MP4 video file.
I'll also provide a time-stamped transcript -- vital for search engine optimization and accessibility -- with, if applicable, each voice labeled.
What's included
Finished Audio Podcast Episode
MP3 file with metadata and cover image from your raw audio and cover art.
Timestamped Transcript of Podcast Episode
Timestamped transcript of podcast audio. Multiple voices labeled if applicable.
YouTube Audio Podcast Episode
MP4 video file suitable for upload for YouTube podcast playlist. Includes still image background with podcast name / logo and episode number and title, plus end card template if desired.
FAQs
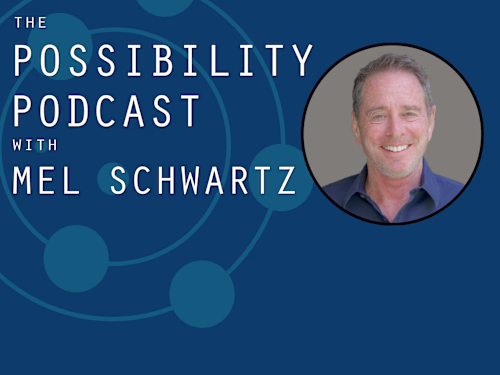
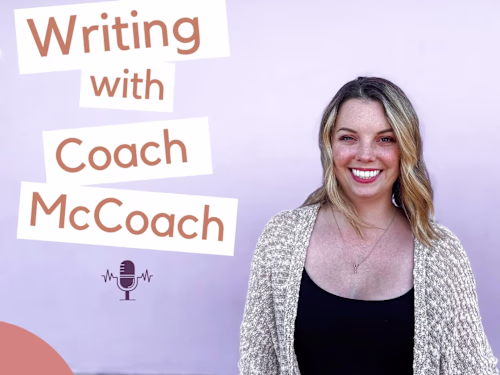
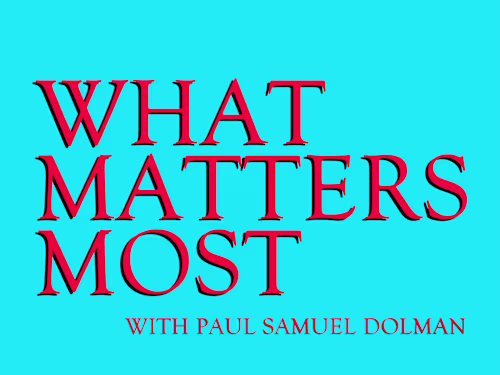
Example work
Matthew's other services
Starting at$75 /hr
Tags
Adobe Audition
DaVinci Resolve
Podcast Editor
Podcast Producer
Service provided by
Matthew Selznick Huntington Beach, USA
- 1
- Followers
Your Audio to Finished Podcast Episode by a Podcasting PioneerMatthew Selznick
Recording your podcast episode is the fun part... editing and producing that raw audio to create a great-sounding professional final product takes experience, expertise, and exacting, detail-oriented work that, let's face it, is not where you want to spend your time.
As one of the first podcasters (2004!) having edited and produced nearly 1,500 episodes for clients and myself, I'll direct my considerable expertise to taking your raw audio files and producing a ready-to-distribute MP3 audio file and, to take advantage of YouTube's new podcast features, MP4 video file.
I'll also provide a time-stamped transcript -- vital for search engine optimization and accessibility -- with, if applicable, each voice labeled.
What's included
Finished Audio Podcast Episode
MP3 file with metadata and cover image from your raw audio and cover art.
Timestamped Transcript of Podcast Episode
Timestamped transcript of podcast audio. Multiple voices labeled if applicable.
YouTube Audio Podcast Episode
MP4 video file suitable for upload for YouTube podcast playlist. Includes still image background with podcast name / logo and episode number and title, plus end card template if desired.
FAQs
Example work
Matthew's other services
$75 /hr