How to make a cool Github Profile

GitHub profile is an important aspect for programmers or Developers using GitHub. It showcases your works, and your profile, in short, it is your Introduction to the people visiting your profile. It’s fun and very easy to get started. Here are the steps I took to make mine “pretty” in no time, and I thought I’d share what I found…
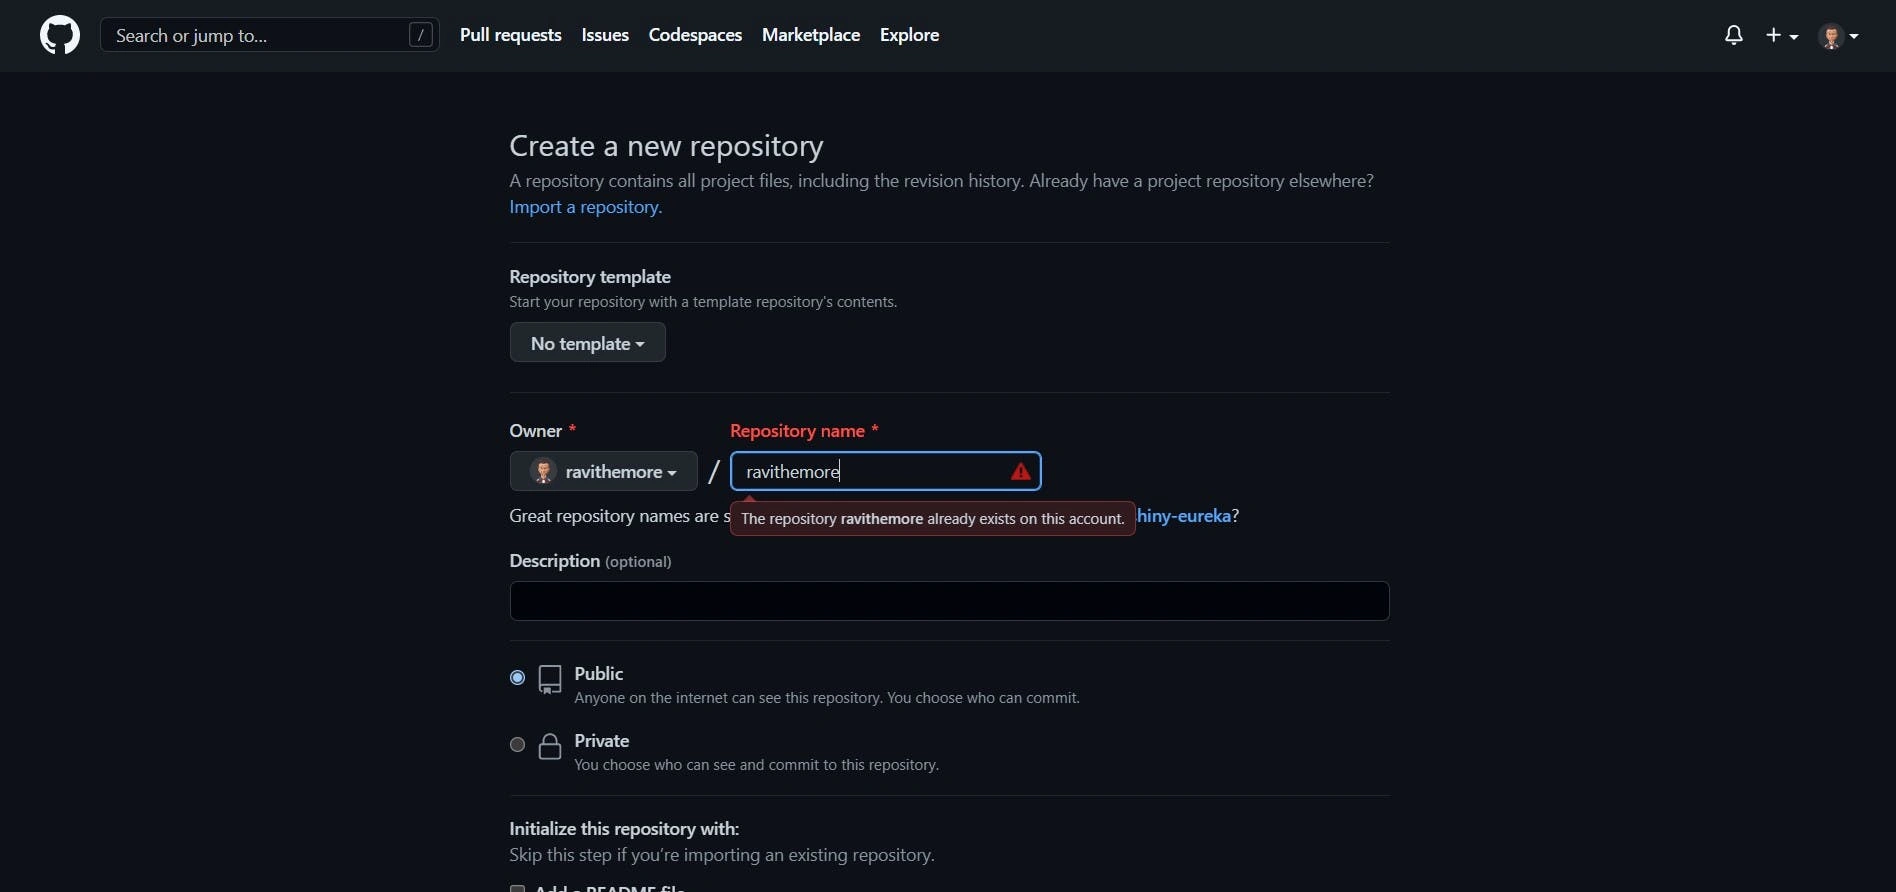
Step 1 : Make a repository with the same name as your GitHub username.
In order for this to work, you must use the exact spelling, punctuation, etc. of your username, e.g. see below. (I did this just as an example, mine was already created, hence the alert). Just copy and paste your username to make sure there are no errors. You will automatically get a message from GitHub saying you “Found a secret!” which feels like you are part of a cute, elite nerd crowd 🤓

GitHub automatically gives you some ideas to start to your README.md with a bullet list of ideas for what to say, accompanied by an emoji.
🔭 I’m currently working on …
🌱 I’m currently learning …
👯 I’m looking to collaborate on …
🤔 I’m looking for help with …
💬 Ask me about …
📫 How to reach me: …
😄 Pronouns: …
⚡ Fun fact: …
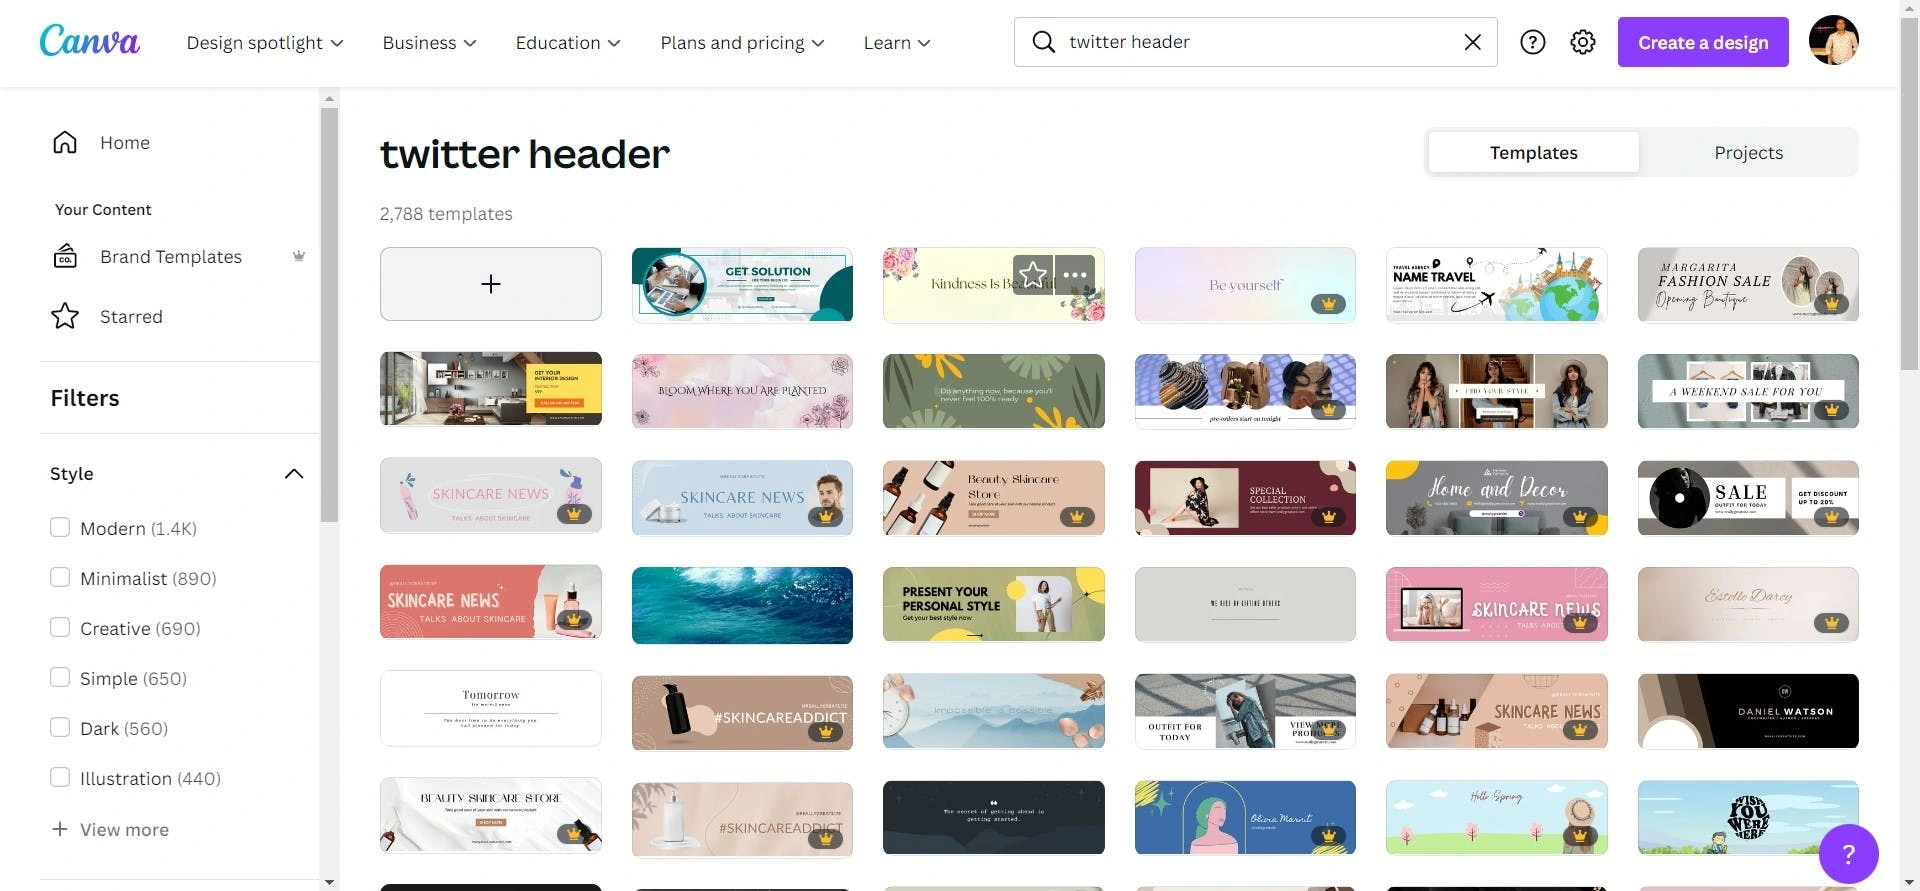
Step 2 (optional): Generate Header Images using Canva or khalby786’s idea.
Canva.com is a great resource to create something fast from an aesthetically pleasing template without needing design skills, photoshop or much time. They have great templates here for their Facebook banners or here for their website templates.

In addition to or instead of using canva, try out Khalell Gabran’s REHeader, a GitHub Profile README Header Image Generator (reheader.glitch.me).
source: github.com/khalby786/REHeader

This was my image, using reheader.glitch.me.
Step 3 (if you did Step 2): Upload the images you created from Canva or elsewhere to that same repository of your README.md.

To upload, click “Add file”/ “Upload files.”
Then “choose your files” and add the ones you want to upload.
Click the green button “Commit changes.”
Navigate to the image file in your repository, copy the image link in the address bar on your browser in order to add the link into your README.
Step 4: Work smarter not harder. Here are some ideas to do less work for an informative README:
Use Rishav Anand’s GitHub Profilinator, which pretty much does all the work for you and generates an easy README.md to copy and paste. I used this for my skill set section and socials, but you can use it for everything! You can even connect your Spotify!
From using this GitHub Profilinator, I learned you can add some specifics to an image like margin, height, etc. :
COPY SOMEONE ELSE’s WORK THAT YOU ADMIRE. This is truly how I got started, by copying the RAW versions of people’s READMEs and combining features I liked from different people’s profiles. I navigated to M0nica’s repository of the same name and clicked on “RAW”. You can do the same for mine. Copy and paste into your own file and refactor with your images, links, usernames, etc.! (see Step 3 for the image part).
source: github.com/ravithemore
Step 5: Add dynamically generated stats.
I added my stats, simply by copying, pasting and refactoring from someone else’s profile. So you can do the same, just substitute your username instead of mine, or visit Anurag Hazra’s GitHub Readme Stats and customize as much as you’d like.
Step 6: Any extra bells and whistles:
I found this GitHub repo called Awesome GitHub Profile READMEwhich pretty much sums up every possible cool thing that you can find to add to your GitHub Profile README, including some that I’ve already featured. So, check it out and go crazy!
RESULT: voilà! Here’s my README.md below.
Thanks for reading ! Comment with a link to your GitHub Profile README so that I can see your beautiful creation.
Thank you... Follow me on Twitter See ya✌️.
Connect with me on Linkedin
Like this project
Posted May 17, 2023
GitHub profile is an important aspect for programmers or Developers using GitHub. It showcases your works, and your profile, in short, it is your Introduction …
Likes
0
Views
28
Tags


