RV Black Tank Basics: Controlling Odors
Do you need to figure out your RV black tank odors and how to control them? This post is for you!
Table of Contents show
For the most part, black holding tank odors can be controlled through proper cleaning.
In most cases, plain old water will do the trick while in other cases a combination of water and a few basic ingredients will rid your bathroom of unwanted odors.
Before we begin to talk about how to get rid of odors, let’s first discuss the workings of a black holding tank.
RV Black Tank Basics: How does a black tank work?
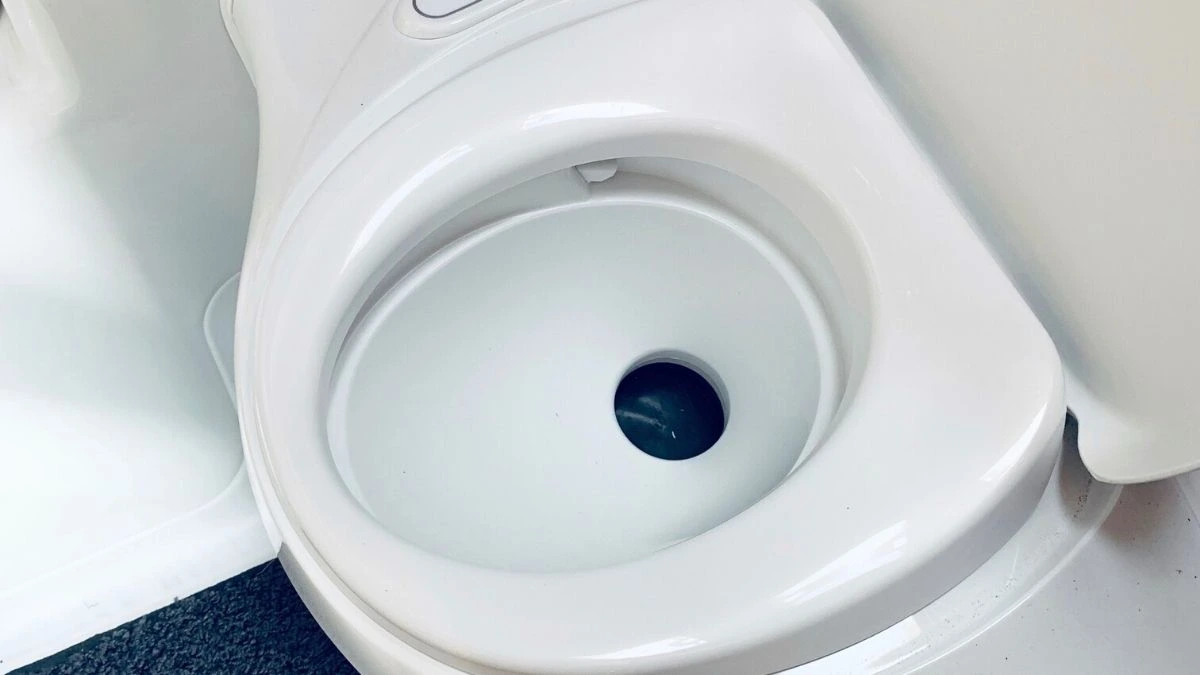
RV black tank is right under the toilet.
The toilet in an RV sits directly above the tank, meaning any waste that falls from the toilet falls directly into the tank below and is held there until it is removed.
Here’s where it gets a little personal.
Waste in its liquid form will disperse within the tank, but solids are not so easily moved.
If there is not enough water in your tank, the solids can form one large mass right underneath the pipe leading from the toilet to the tank.
Solids that are left in the tank for a very long period of time, can be the root of the odor.
For some unlucky RV owners, the solids do not need to be in the tank for a very long time before the odor is noticeable.
So how do you control the odor in your black tank?
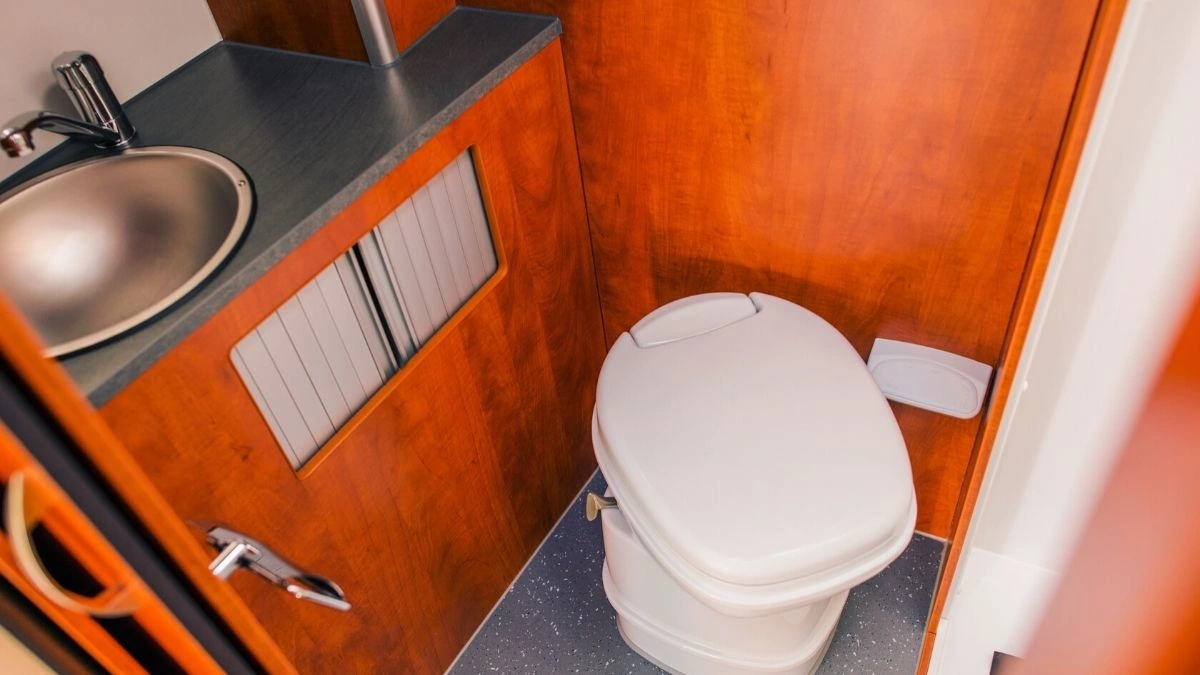
RV black tank starts here.
An old pyramid of poo is not the only reason why a black tank may have an odor.
Long use build-up, heavy usage of toilet paper, and continual improper cleaning and maintenance routine are the best ways to invite odors into your RV.
Water is your friend when it comes to controlling the odor in your black tank.
Solids will not remain solid, nor will they have a chance to create a pile-up if you have enough water in your tank at all times.
This includes sitting at a park or driving down the road. With the waste submerged, it will begin to break down and not be able to release an odor into the air.
A good rule of thumb to follow is to always have water in your tank that equals roughly 10% of your tanks’ capacity. Therefore, if you have a 40-gallon black holding tank, you would always want to keep 4 gallons of water in it at all times.
How does this work?
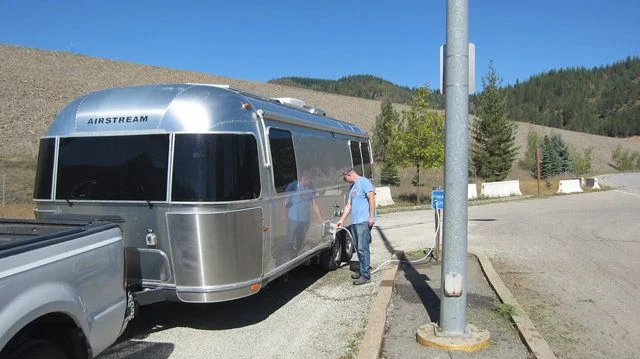
What's the proper way to flush out your black tank?
To explain this further, let’s use the most common example of staying at a campground with sewer and water hookups and choosing to dump the tank mid-week.
The proper method to flush out your tank is to first fill up your tank with more water, until it is roughly 3/4 full.
The action of flushing that amount of water through the tank will be aided by gravity and the force with which that amount of water has, it will aid in pushing everything out.
At this point, some RV’ers choose to fill the black tank again with water to flush it a second time.
If you choose this method, be sure to put on a timer to remind yourself to turn the water off, taking into account the pressure you have at your campsite will either fill it up faster or slower than at other locations.
Once you are finished flushing your tank, remember again that water is your friend and you should add back into the tank water equaling 10% of your tanks’ capacity as mentioned previously.
If you are staying at a location without on-site sewer, the same process would occur at the dumping station.
What about using a product like Happy Campers?
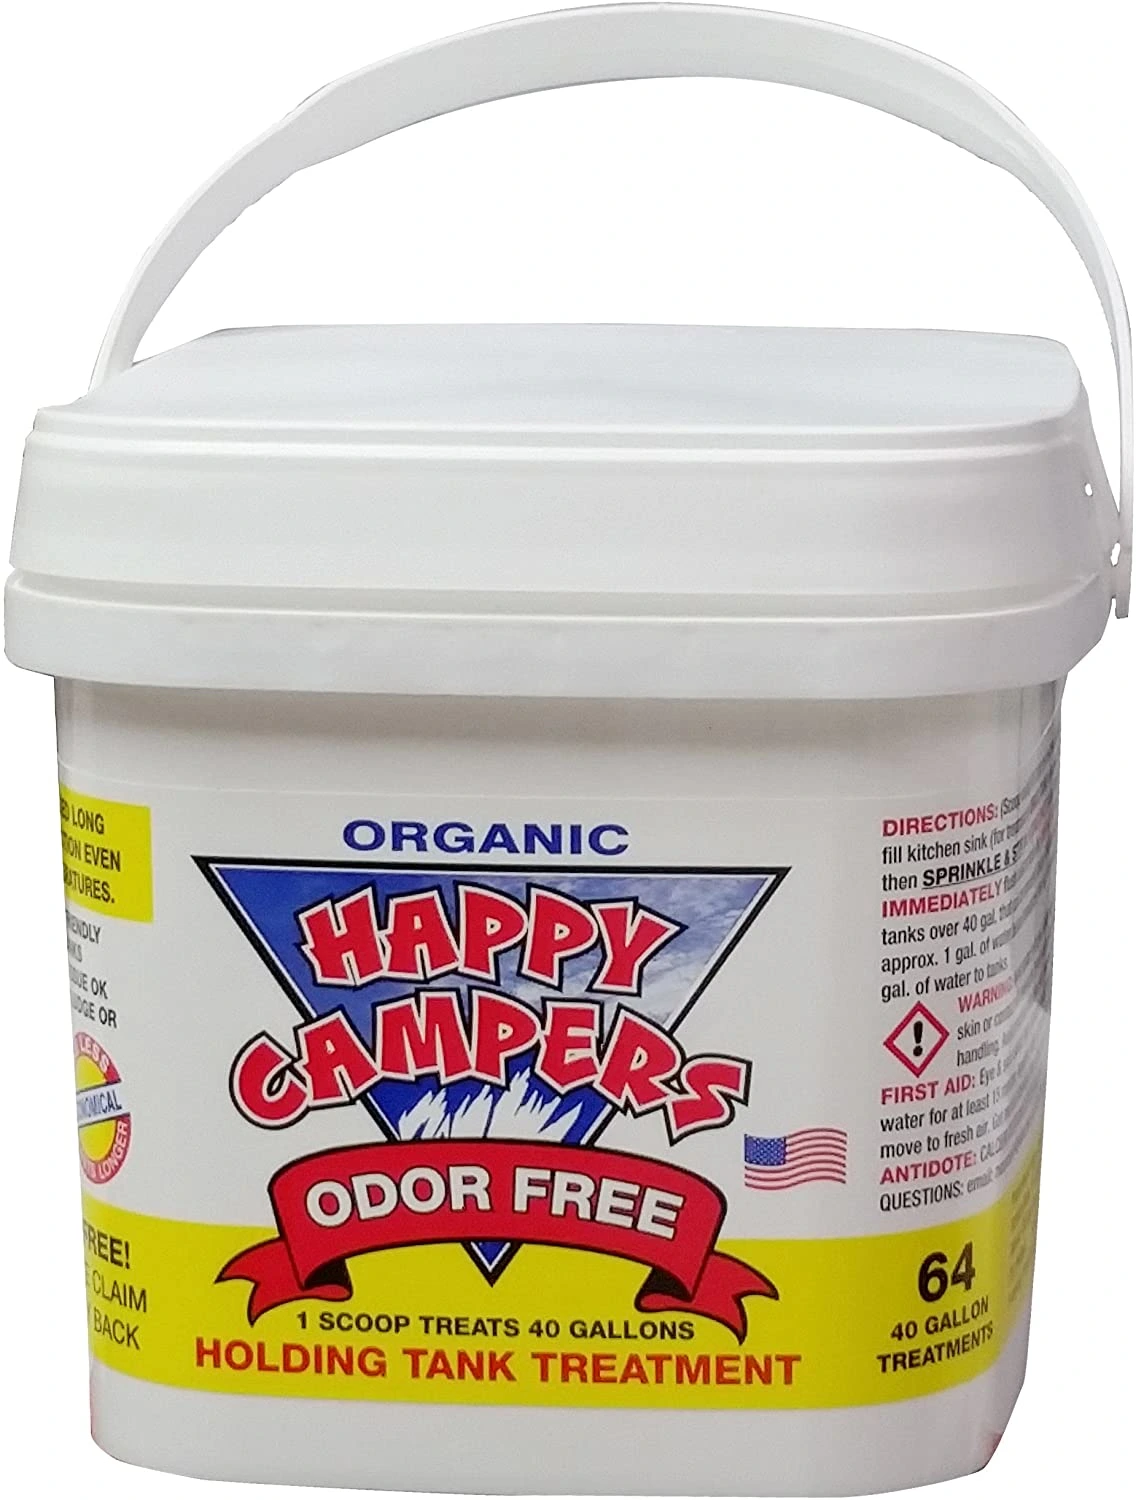
This is the point in time where if you are using an odor-reducing product you would add it into the tank directly through the toilet.
Some products are used for cleaning while some are used for odor reducing so it is important that you use the correct product for odor elimination.
One product we like to use is Happy Camper. Thank you for using our affiliate link. Much appreciated.
It uses a highly concentrated blend of minerals and micronutrients to eliminate odors.
If you are using a more natural method like the GEO method you would also add your products in at this time. The GEO method requires you to mix water softener, laundry detergent and water together. You can find more info about the GEO method in this blog post here.
RV Black Tank Basics: Final Dumping Process
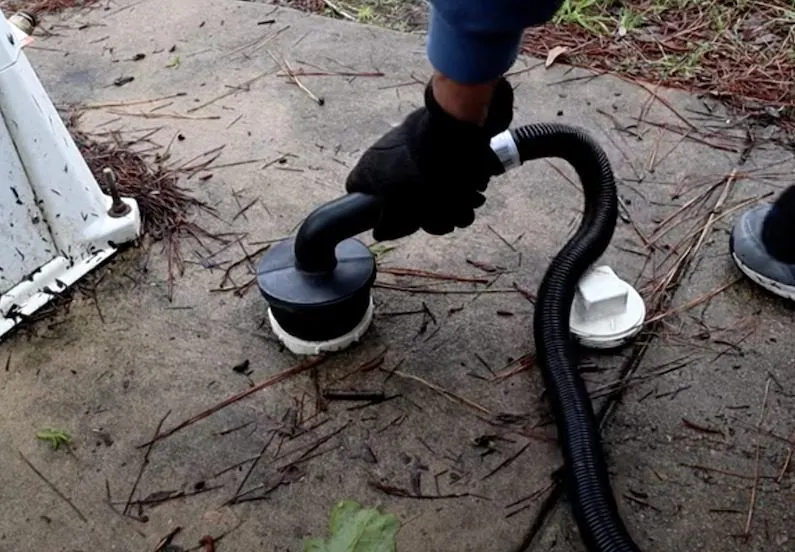
Final dumping process.
Let’s fast forward to the end of the week when you are headed home or on to the next location.
Your final dumping of the black tank will look exactly like the mid-week dumping remembering to add the 10% water after your final flushing.
But is it safe to have water in your holding tanks while driving down the road?
Yes, it is perfectly safe to have this small amount of water in your black tank as you travel and in fact, it helps to keep your black tank clean which again will help reduce unwanted odors.
As you drive, the water will naturally move around and work at getting rid of any waste or paper that may be stuck on the walls of your tank or on the sensors.
The only time where you would not add water to any tank is when you are in colder climates and are about to winterize the RV after this final flushing.
Speaking of winterizing — here's a complete playlist over on our Youtube Channel.
What about sensors? And do I leave the tank value closed?
Speaking of sensors, the cleaner your tank is, the more accurate your sensors will be.
The only way that this method of extra water in your tank will work is if you keep your holding tank valves closed.
The water will not stay in your tank and be able to work all of this magic if it can just drain out. Also, odors coming up from the sewer can come in through an open valve and follow the pipe right up into your tank.
For tanks with very stubborn odors, try cleaning out the airflow vent on the top of your camper as leaves and debris and sometimes even bird nests have been known to pile up and limit the flow of air.
Checking to make sure all seals around the toilet are in good condition is an important step too. In some extreme cases of fossilized and stubborn waste build-up, you may need to hire professionals to perform a major cleaning.
We kinda hate to ask, but what has been your experience with black tanks?
Let us know in the comments. 🙂 Share your solutions with your RV Black Tank.
Looking for exciting RV trip ideas and travel suggestions?
We've written a library of RV Travel books that lay out guided RV explorations of scenic areas of the US that we'’ve explored and think would make an excellent RV trip for you.
In each location, we provide a suggested route and itinerary (7 stops in each guide, one for each day of a week trip!) as well as links to multiple campgrounds and boondocking spots, local tips, and interesting things to do at each location.
You can hit everything in seven days, do a whirlwind weekend tour, or you can take your time and explore the area over a 2+ week period.
Planning an RV trip can be very time-consuming so that’s why we’ve done the research for you! Just take our guides and use them. We’re sure you’ll have an RV trip for the ages! Instant download. CLICK HERE for information on our RV Travel Guides
Like this project
Posted Sep 28, 2023
Do you need to figure out your RV black tank odors and how to control them? This post is for you. Let's start with a black tank 101 and then the solutions.
Likes
0
Views
17


