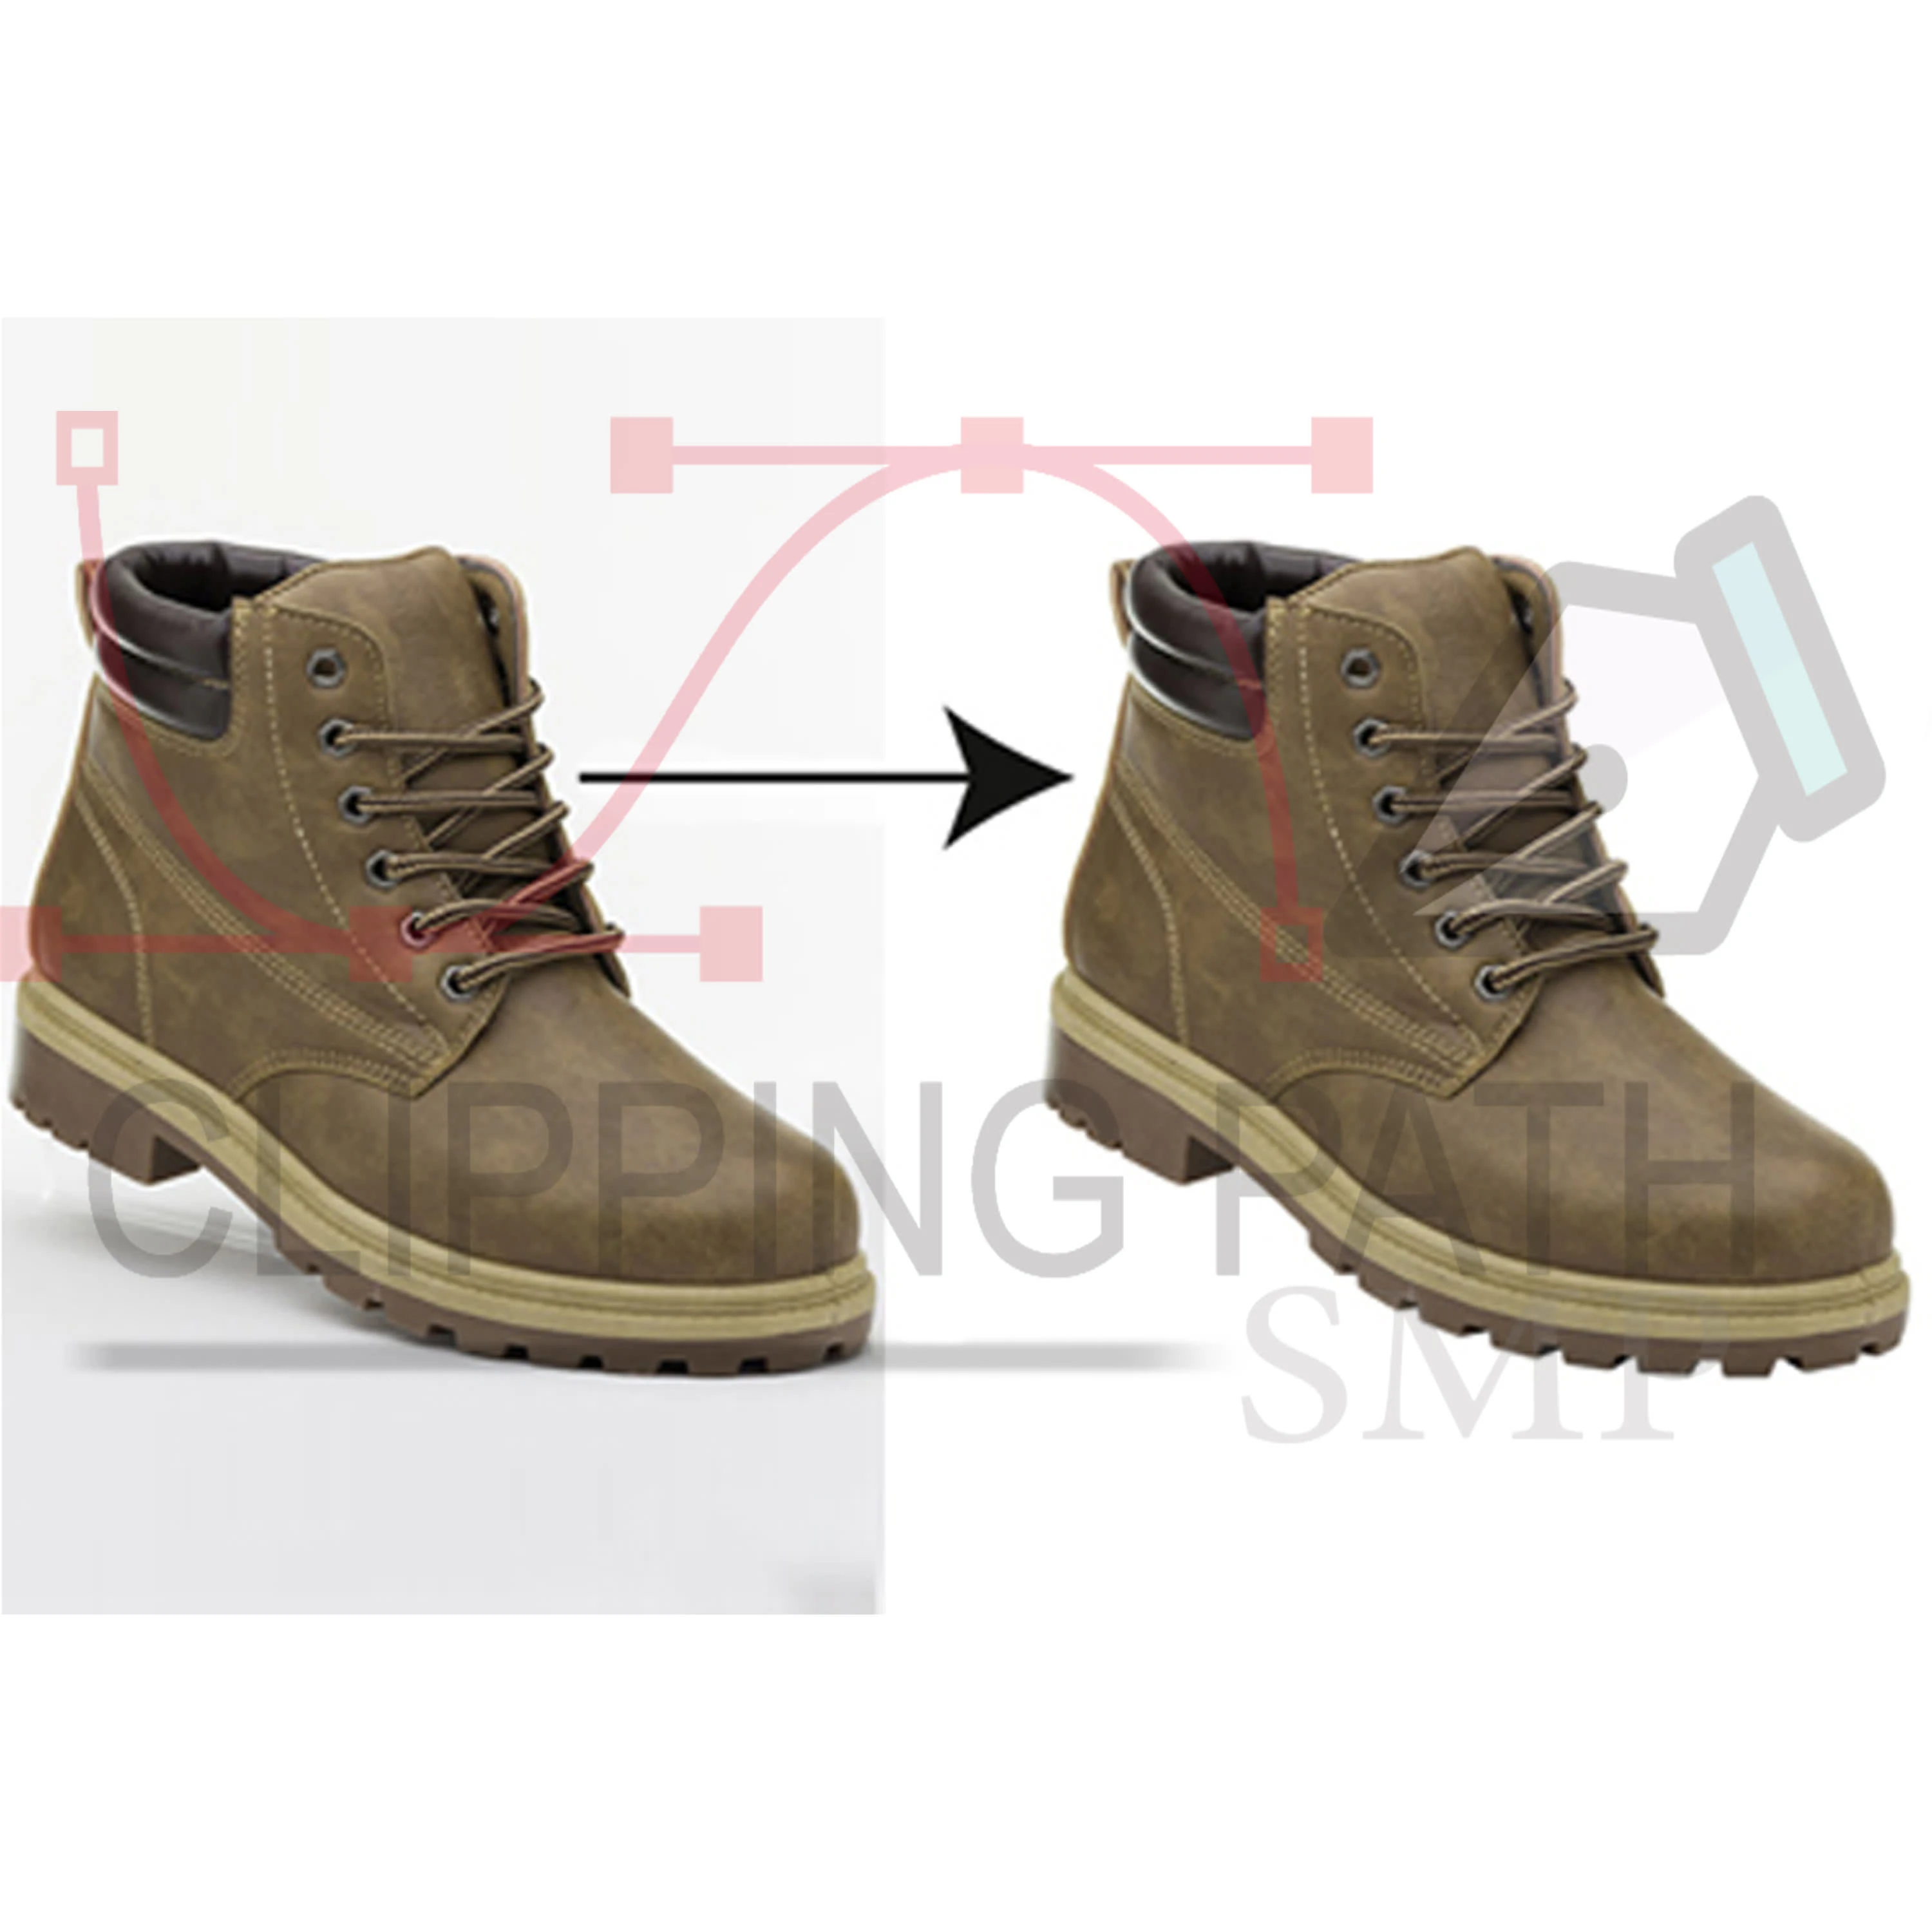
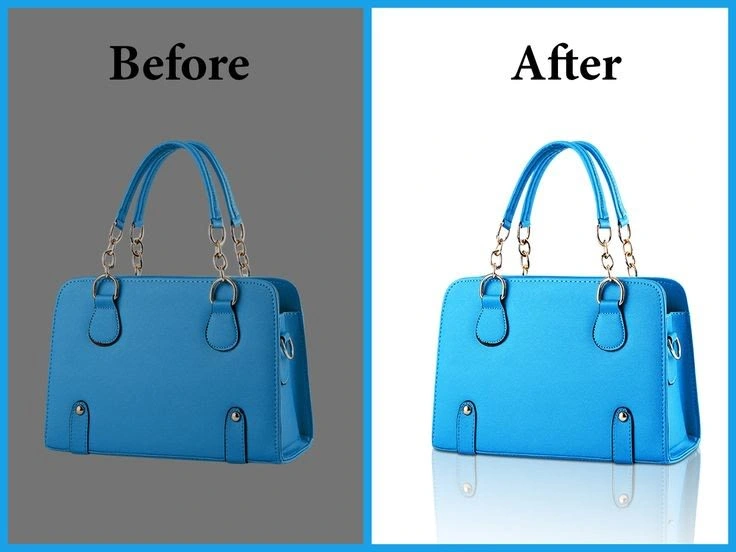
cut out images background removal
"Get Polished and Professional: How to Remove Backgrounds from Images Like a Pro"
In the fast-paced digital age we live in, having polished and professional content is crucial for standing out among the competition. One way to achieve this is by mastering the skill of removing backgrounds from images like a pro. Whether you're a blogger looking to enhance your visuals, a small business owner needing high-quality product images, or simply someone wanting to elevate your social media game, knowing how to effectively remove backgrounds from images can make a world of difference in the overall look and feel of your content. While the task of removing backgrounds from images may seem daunting for beginners, with the right tools and techniques, it can be a straightforward and rewarding process. In this article, we will take you through step-by-step instructions on how to remove backgrounds from images like a pro. From choosing the right software to mastering the art of selection and refinement, you'll learn all the tips and tricks you need to create clean and professional-looking images that will impress your audience and elevate your visual content to the next level.

Choosing the right software for background removal Mastering the art of using the pen tool for precise cutouts Exploring advanced tools for complex backgrounds Tips and tricks for refining edges and details Saving and exporting your cutout images in the proper format
Choosing the right software for background removal
When it comes to removing backgrounds from images like a pro, choosing the right software is crucial. There are plenty of tools available that can help you achieve polished and professional results, but it's important to select the right one for your specific needs. One popular software option for background removal is Adobe Photoshop. This powerful tool offers a variety of features and tools that can help you easily remove backgrounds from images. With its selection tools, layers, and masking capabilities, Photoshop allows for precise and detailed background removal. It also offers the option to save images in multiple file formats, making it easy to use your edited images across different platforms. Another popular software choice for background removal is GIMP, which is a free and open-source program. GIMP offers many of the same features as Photoshop, including selection tools, layers, and masking capabilities. While it may not be as advanced as Photoshop, GIMP is a great option for those looking for a free alternative that still offers powerful editing tools. If you're looking for a simpler and more user-friendly option, there are also online tools available for background removal. Websites like Remove.bg and Clipping Magic offer easy-to-use interfaces that allow you to quickly remove backgrounds from images with just a few clicks. These tools are great for those who don't have experience with more advanced editing software and are looking for a quick and easy solution. When choosing the right software for background removal, it's important to consider your specific needs and level of expertise. If you're a professional photographer or graphic designer looking for advanced editing capabilities, a program like Photoshop may be the best choice. However, if you're a beginner or just looking for a simple solution, online tools like Remove.bg or GIMP may be more suitable. Ultimately, the right software for background removal will depend on your individual preferences and requirements. Whether you're looking for advanced editing features or a simple and user-friendly interface, there are plenty of options available to help you achieve polished and professional results. By choosing the right software for your needs, you can ensure that your images look their best and stand out from the crowd.

Mastering the art of using the pen tool for precise cutouts
One of the most effective tools for removing backgrounds from images like a pro is the pen tool. While it may seem intimidating at first, mastering the art of using the pen tool can greatly improve the quality of your cutouts. The key to using the pen tool effectively lies in precision and patience. To begin, select the pen tool from your editing software and zoom in on the image to get a closer look at the edges you want to cut out. Start by clicking on a point along the edge of the object you want to keep in the image. Continue clicking along the edge, creating anchor points as you go. Be sure to click and hold the mouse button when you need to create curves in the selection. As you click and create anchor points, you will notice that the pen tool creates a path that follows the contour of the object. Take your time to make sure the path is accurate and follows the edge of the object as closely as possible. If you make a mistake or need to adjust a point, you can do so by using the direct selection tool to move or delete anchor points. This level of control allows you to make precise adjustments and ensure that the cutout is clean and professional-looking. When you have created a path that completely outlines the object you want to keep, close the path by connecting the last anchor point to the first one. You can do this by hovering the pen tool over the first anchor point until it forms a small circle, indicating that the path is closed. Once you have closed the path, right-click on the image and select "Make Selection" to turn the path into a selection. You can then copy and paste the selection onto a new layer or delete the background layer to reveal a clean cutout of the object. Practice makes perfect when it comes to using the pen tool for precise cutouts. The more you use it, the more comfortable and proficient you will become in creating clean and professional-looking cutouts. Remember to take your time, zoom in on the image for accuracy, and use the direct selection tool to fine-tune your selection. With patience and practice, you can master the art of using the pen tool for precise cutouts and produce polished and professional images with ease.
Exploring advanced tools for complex backgrounds
In the world of image editing, removing backgrounds can sometimes be a tricky task, especially when dealing with complex backgrounds. However, fear not, as there are advanced tools available that can help you achieve a polished and professional result. One of the most powerful tools for removing backgrounds from images is the Pen Tool. This tool allows you to create precise selections by tracing the outline of the subject in the image. While it may take some practice to master, the Pen Tool offers unparalleled control and flexibility when it comes to removing complex backgrounds. Another useful tool for tackling complex backgrounds is the Magic Wand Tool. This tool allows you to select a specific color range in an image, making it easier to separate the subject from the background. You can adjust the tolerance level of the Magic Wand Tool to ensure that you capture all the necessary details while removing the unwanted background. For images with intricate details or fine edges, the Refine Edge Tool is a must-have. This tool allows you to refine the edges of your selection, ensuring that everything blends seamlessly with the new background. The Refine Edge Tool is perfect for dealing with hair, fur, or other elements that require precise selection and blending. If you're working with images that have a lot of fine details or intricate patterns, the Select and Mask Tool is your best bet. This tool allows you to easily refine your selection by adjusting parameters like edge detection, feathering, and contrast. With the Select and Mask Tool, you can achieve a clean and professional look even with the most complex backgrounds. In addition to these advanced tools, there are also plugins and extensions available that can streamline the background removal process. Plugins like Topaz Labs' Remask or Fluid Mask offer additional features and functionalities that can help you tackle even the most challenging backgrounds with ease. When using advanced tools for complex backgrounds, it's important to take your time and experiment with different techniques. Don't be afraid to try out different tools and settings to see which ones work best for your specific image. Remember, practice makes perfect, and the more you work with these tools, the more proficient you will become at removing backgrounds like a pro. In conclusion, exploring advanced tools for complex backgrounds is essential for achieving a polished and professional finish in your image editing projects. Whether you're using the Pen Tool, Magic Wand Tool, Refine Edge Tool, Select and Mask Tool, or specialized plugins, there are plenty of options available to help you remove backgrounds with precision and efficiency. With a bit of practice and patience, you'll be able to tackle any complex background with confidence and skill.

Tips and tricks for refining edges and details
When it comes to removing backgrounds from images, one of the key aspects to focus on is refining edges and details. This step is crucial in achieving a polished and professional result, as it ensures that the subject stands out seamlessly against its new background. One useful tip for refining edges is to utilize the brush tool in your editing software. By carefully painting along the edges of the subject, you can create smooth lines and eliminate any remnants of the original background. This technique requires precision and patience, but the end result is well worth the effort. Another helpful trick is to adjust the feathering of your selection. Feathering refers to the softening of edges, which can help to blend the subject more seamlessly into its new environment. By experimenting with different levels of feathering, you can achieve a desired balance between sharpness and smoothness. Additionally, paying attention to details such as hair and fine textures is essential in refining your image. When working with intricate elements like these, it can be helpful to use a combination of tools such as the clone stamp and healing brush. These tools allow you to carefully blend and touch up areas that may have been distorted during the background removal process. Furthermore, using layer masks can be a powerful technique for refining edges and details. By creating a mask that outlines the subject, you can easily make adjustments without altering the original image. This non-destructive method allows for greater flexibility and control in fine-tuning the edges of your subject. In some cases, utilizing advanced tools like the pen tool can offer even more precise results. The pen tool allows you to create detailed paths around your subject, which can then be converted into selections for background removal. Although this technique may require more practice and skill, it can produce incredibly clean and accurate results. When refining edges and details, it’s important to regularly zoom in and out of your image to assess the overall quality of your work. This allows you to catch any small imperfections or inconsistencies that may have been overlooked at a larger scale. Taking the time to examine your image closely can help you achieve a flawless final result. Lastly, don’t be afraid to experiment and revisit your editing process multiple times. Refining edges and details is a meticulous task that often requires trial and error. By being patient and persistent, you can gradually refine your image to perfection and create a professional-looking result that showcases your subject in the best possible light. In conclusion, refining edges and details is a critical step in removing backgrounds from images like a pro. By utilizing various tools, techniques, and tips, you can achieve a polished and professional result that highlights the subject and seamlessly integrates it into its new background. With practice and attention to detail, you can master the art of background removal and elevate the quality of your images.
Saving and exporting your cutout images in the proper format
Once you have successfully removed the background from your images, it's important to save and export them in the proper format to ensure they look polished and professional. First and foremost, consider the file format. One of the most commonly used formats for cutout images is PNG. PNG files support transparency, which means that the background you removed will appear as transparent when the image is placed on a different background. This is ideal for maintaining a clean and professional look. When saving your cutout images as PNG files, make sure to adjust the image resolution and quality settings. A higher resolution will ensure that your images look crisp and clear, while adjusting the quality setting will help to minimize any loss of detail. In addition to PNG, you may also want to save your images in other formats such as JPEG or TIFF, depending on your specific needs. JPEG files are ideal for photos and images with a lot of colors, while TIFF files are best for high-quality prints or images that require further editing. When exporting your cutout images, consider the dimensions and aspect ratio. Make sure to resize the images to the appropriate dimensions for their intended use, whether it's for a website, social media post, or print material. This will help to ensure that your images look professional and fit seamlessly into their designated context. It's also important to consider the color profile when saving your cutout images. For most digital purposes, the RGB color profile is recommended as it is widely supported and provides vibrant colors. However, if you are working on print material, you may want to switch to the CMYK color profile to ensure accurate color reproduction. Before finalizing your cutout images, don't forget to check for any imperfections or stray pixels that may have been left behind during the background removal process. Use the zoom tool to closely inspect the edges of your cutout images and make any necessary touch-ups to ensure a clean and professional finish. Finally, when saving and exporting your cutout images, don't forget to name your files appropriately. Choose descriptive and concise filenames that reflect the content of the image, making it easier for you to locate and use them in the future. By following these tips for saving and exporting your cutout images in the proper format, you can ensure that your images look polished and professional, ready to be used in a variety of contexts. With the right file format, resolution, color profile, and attention to detail, your cutout images will stand out and make a lasting impression on your audience.
In conclusion, mastering the skill of removing backgrounds from images can take your photos to the next level and give them a polished and professional look. With the right tools and techniques, you can achieve clean and precise results that will make your images stand out. Don't be afraid to practice and experiment with different methods to find what works best for you. Keep honing your skills, and soon you'll be removing backgrounds like a pro. Happy editing!

Like this project
Posted Aug 18, 2024
If you're looking to remove the background from images, there are a few methods you can use. Tools like Adobe Photoshop, Canva, or online platforms like remove.
Likes
0
Views
7


