The network for creativity
Join 1.25M professional creatives like you
Connect with clients, get discovered, and run your business 100% commission-free
Creatives on Contra have earned over $150M and we are just getting started
Back to feedPost
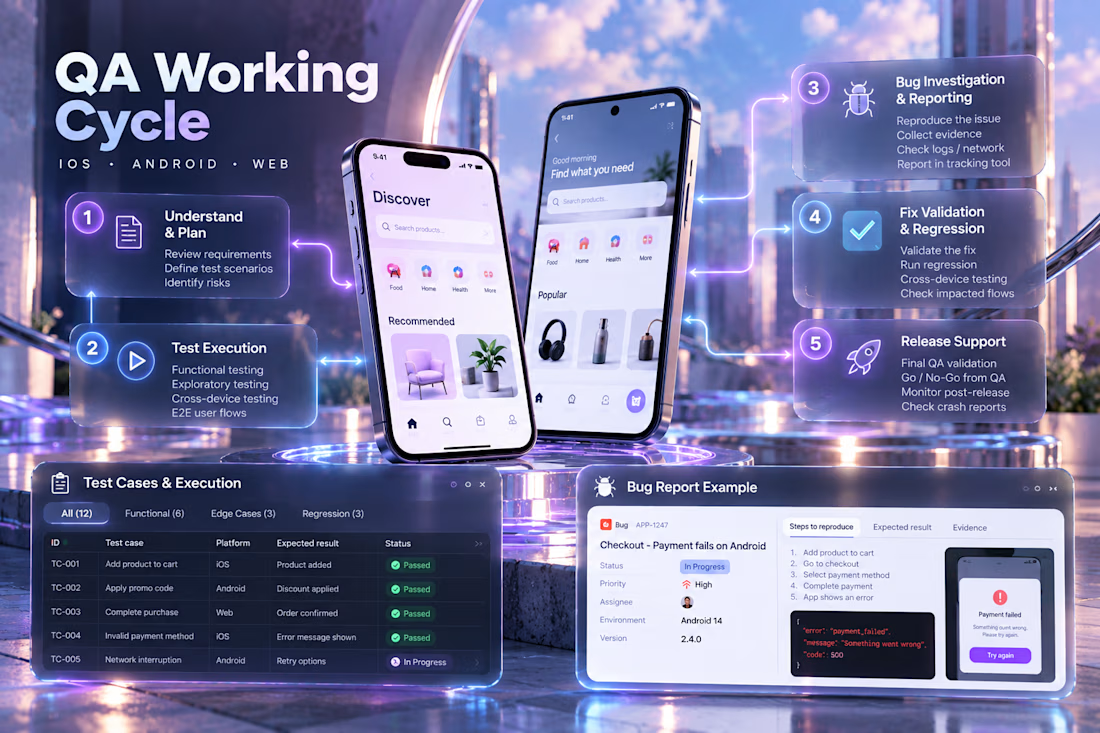
QA Testing Workflow
Every project starts with the same objective: understand what needs to be tested, define the right coverage, execute the testing process, document what we find, and provide the client with a clear picture of the product's quality.
Here is how I approach a typical QA project from start to finish.
01 — Understand & Plan
First, I gather the information needed to understand the product and the scope of the testing cycle.
Together with the client, we identify the features and user flows that need to be validated, the supported platforms and environments, and any areas that require special attention.
From this information, I define the testing scope and prepare the scenarios and test cases that will guide the execution.
Output: Defined scope + testing scenarios + test cases.
02 — Test Execution
With the scope defined, I begin executing the tests.
I follow the planned test cases while also exploring the product as a real user would, checking different flows, inputs, devices, operating systems and edge cases when relevant.
Each test is tracked so that we know exactly what was tested, where it was tested and what the result was.
Output: Executed test cases + Pass / Fail results + testing evidence.
03 — Bug Investigation & Reporting
When unexpected behavior appears, I first reproduce it to understand exactly when and how it happens.
I collect the necessary evidence and, when the project provides access, inspect additional information such as network requests, API responses, logs or crash data.
The issue is then documented with everything needed for the development team to reproduce it: steps, environment, expected result, actual result, severity and visual evidence.
Output: Reproducible bug reports + screenshots/videos + technical evidence when available.
04 — Fix Validation & Regression
Once the development team provides a fix, I test the original scenario again.
If the issue is resolved, I validate the surrounding functionality to make sure the change did not affect another part of the product.
The corresponding test cases and bug reports are then updated with the new results.
Output: Fix validation + regression results + updated QA status.
05 — QA Delivery
At the end of the cycle, I consolidate the testing results into a clear QA summary.
The client receives visibility into what was tested, which tests passed or failed, which issues were discovered, their current status, and any remaining risks or observations.
The goal is simple: you should finish the QA cycle knowing exactly where your product stands.
Final delivery: QA report + test results + bug reports + evidence + final testing summary.
Tools & Access
I work with my own QA toolkit for testing and documentation. When deeper investigation or integration with the client's existing workflow is required, the client may provide access to their project tools, test environments, APIs, monitoring platforms, analytics, crash reporting or internal systems.
Any additional paid or project-specific tooling is agreed upon before testing begins.



Note: The images, interfaces, data, and examples shown in this project are illustrative and were created exclusively to represent my working process. For confidentiality reasons, no internal data, documentation, or proprietary materials from the companies and products I have worked with are displayed.
The network for creativity
Join 1.25M professional creatives like you
Connect with clients, get discovered, and run your business 100% commission-free
Creatives on Contra have earned over $150M and we are just getting started





Related posts

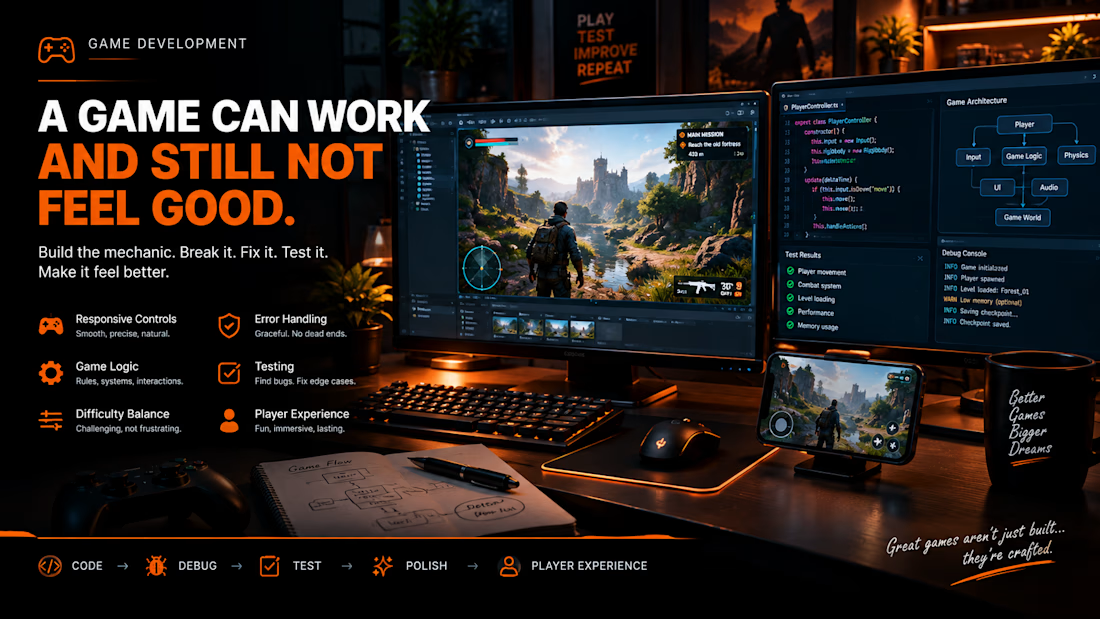
A GAME ISN’T FINISHED WHEN THE CODE WORKS.
One of the biggest lessons I’m learning from game development:
Getting the game to run is only the first milestone.
The real work starts when you ask:
👉 Does the movement feel right?
👉 Do the missions behave correctly?
👉 What happens when the player does something unexpected?
👉 Does the game stay smooth under pressure?
👉 Can I reproduce and fix bugs consistently?
That’s why my workflow is becoming:
BUILD → PLAY → BREAK → DEBUG → TEST → POLISH → REPEAT
I’m paying more attention to the things players might never consciously notice — input responsiveness, game logic, loading, error handling, performance, and how everything connects together.
Modern game-development guidance also puts strong emphasis on testing, profiling, debugging, and monitoring rather than waiting until the end of development.
Because a game can have beautiful graphics and still feel frustrating if the underlying experience isn't solid.
The goal isn't just to make a game that runs.
The goal is to make a game that feels right. 🔥
What’s the first thing you notice when you play a new game?



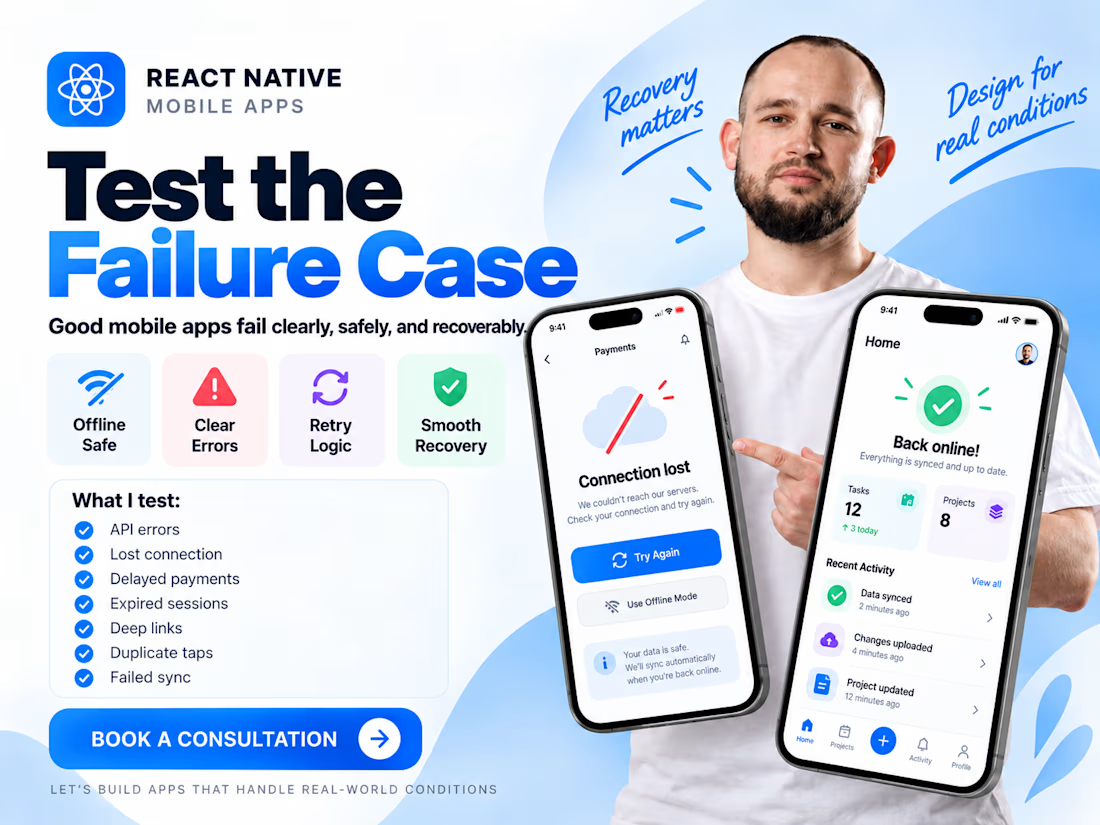
🧪 I don’t trust a mobile feature until I’ve tested the failure case.
Happy-path testing is easy.
What matters is what happens when:
• the API returns 500
• the user goes offline mid-action
• a payment succeeds but the response is delayed
• a push token expires
• the app is reopened after 3 days
• a deep link points to missing content
• the same button gets tapped twice
• background sync fails silently
Most production bugs don’t happen when everything works.
They happen when one dependency behaves differently than expected.
That’s why for React Native apps, I like to test recovery behavior, not just feature behavior.
A good mobile app doesn’t only work correctly.
It fails clearly, safely, and recoverably. ⚙️



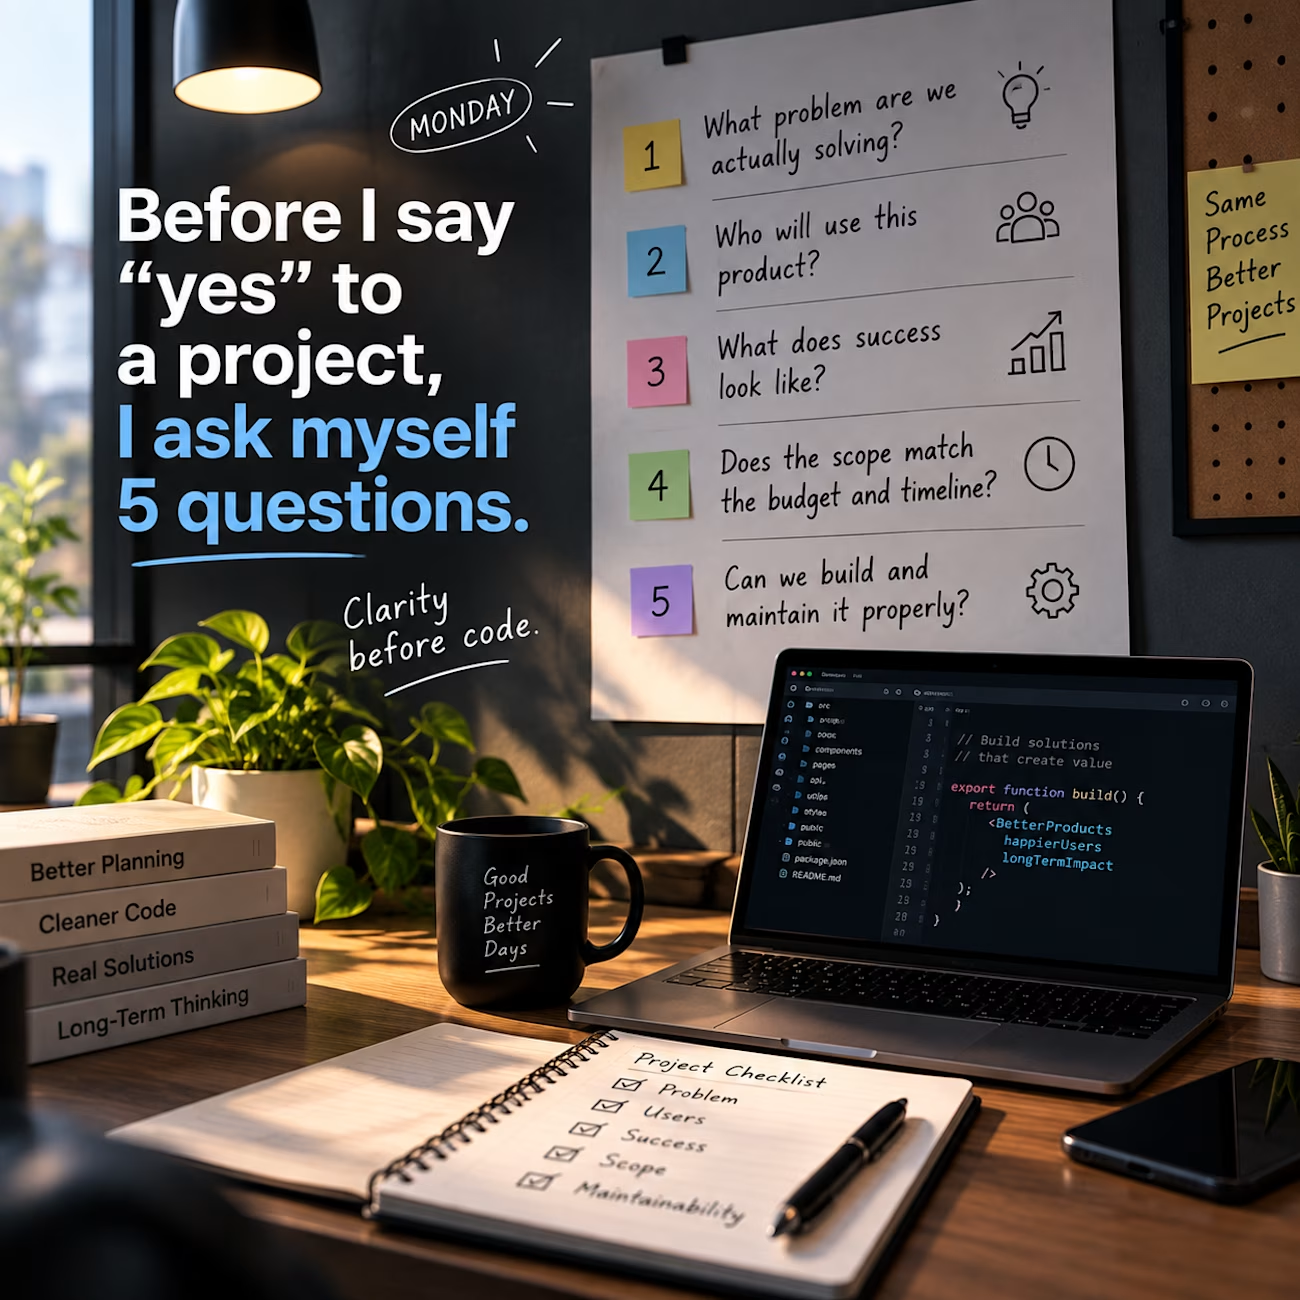
Before I say “yes” to a project, I ask myself 5 questions:
* What problem are we actually solving?
* Who will use this product?
* What does success look like?
* Does the scope match the budget and timeline?
* Can we build and maintain it properly?
If these answers aren't clear, adding more features won't fix the project.
Clarity before code.
That's one rule I try to follow in every project I work