The network for creativity
Join 1.25M professional creatives like you
Connect with clients, get discovered, and run your business 100% commission-free
Creatives on Contra have earned over $150M and we are just getting started
Back to feedPost
Wanted to share a little behind-the-scenes of my process on this one.
I started by building the animation/previs in Blender so I could control the camera, movement, timing, and composition first. From there, I used reference images and AI rendering with Seedance 2.5 / Higgsfield to push the final look while keeping the original animation intact.
I’ve been experimenting a lot with combining traditional 3D workflows with AI instead of relying on AI to figure out everything from scratch. It gives me way more control and usually saves a ton of trial and error.
Also, I'm able to change characters, sets, and look and keep the same camera movements or change them a little if u need, but it makes it easier
If anyone has questions about the workflow, tools, prompts, or setup, feel free to reach out. Always happy to talk process.


Blocking out camera, timing and composition in Blender before bringing in AI rendering seems like the move that keeps this from feeling random. Did you lock the previs fully before touching Seedance, or go back and forth between the two?

Yeah, I pretty much lock the previs first camera movement, timing, composition, and the main action.
Then I bring it into Seedance for the final look. If the AI starts drifting too far from what I want, I’ll go back into Blender and tweak the previs rather than burning credits trying to prompt-fix it.

Good
Thank you! 🙌 Appreciate you checking it out.
The network for creativity
Join 1.25M professional creatives like you
Connect with clients, get discovered, and run your business 100% commission-free
Creatives on Contra have earned over $150M and we are just getting started
Related posts

Dark luxury, Halloween edition. 🖤 Obsidian textures, spectral glass, liquid-orange lighting and kinetic typography—fully in their element.
Around 6.5 GB of production data shaped into one 20-second reel, built with Antigravity, Blender and FFmpeg.


Immersive!

What if indigo is just ink that got patient?
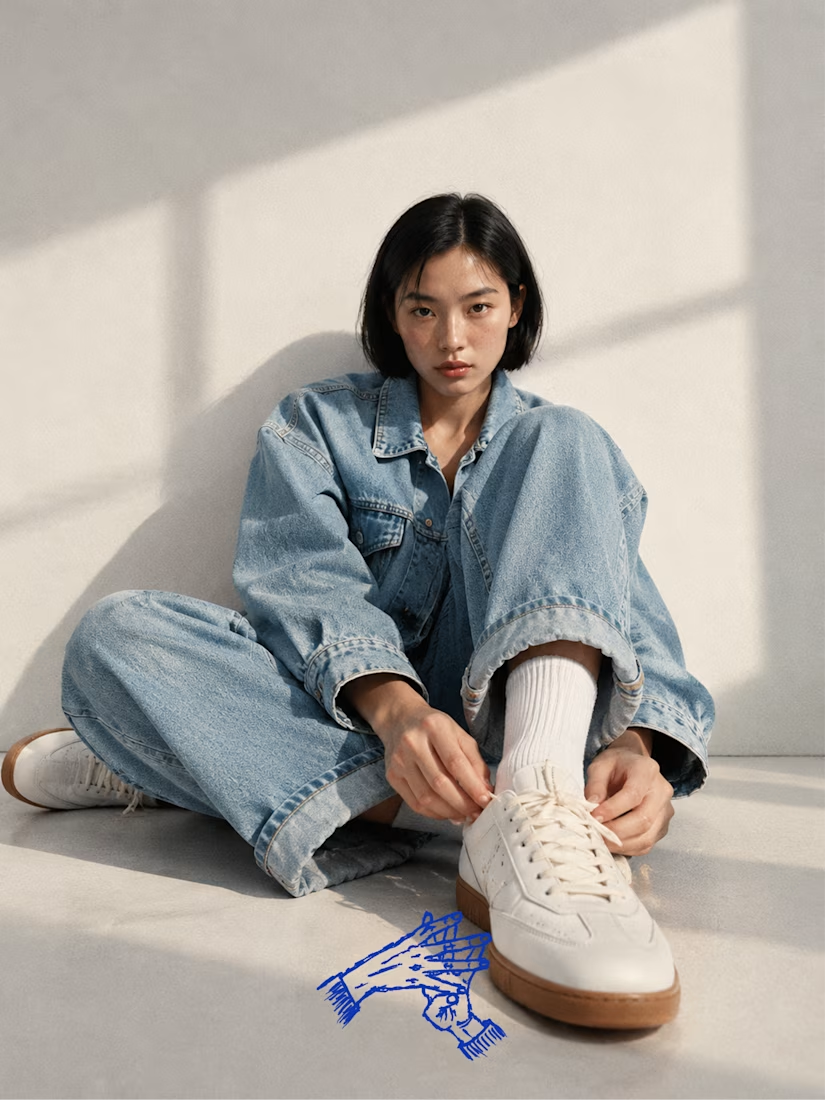
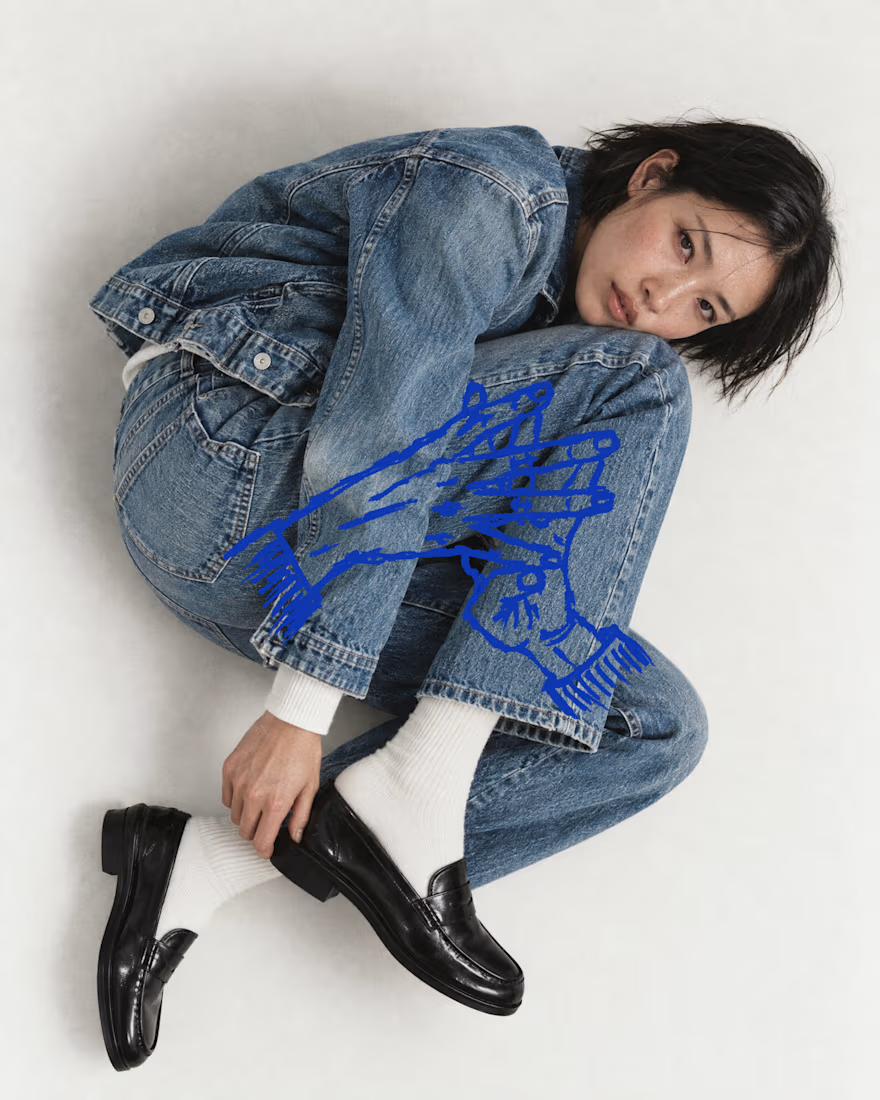
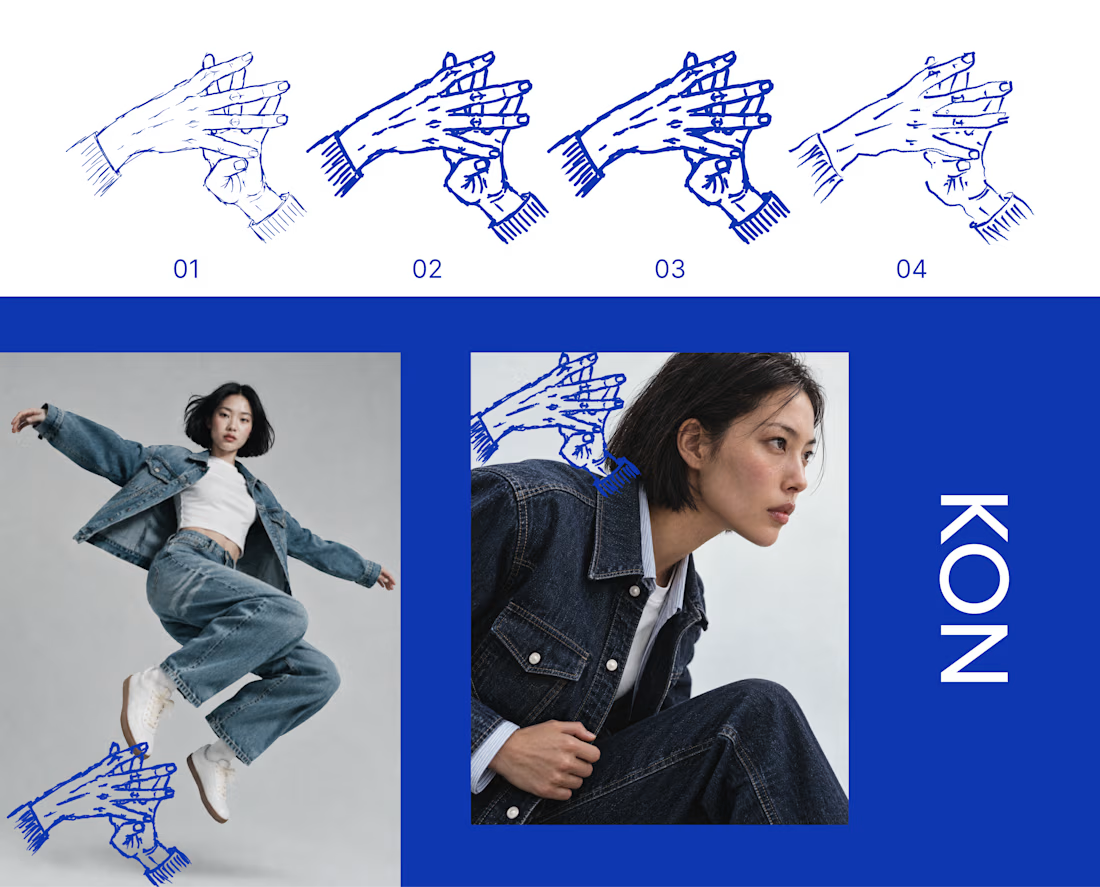
KON is a denim and streetwear label for people who live in hip hop and care how things are made. For Inktober’s final stretch, I took its hand mark through four ink passes, from a fine line to a heavy stroke to a dry brush. Each one sits on the last, the way cloth gets dipped again and again until the color holds.
Swipe to see the passes, then the mark out in the world on denim.
The full KON case study is coming soon.
Which part of your process do you repeat until it hits? Show me yours.

That's really great specially the photography

Made some project page fixes on my Framer template in progress and made the project index page responsive before going to bed tonight.
To keep the UX feeling nice I added a scroll snapping effect to the project video panes so that they never appear only partially, but one pane at a time is always fully on screen as the user scrolls. 🔧


Really inspiring work! 😁