The network for creativity
Join 1.25M professional creatives like you
Connect with clients, get discovered, and run your business 100% commission-free
Creatives on Contra have earned over $150M and we are just getting started
Back to feedPost

Behind the Design: The Ember Roastery Commercial
Ever wondered how a warm, sensory coffee commercial transitions from initial concept to a photorealistic CGI masterpiece? Here is the complete A-to-Z breakdown of how this project was crafted using industry-standard 3D and CAD software tools.
How It Was Created (A to Z Workflow)
Precision CAD Modeling & Blueprinting:
AutoCAD was used to draft accurate 2D structural dimensions and technical proportions for the ceramic mug, pour-over cone, and vintage coffee grinder.
SolidWorks and CATIA were utilized for parametric engineering, ensuring every physical asset—from the custom "Ember Roastery" logo depth to the precise ceramic wall thickness and mechanical grinder parts—was modeled with real-world precision.
Asset Refining, Fluid Physics & Scene Setup:
The precise CAD assets were imported into Blender to assemble a full 3D model scene.
Blender was used to simulate realistic liquid physics (the coffee pour and surface ripples), dynamic steam/smoke micro-particles, and subtle atmospheric dust floats illuminated by warm sunlight.
Lighting, Shading & Photorealistic Rendering:
Natural window lighting, depth of field, and rich ceramic textures (matte black mug, polished glaze drip cone, raw wooden table) were configured to evoke a cozy morning atmosphere.
A high-performance 3D renderer was used to calculate photorealistic ray tracing—capturing complex light refractions in the coffee liquid droplets, glossy surface highlights, and realistic fluid physics across every frame.
Want to bring your product vision to life with cinematic quality?
Whether you need hyper-realistic food and beverage simulations, 3D mechanical models, or high-converting promotional commercials for your brand, let’s collaborate.
📩 Send me a direct message today to elevate your product visualization!


The network for creativity
Join 1.25M professional creatives like you
Connect with clients, get discovered, and run your business 100% commission-free
Creatives on Contra have earned over $150M and we are just getting started



Related posts


Amazing design!

The first thing I created for LedgerFlow wasn't a screen.
It was a set of questions.
I'm kicking off a new concept project: **LedgerFlow, an accounting and financial management SaaS platform for small businesses, freelancers and independent business owners.
The goal is to design a website that helps visitors understand what the product does, how it helps their business, and why they should book a demo.
But before opening Figma, I needed to understand the business.
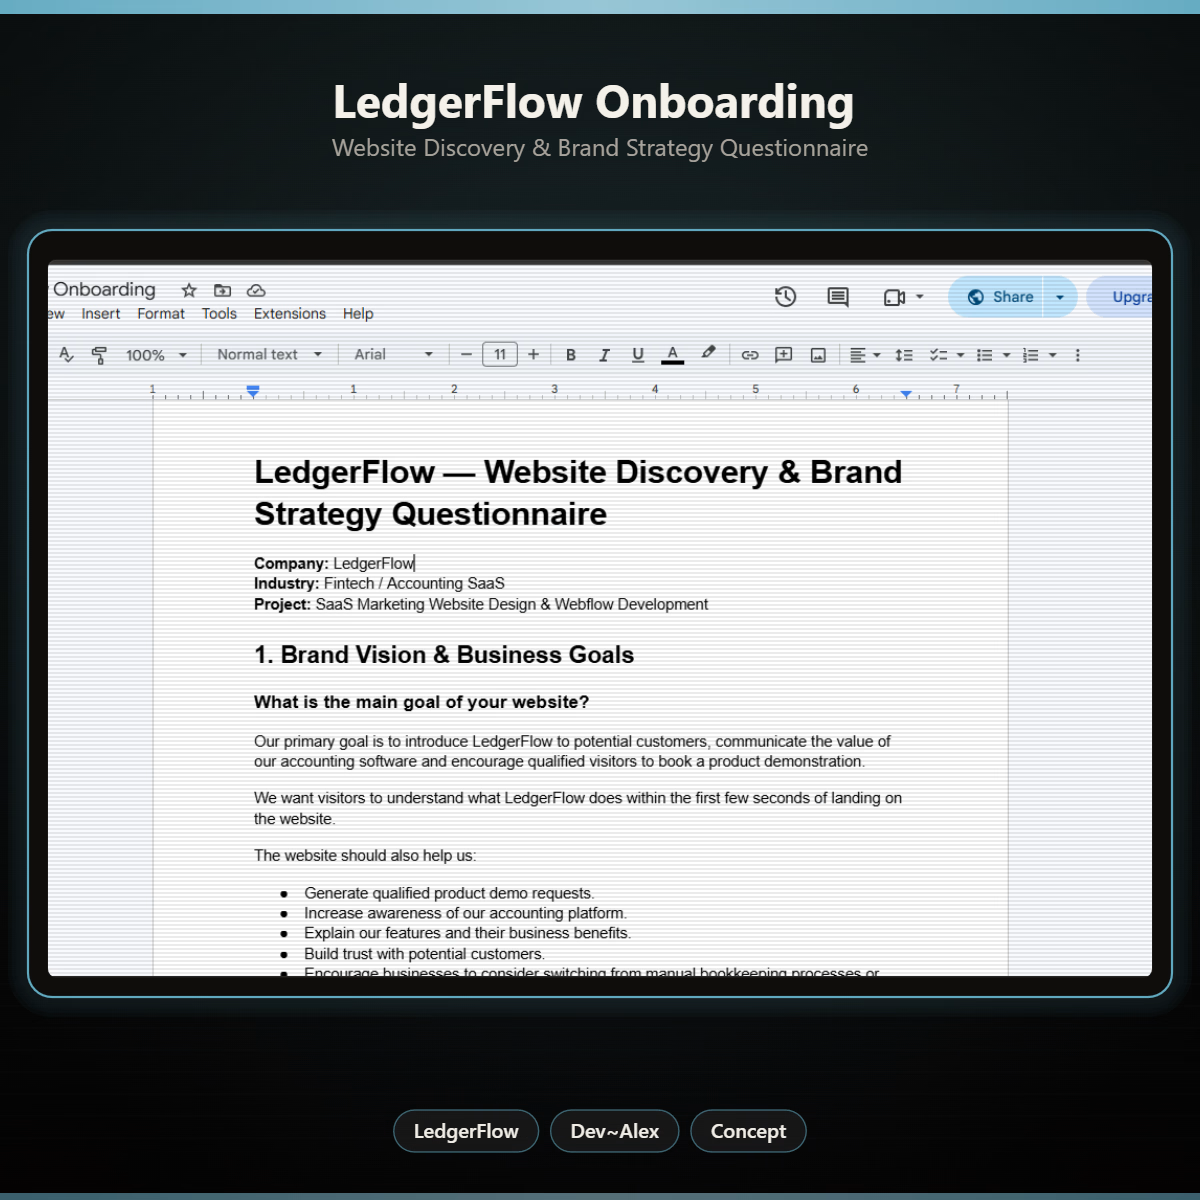
So I created a website discovery and brand strategy questionnaire.
It covers:
→ Brand vision and business goals.
→ Target audience.
→ Website goals and user experience.
→ Branding and visual direction.
→ Services and offers.
→ Project direction and logistics.
I want to understand things like:
Who exactly are we designing for?
What problem does the product solve?
What makes it different from traditional accounting software?
What should visitors understand within the first few seconds?
And what would make them confident enough to book a demo?
Because the answers will influence the website's messaging, content, visual hierarchy and calls to action.
You can't design a clear experience when you don't understand what the business needs to communicate.
LedgerFlow is a concept project, but I'm treating the process like a real client engagement.
I'll be sharing the journey from discovery to website structure, UI design and Webflow development.
And if you're building a SaaS product or need a website that communicates your business value clearly, I'm open to website design and Webflow projects.
Let's talk about what you're building. 🤝


Starting with a discovery questionnaire instead of a screen is how good briefs begin, and "explain what LedgerFlow does in the first seconds" is the right goal to design around. Will the answers become a one page brief?