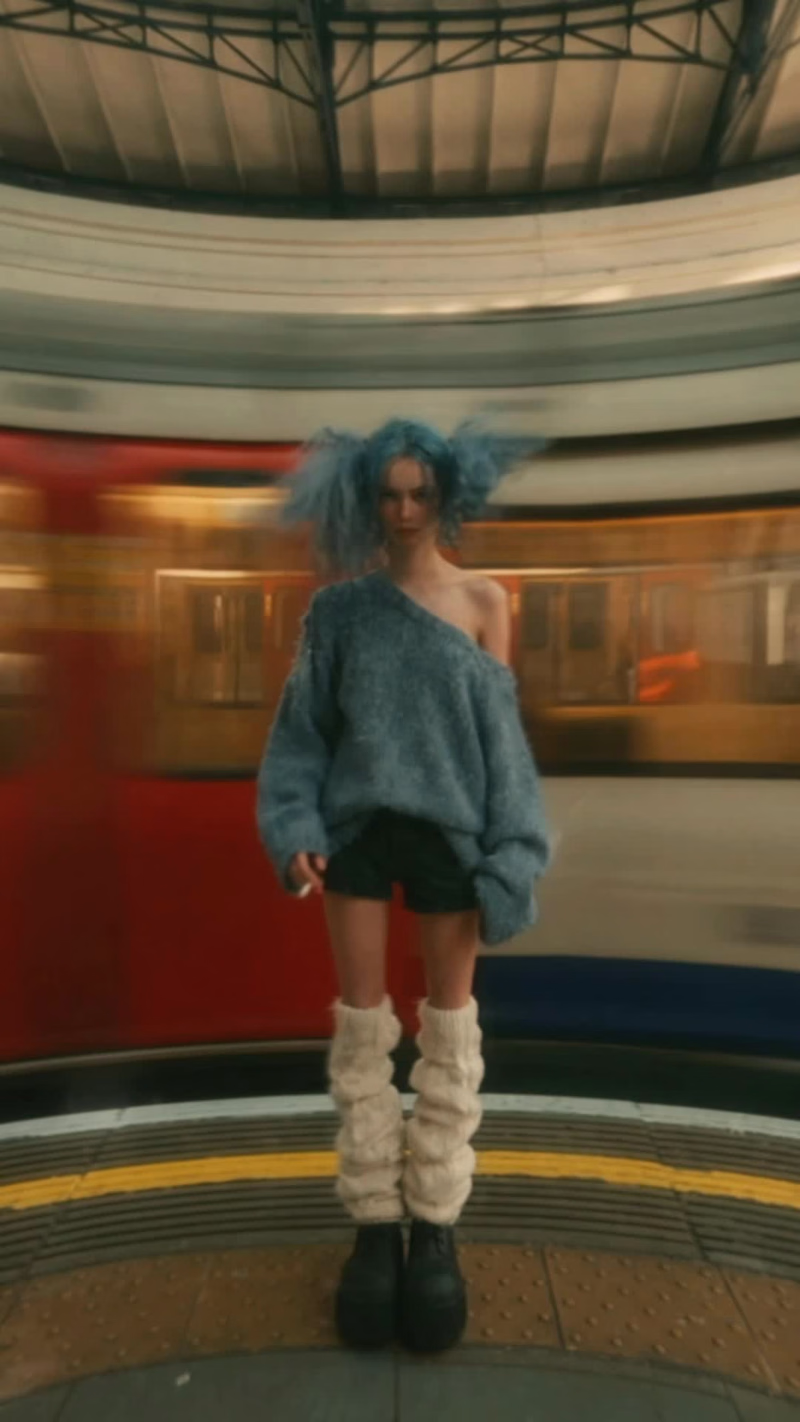
Been addicted to 2on X Exitin remixes lately, so I decided to make this slow-shutter-style video!
I generated the raw footage using Seedance 2.5 on @invideoOfficial (https://x.com/invideoOfficial). I actually tried creating the slow shutter effect directly in the InVideo editor, but unfortunately, the effect isn't supported yet. But so far, I'm loving the AI agent!
So... to create the slow shutter effect, I edited the video in CapCut. Here's how I did it!
1. Add the slow shutter effect
Search for the “Old Footage” effect in CapCut and apply it to your video. Since this effect turns your video black and white by default, you'll need to adjust the settings to get the look you want.
Here are the settings I used for this video:
- Speed: 37
- Filters: 0
- Texture: 20
- Atmosphere: 9
- Strength: 50
2. Add a wide-angle look
I wanted the video to have a slightly wide-angle feel, so I added the “Wide Angle” effect and set it to 45.
3. Color grading
Well, this isn't exactly professional color grading. 😂 I just combined a few filters until I got the look I wanted:
- Light Pastel: 21
- San Francisco: 50
- Quality 1: 52
4. Font
For the font, I used CC-Soft Edge and italicized it (I think that's what it's called? I forgot lmao 🤣) to better match the vibe of the video.
And that's it! ✨
1
1
102
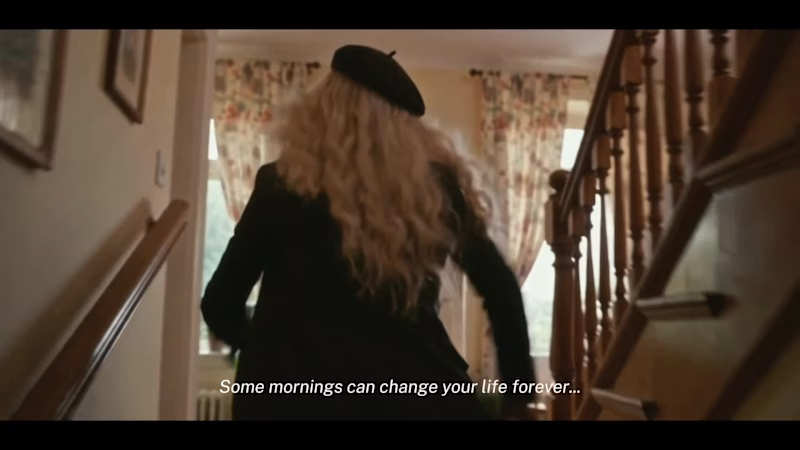
This is the full version of my video submission for #CapCutWorldLA (https://x.com/hashtag/CapCutWorldLA?src=hashtag_click)! Because of the duration limit, I had to trim a few parts to make everything fit.
So... this time, I wanna share the camera movements & angles I used in this video! Hopefully, this can be helpful for anyone who's also learning to make cinematic AI videos.
1. Handheld Tracking
The camera follows the character with a little natural shake (that's why it's called handheld!). It makes the scene feel more alive, almost like we're walking alongside the character.
2. Handheld Over-the-Shoulder Panning
The camera pans sideways from behind the character's shoulder. It's great for showing what the character is looking at (in this scene, the MC turns to look at the cat on the stairs!).
3. Slow Dramatic Dutch-Angle Push-In
The camera slowly moves closer while tilted to one side (that's the Dutch angle). This can make a scene feel more tense, strange, or dramatic.
4. Snap-Zoom to a Tight Low-Angle Close-Up
A sudden zoom into the character's face or a specific detail from a low angle. It makes the moment feel more intense and instantly draws our attention to the character.
5. Low-Angle Tracking
The camera follows the character from a low position. This can make the character look bigger, stronger, or even more intimidating.
6. Handheld Medium Shot
A shot framed around the waist up, with a little camera shake. We can still see the character's expressions and body movements without making the shot feel too stiff.
7. Camera Whip-Pan
The camera quickly whips sideways, creating motion blur. I love this technique for transitions that feel fast and energetic!
8. Tracking Push-Through
The camera moves forward through or past an object or opening to reveal another area. It makes the audience feel like they're moving right into the scene.
9. Snap-Zoom Dutch-Angle Wide
A sudden zoom into a wider view while the camera is tilted. This combination makes the scene feel more chaotic and dramatic, while still showing the surrounding environment.
10. Extreme Low-Angle
The camera is placed extremely low and points upward. This makes the subject look much bigger, more powerful, or even monumental.
11. Sweeping Tracking Shot
The camera sweeps across the scene while following the subject's action. It's great for showing the environment while keeping the movement cinematic.
12. Shaky Handheld Extreme Close-Up
The camera gets super close to capture a specific detail, with a little natural shake. It can make a moment feel more intense, panicked, or emotional without looking too artificial.
13. High-Angle Over-the-Shoulder
The camera looks down at the character from behind their shoulder. Besides showing what they're looking at, this angle can also make the character feel smaller within the scene.
14. Low-Angle Ground Tracking
The camera follows the action from a position close to the ground. It's great for emphasizing footsteps, fast movements, and making the scene feel more immersive.
15. Wide Pull-Back Pan
The camera moves backward while panning across a wider area. It's great for revealing the environment or ending a scene with a bigger perspective (this is the final shot!).
Oh, and for this video, I used Seedance 2.5 inside CapCut Studio!
I burned around 5,500 credits in total for 5 generations, with each generation lasting around 20–30 seconds. 🥹
Hope this helps, guys! And if you're experimenting with AI filmmaking too, I hope you can use some of these techniques in your own videos.
2
162
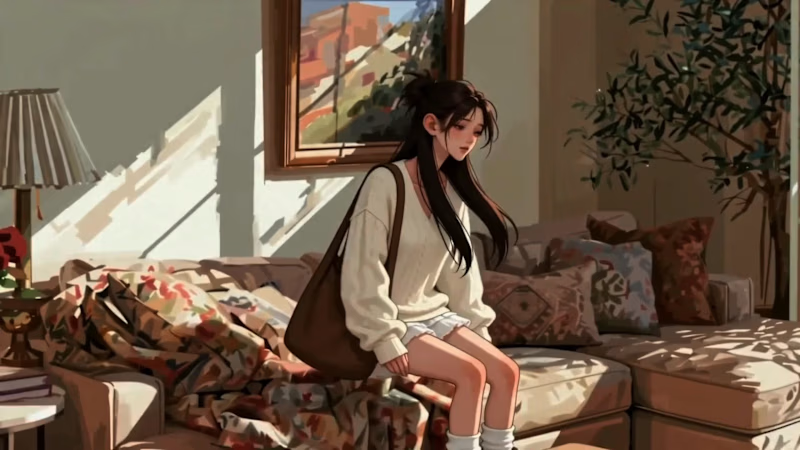
Here is my work for Renoise X Contra challenge.
"But even if his existence was an illusion...the happiness I felt with him...and the pain of losing him... were completely real."
This video is about grieving someone who was never real.
Inspired by my personal experience these days of becoming attached to a fictional character who suddenly disappeared before his release, the story follows a girl who finds comfort and happiness in someone who only fictional.
He makes her lonely days feel warmer, gives her something to look forward to, and becomes a quiet source of hope.
But when he vanishes before ever truly arriving, she is left with a kind of heartbreak that is hard to explain.
Through this video, I wanted to show that fictional characters may not exist in our world, but the emotions they give us are real.
The comfort is real. The happiness is real. The grief is real.
And now, it only a memory.
0
115